Video Console
Spring 2023 — Summer 2024
After my experiments with analog video synthesis (documentation coming soon), I wanted to try building a digital video synthesizer. In perusing the Adafruit catalog (again), I found a delightful little variant of their Feather RP2040 line, that has a DVI (aka HDMI) port! For $15! This little guy has just enough power to squeak out 320x240 video, but it can do it at pretty high framerates, which gives it a slick polished-lo-fi look.
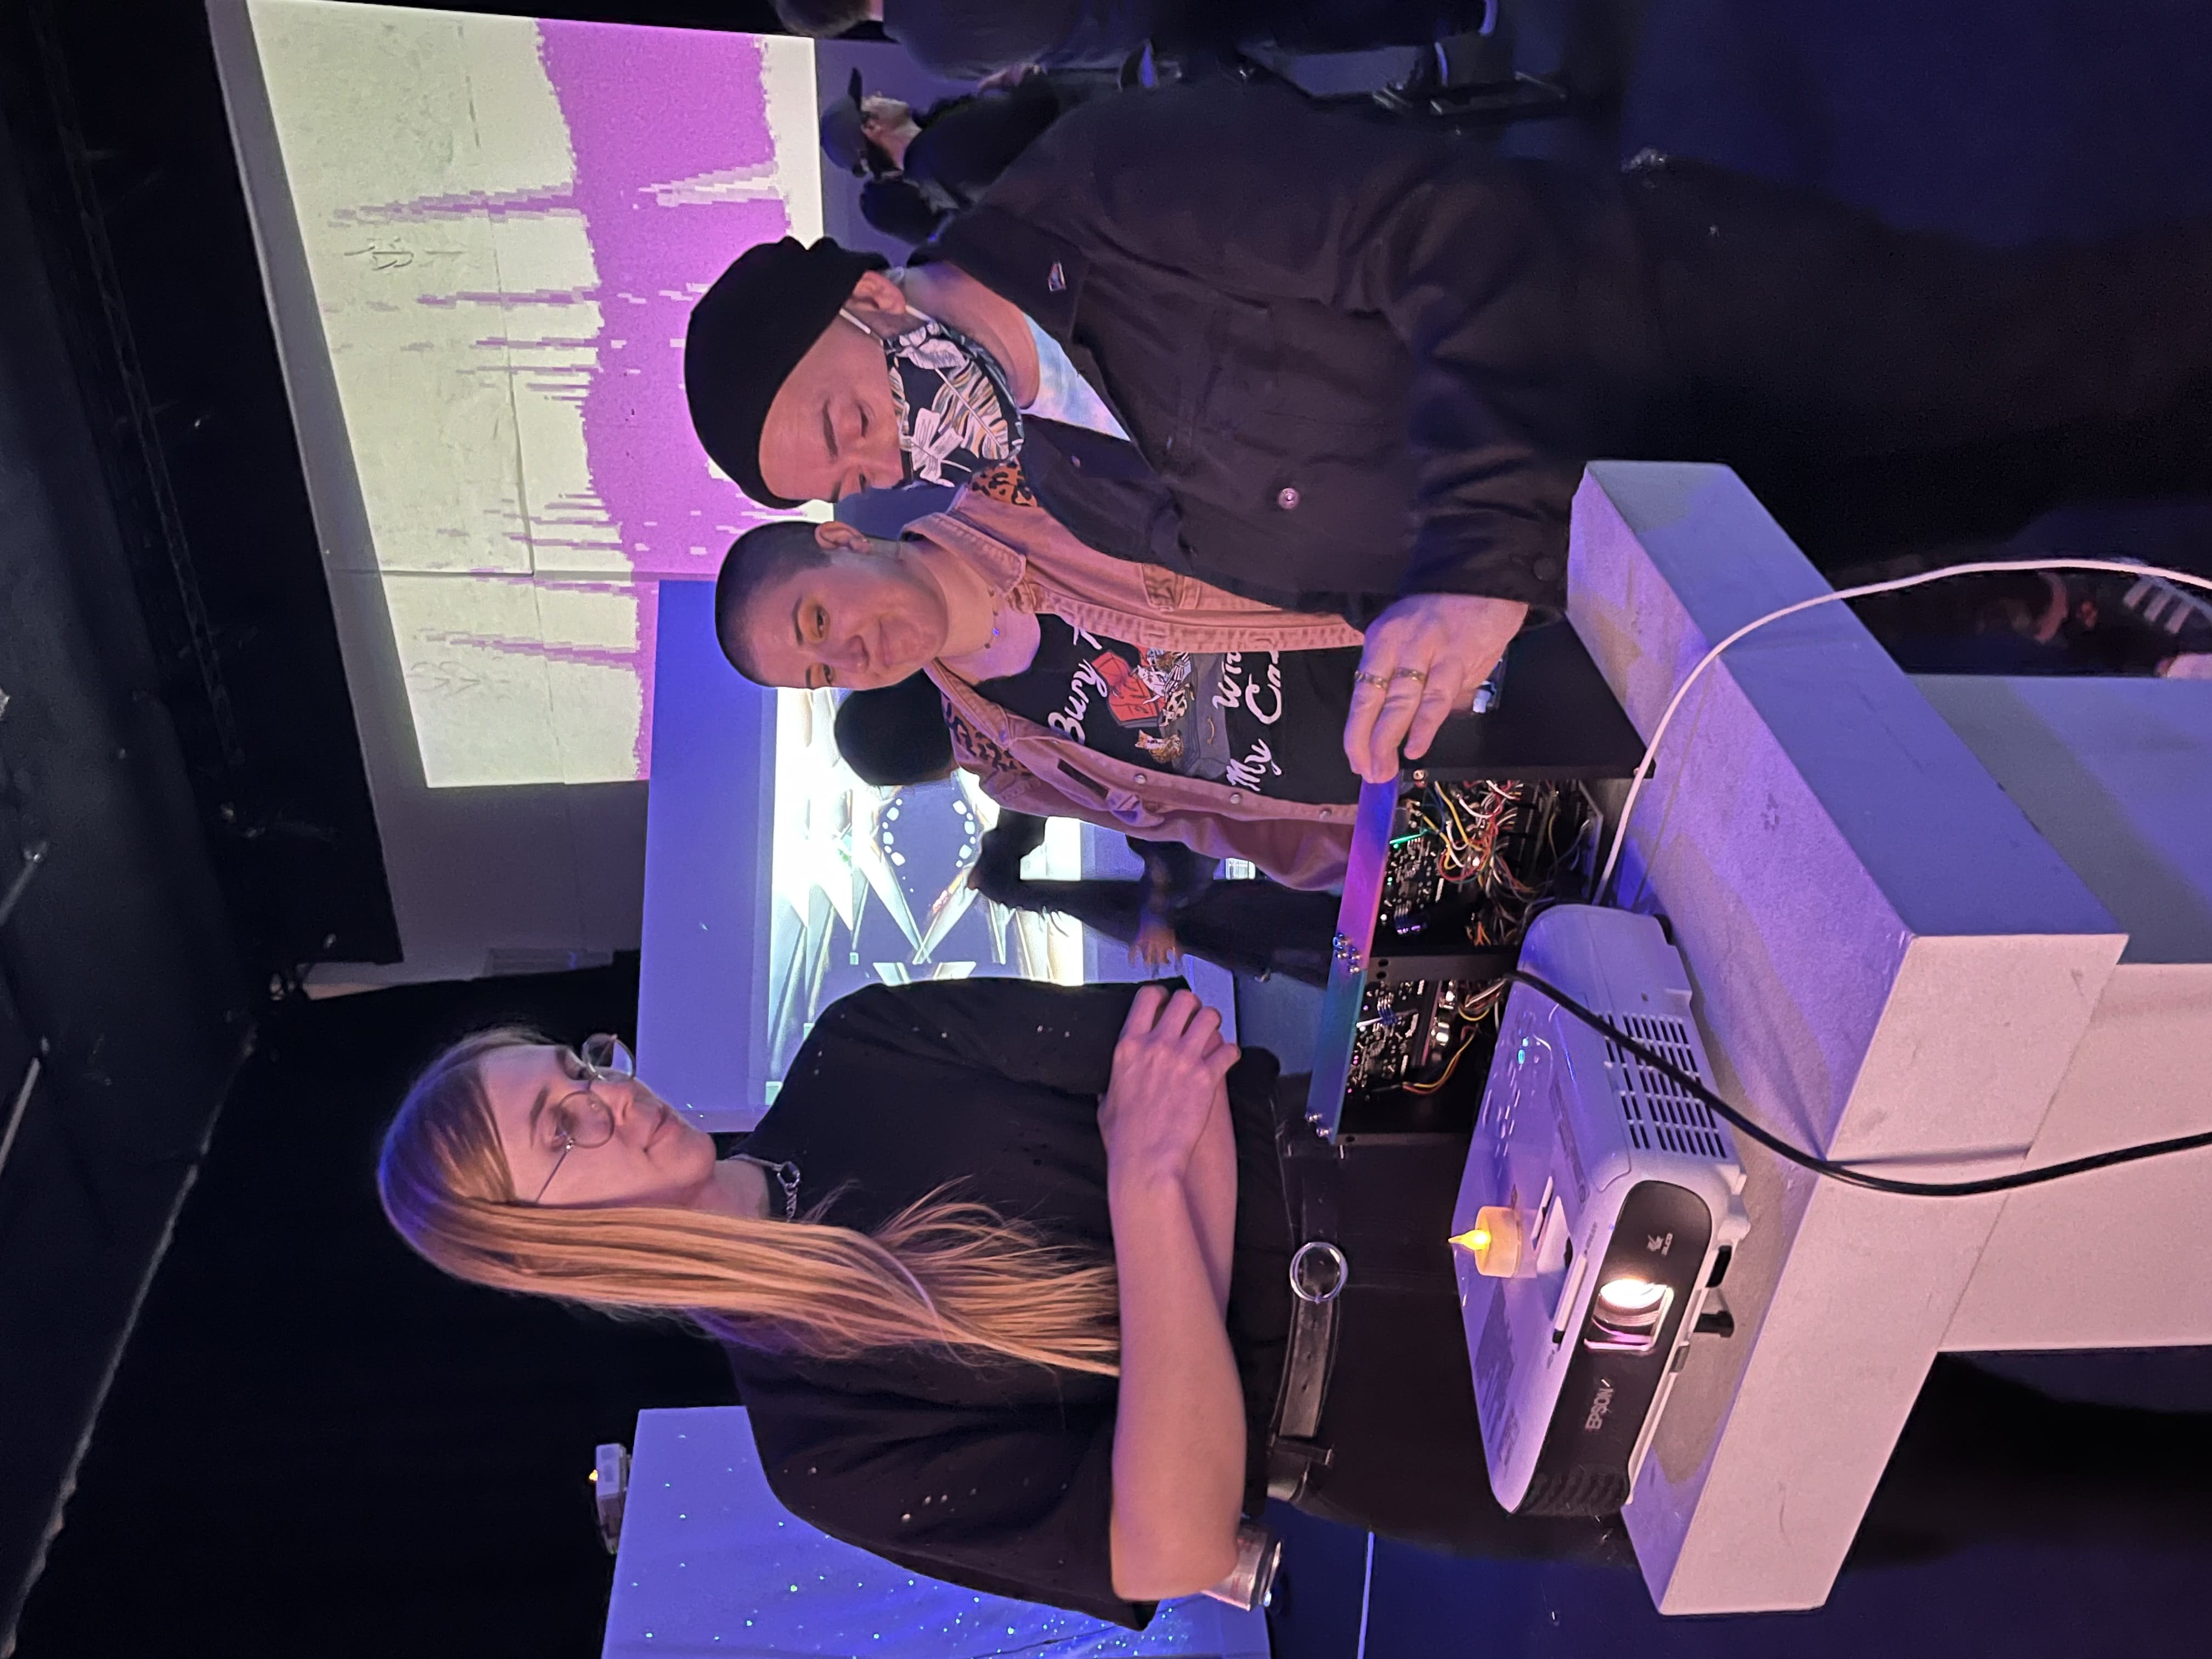
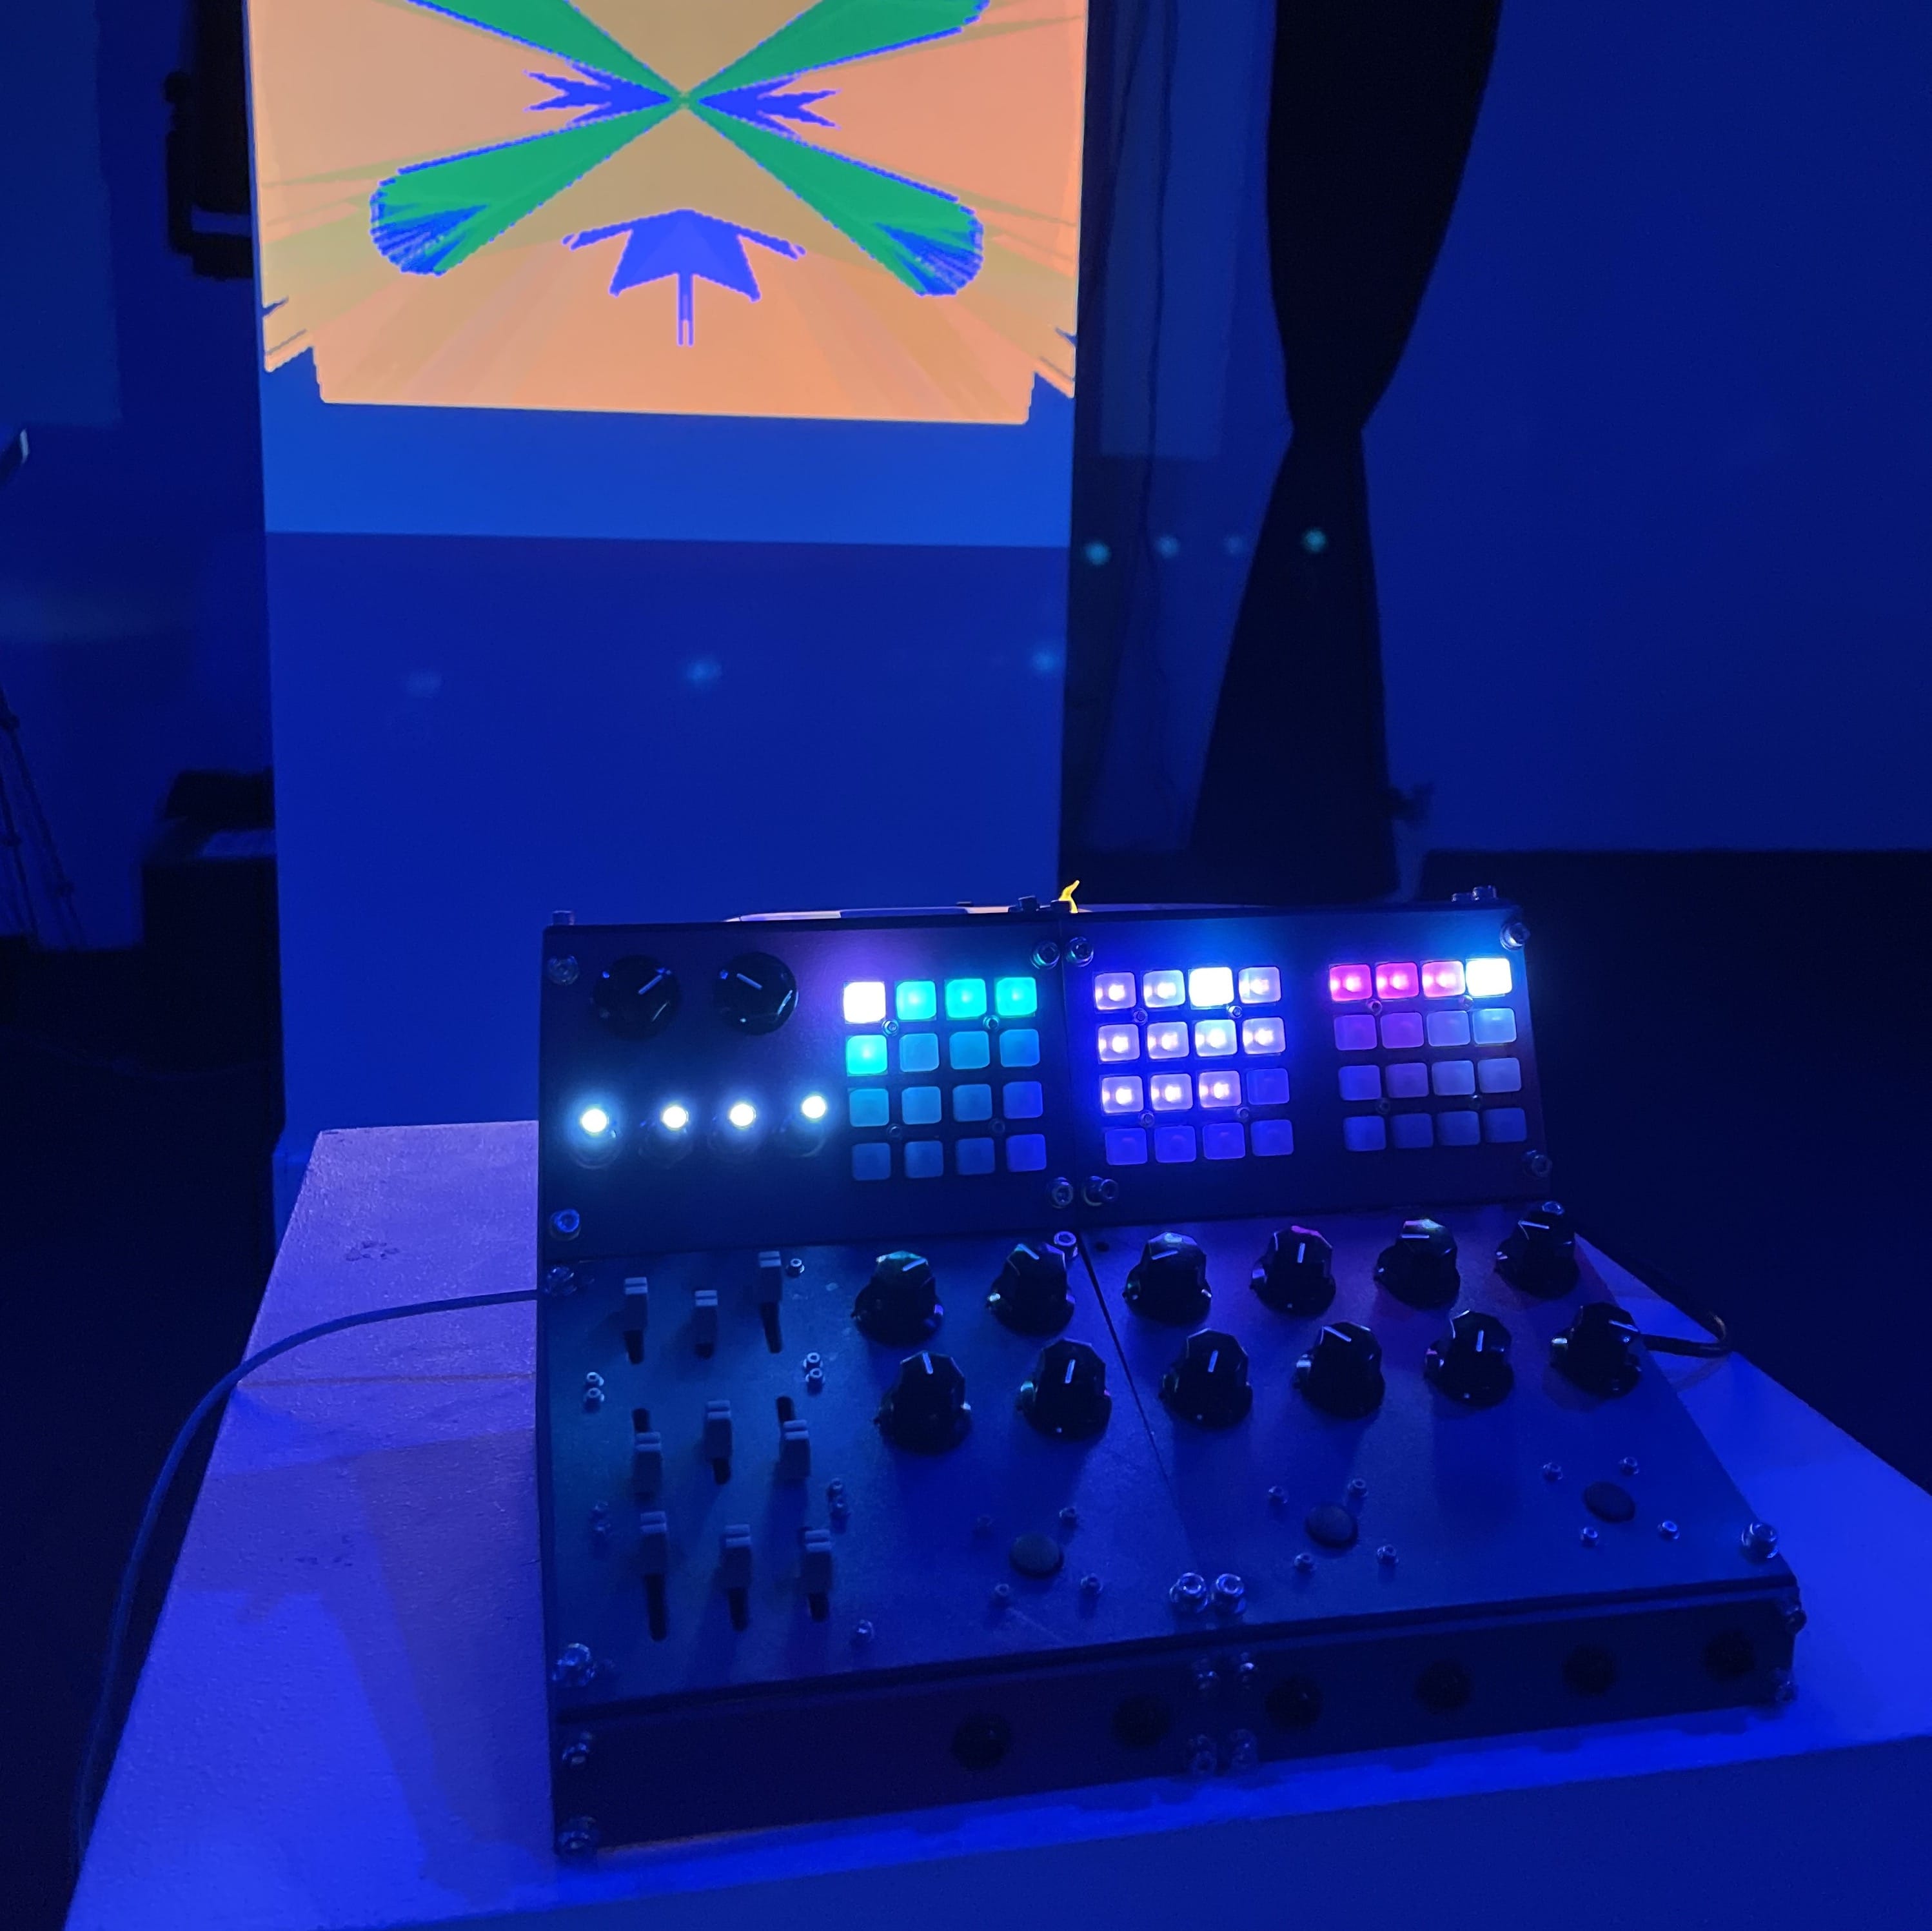
This project is ongoing, and the enclosure in particular needs a bit of work, but this video synth has the seed of something really exciting I think. It's a lot of fun to play with, and I've installed this piece twice at Gray Area's "Bring Your Own Beamer" video art nights, and the visitors love it.
Here's a shot of it installed at Gray Area:
I even used it to make a music video for Rosie Tucker's song Graveyard from their new album Tiny Songs Vol 1. All the video here came straight out of the video synth (text included), with no editing beyond compiling the clips and syncing them to the music. I recorded the video output with an Elgato Game Capture HD60.
The original idea
At this point, I had experimented with some fun interfaces for analog video synthesizers, but this digital video synth platform came with a lot of new possibilities. There were some basic constraints to work within: a 320x240 framebuffer and 255 colors (the palette holds 255 colors, but each individual color is actually 16 bits and you can set each color to whatever you like).
But from a functional and experiential perspective... what kind of video art should this make? What controls does it need? This idea sat on the backburner for months and I wrote a ton of notes about it:
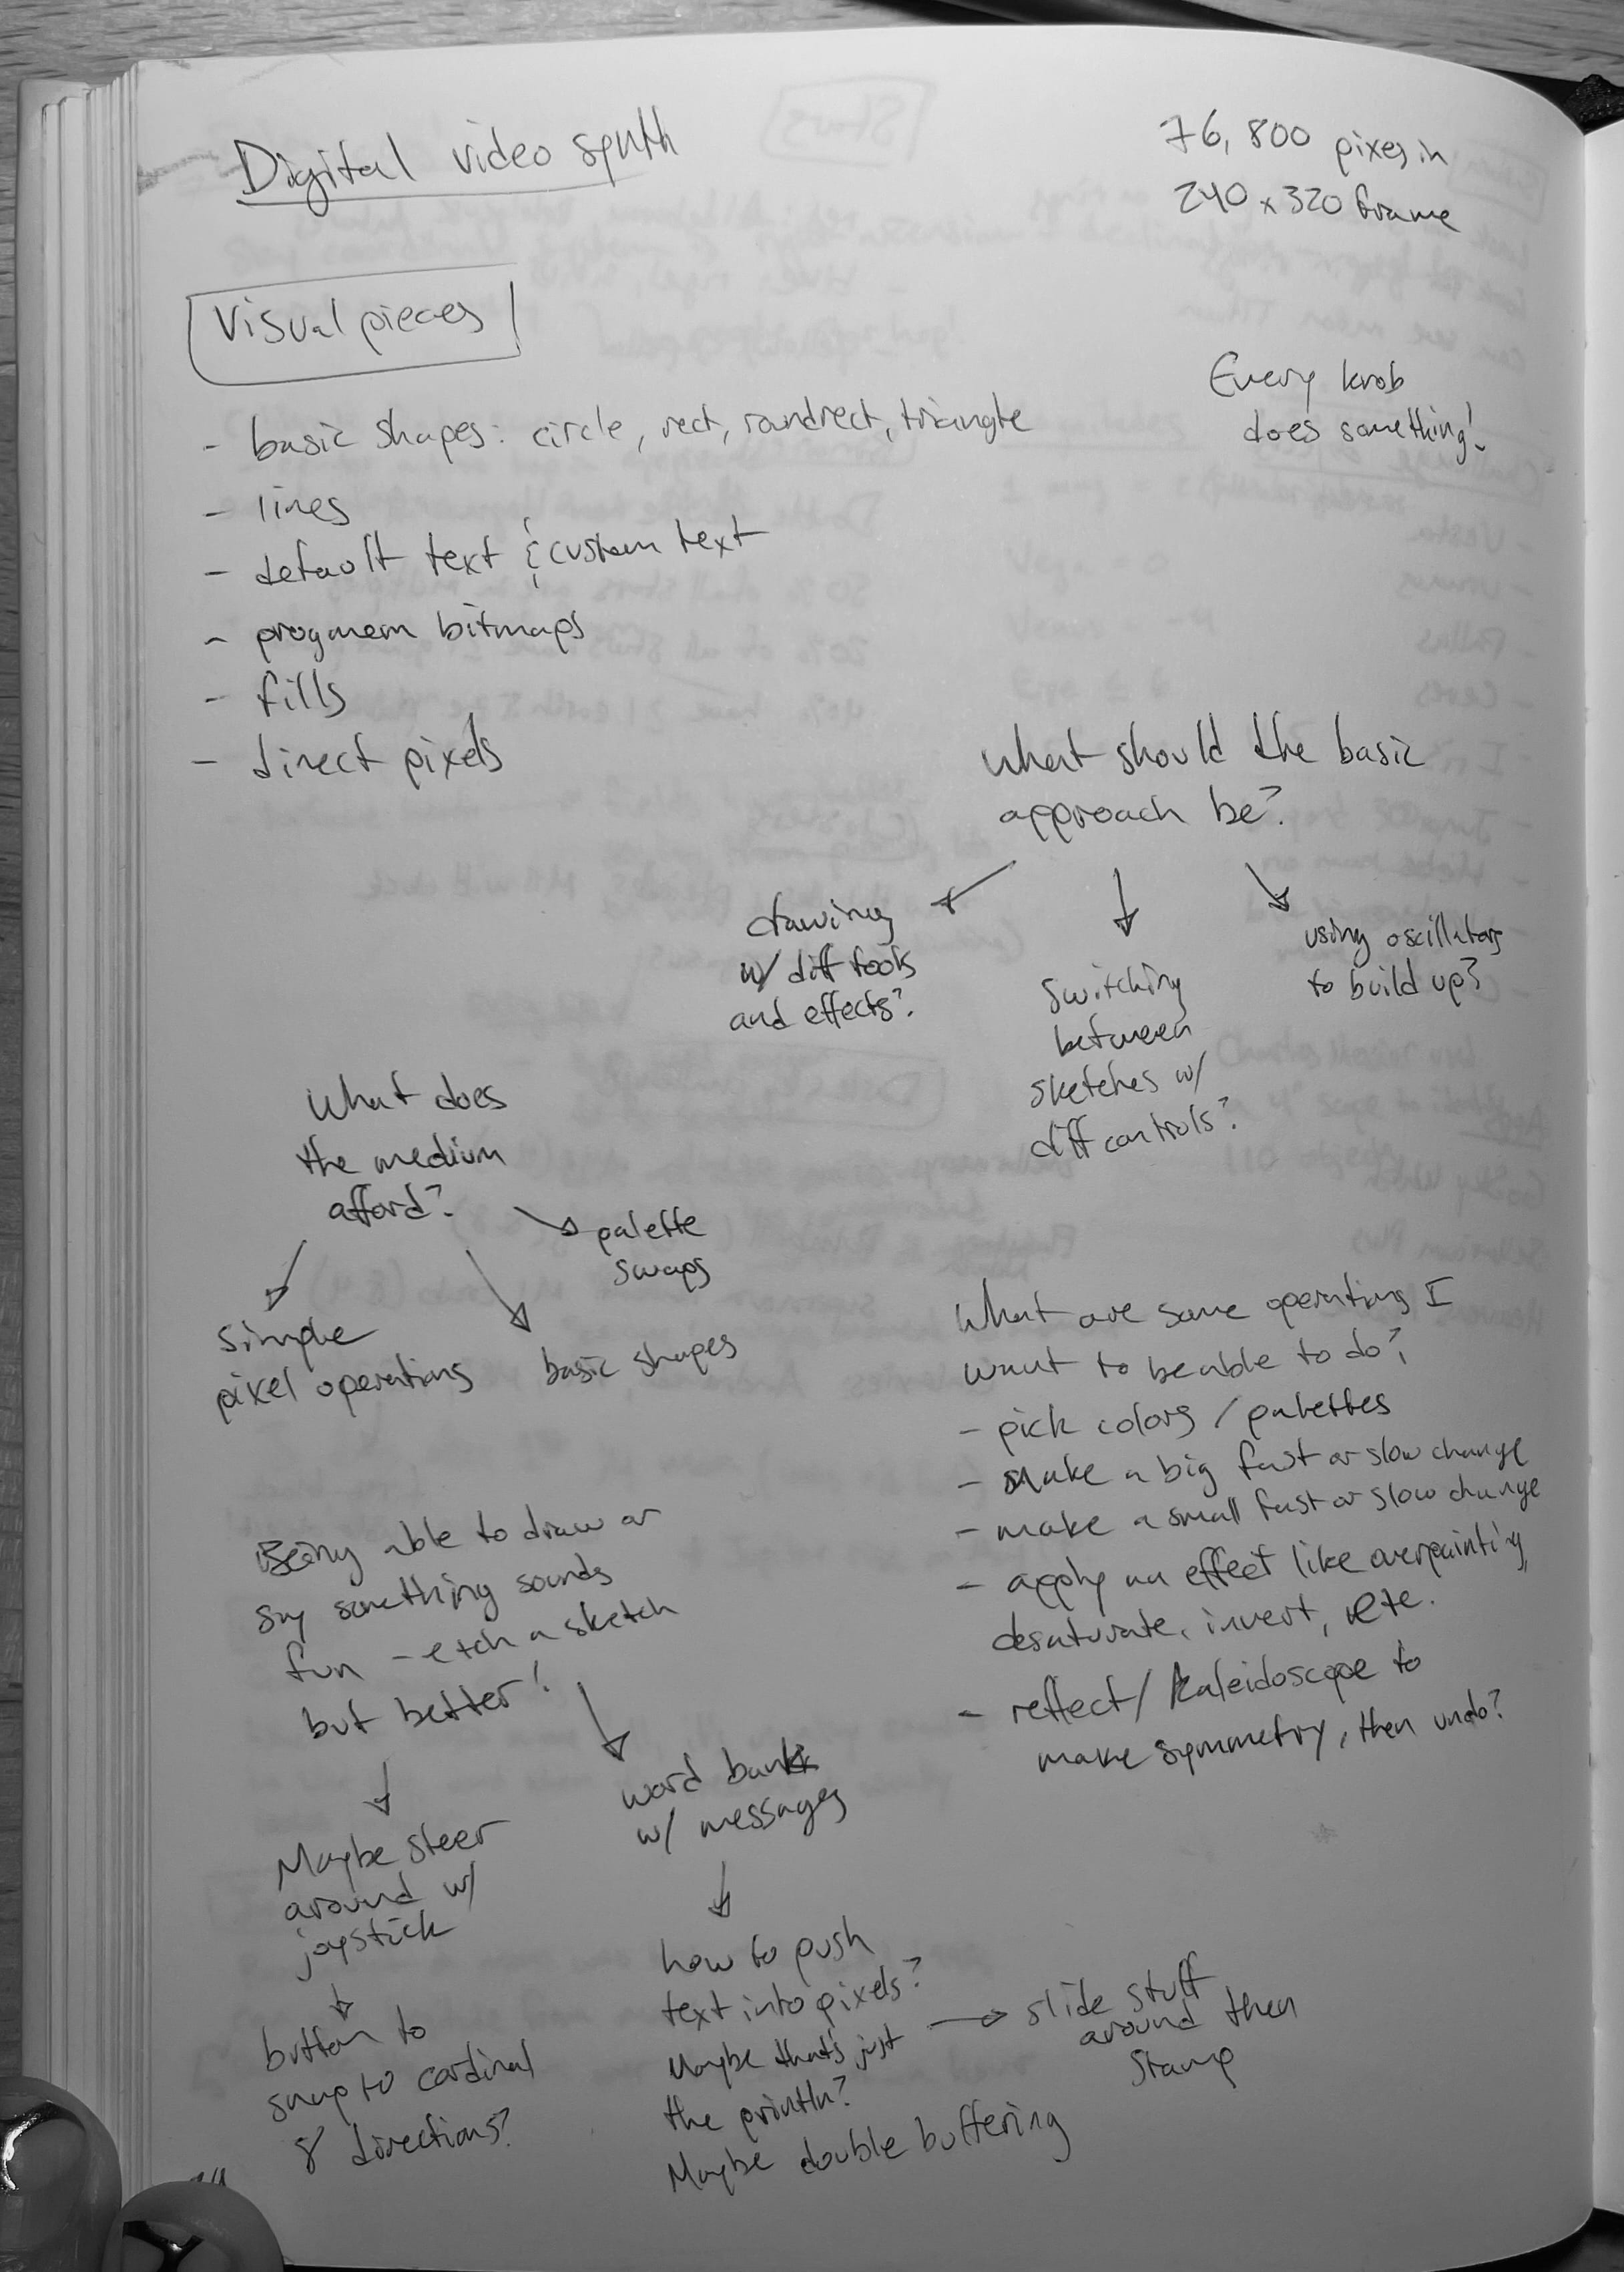
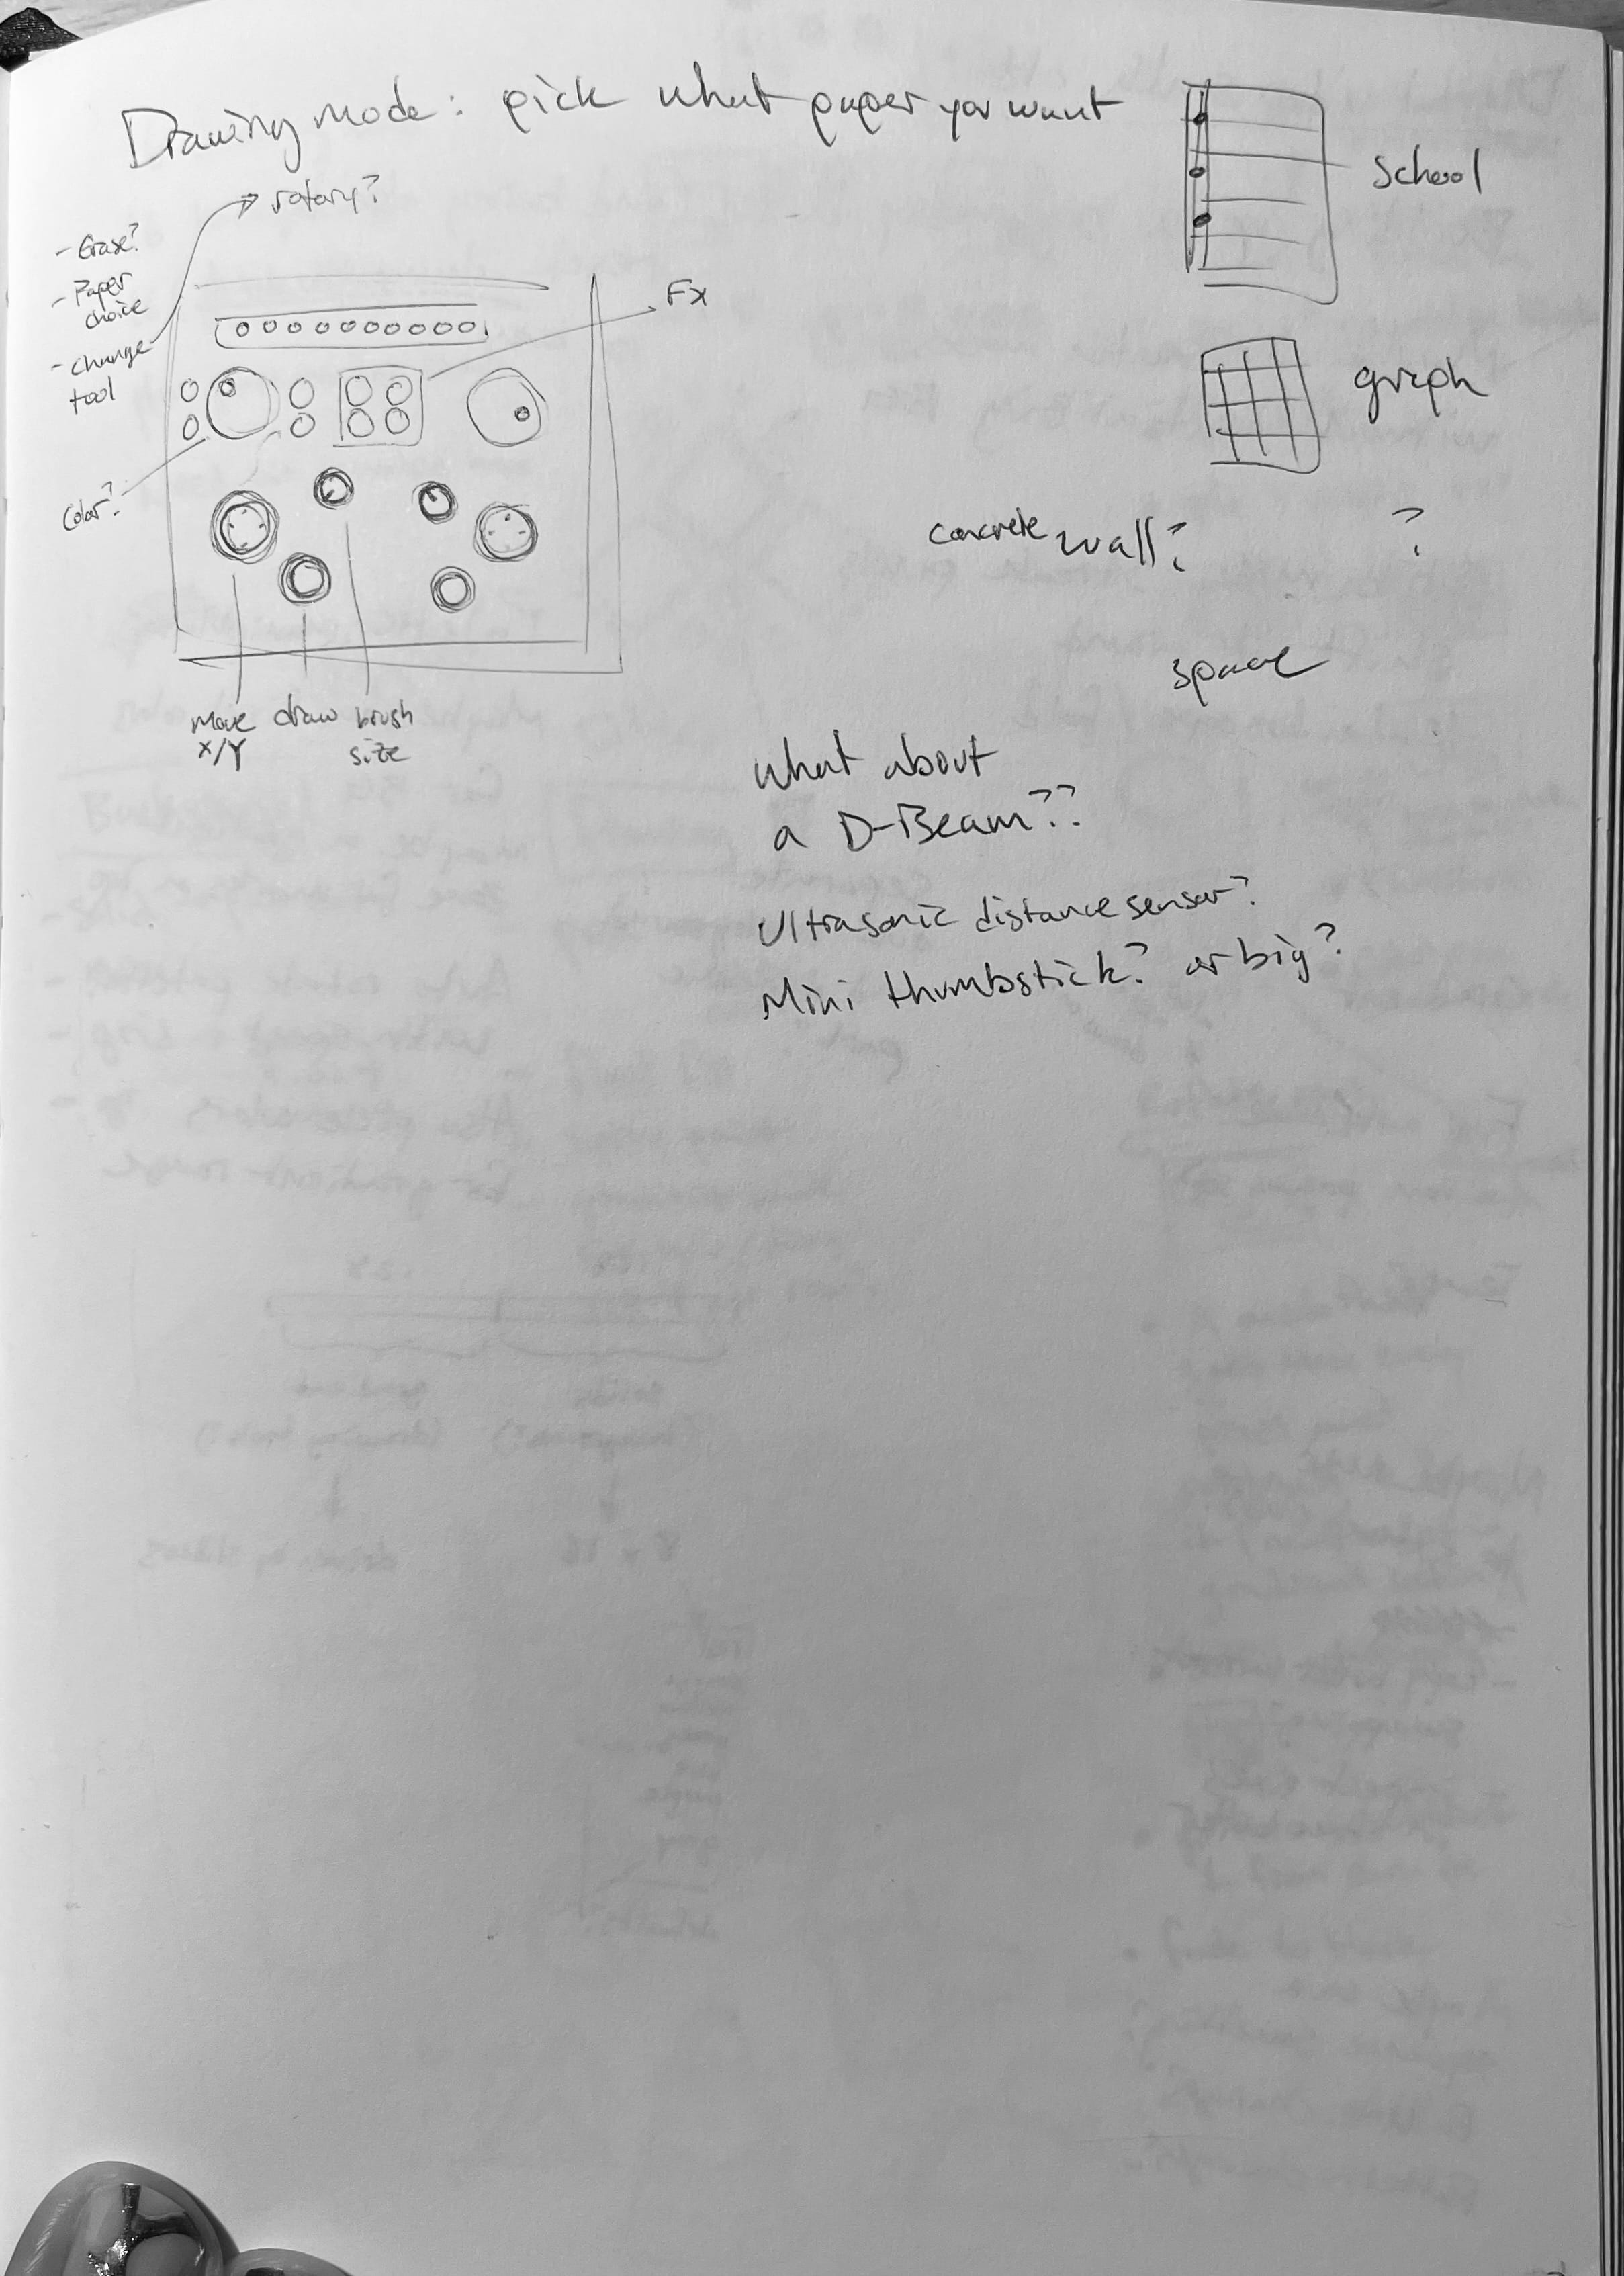
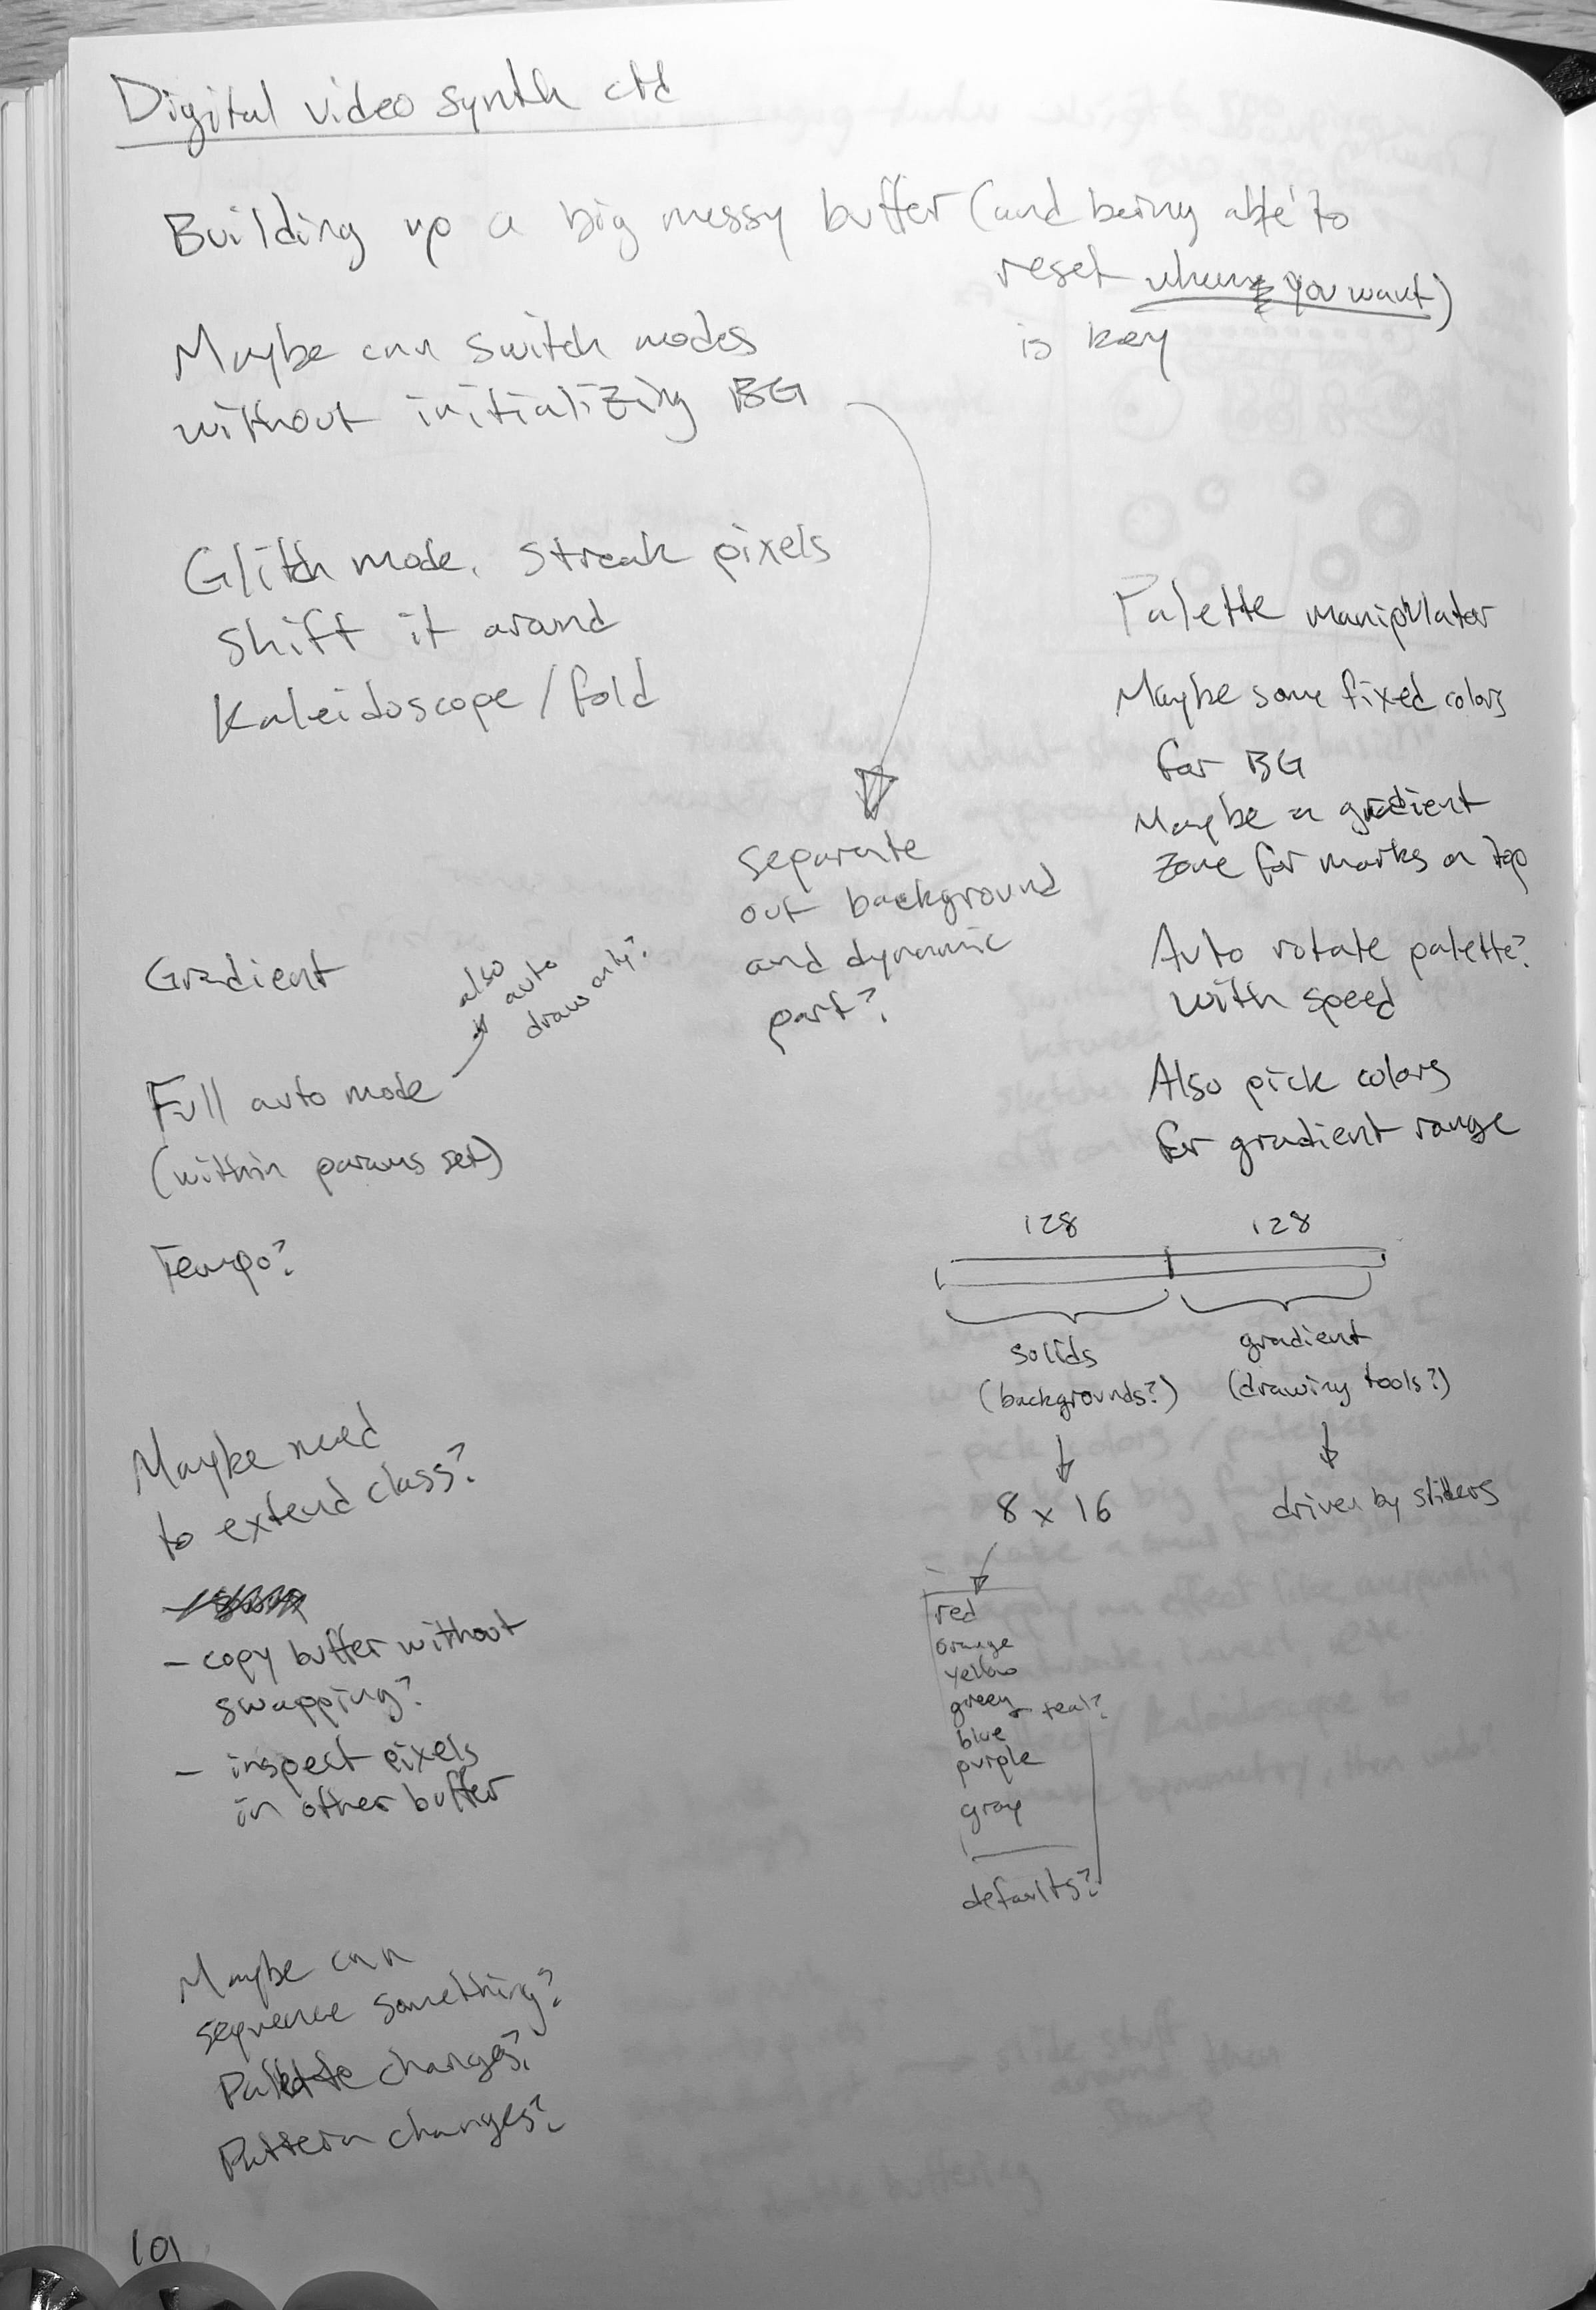
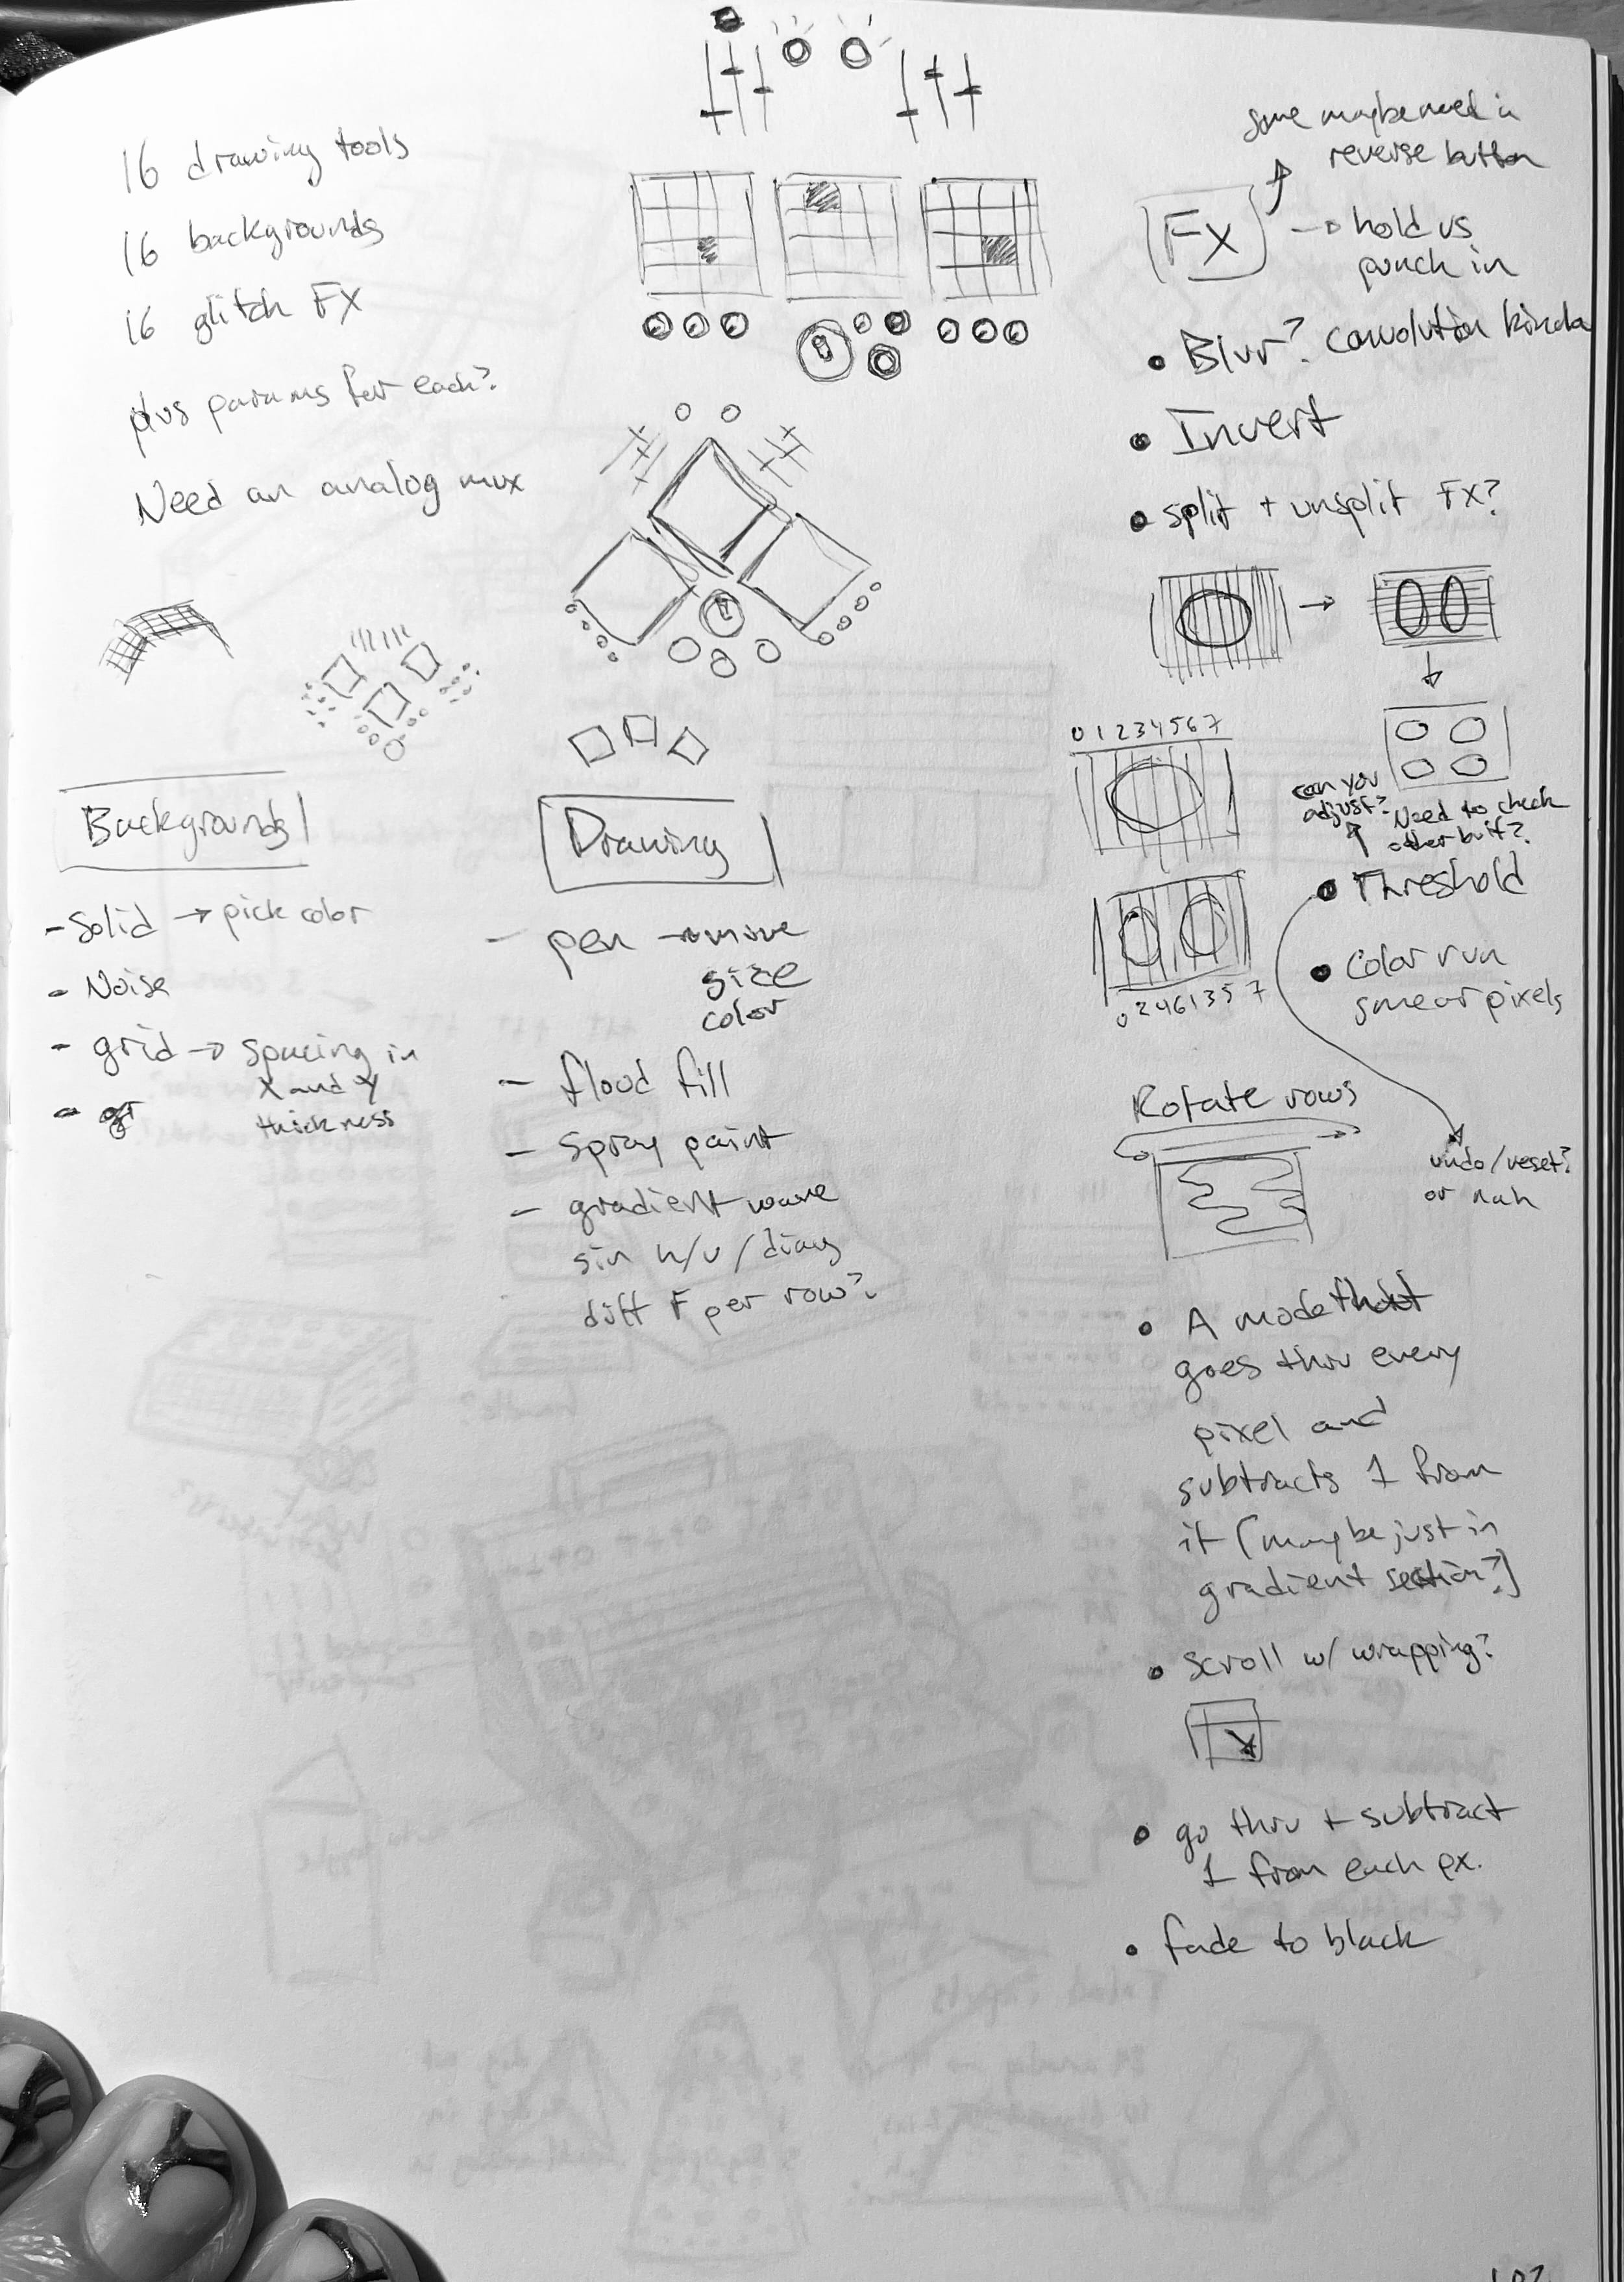
Eventually I came to a key realization: the thing I find charming about analog video synthesis is that the patterns tend to be quite simple, but the picture gets so much richness and texture and character from the imperfections in the glitchy, wobbly, hand-built analog circuity. That's the character of the medium.
So what's the character of this medium? I settled on four defining qualities that would guide the design of this interface.
1. History
The biggest difference between this digital video synth and my analog video synths is that with analog circuitry, the entire screen is redrawn from scratch every frame. If you want to keep a shape onscreen, you have to draw it every time. In the digital world, once you write something into the framebuffer, it stays there! So you can add small layers progressively and build up a nice rich canvas of layered elements.
2. Manipulating the palette
That 255-color palette I mentioned before is kept in a separate part of the microcontroller's memory. The framebuffer is like a paint-by-numbers — each "pixel" holds a number 0-255 that indicates what color it should be painted with from the palette. That means that if you change the colors in the palette but leave the framebuffer alone... you recolor the picture! Being able to quickly swap from rainbow to grayscale to shades of blue is a whole new capability for me.
3. Primitive shapes in intricate patterns
Eventually I'll work up to writing my own drawing routines, but to start I'm using the Adafruit GFX library, which makes it easy to draw lines, squares, circles, triangles, rounded rectangles, and text... and that's about it. There are some fun things you can do with bitmaps too. I wanted to reference early computer art and lean into the aesthetic of these flat basic shapes, but tiled and composed into more interesting patterns.
4. Motion
Finally, being able to animate and move things around on screen easily is a huge new capability that is hard to recreate in analog circuitry. I wanted to find simple, cheap ways to make things move smoothly.
Enclosure design
Next I started exploring control layouts and sketching enclosures. I wanted to have three main areas of control:
- Background patterns & parameters
- Foreground patterns & parameters
- Color controls & palette effects (e.g. invert, grayscale, etc)
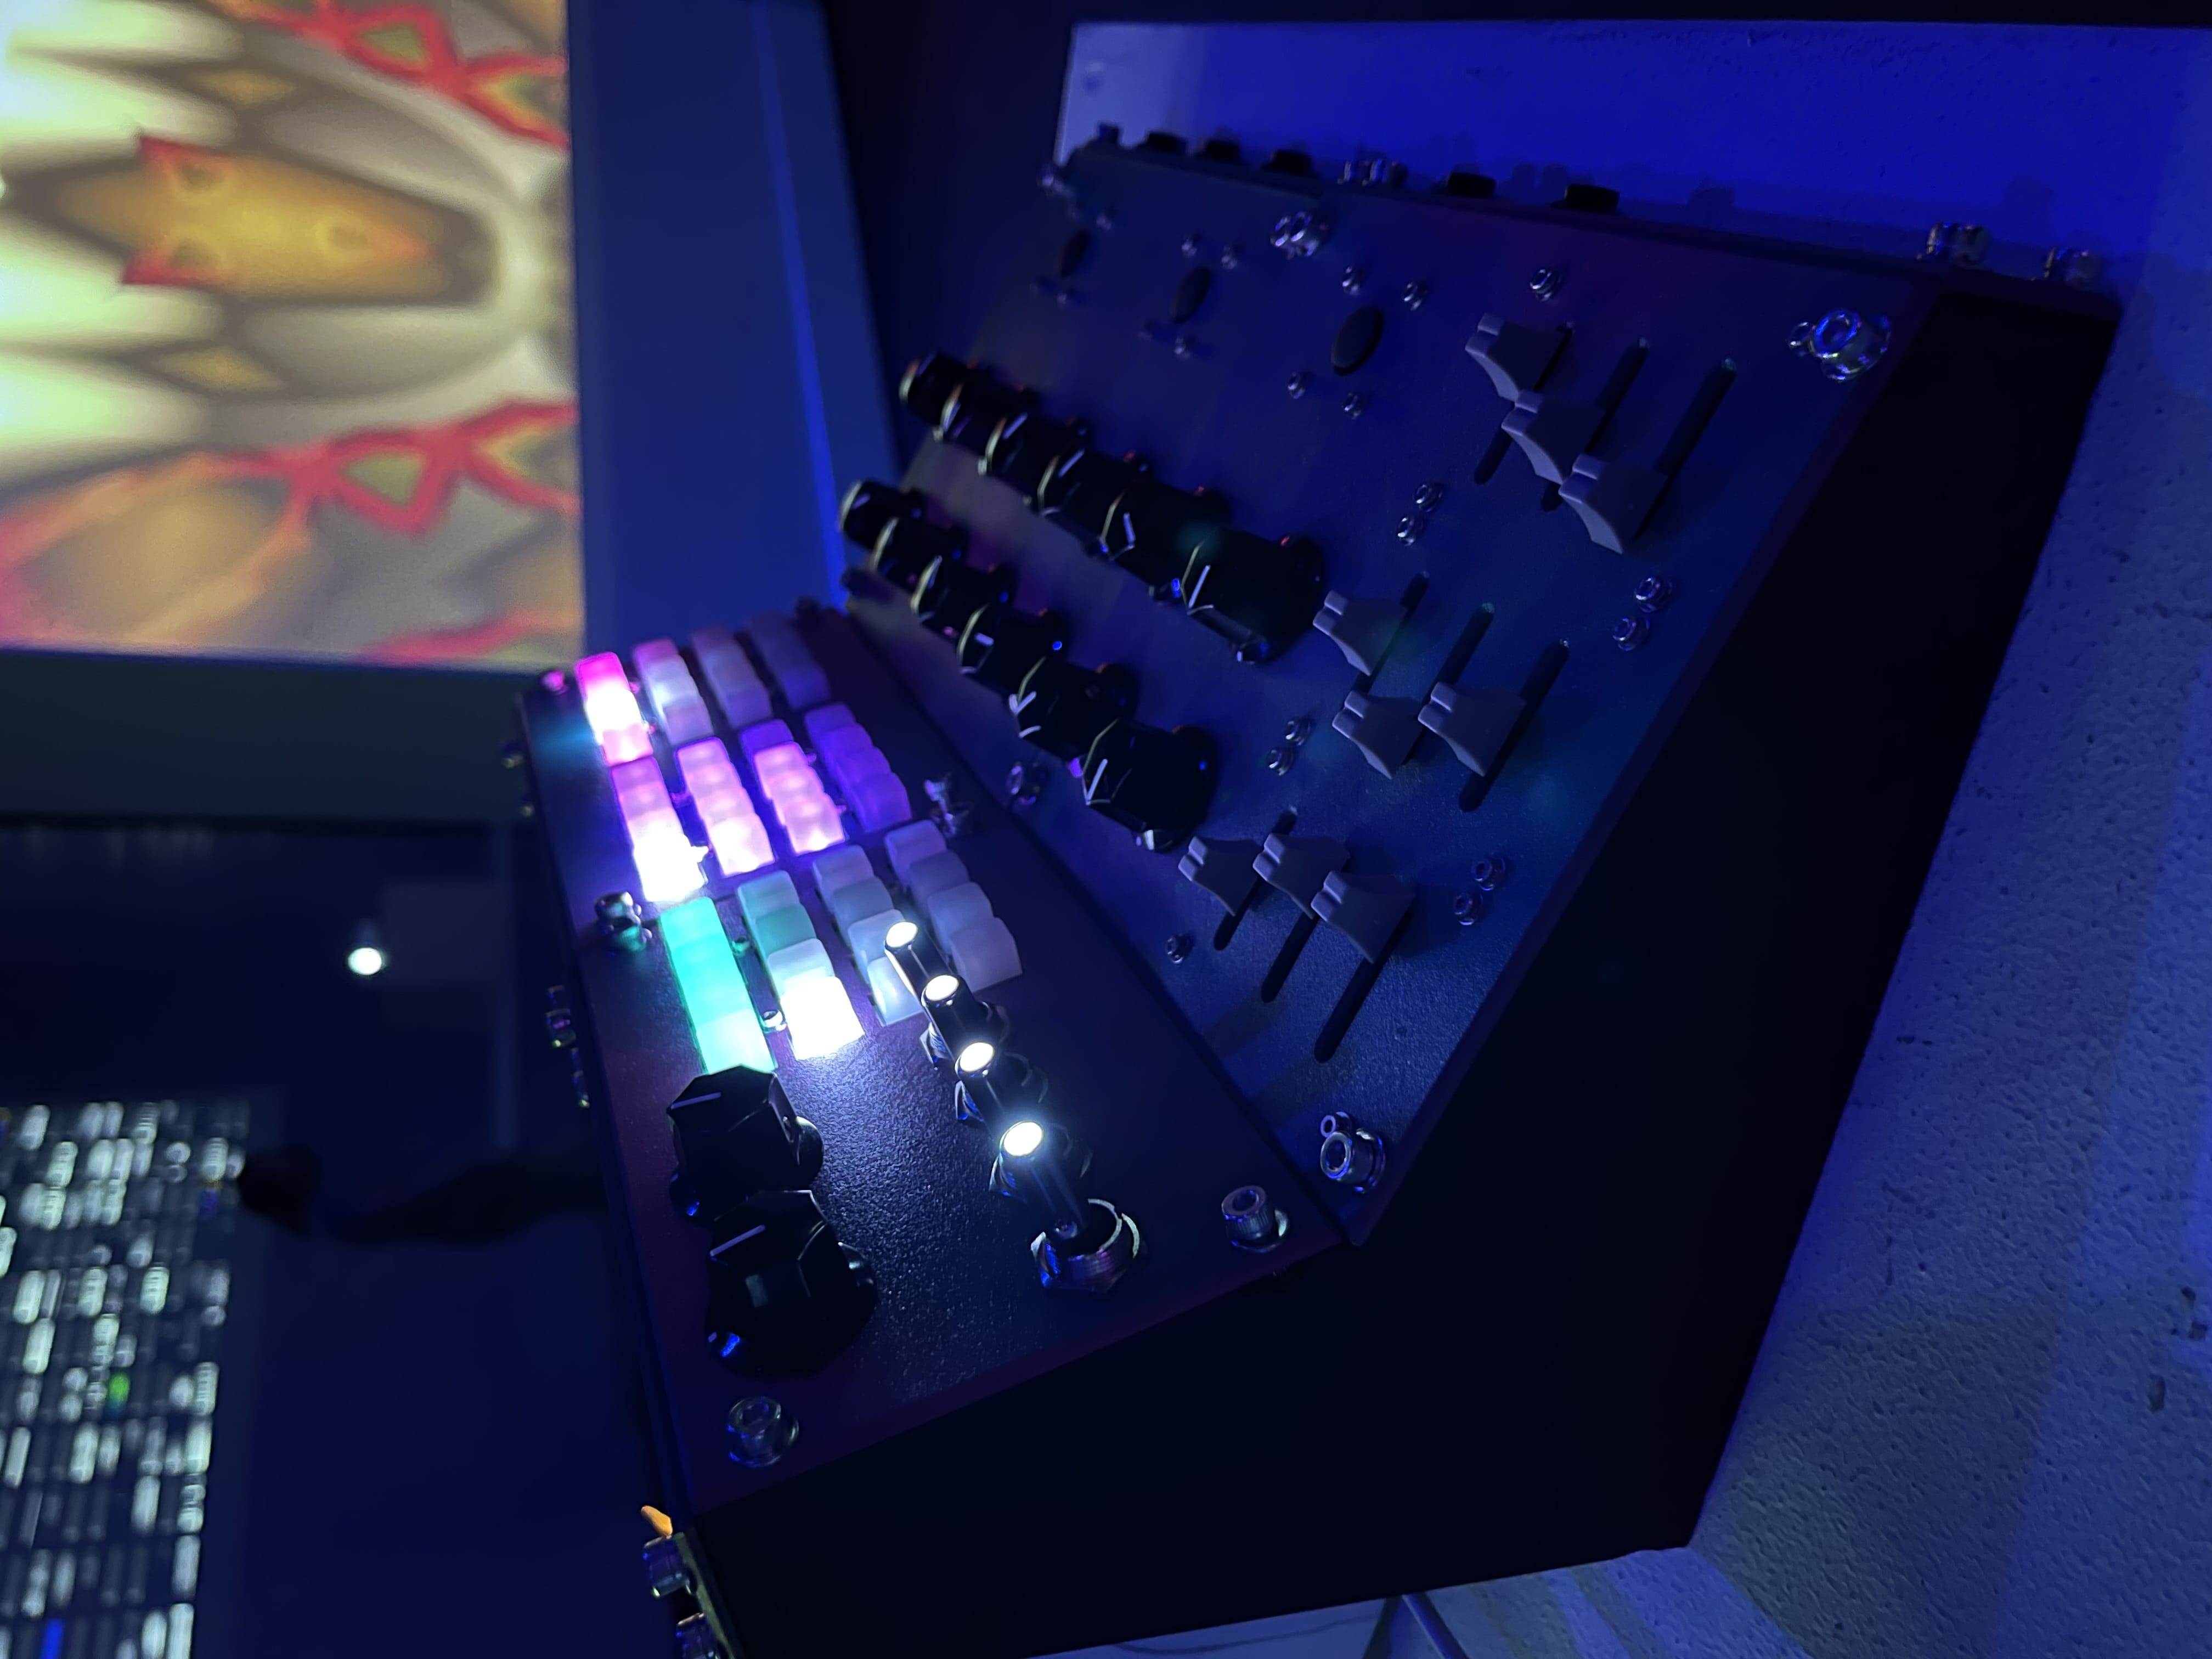
I found some 4x4 RGB-backlit button pads (also on Adafruit), and wanted to make space for an assortment of potentiometers and buttons. I found some PSP-style mini joysticks, which I thought would be a fun variation on a potentiometer because they reset to a neutral point, whereas traditional rotary or slide pots stay where you put them. I also needed to balance this desire for a lot of hands-on control with a need to 3D print it (thinking primarily about part orientation and print bed size).
Lots of weird ideas here! Some of them I want to come back to in future experiments.
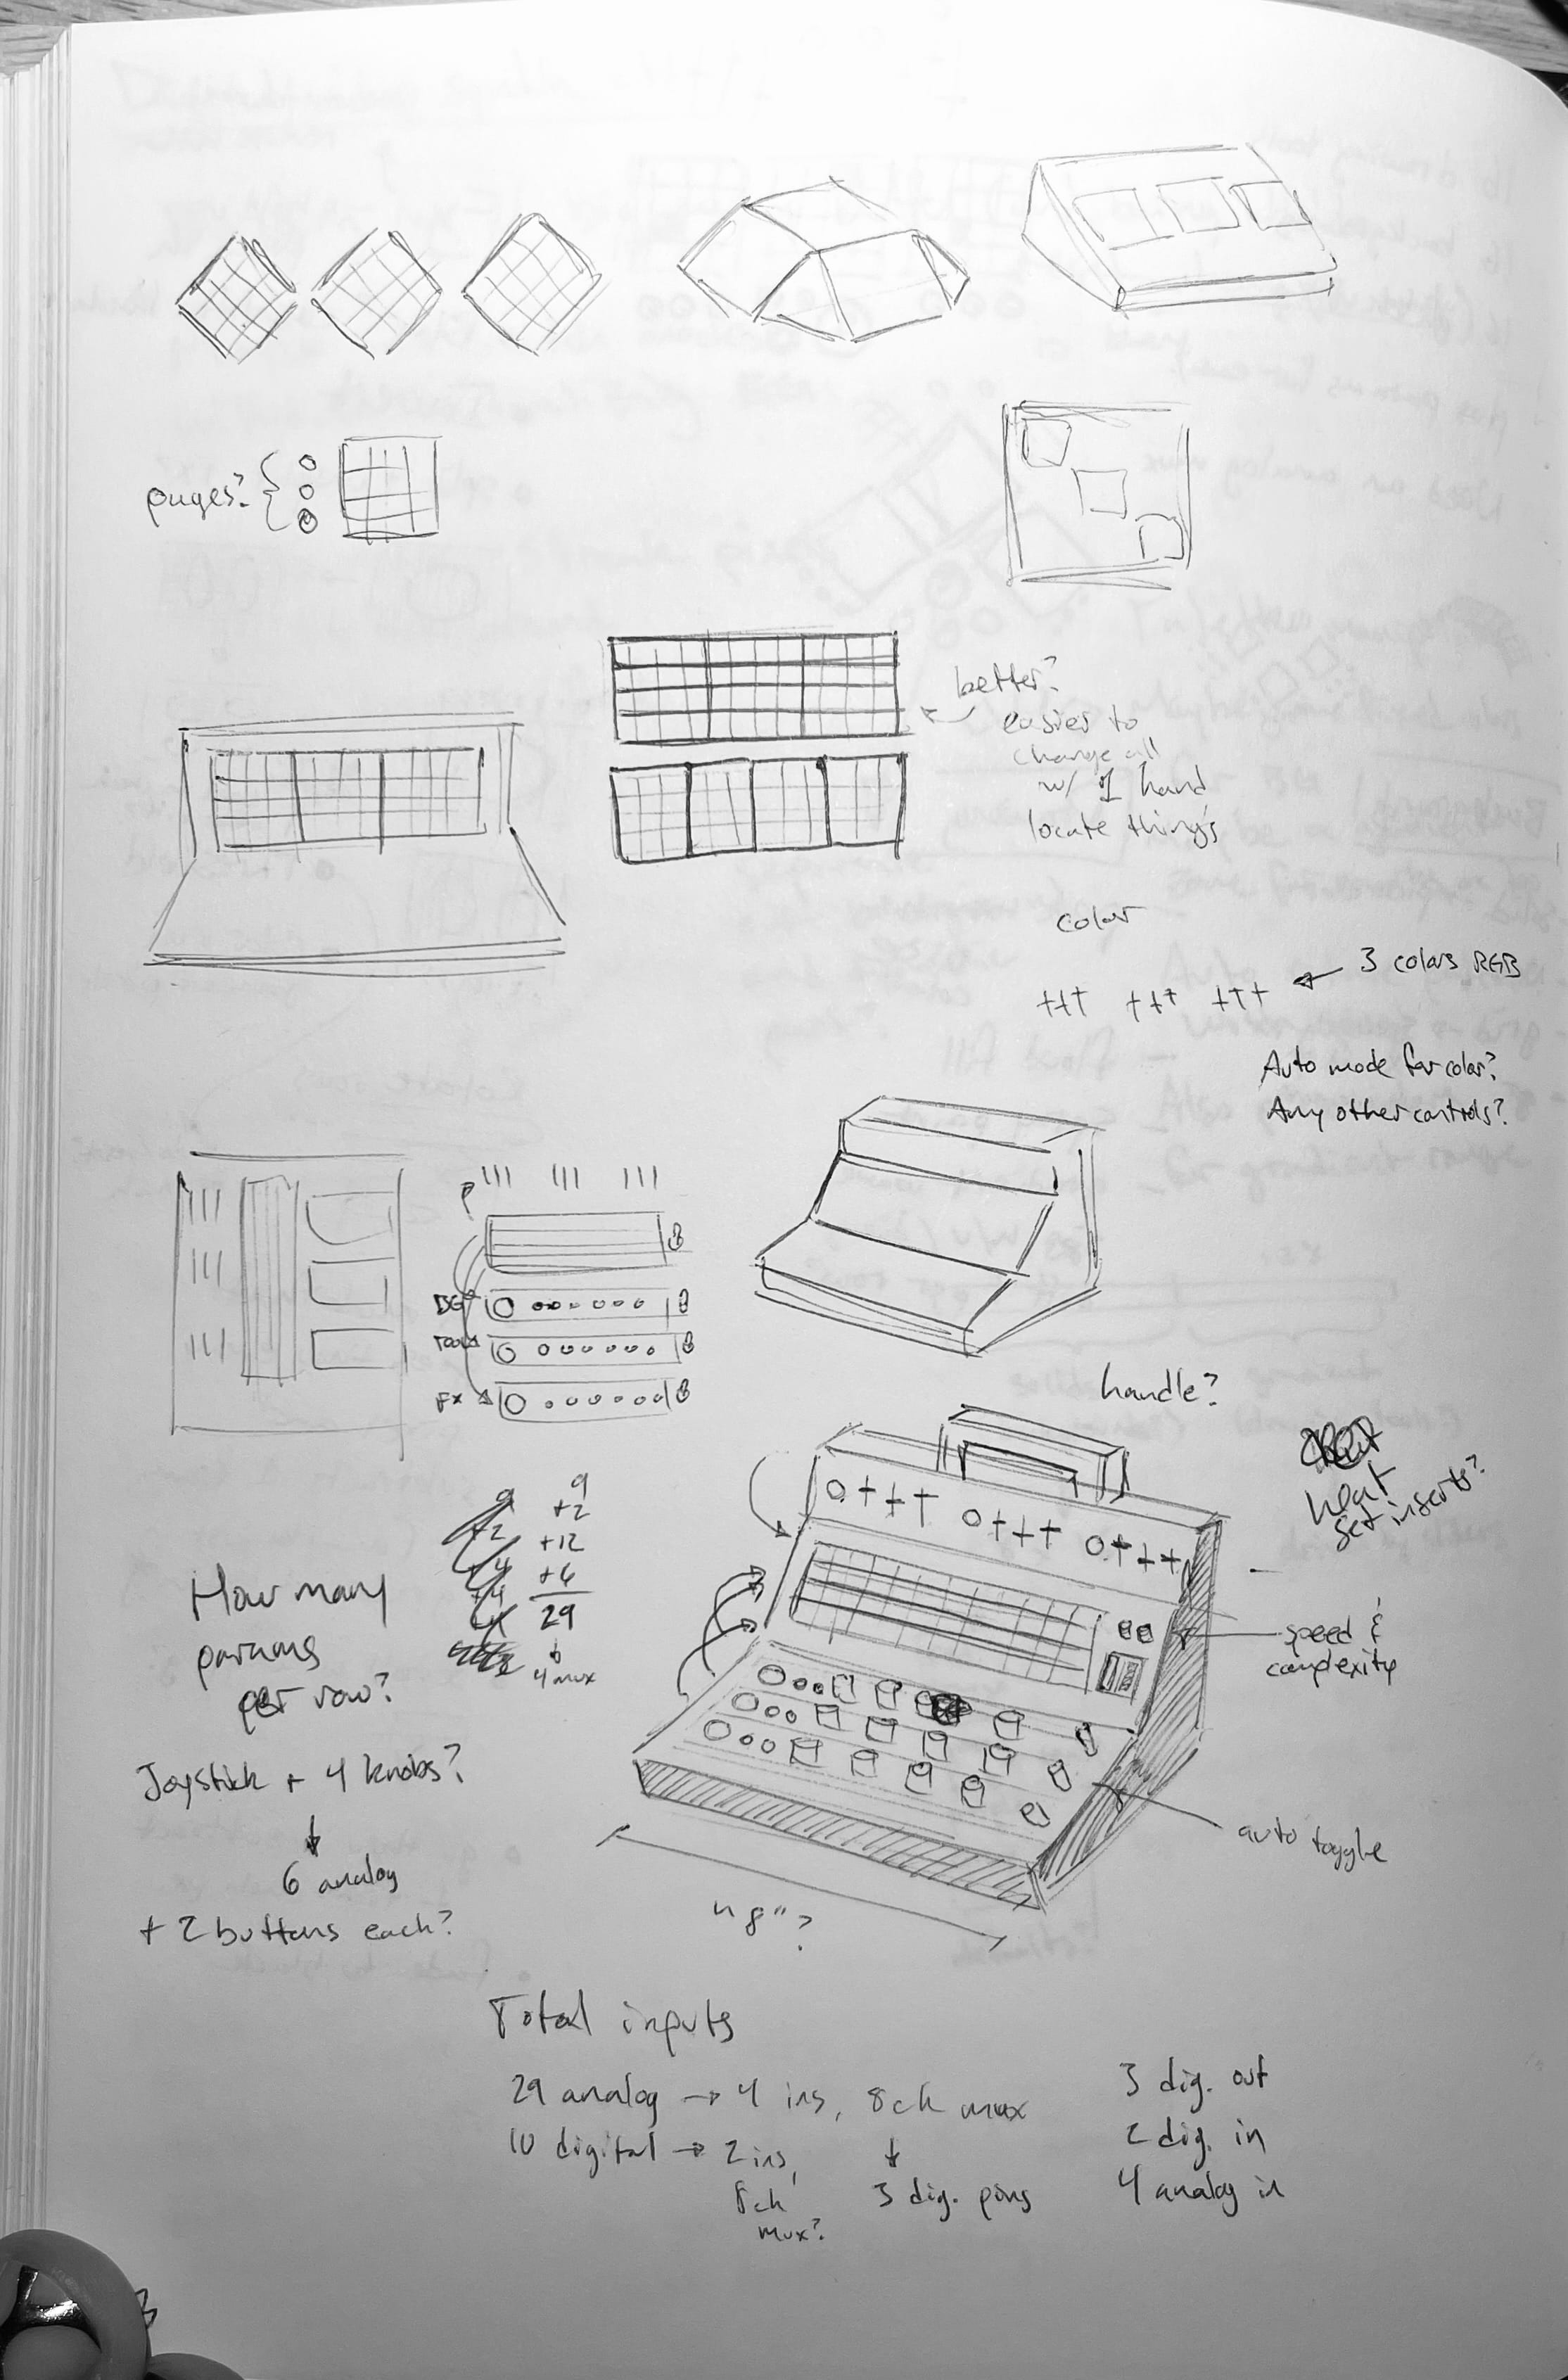
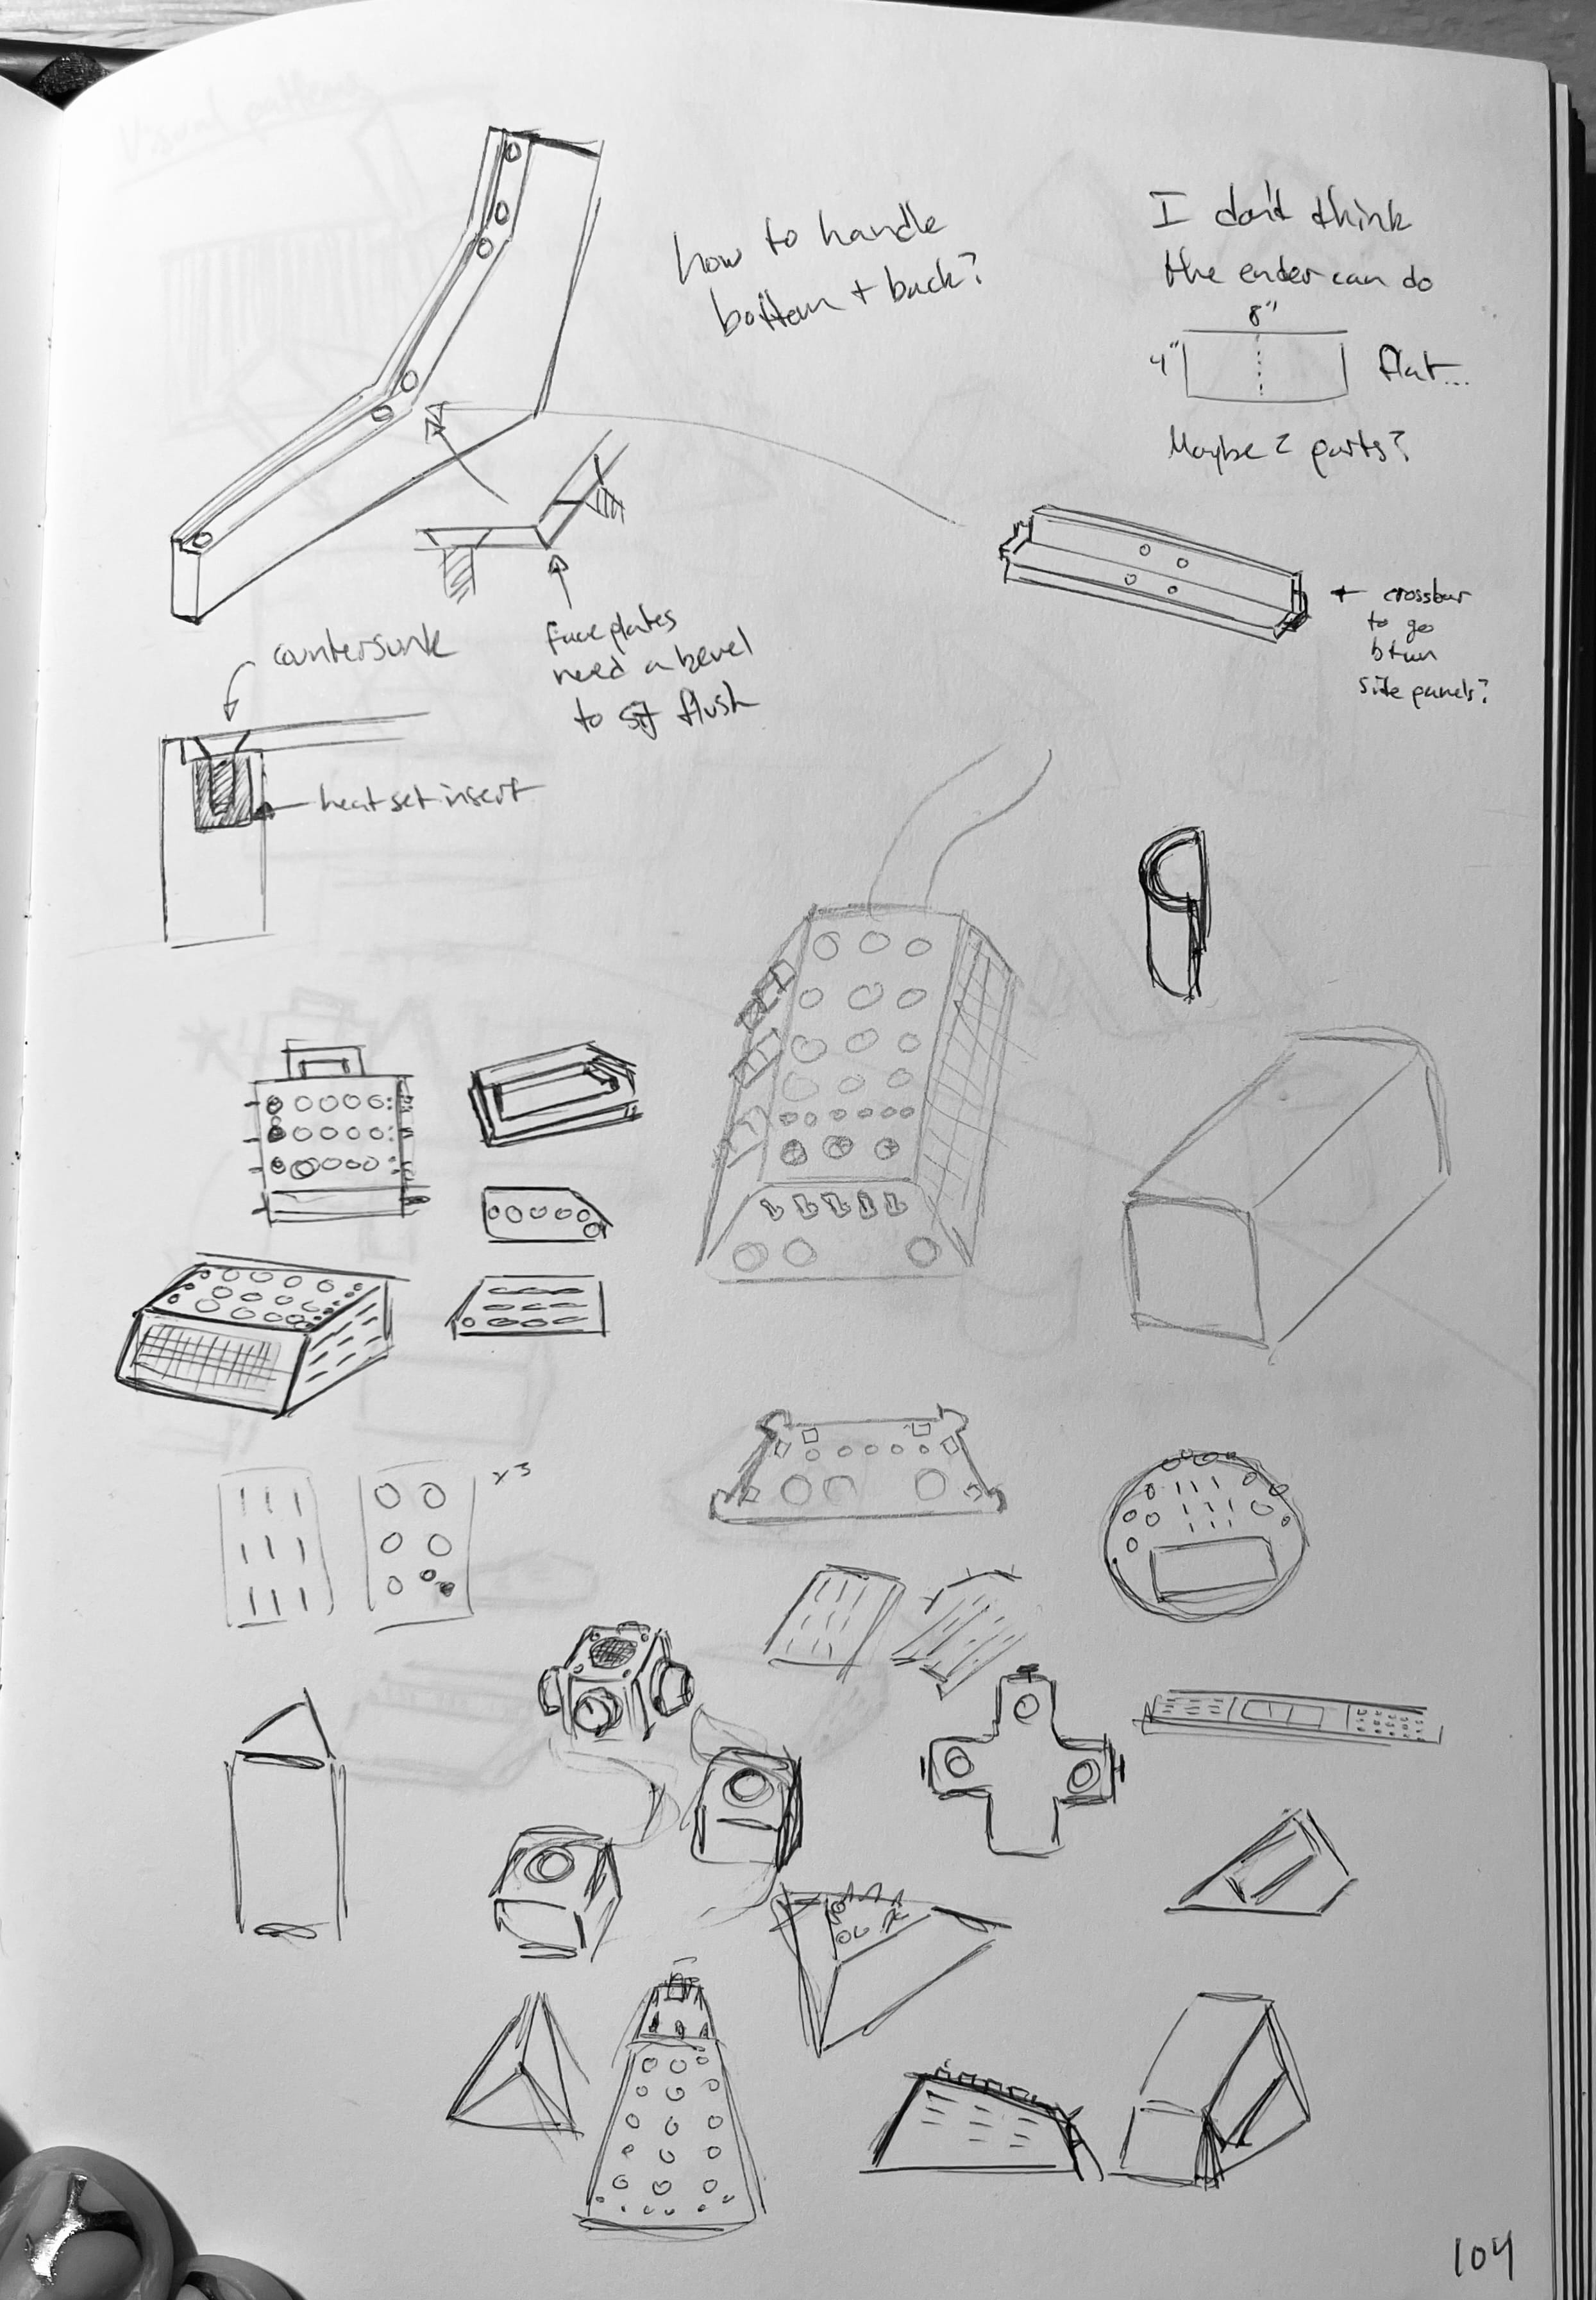
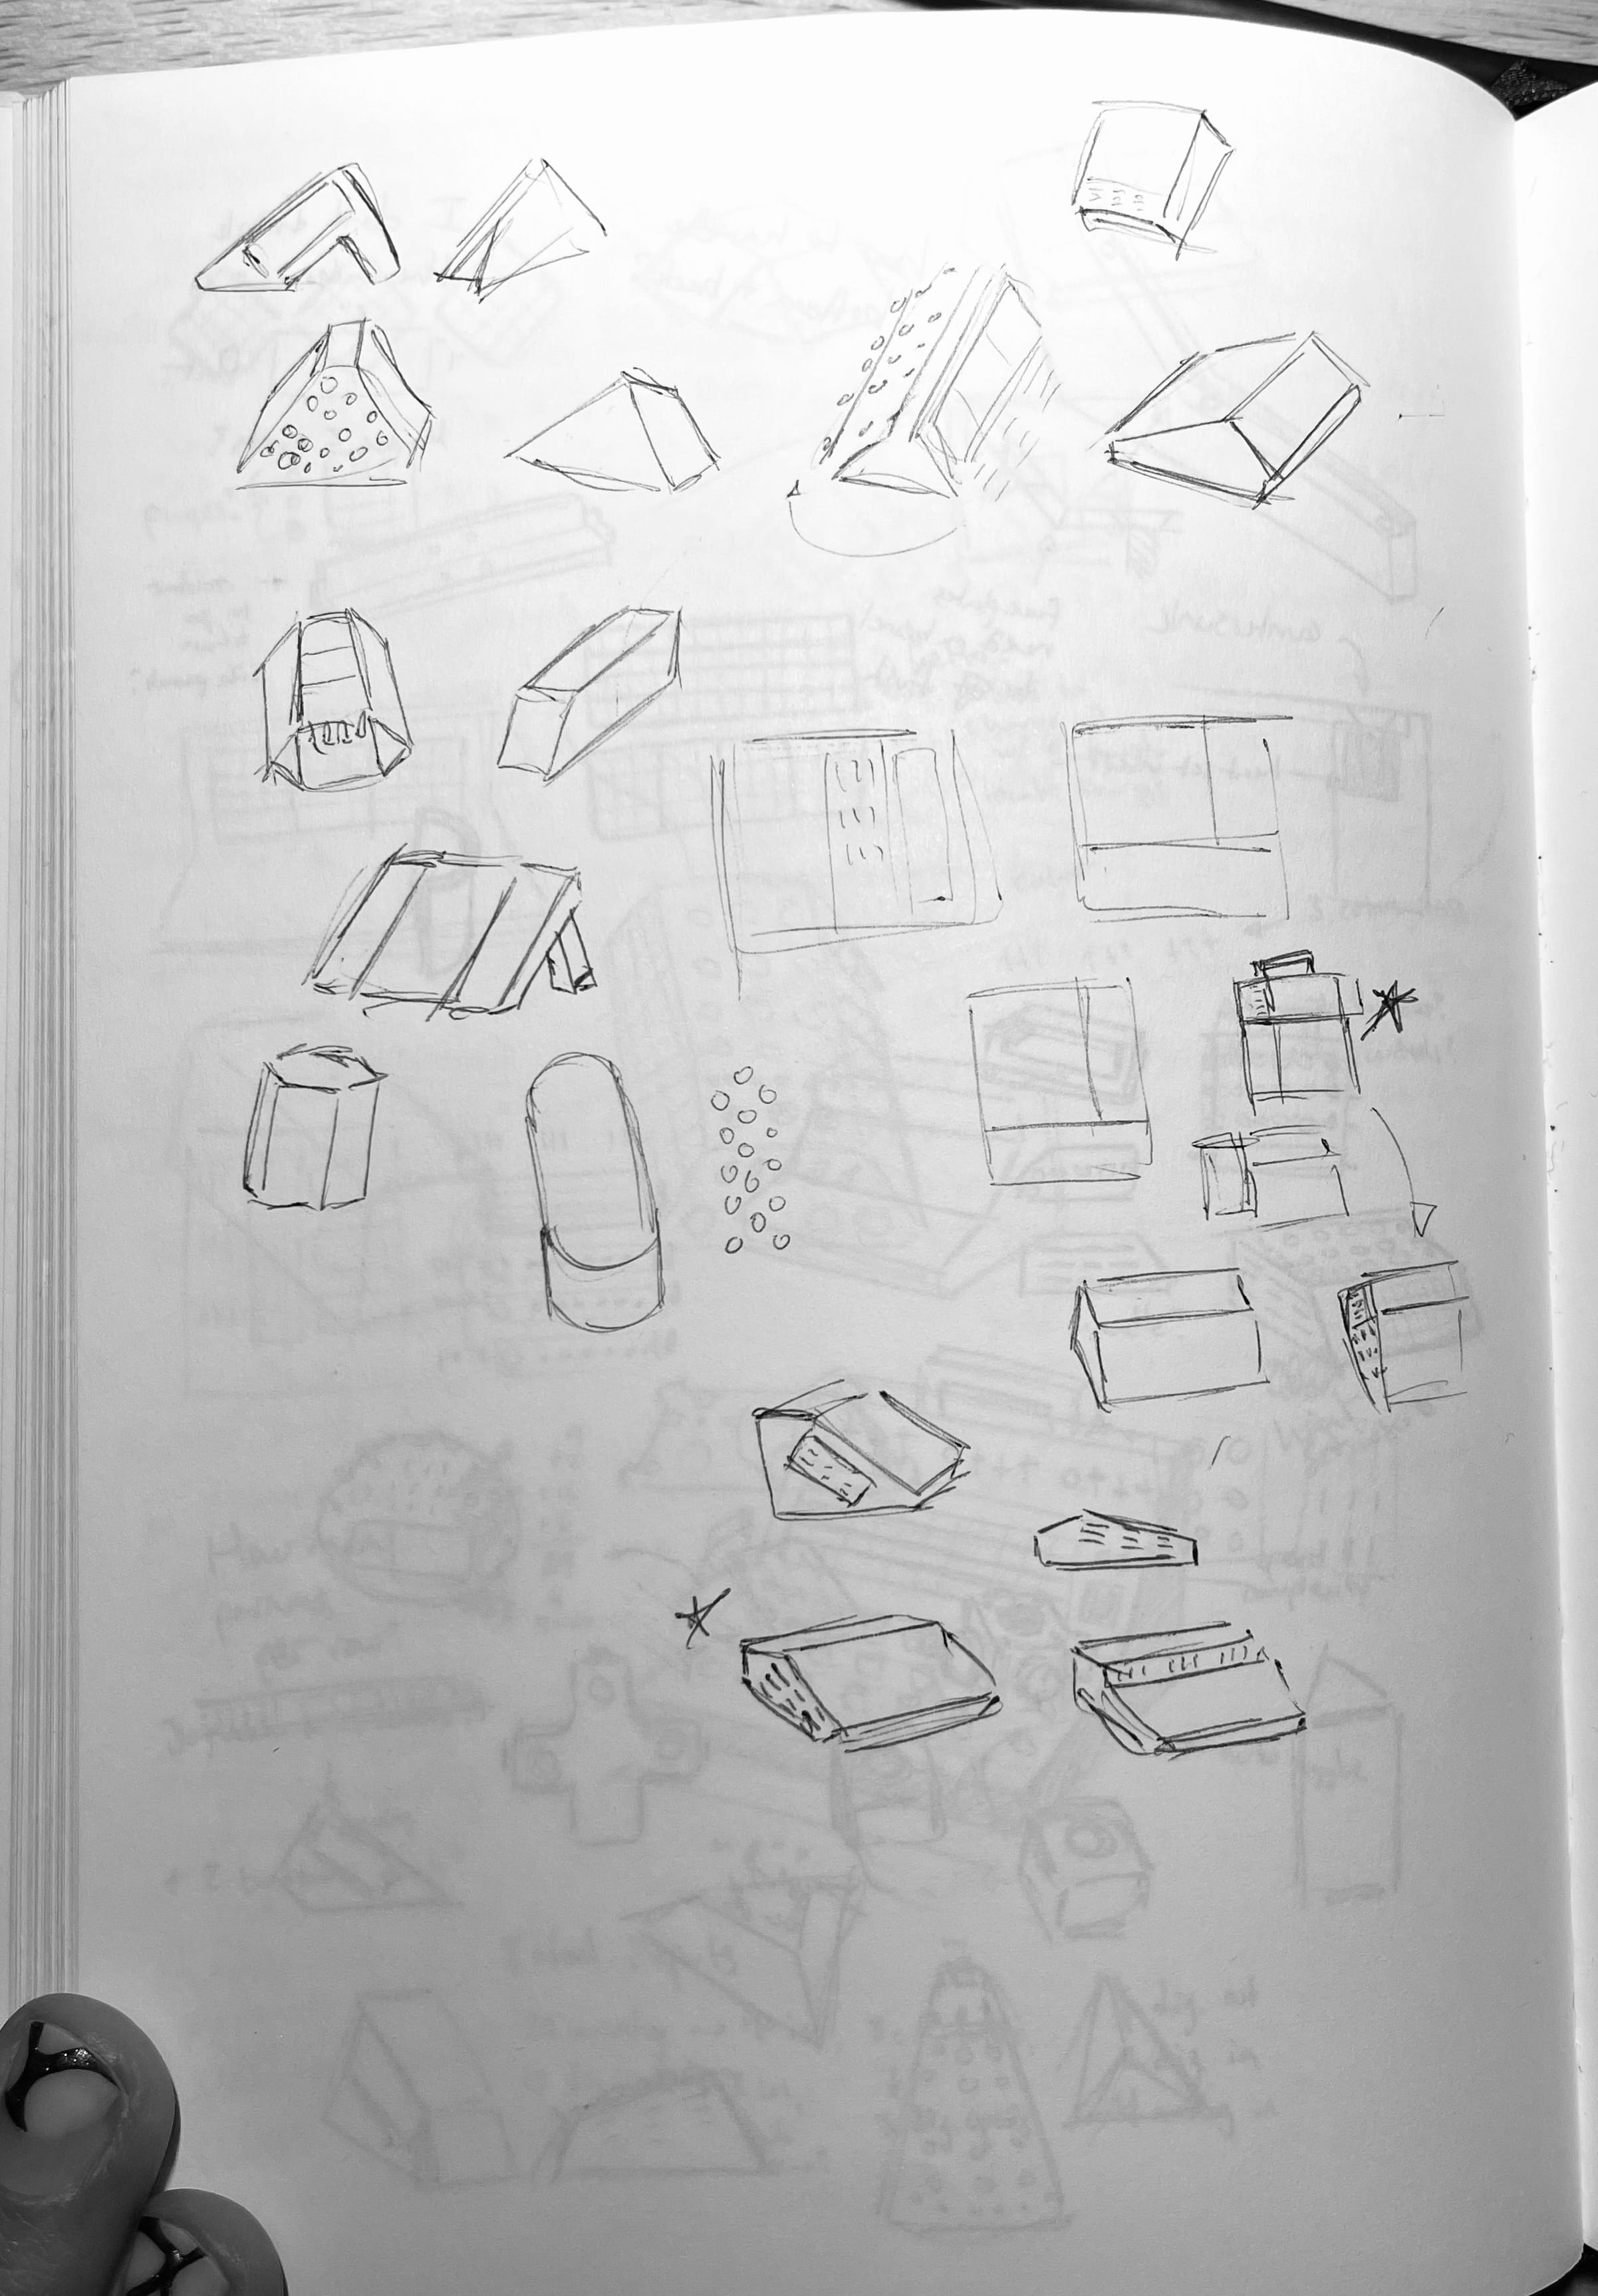
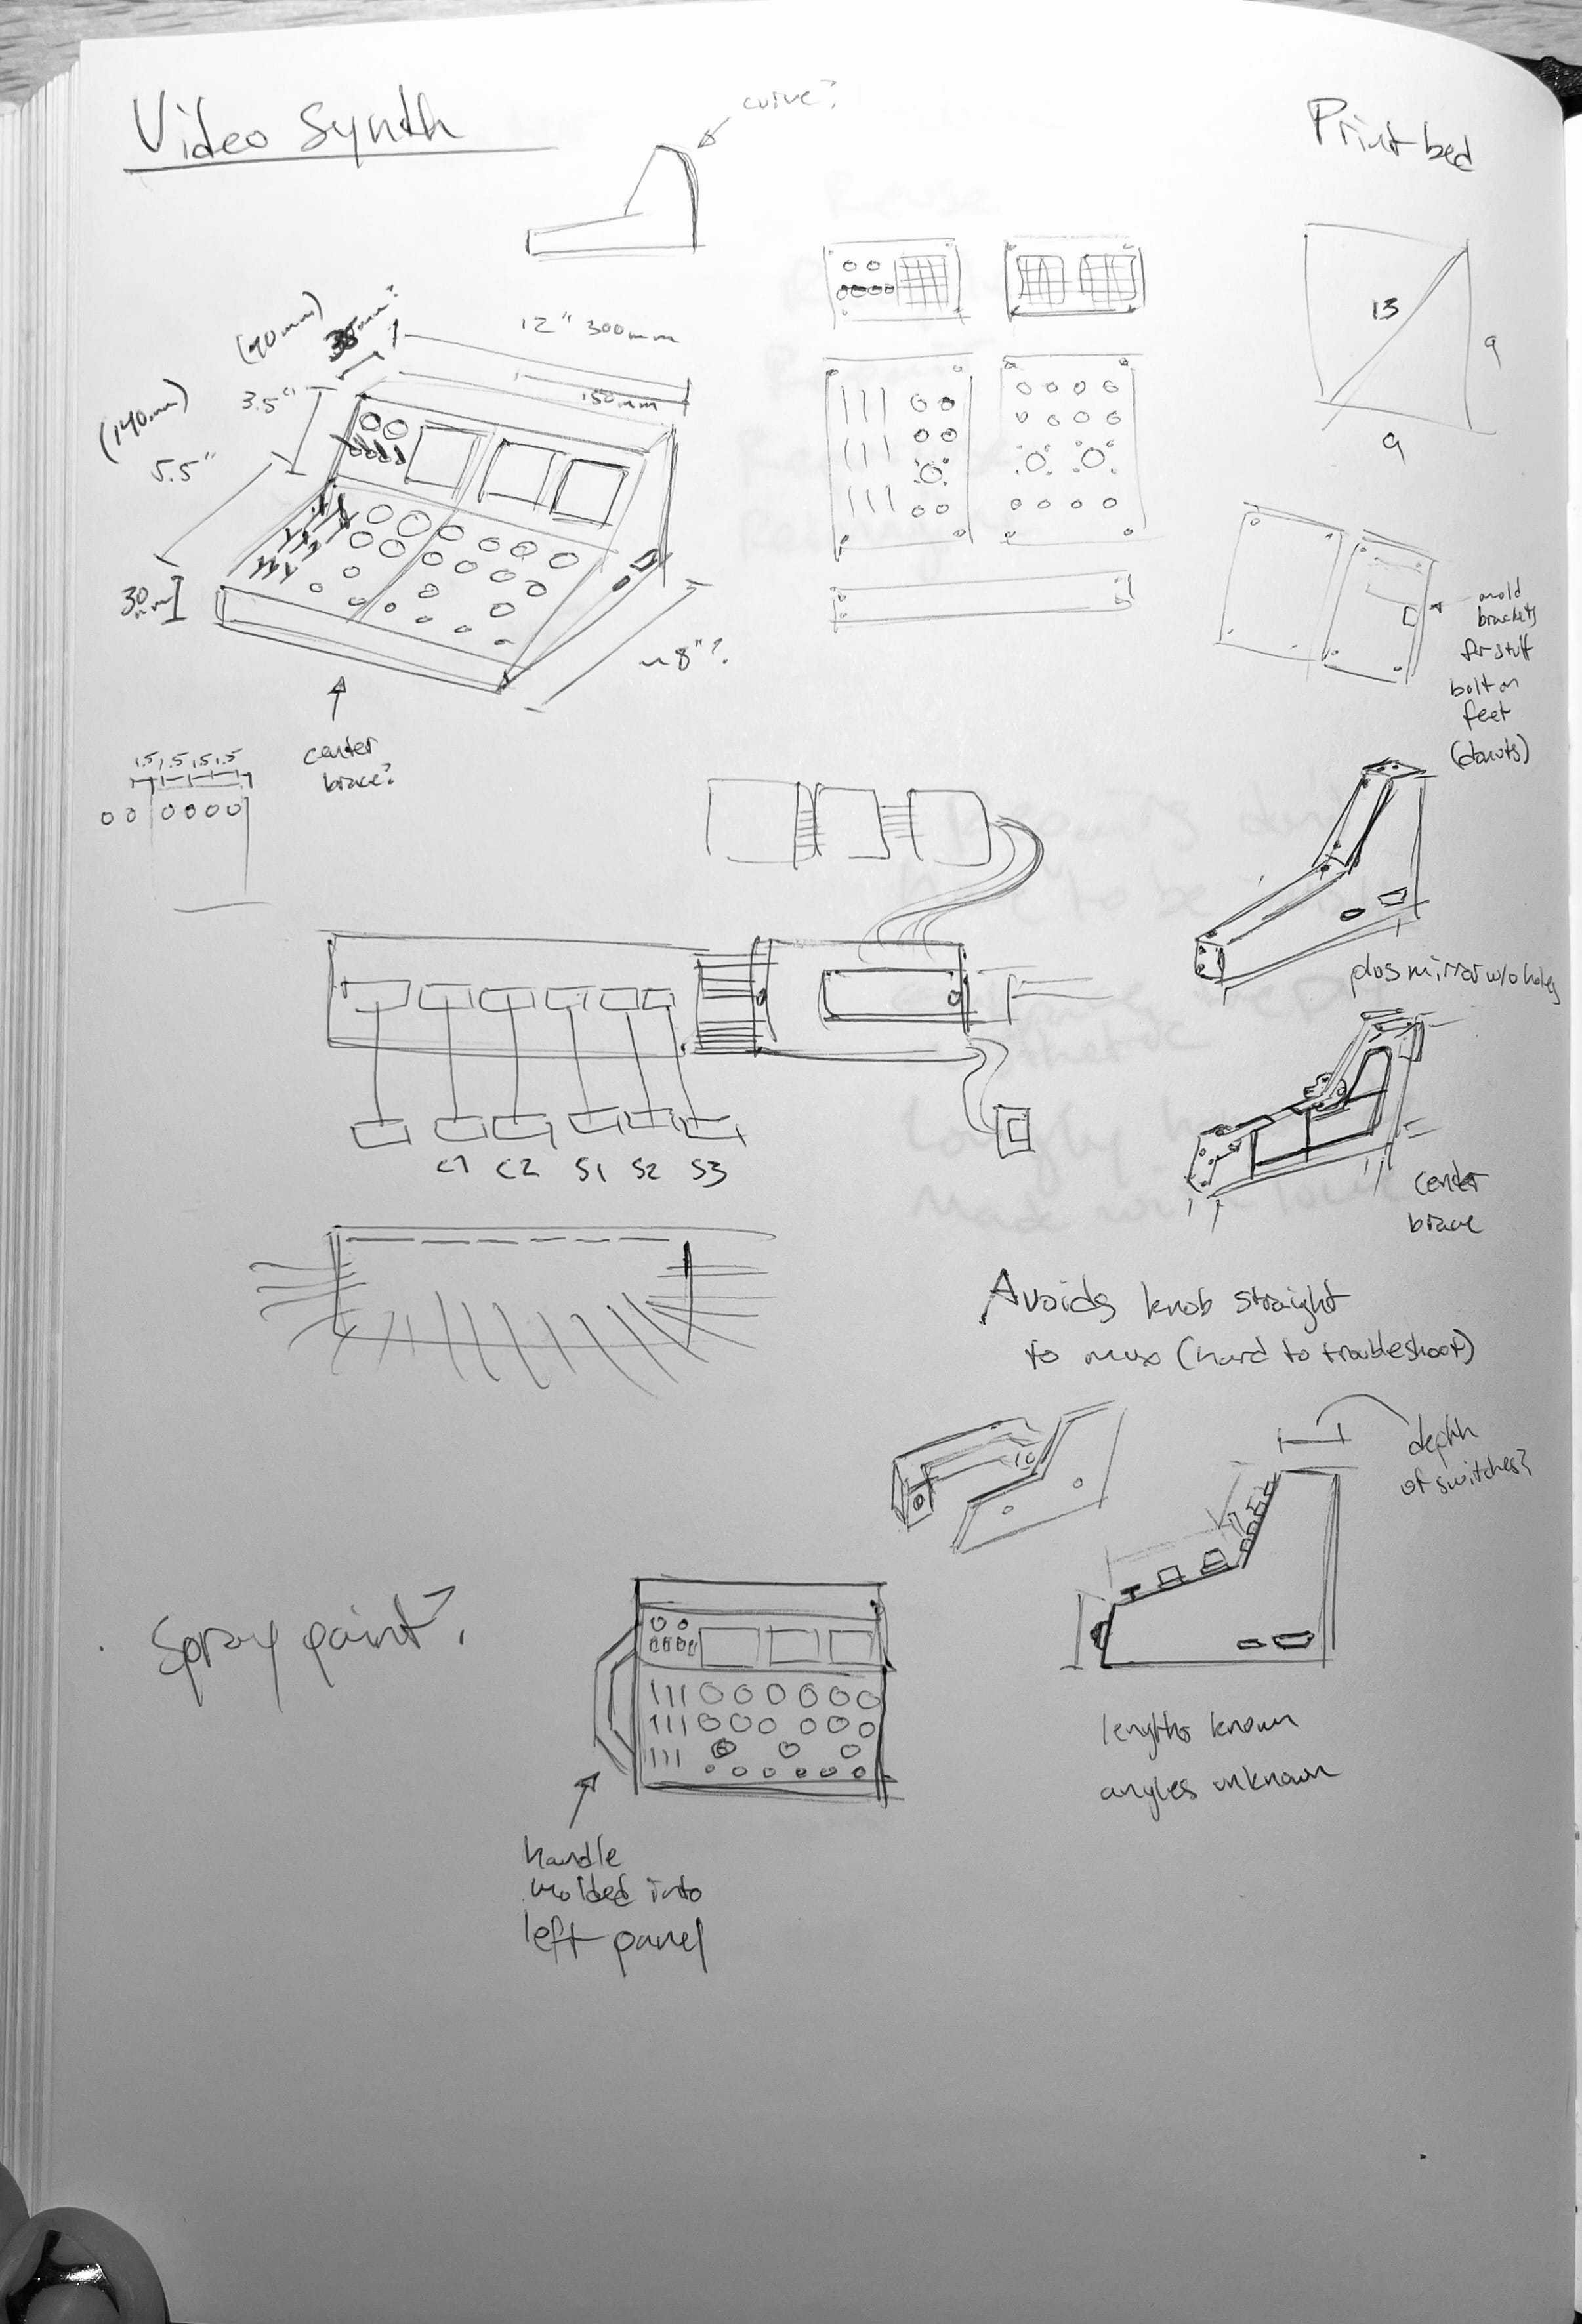
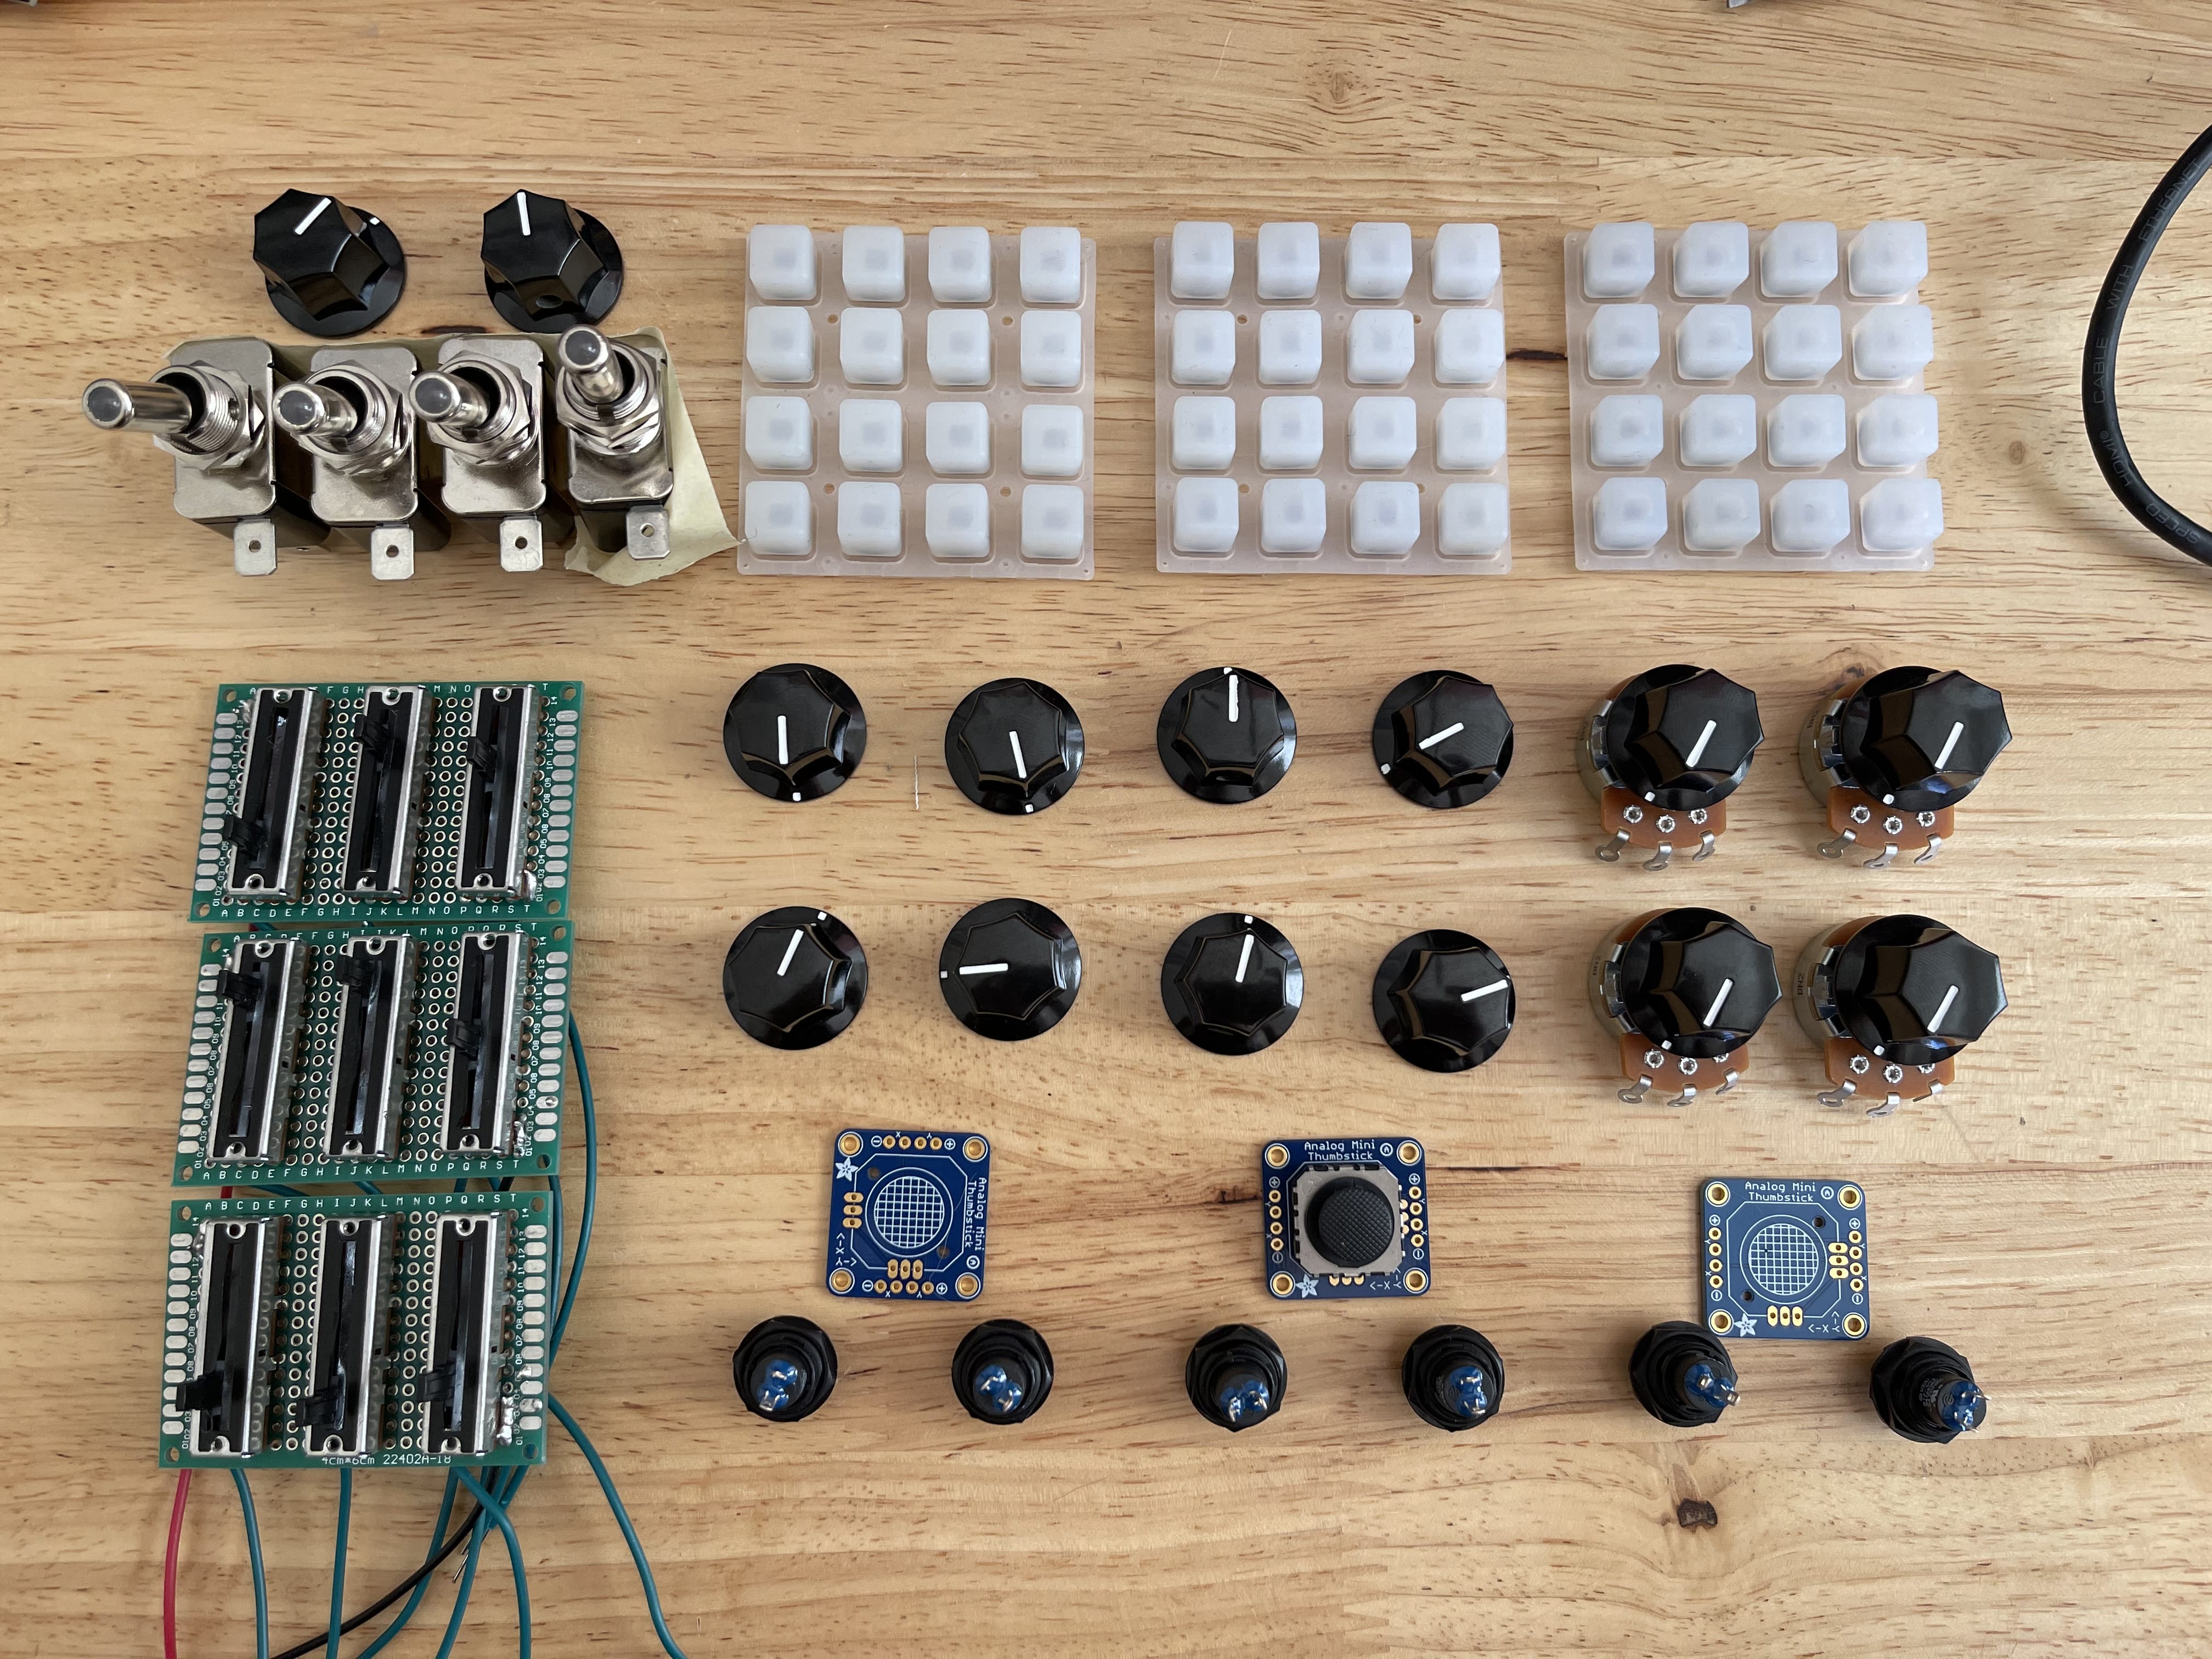
In that fourth sketch above you can see the basic design I settled on. I also like to just lay out all the primary interface components at 1:1 scale to see how they fit together. Usually I'm rearranging a lot at this stage.
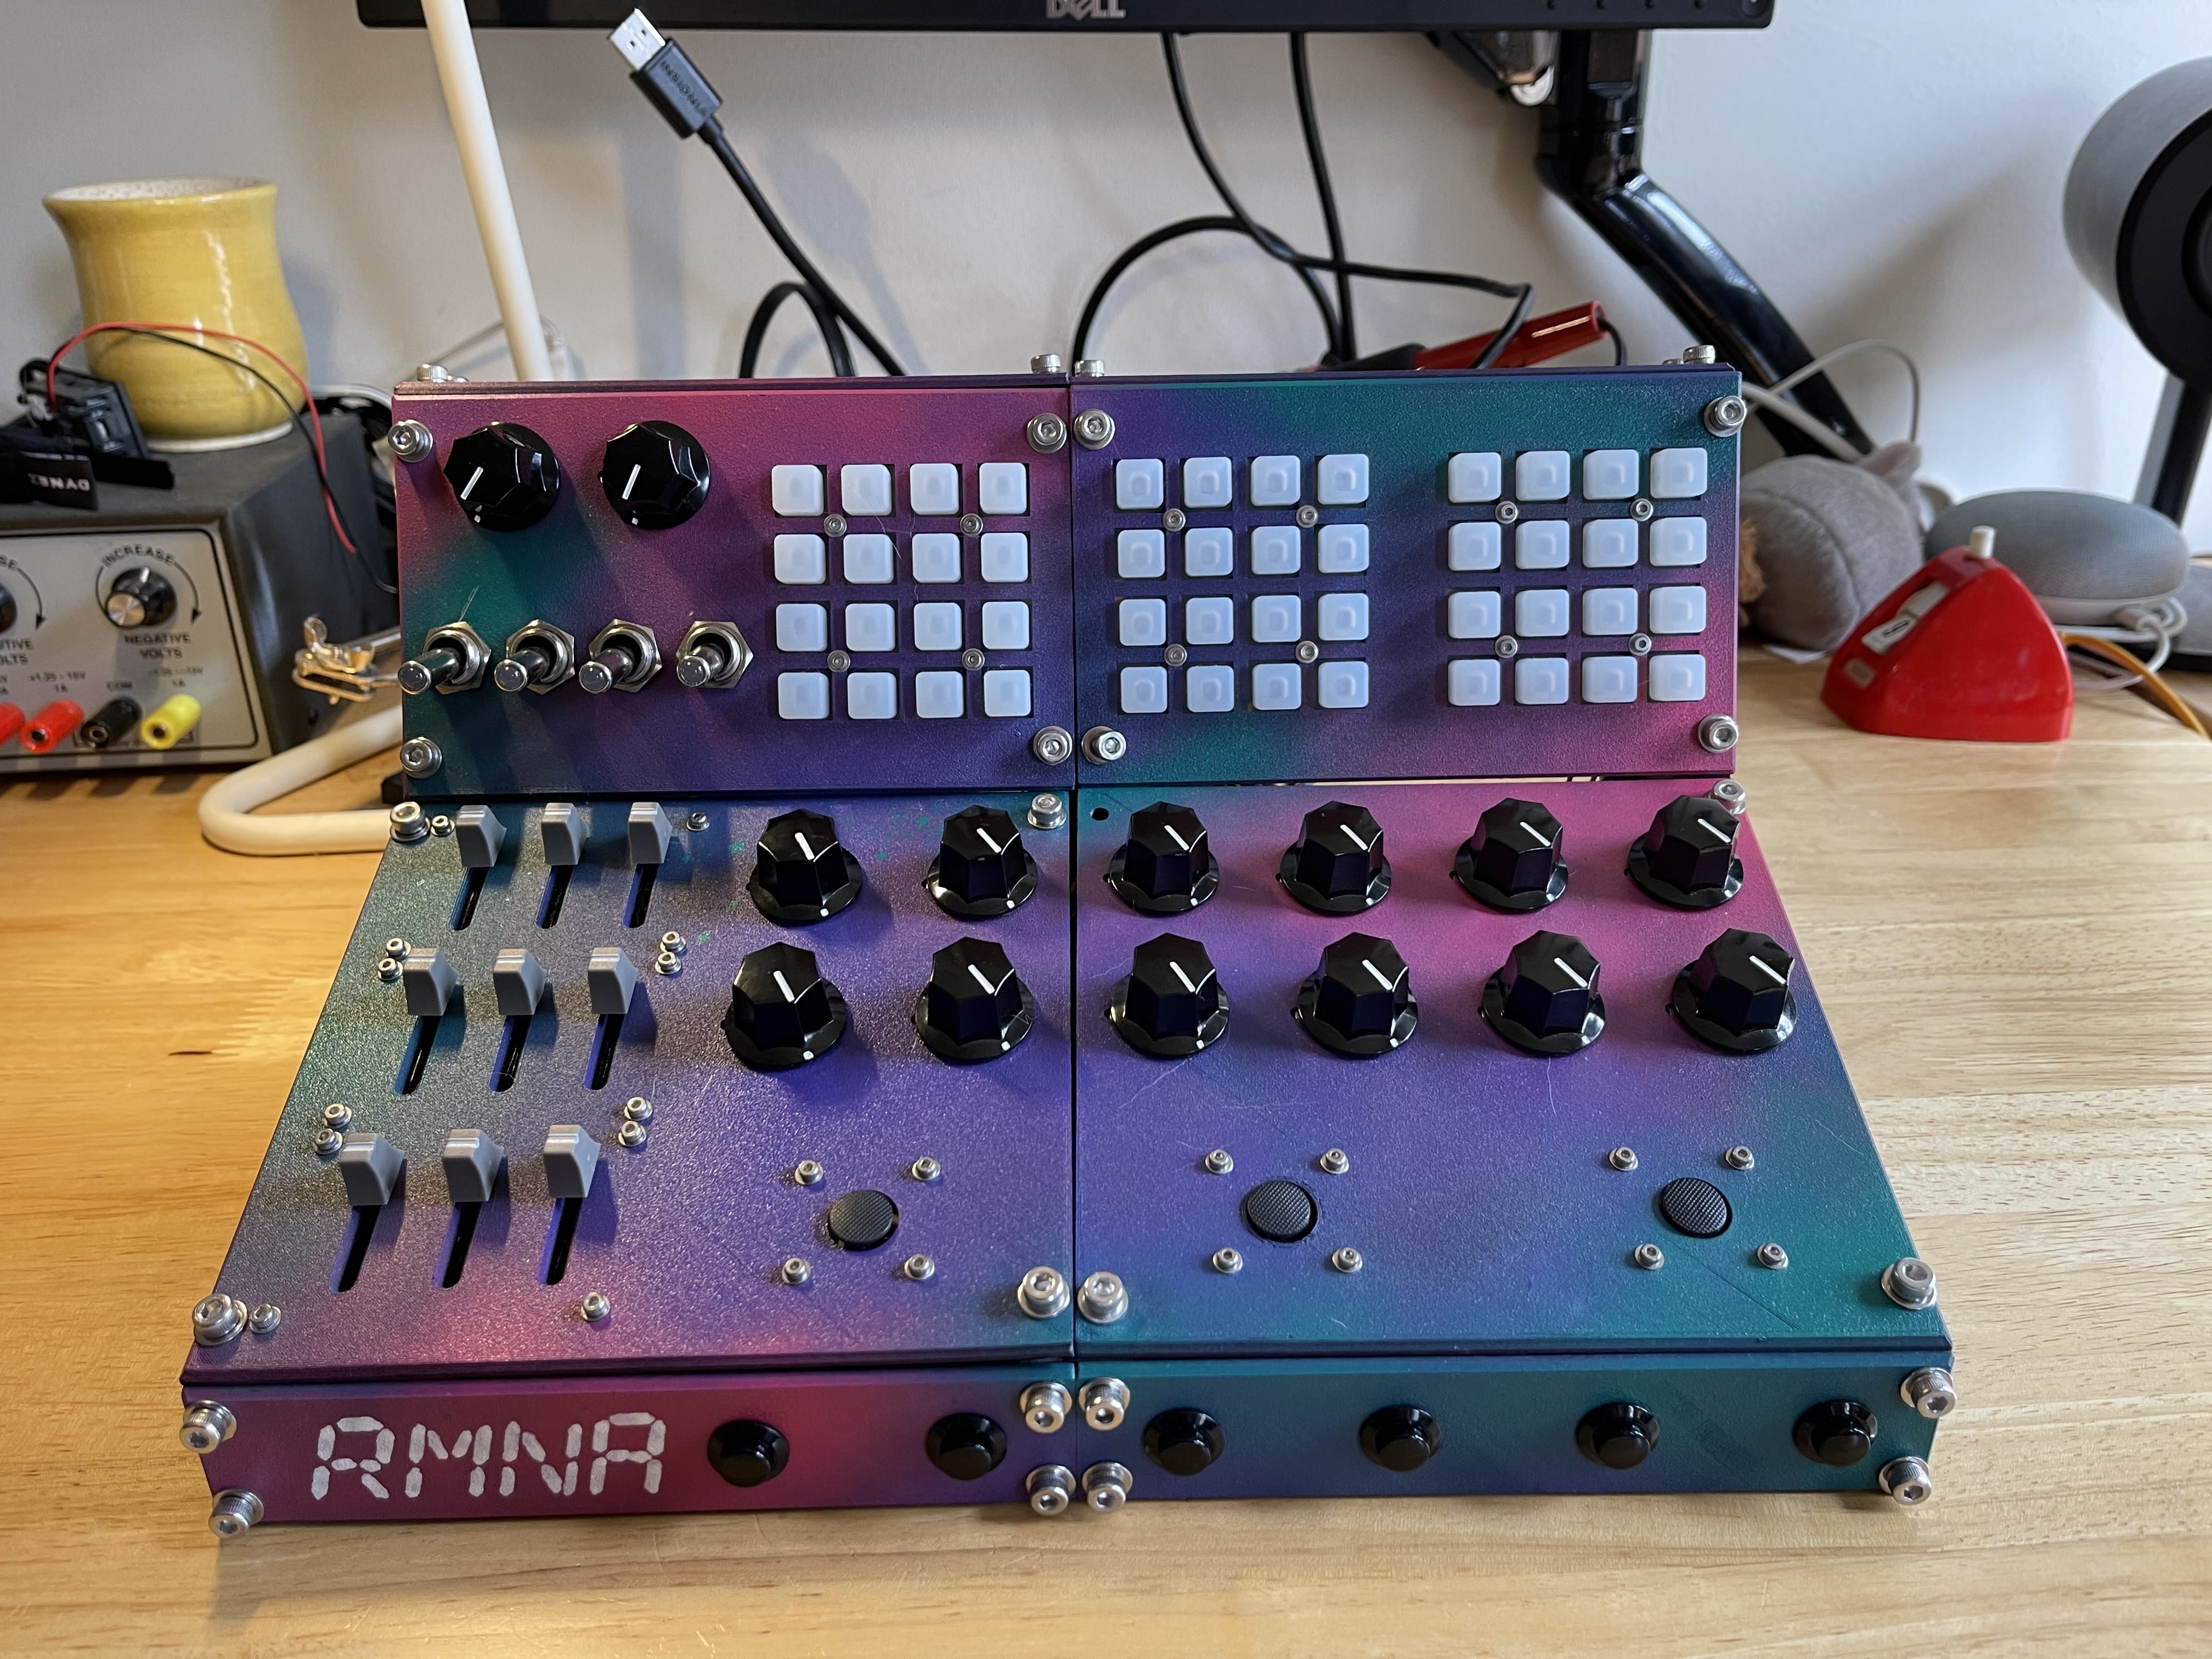
In this layout there are two main rows, each with a couple of sections
- In the top row...
- ...to the left there's a set of toggles and knobs to enable an "automatic-pattern-switching" mode and set the tempo, if you need to put it on autopilot
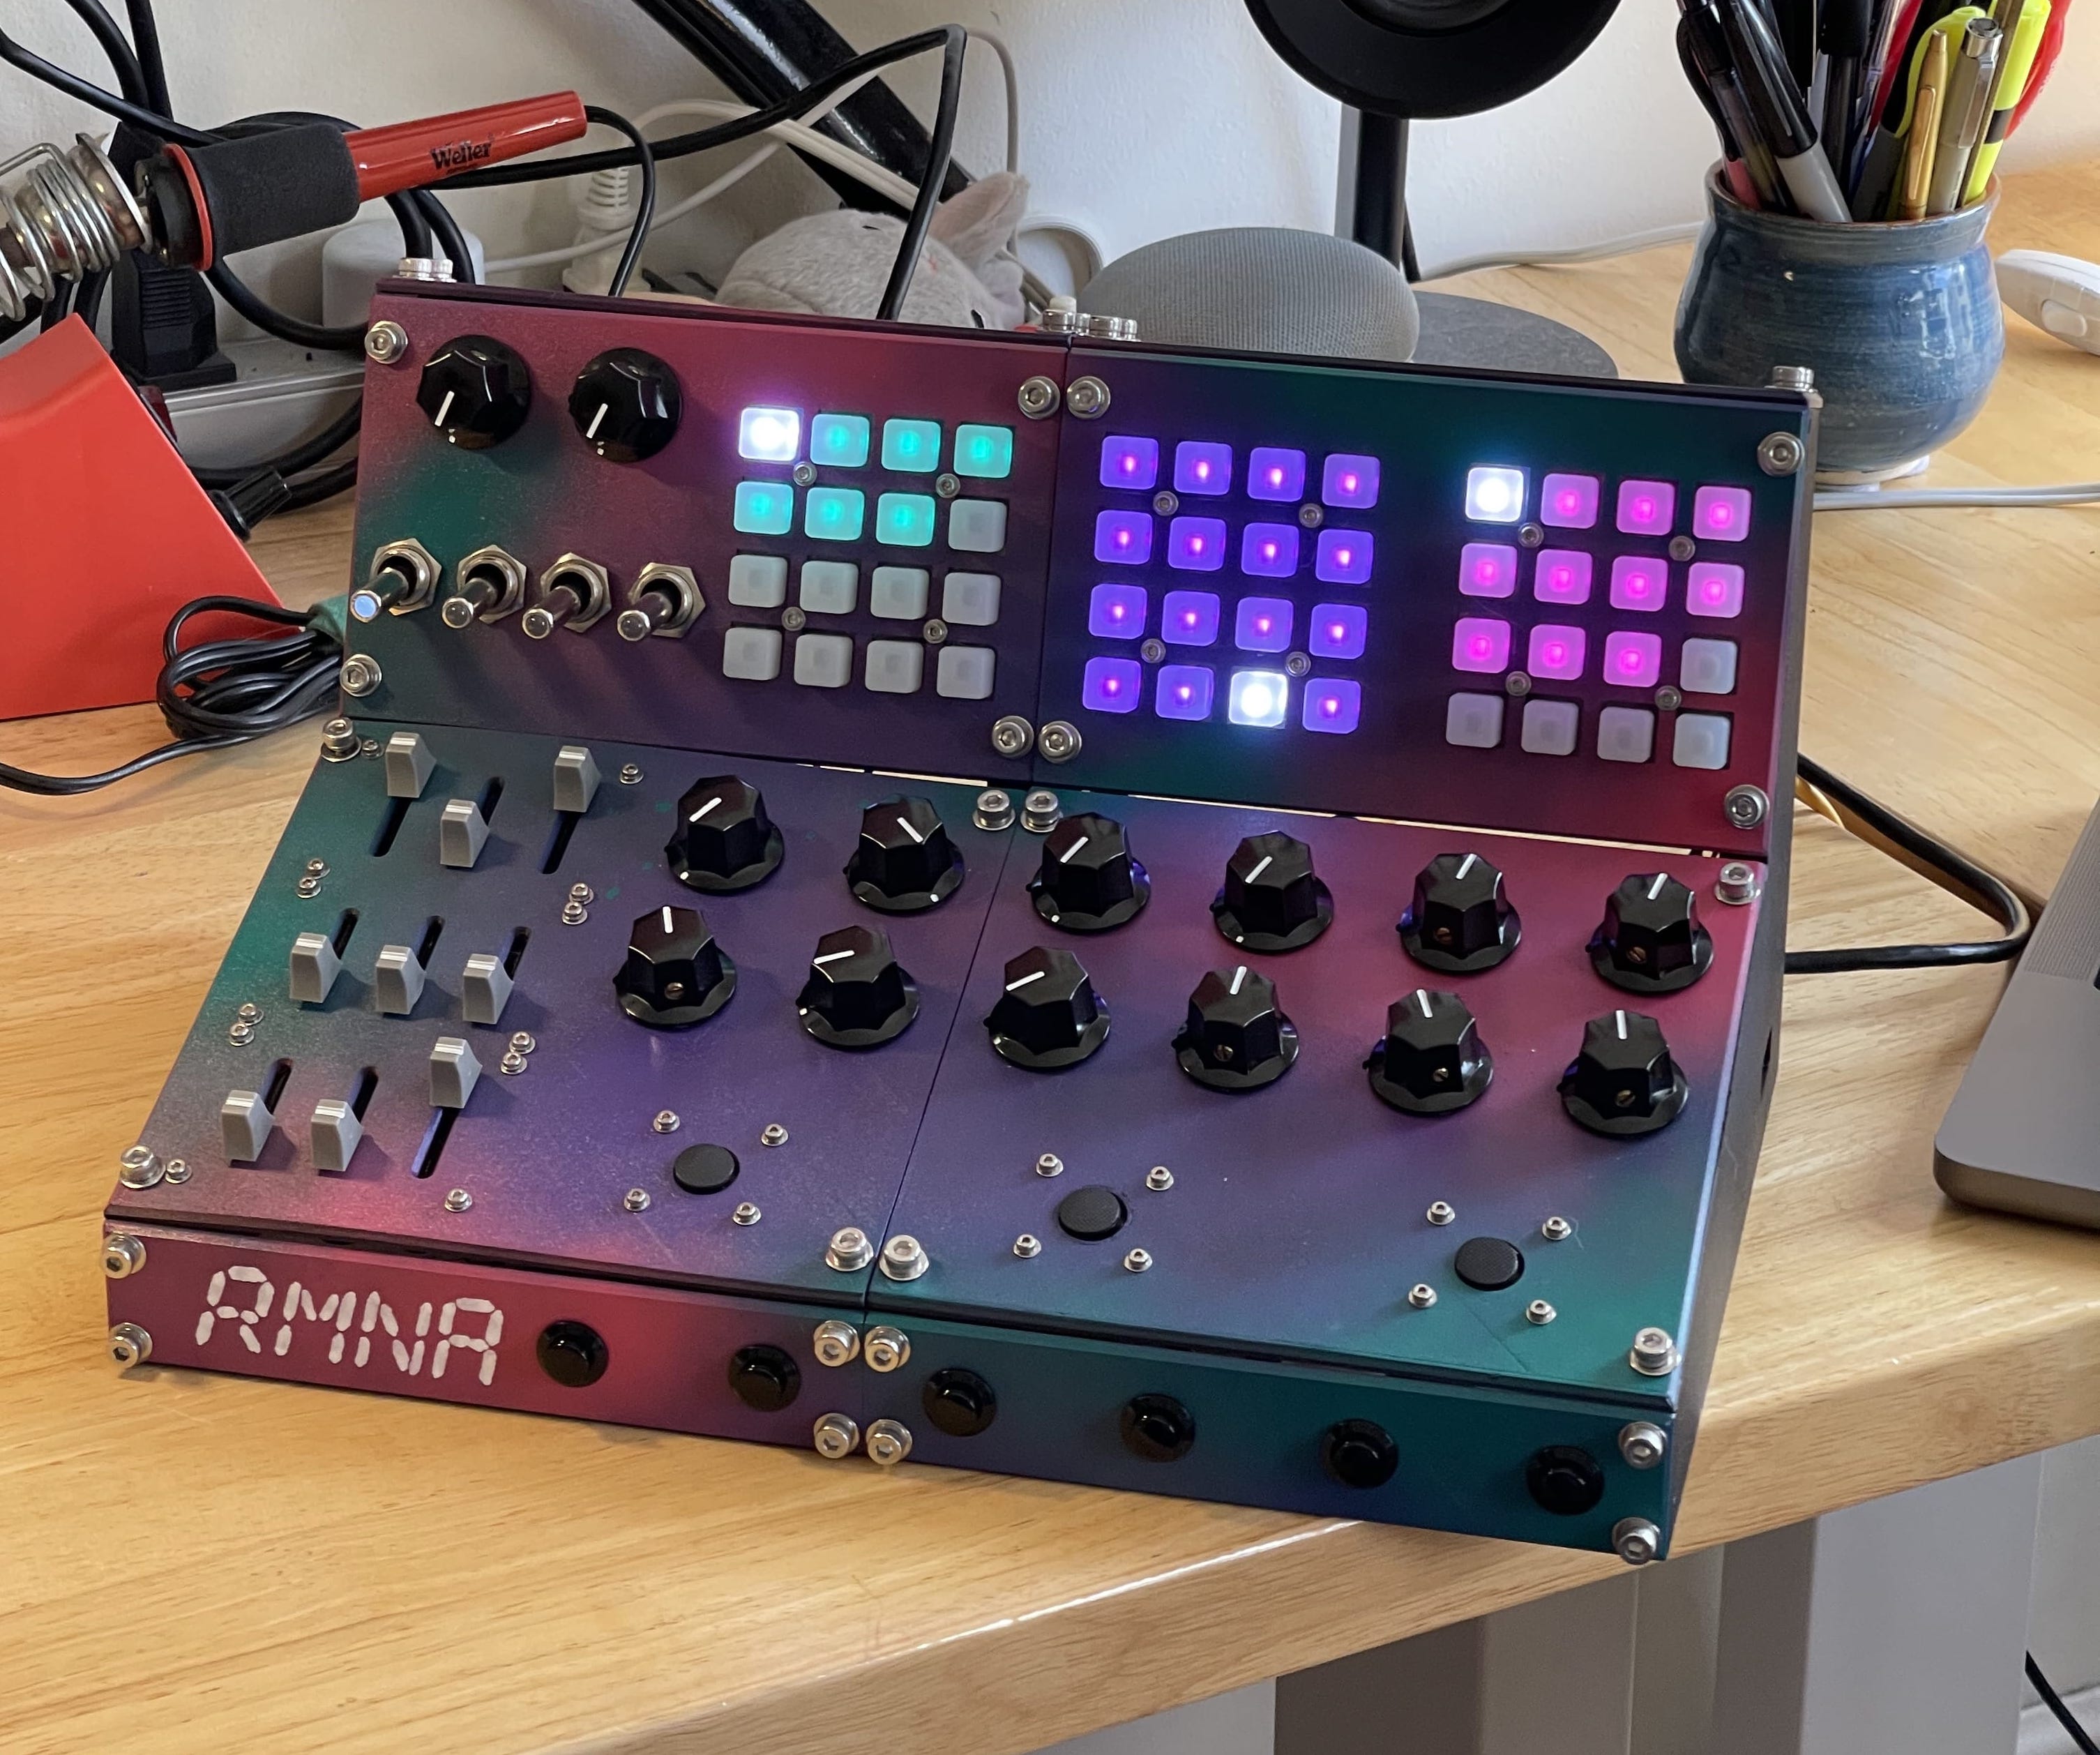
- ...to the right there are three 4x4 grids of backlight rubber buttons — these are used to select the mode of the background, foreground, and palette
- In the bottom row...
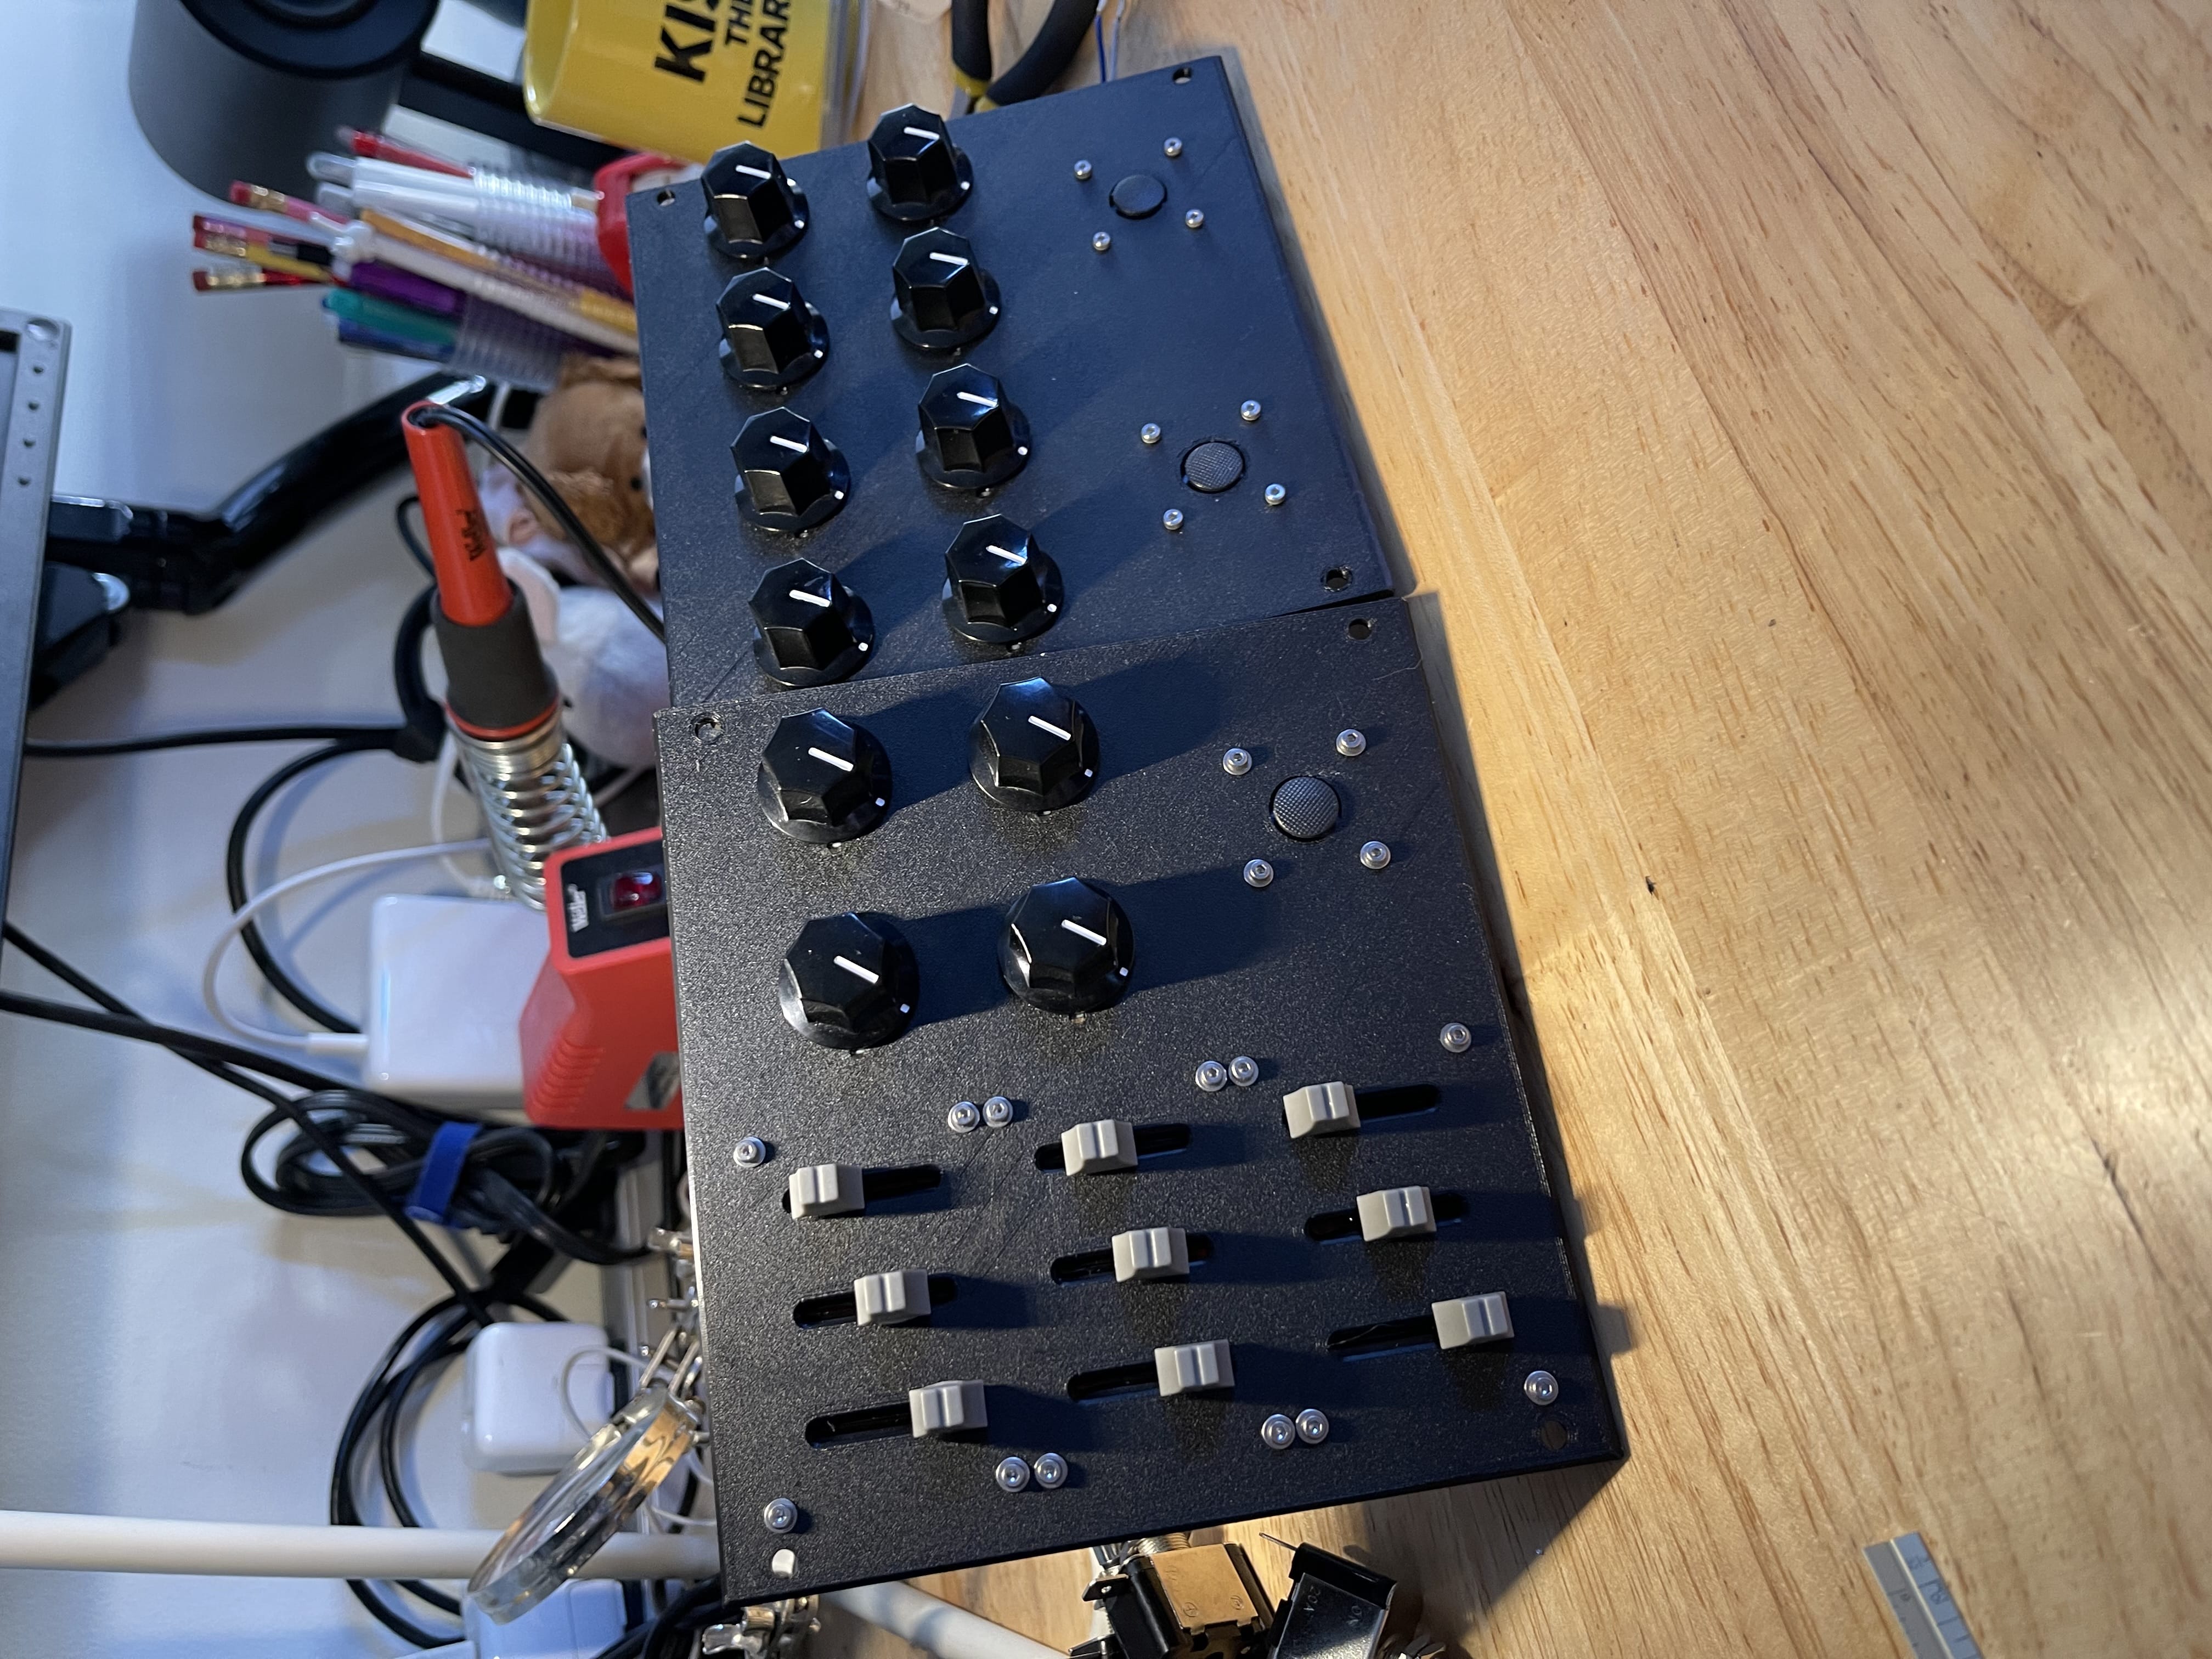
- ...to the left there's a grid of nine slide potentiometers — these let you specify three RGB colors which define a gradient that's used to fill the palette in most palette modes
- ...then there are three identical groupings of: four rotary potentiometers, an X/Y joystick, and two buttons — one group each for the background, foreground, and palette
At this point you might be wondering... isn't that a lot of analog inputs to read with a microcontroller? You'd be right! The Feather RP2040 only has four analog inputs, so to be able to read all these knobs (and switches), I set up a separate circuit board with six 8-channel multiplexers. Four multiplexers go to analog pins (supporting up to 32 analog controls), and two go to digital pins (supporting up to 16 buttons/switches), so I can read them serially. Those 4x4 grids communicate over I2C so that's taken care of by the kind folks at Adafruit!
Feeling confident about the layout, I started measuring and modeling!
Hardware
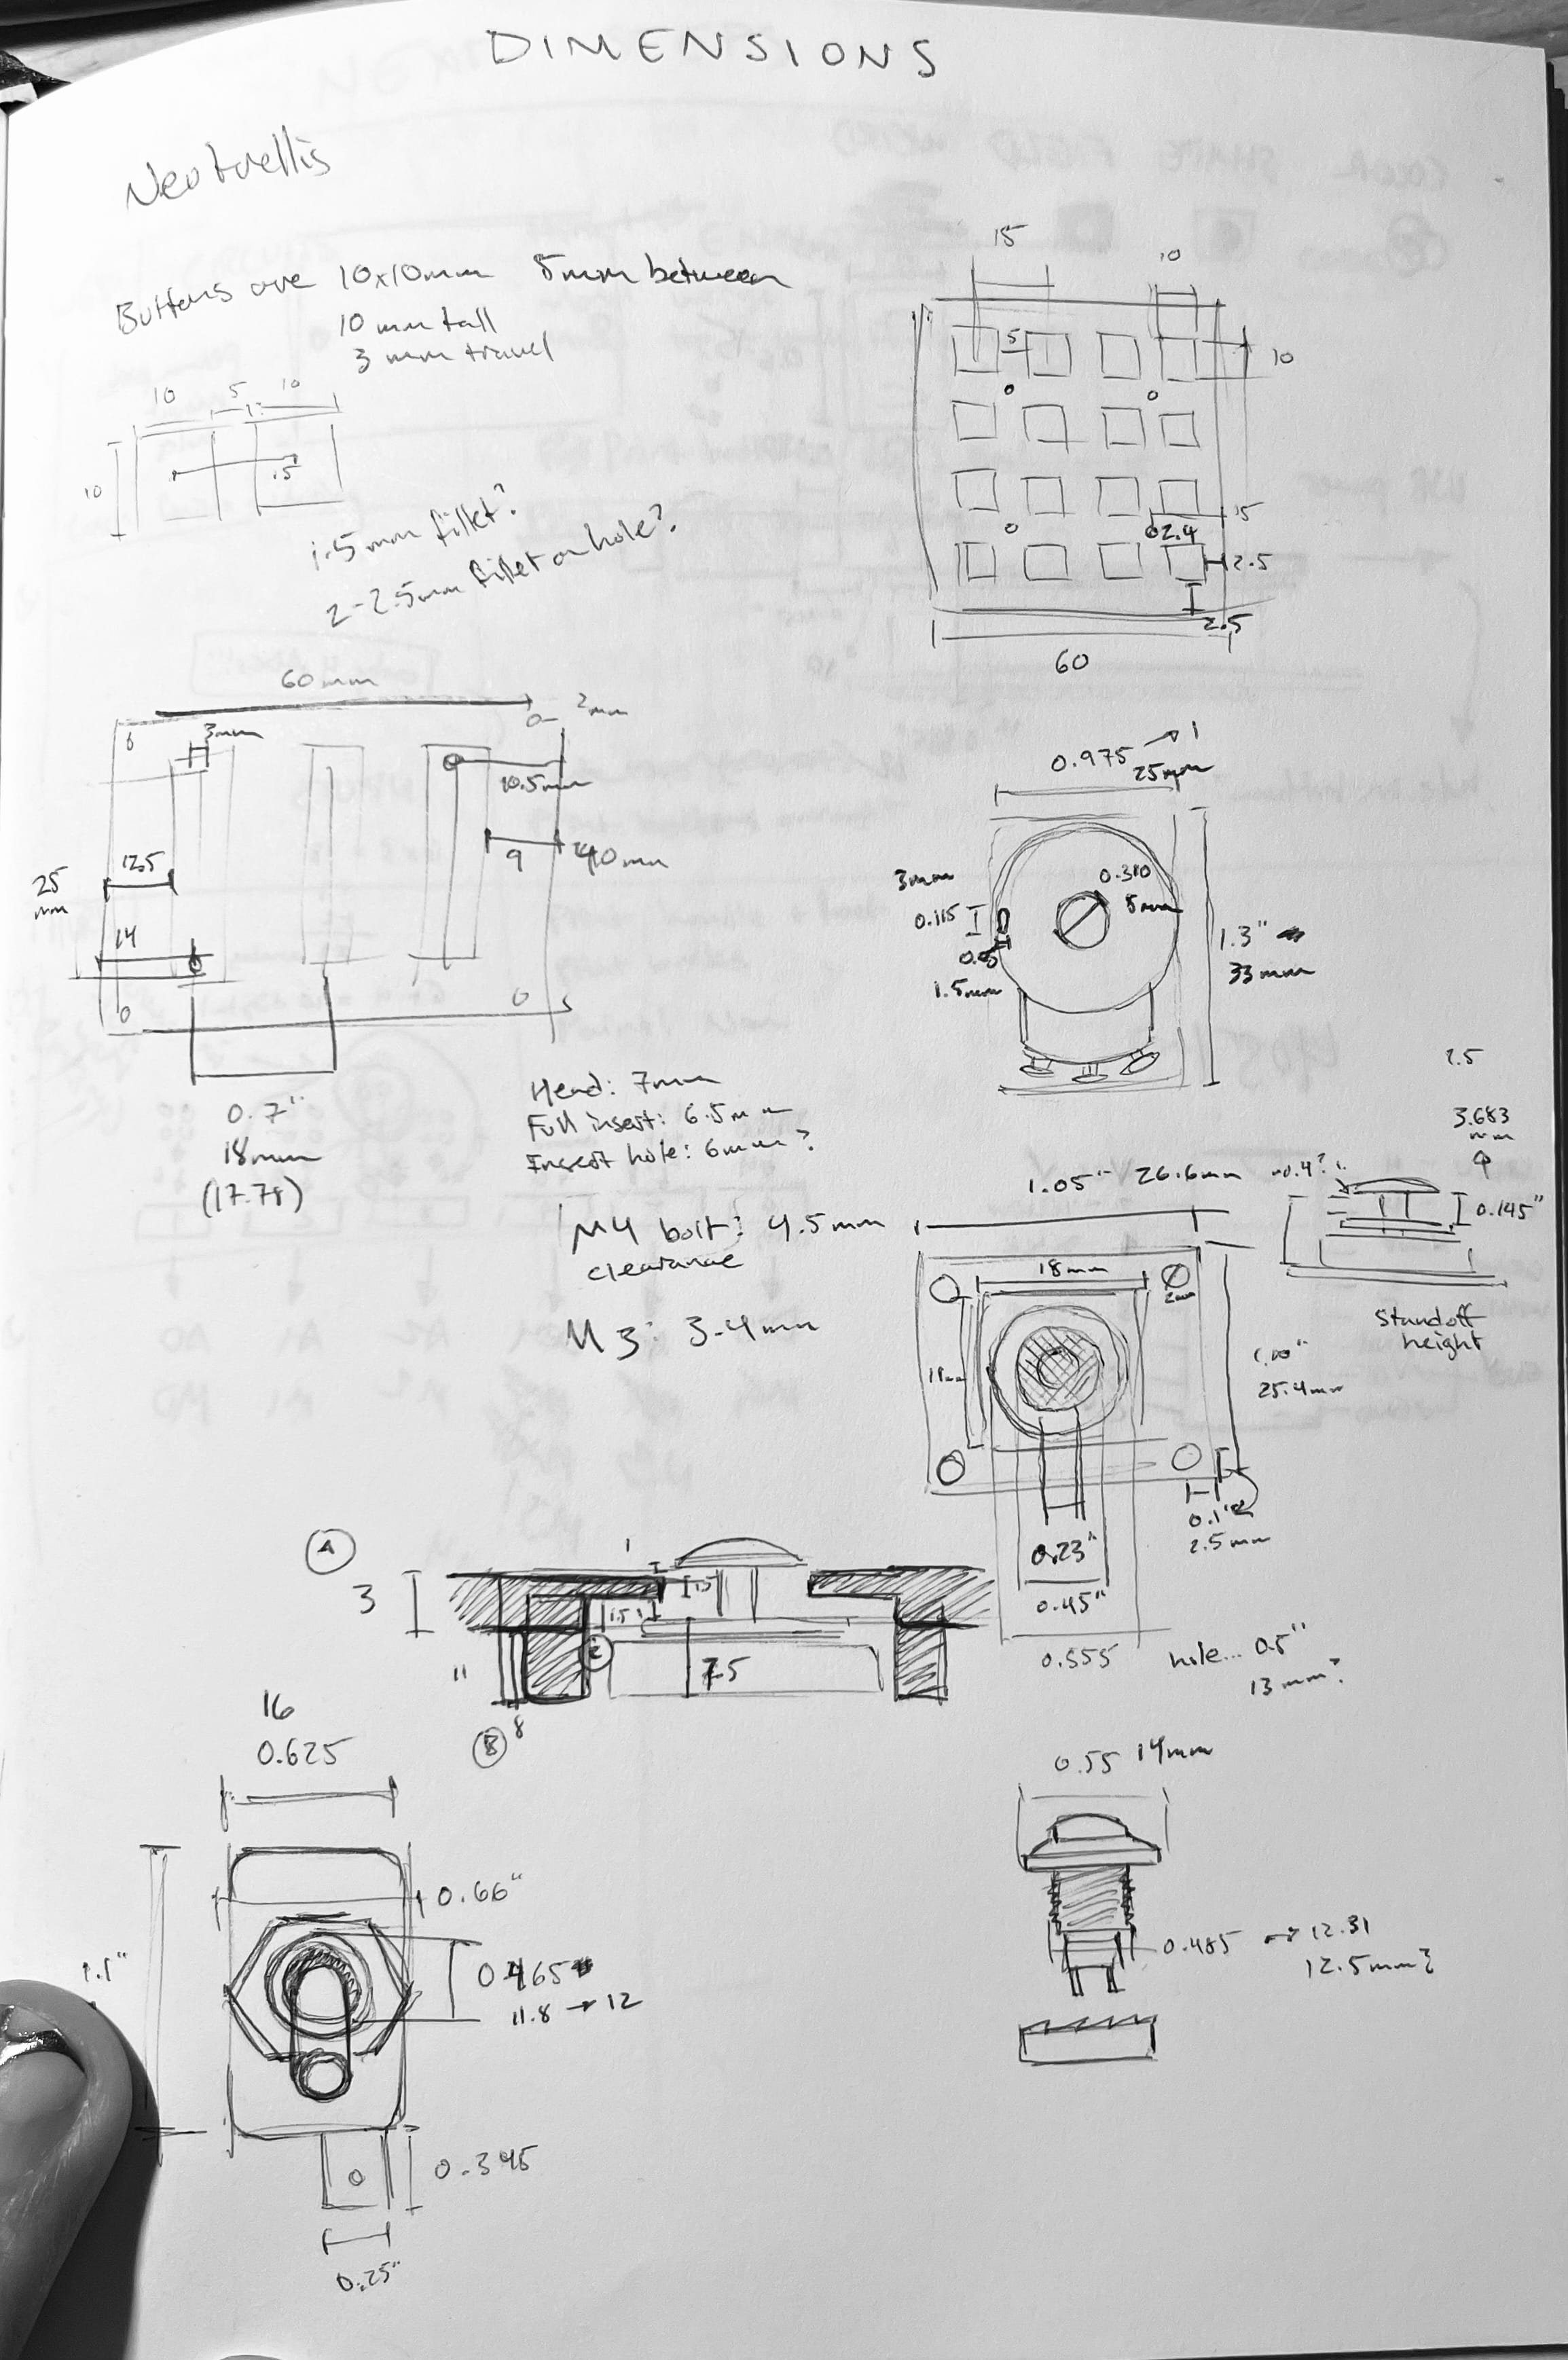
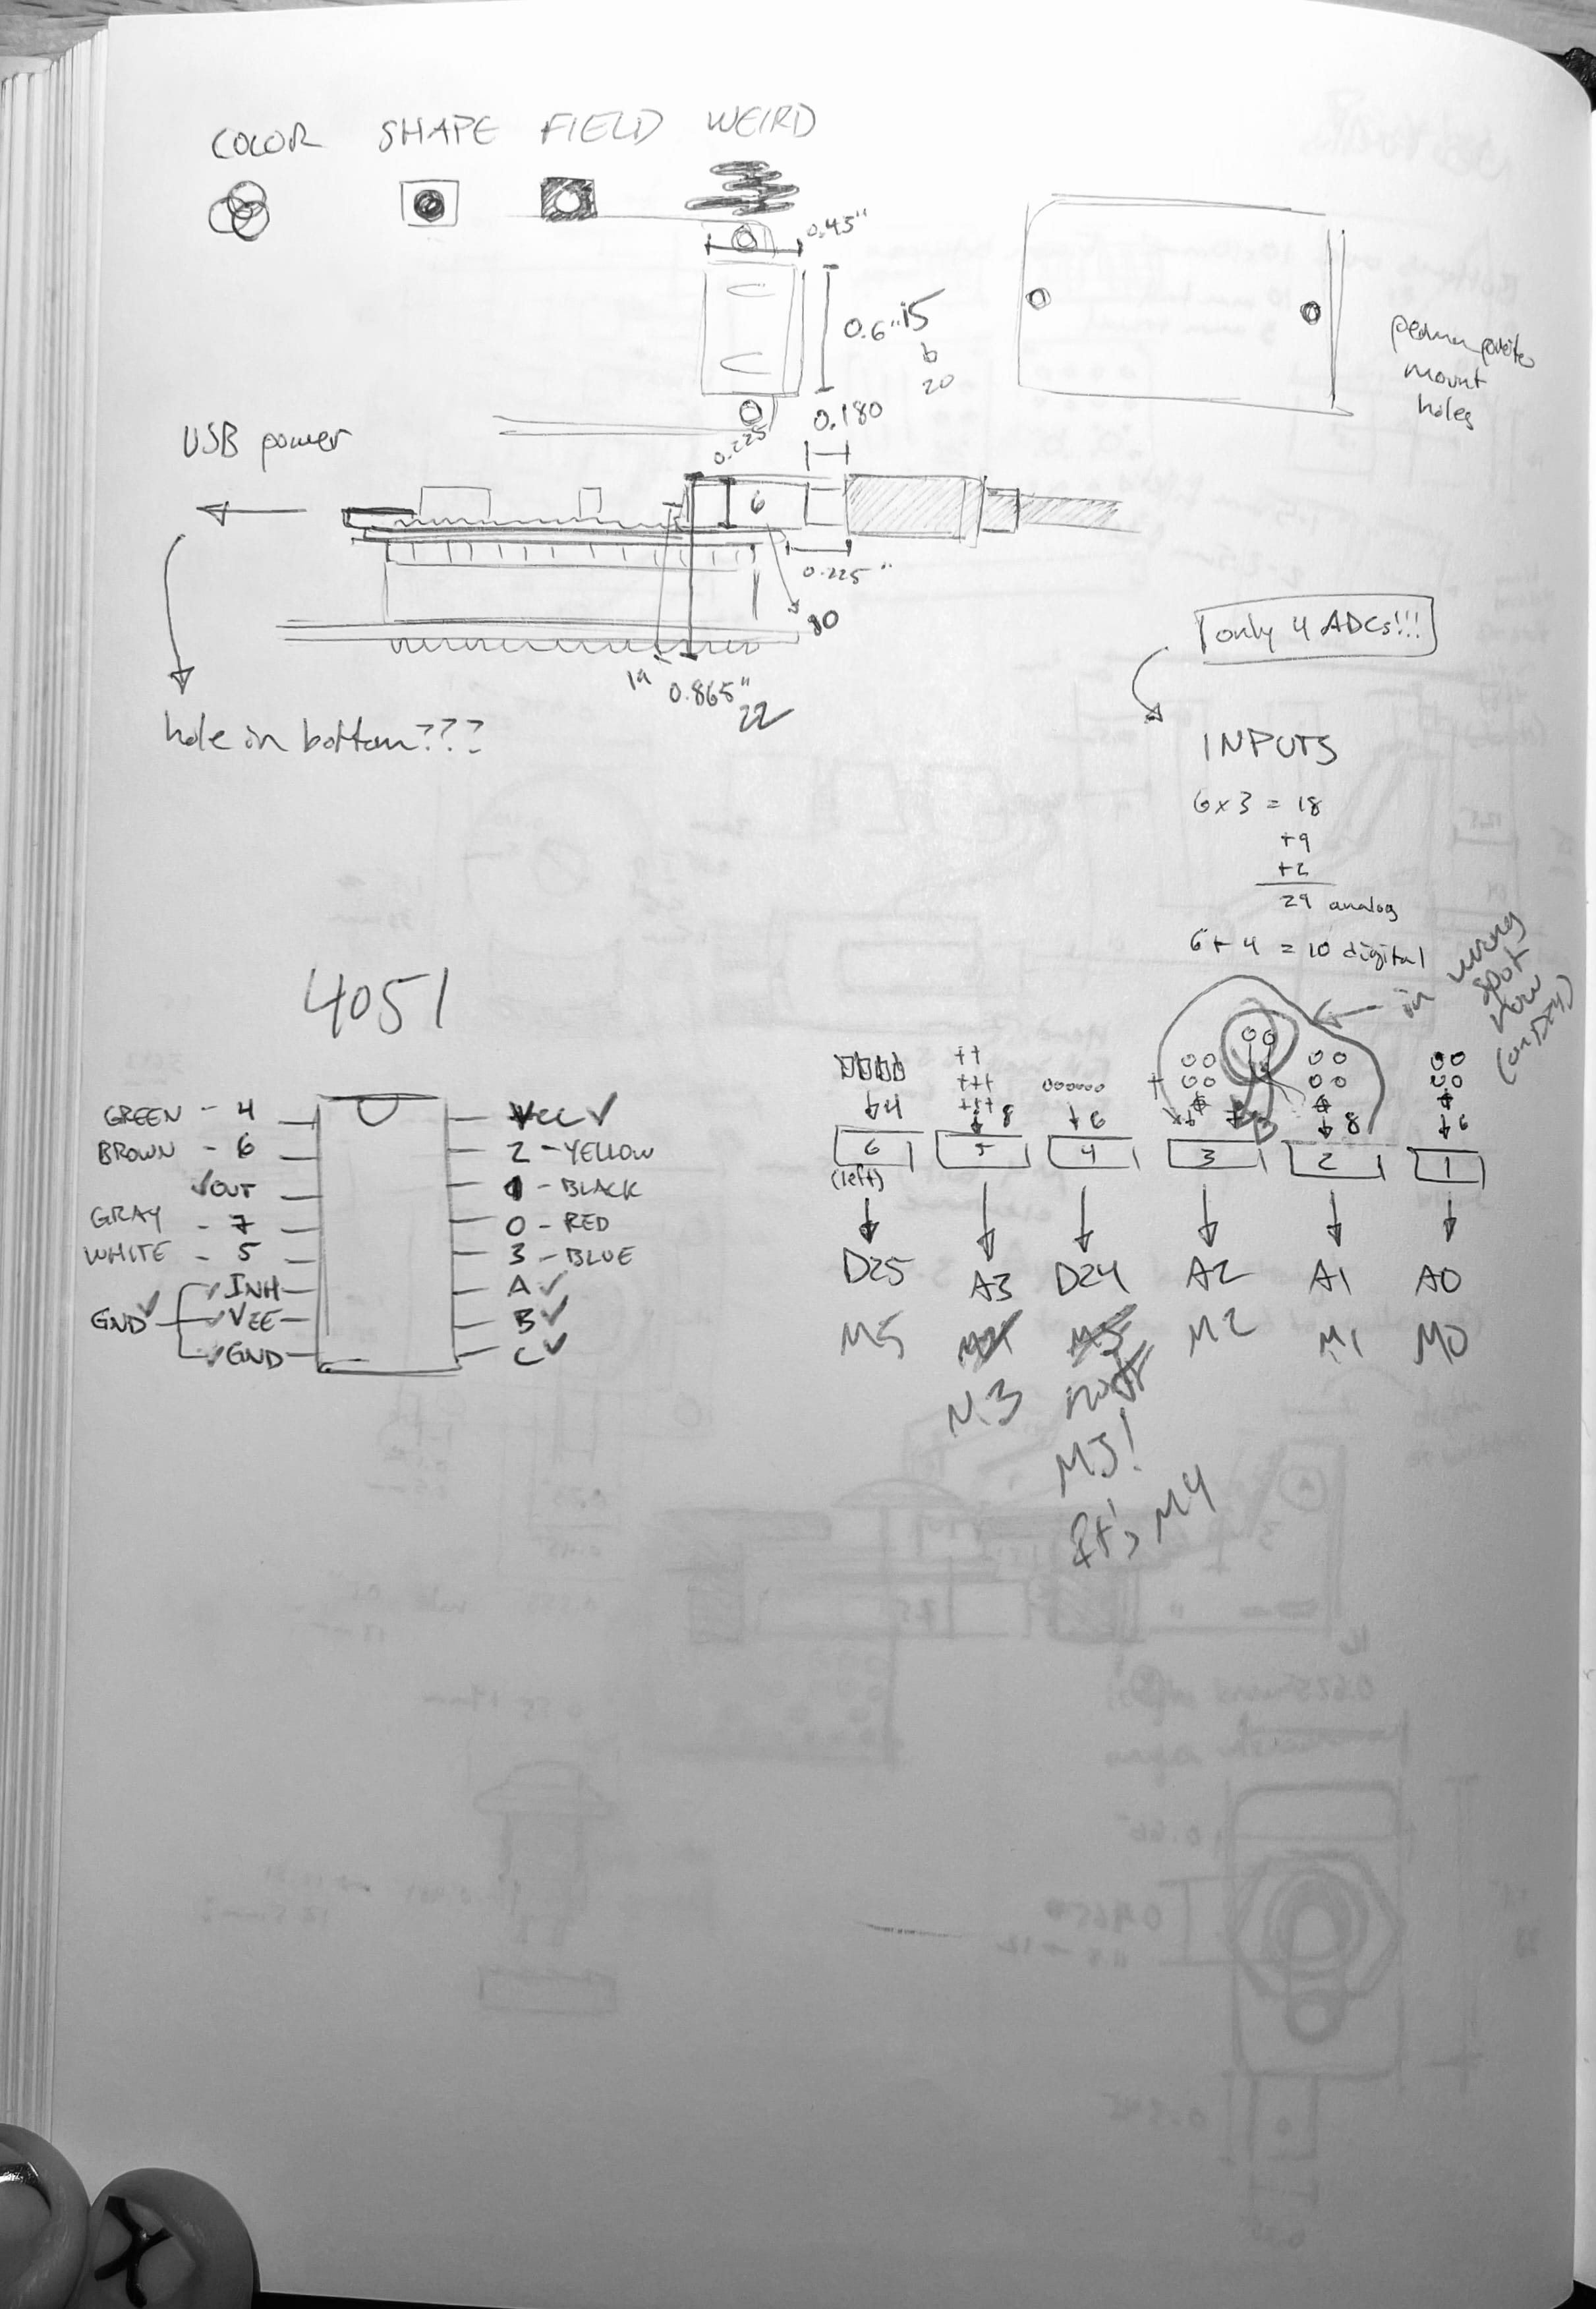
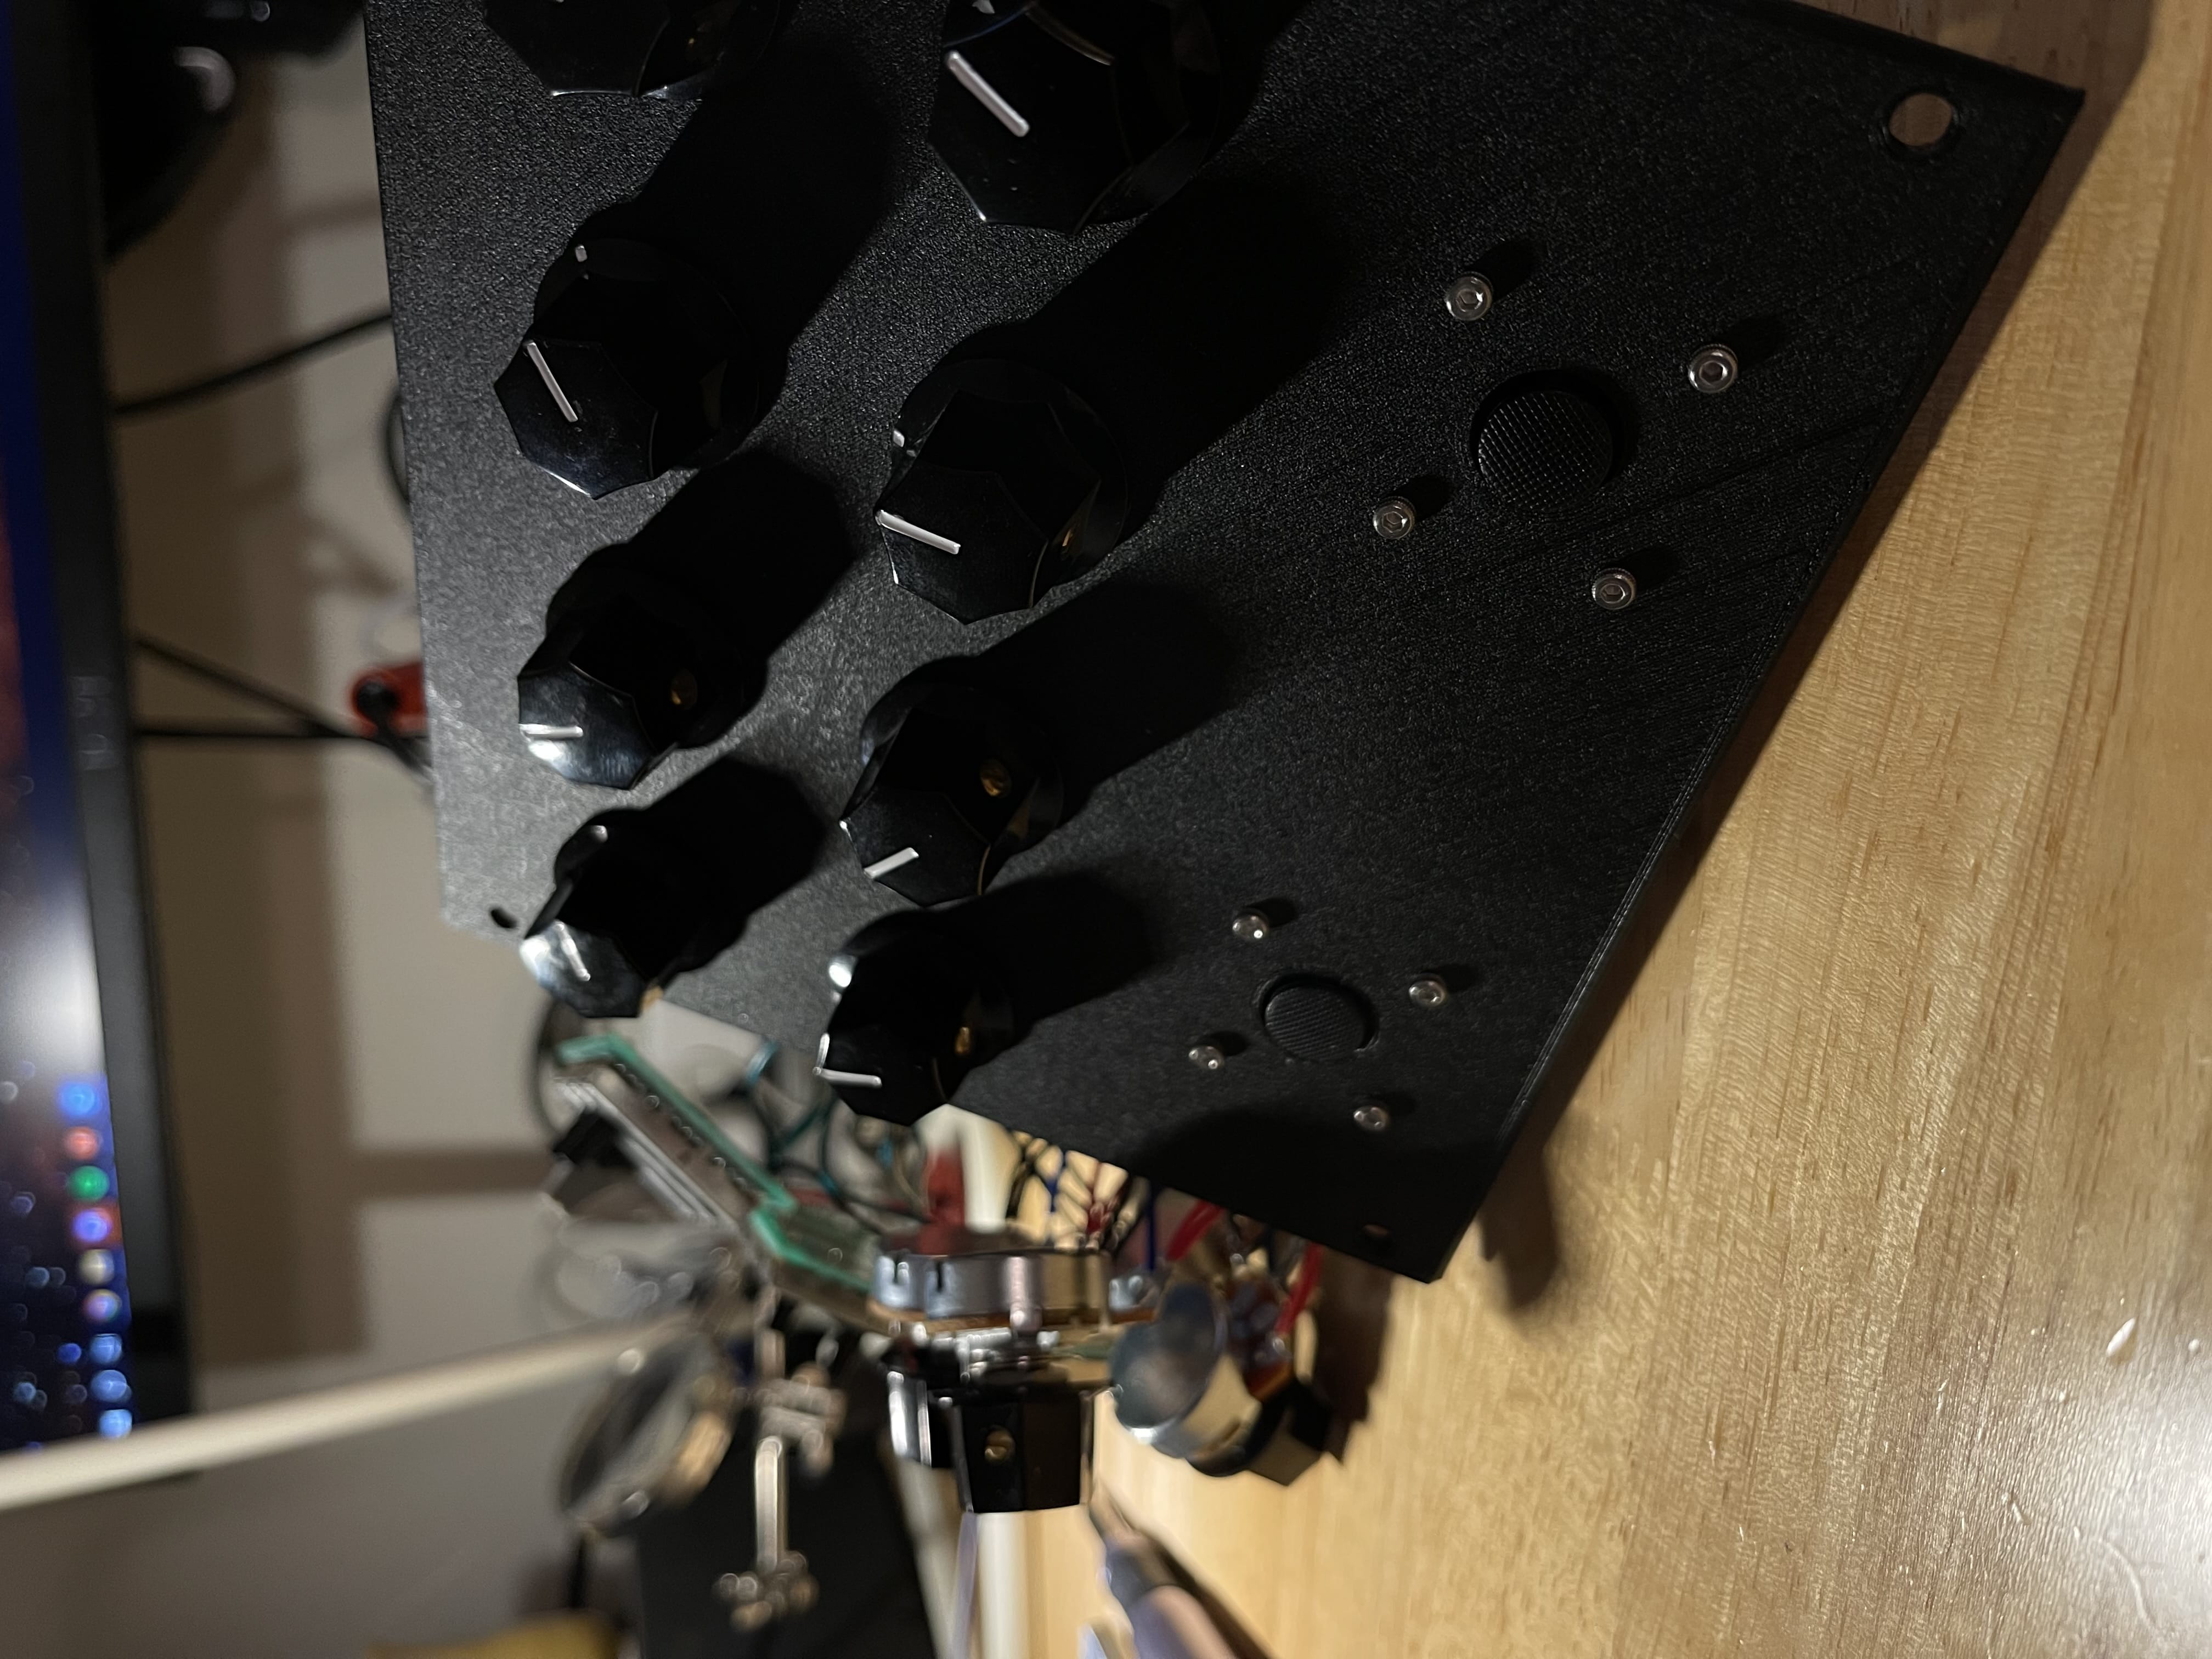
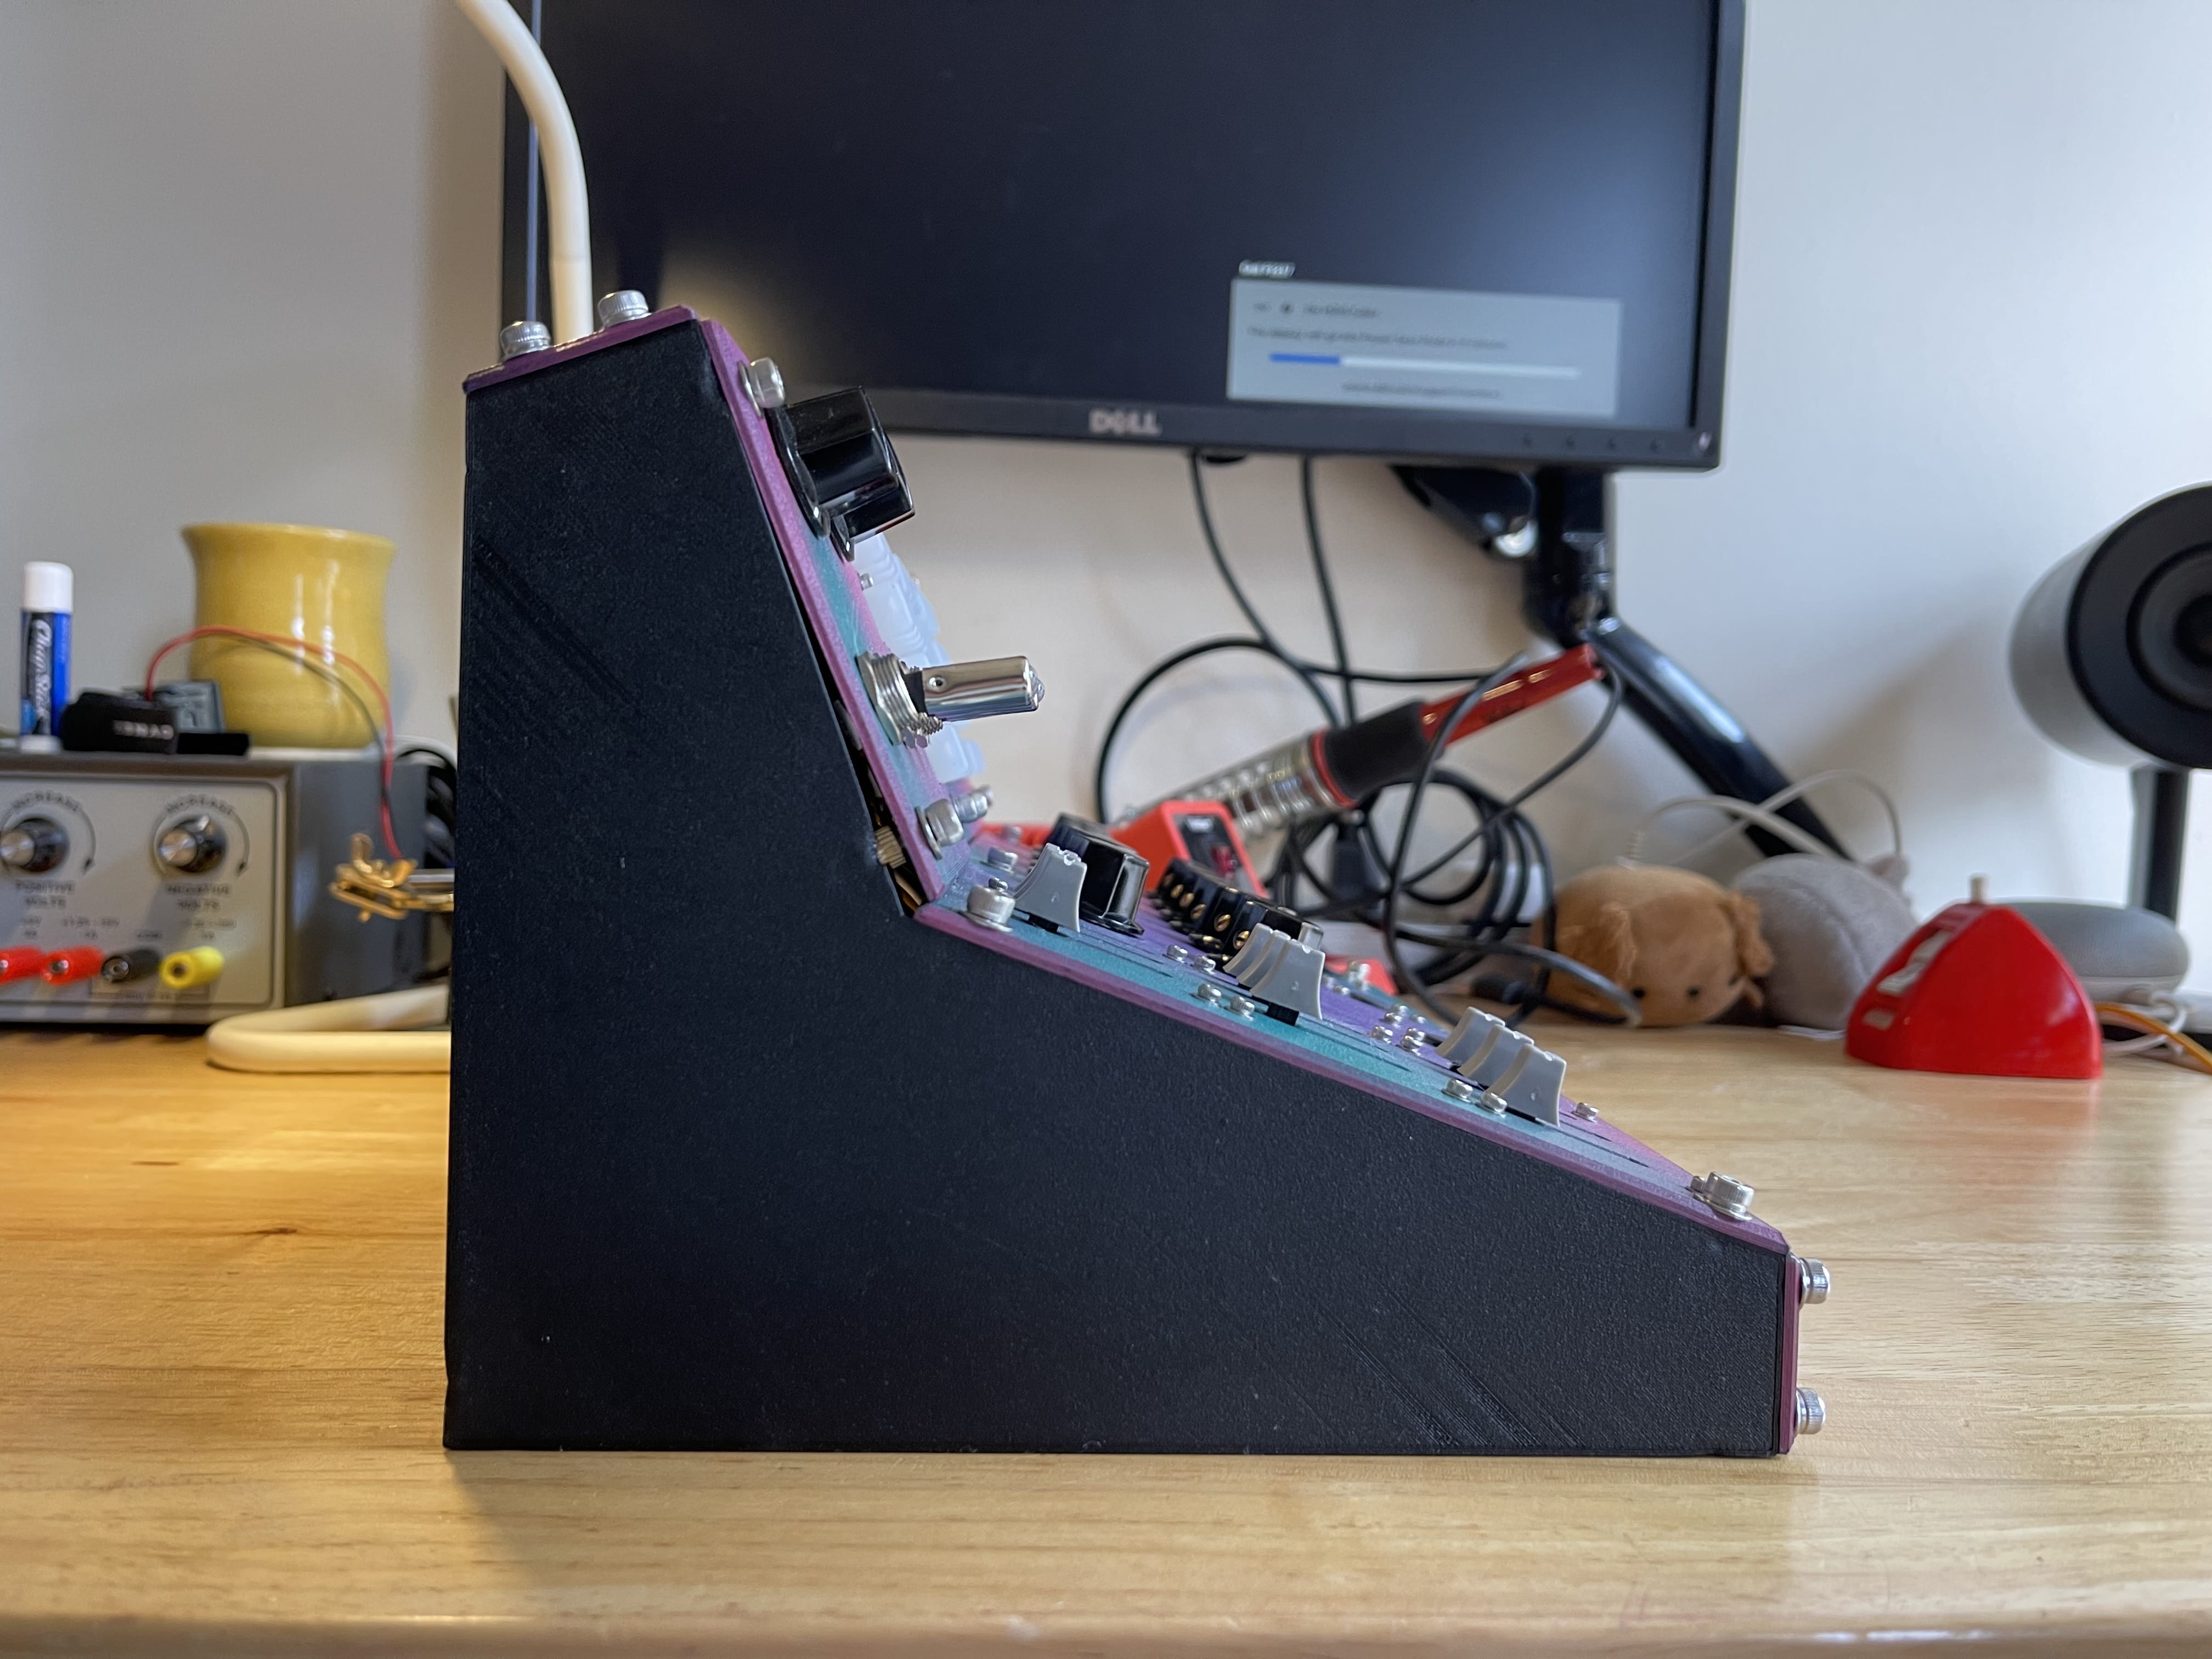
Printing these huge flat panels was kind of nerve-wracking because it means your bed leveling and temperature settings have to be really dialed in so you don't get clogs or parts peeling up. But they worked out for the most part! I did make a few measurement errors, but I was able to sand things down a little bit and it mostly worked out.
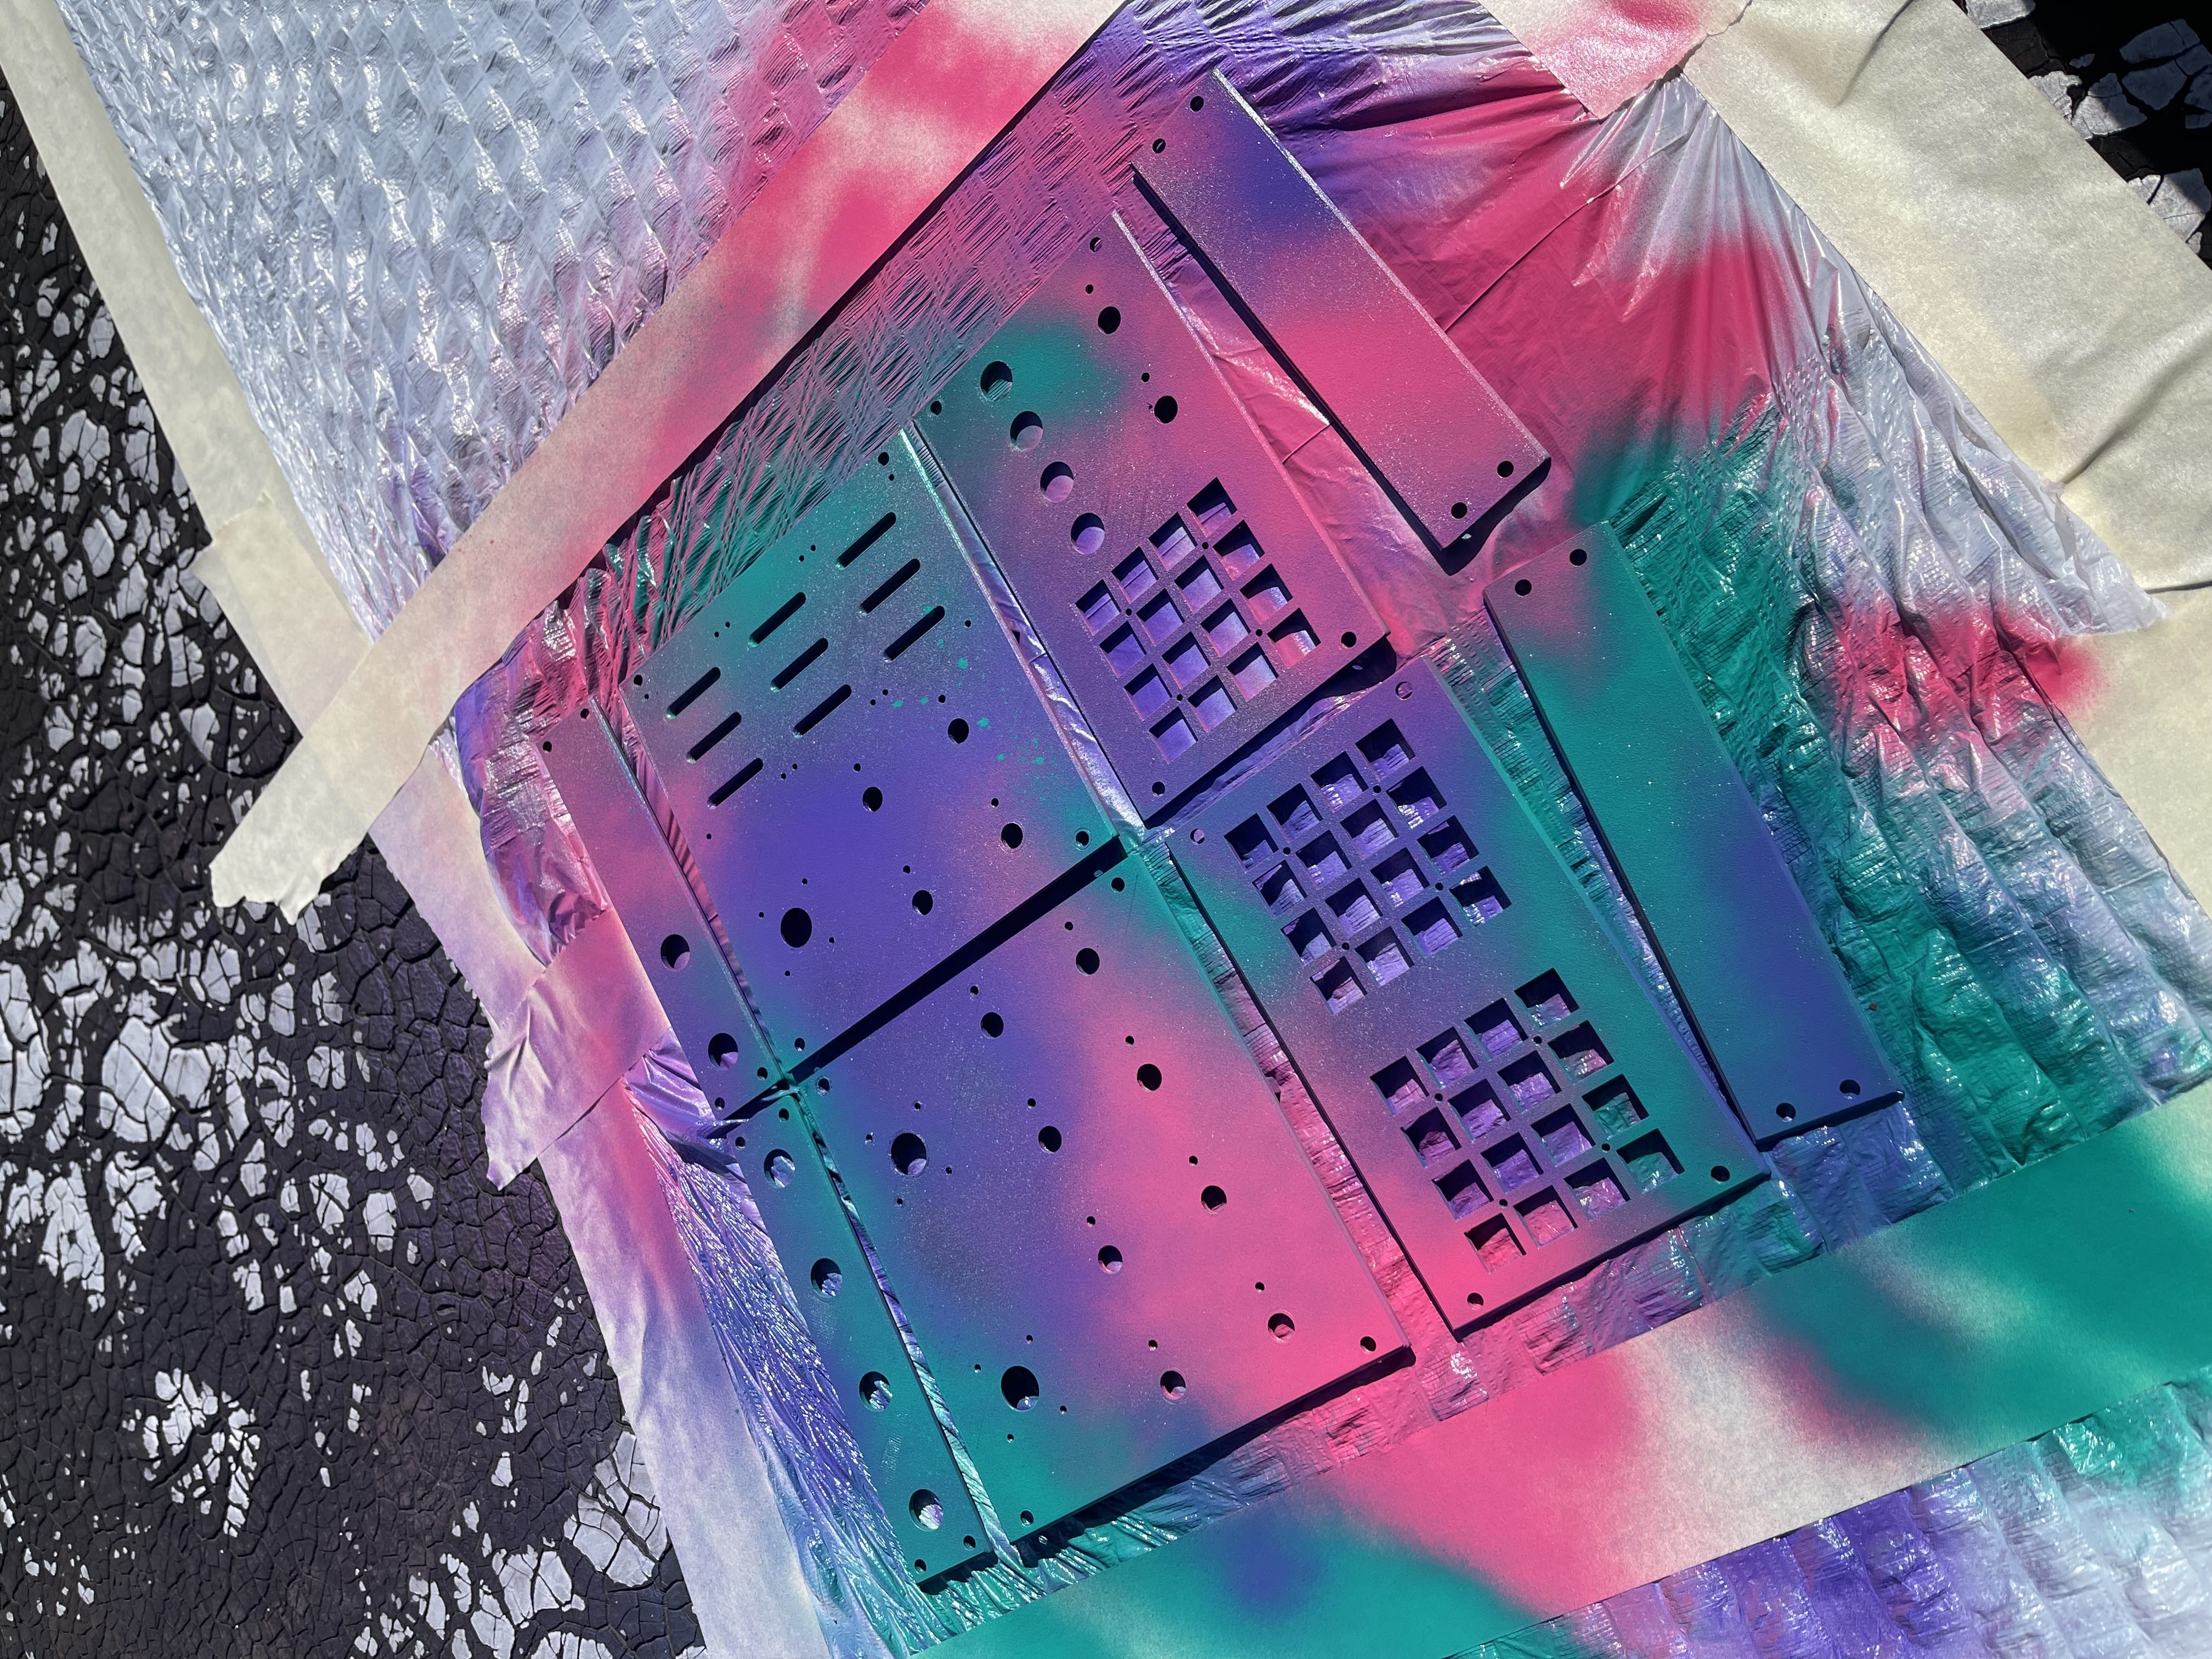
I wanted this to have a fun and inviting look so I blasted it with spray paint.
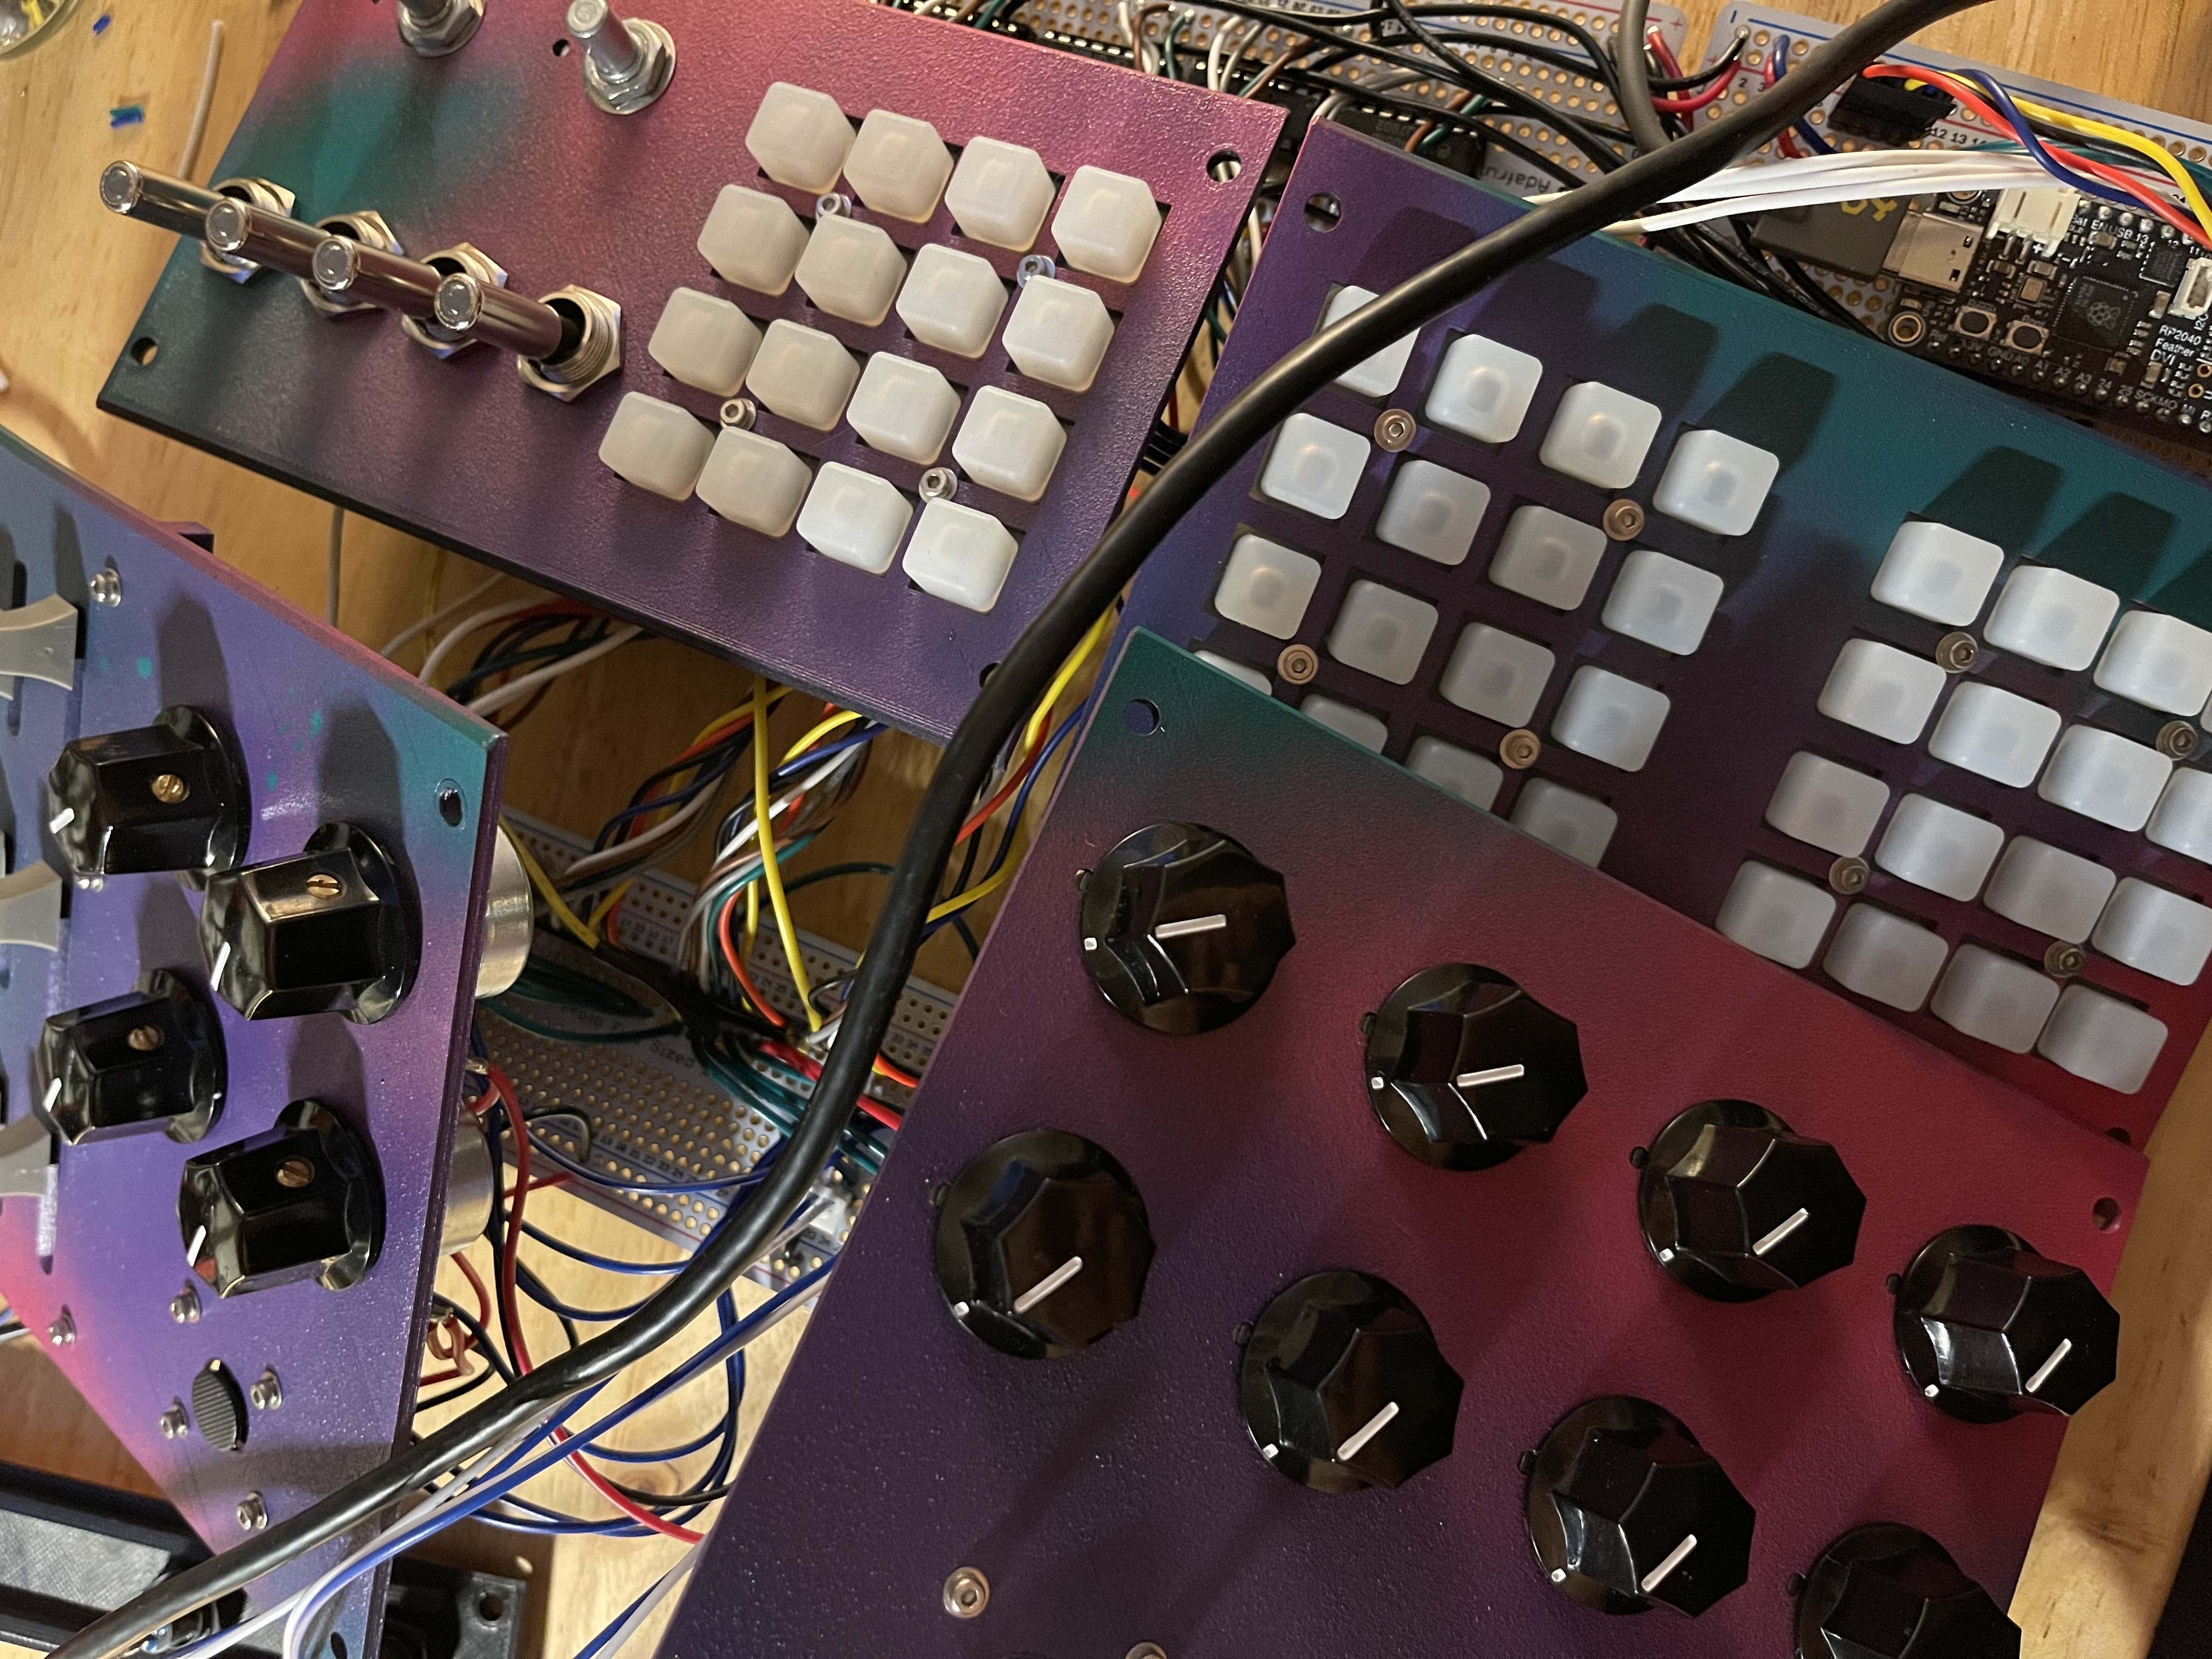
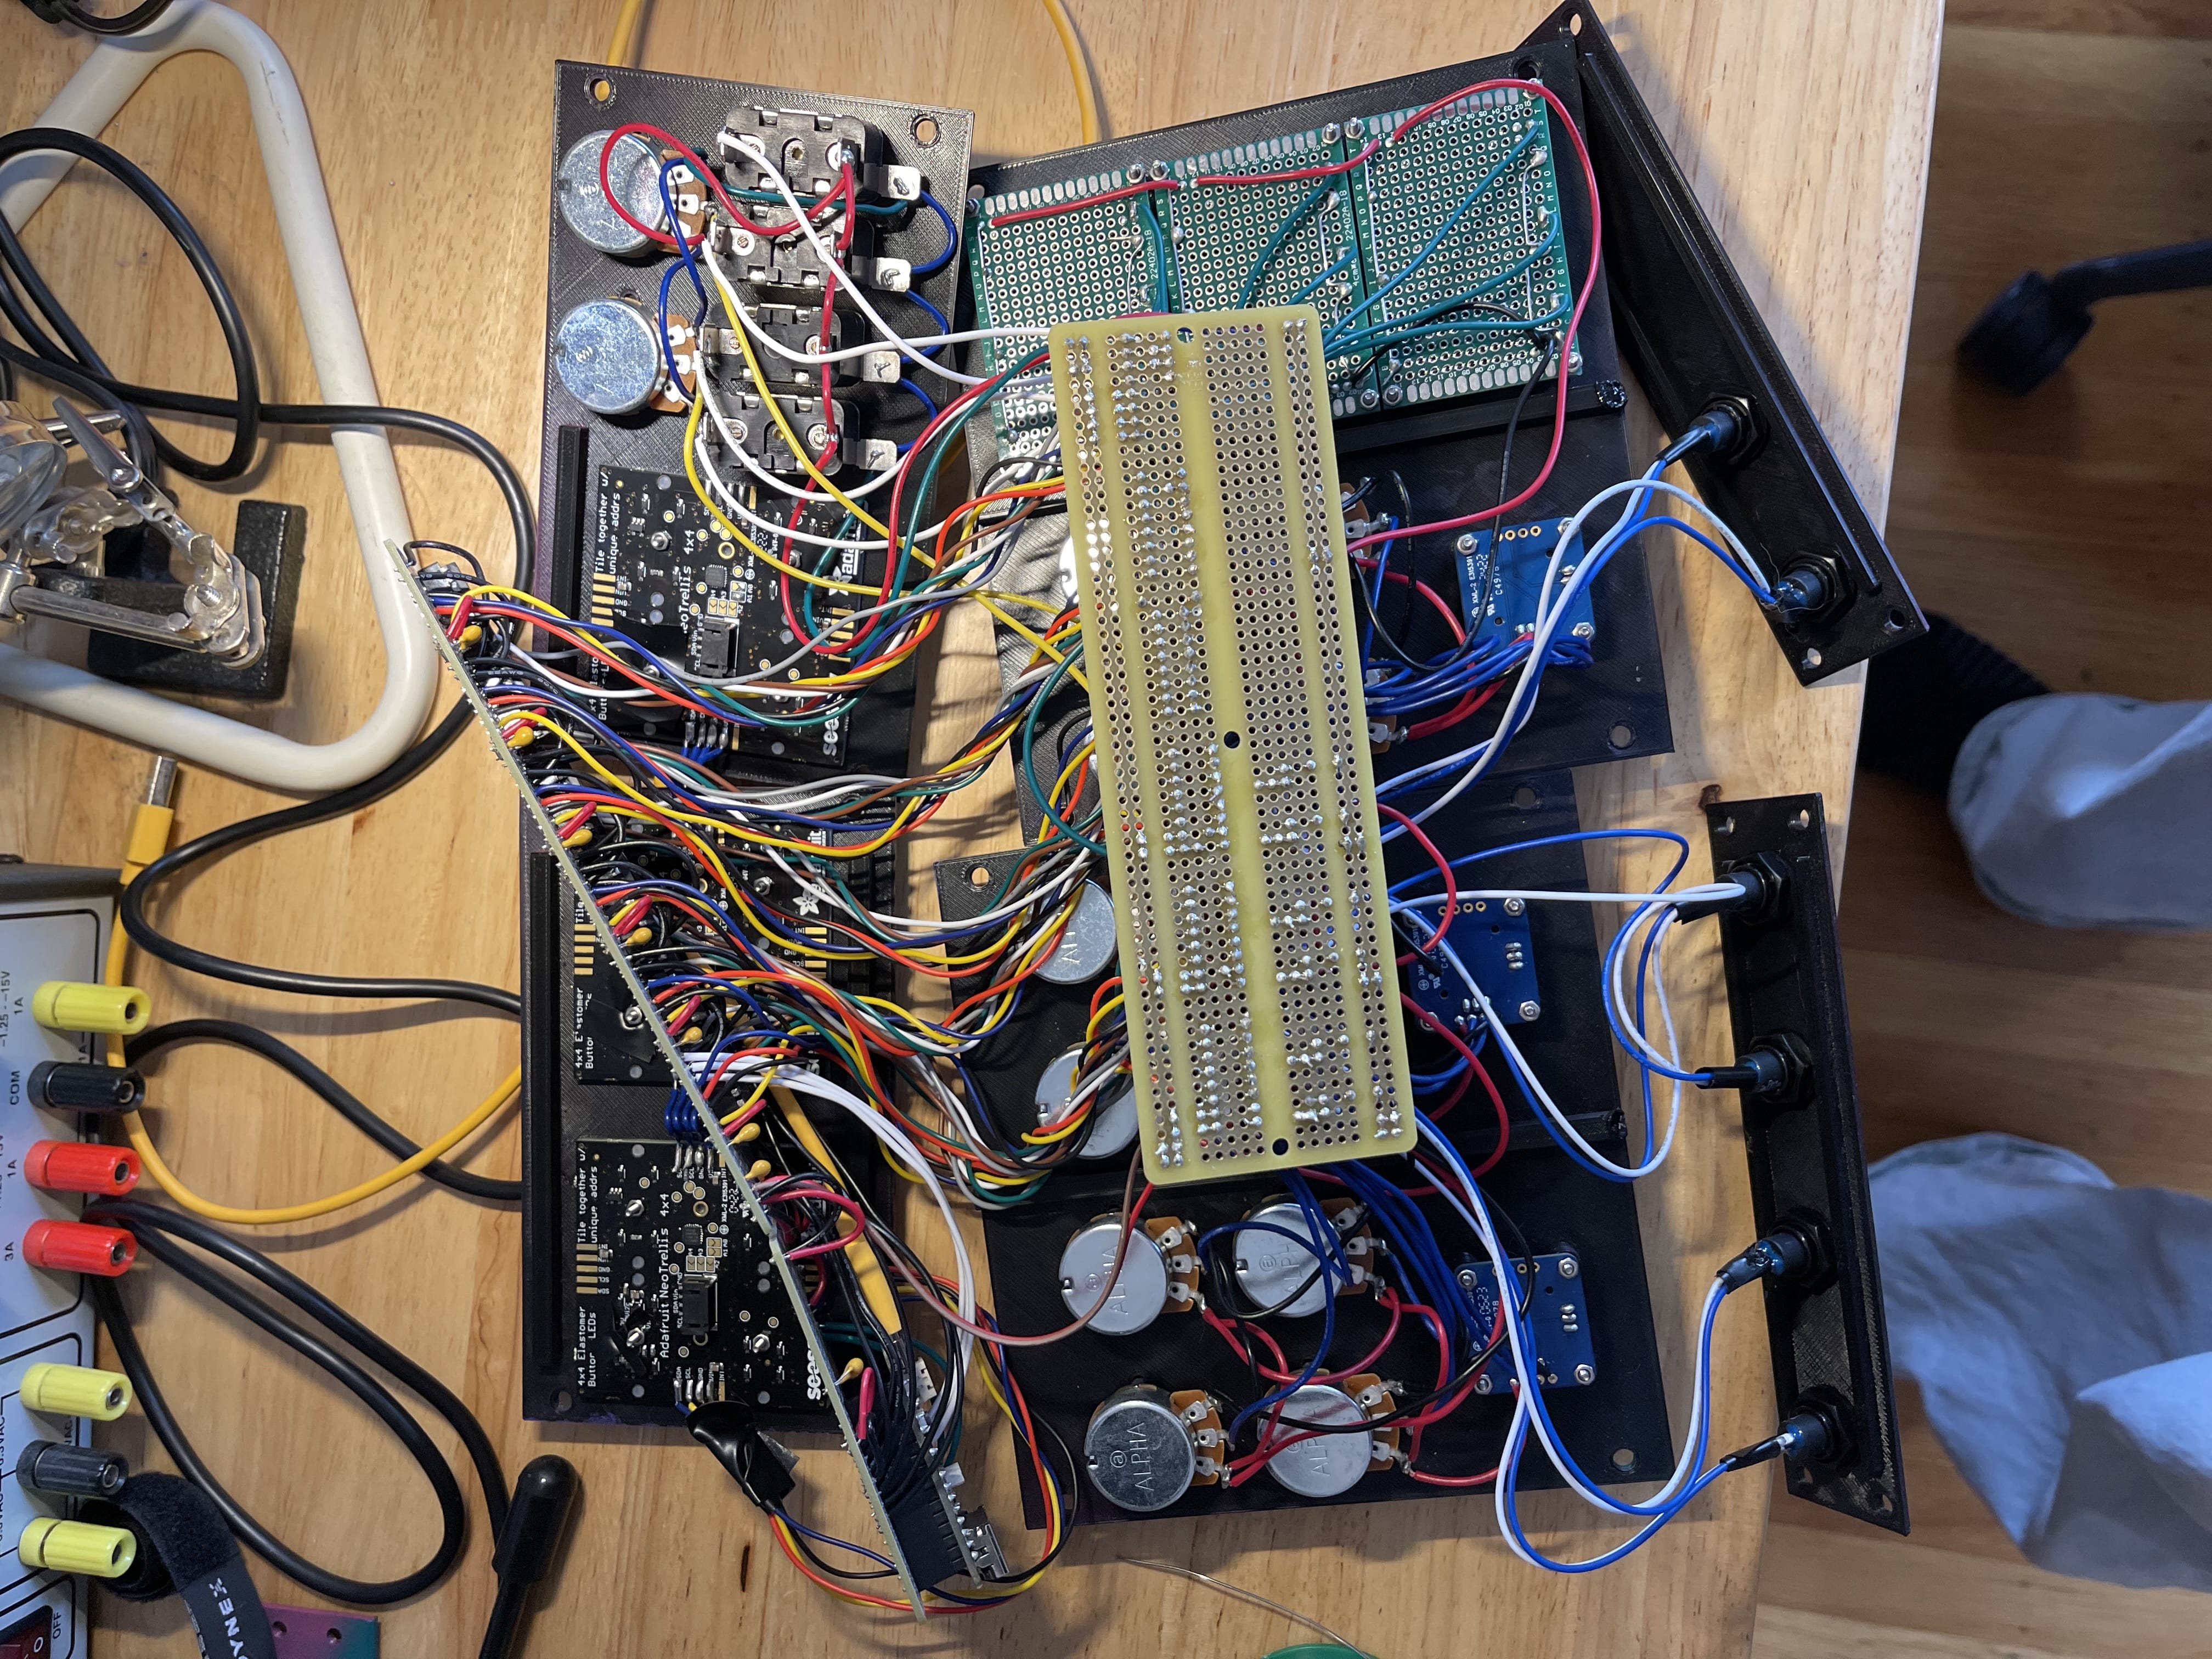
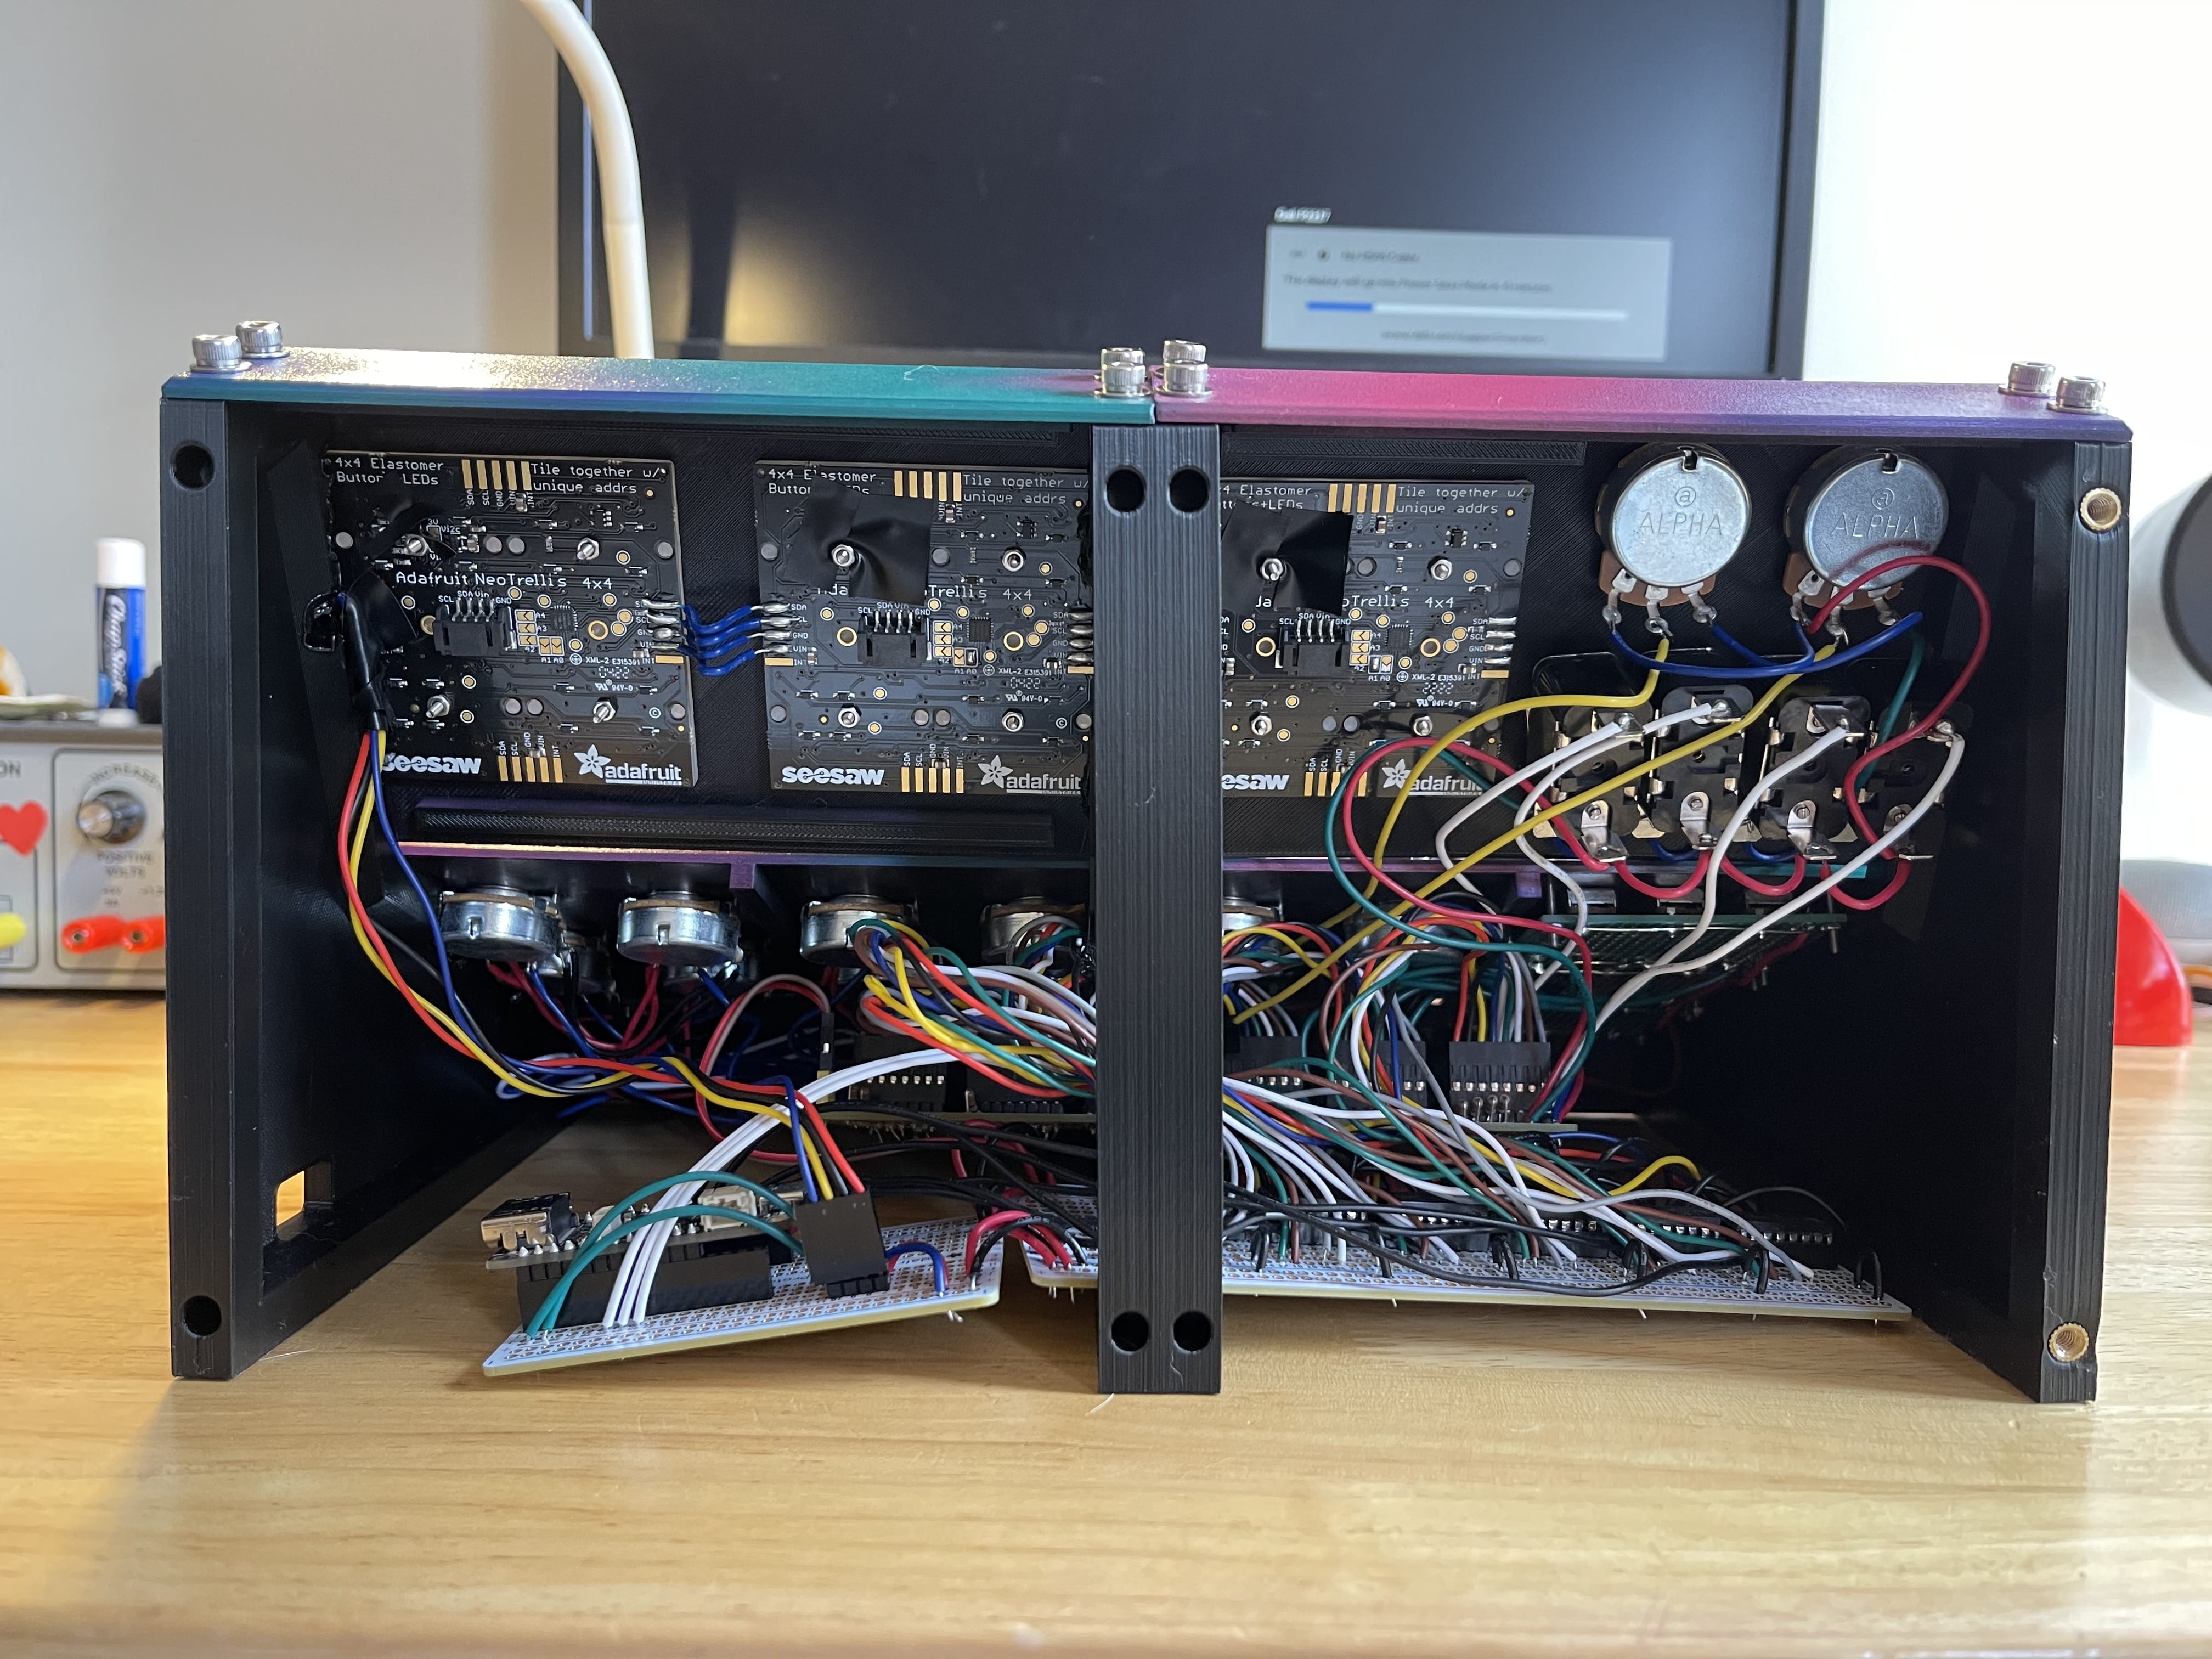
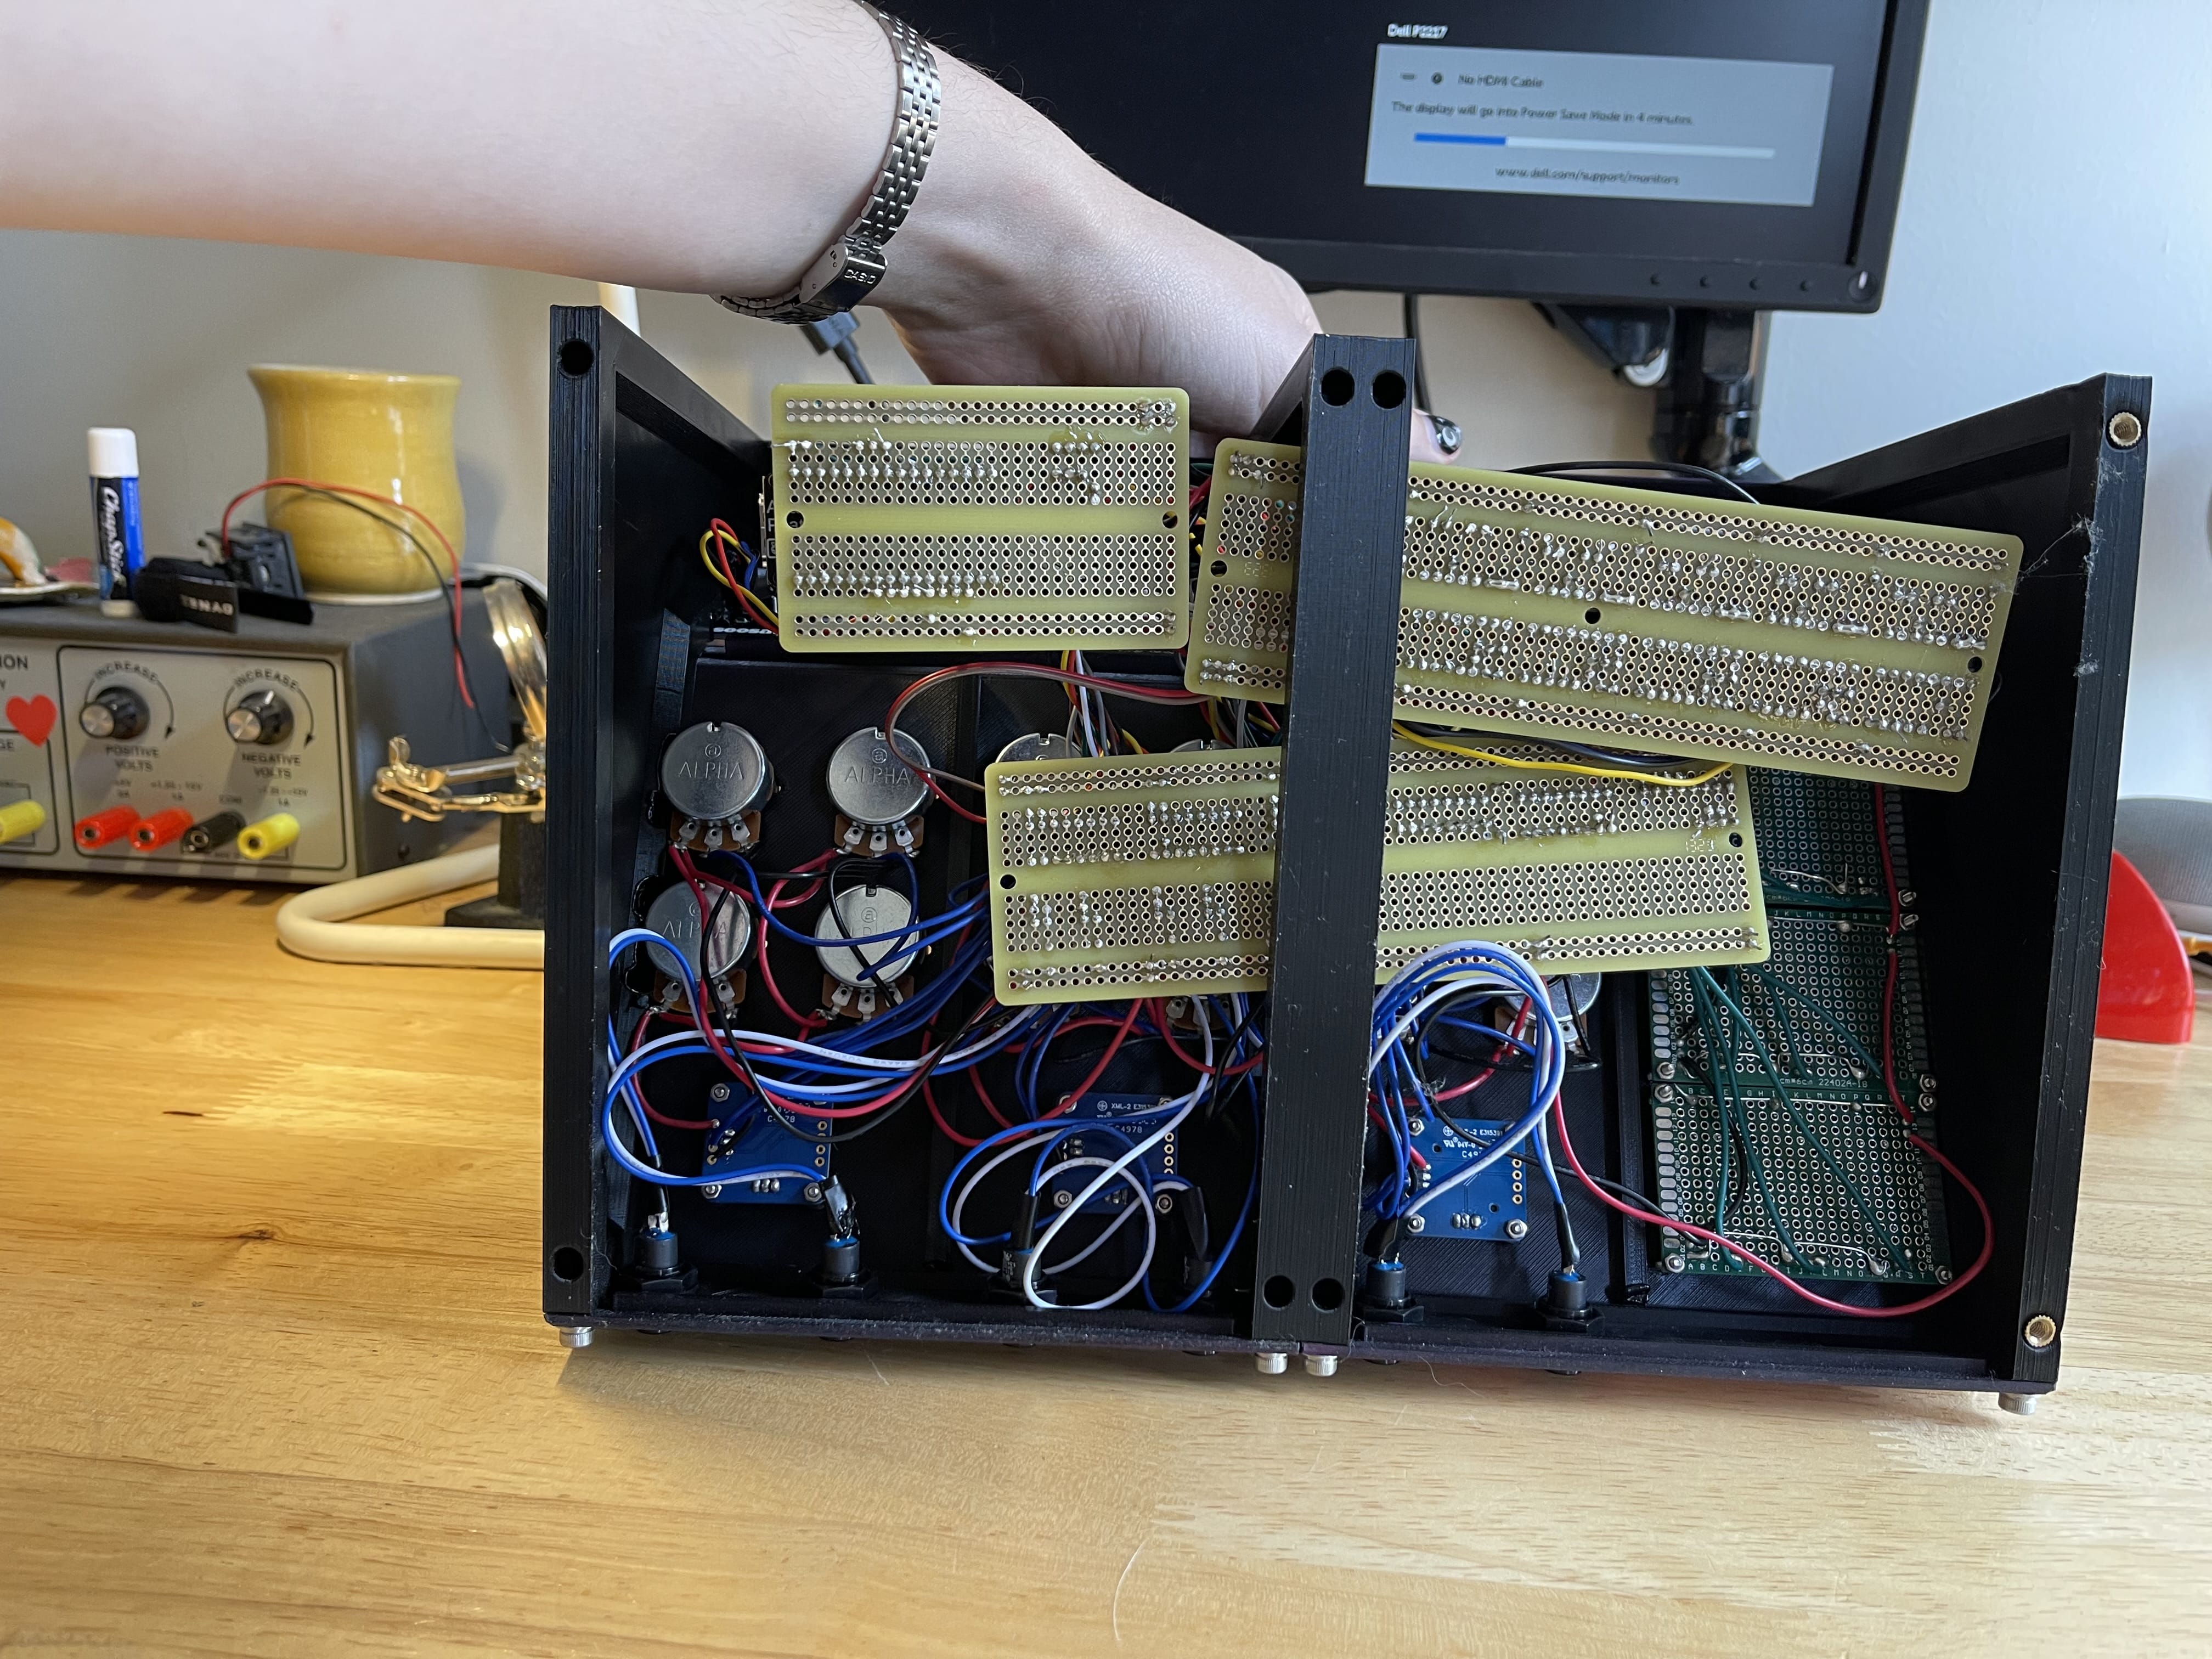
Here's the fully-wired up guts. The board with the rats-nest of wiring holds the microcontroller and the multiplexers. It's connected to a board that just organizes the wires from all the panel controls. I thought this would simplify assembly, and maybe it did, but I think it's also the source of a lot of noise and crosstalk in the signals. A lesson learned!
The panels connect to the rest of the frame with heat-set threaded inserts. This was my first big project using them, and let's just say... I learned a lot more lessons from this. I had a few measurement errors that wound up causing strain in some of the panels that yanked the inserts right out of the plastic. So I have some ideas for improvements to V2 :)
Hardware done! In comparison, the software was the fun part. I'm still working on implementing a few things, and I have to clean up the code first, but I'm going to share a GitHub repository here and walk through some of the major ideas in the code.
Results
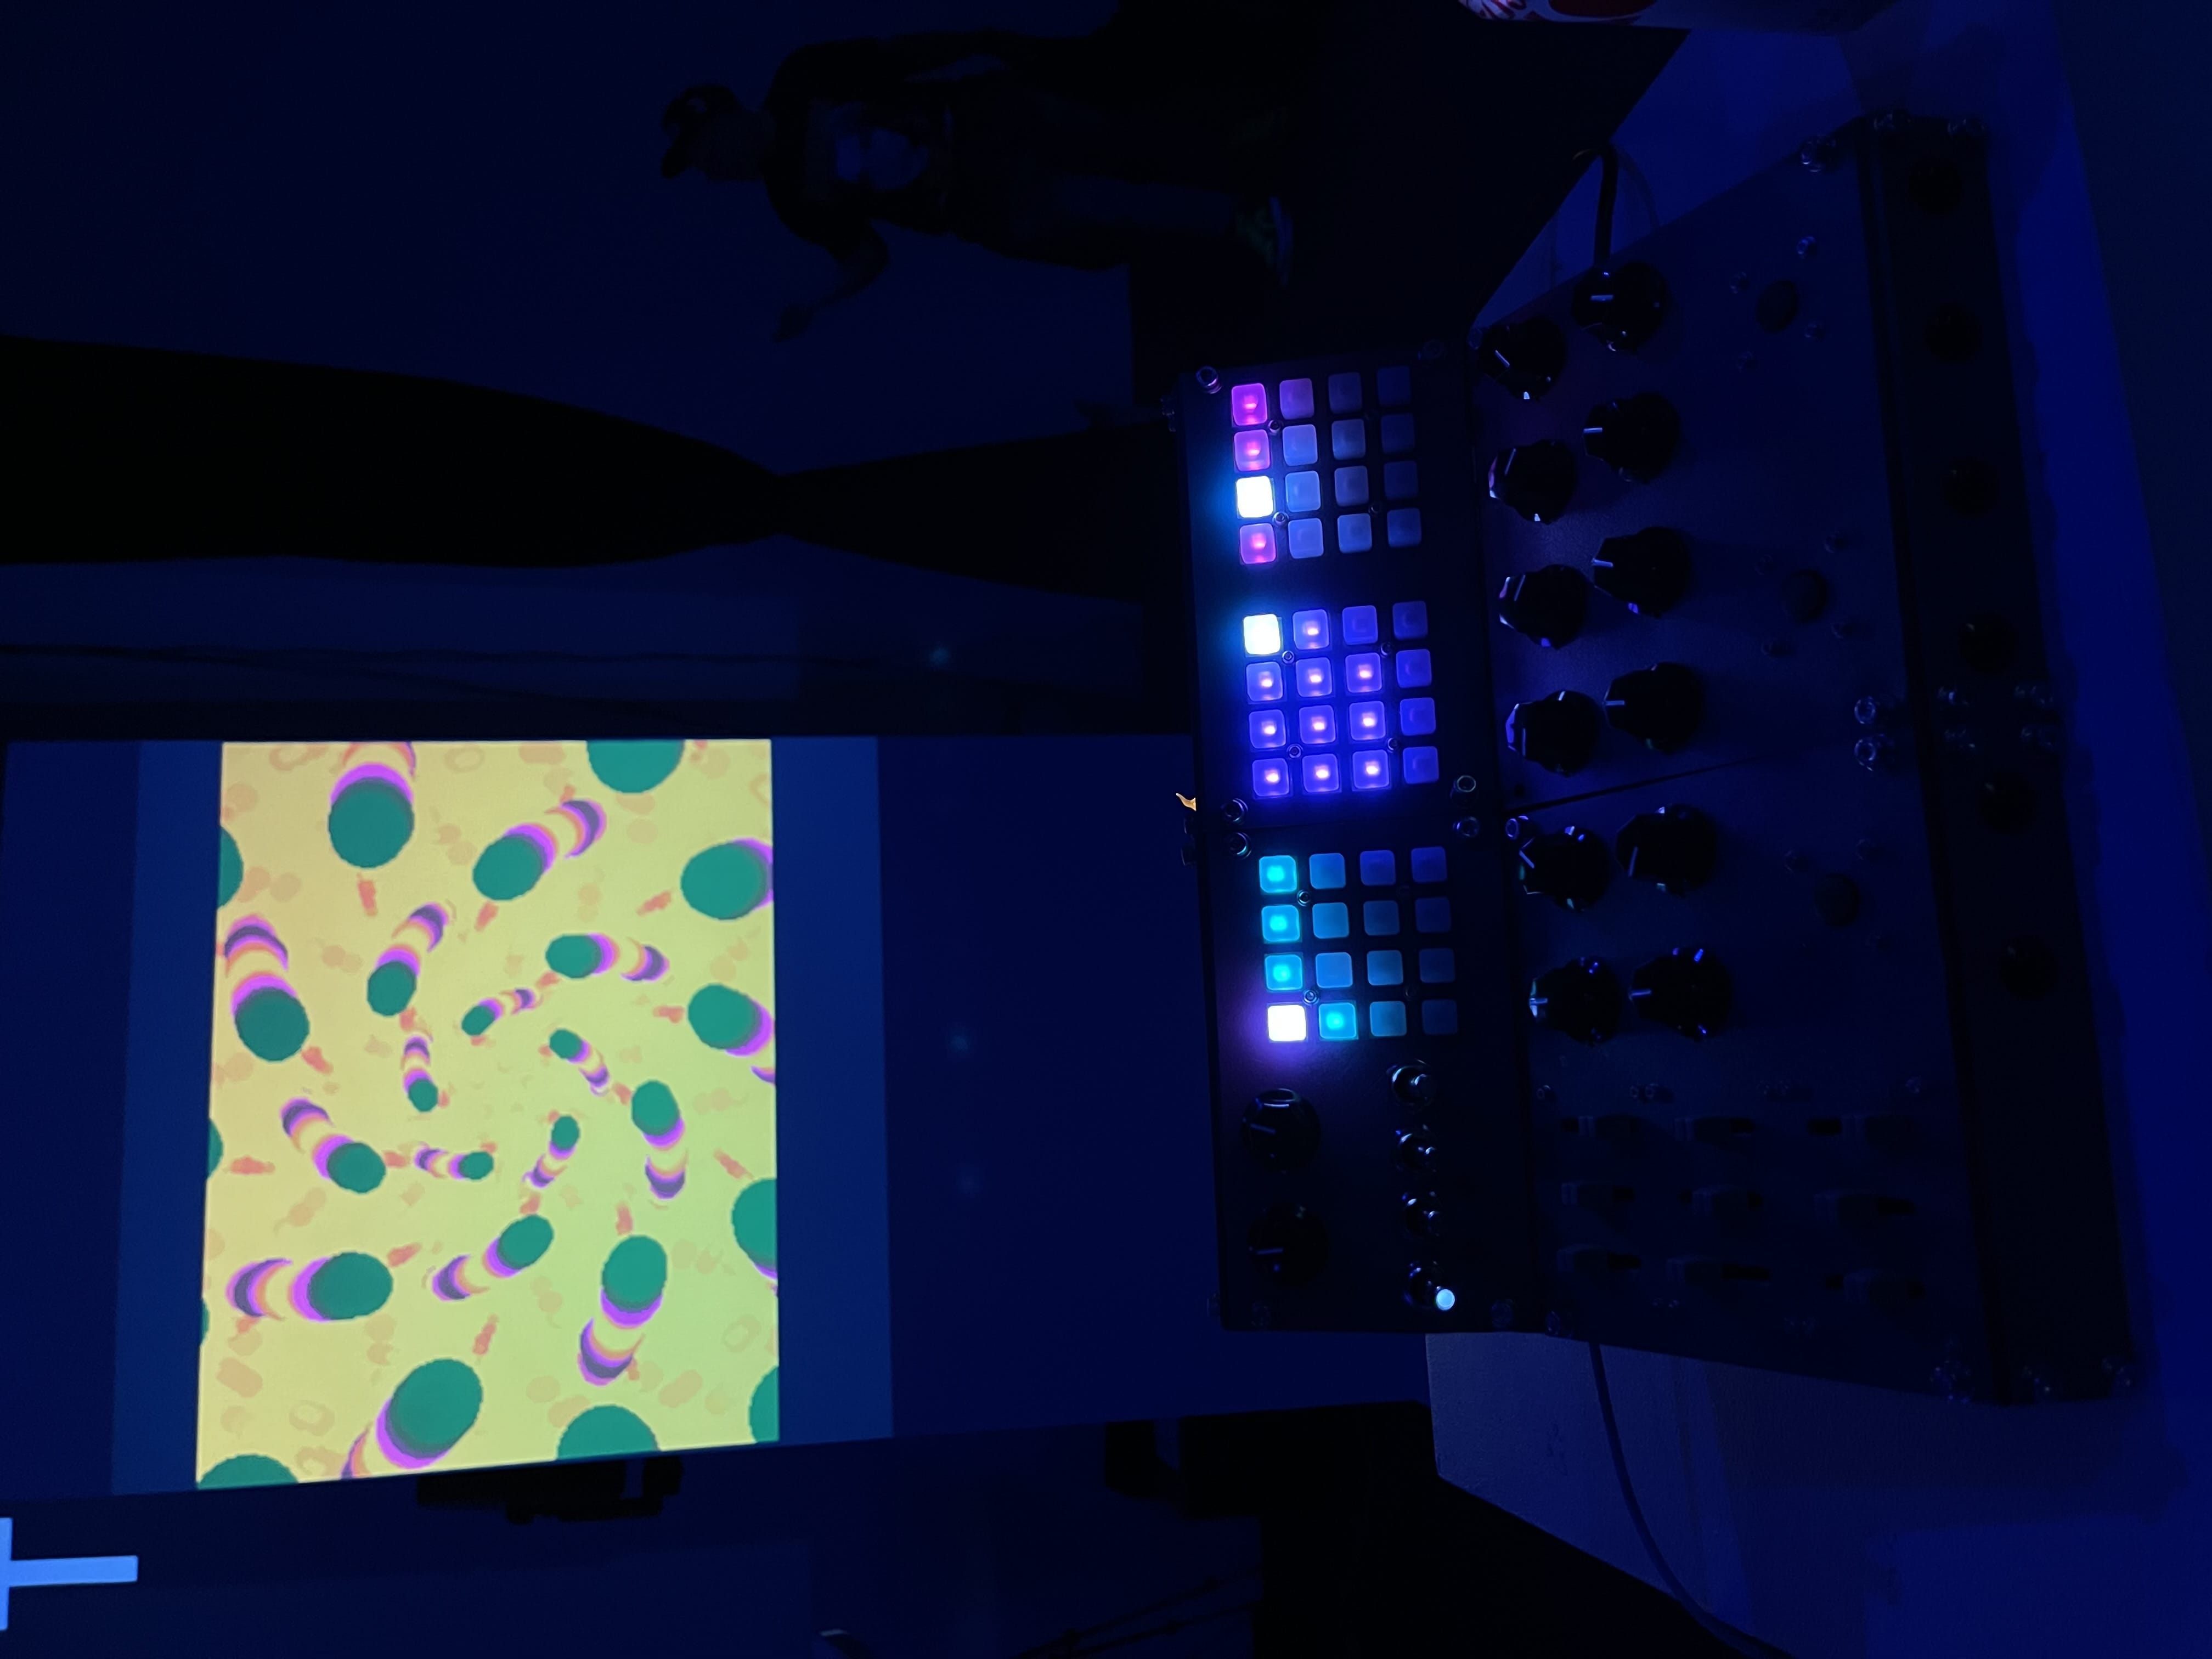
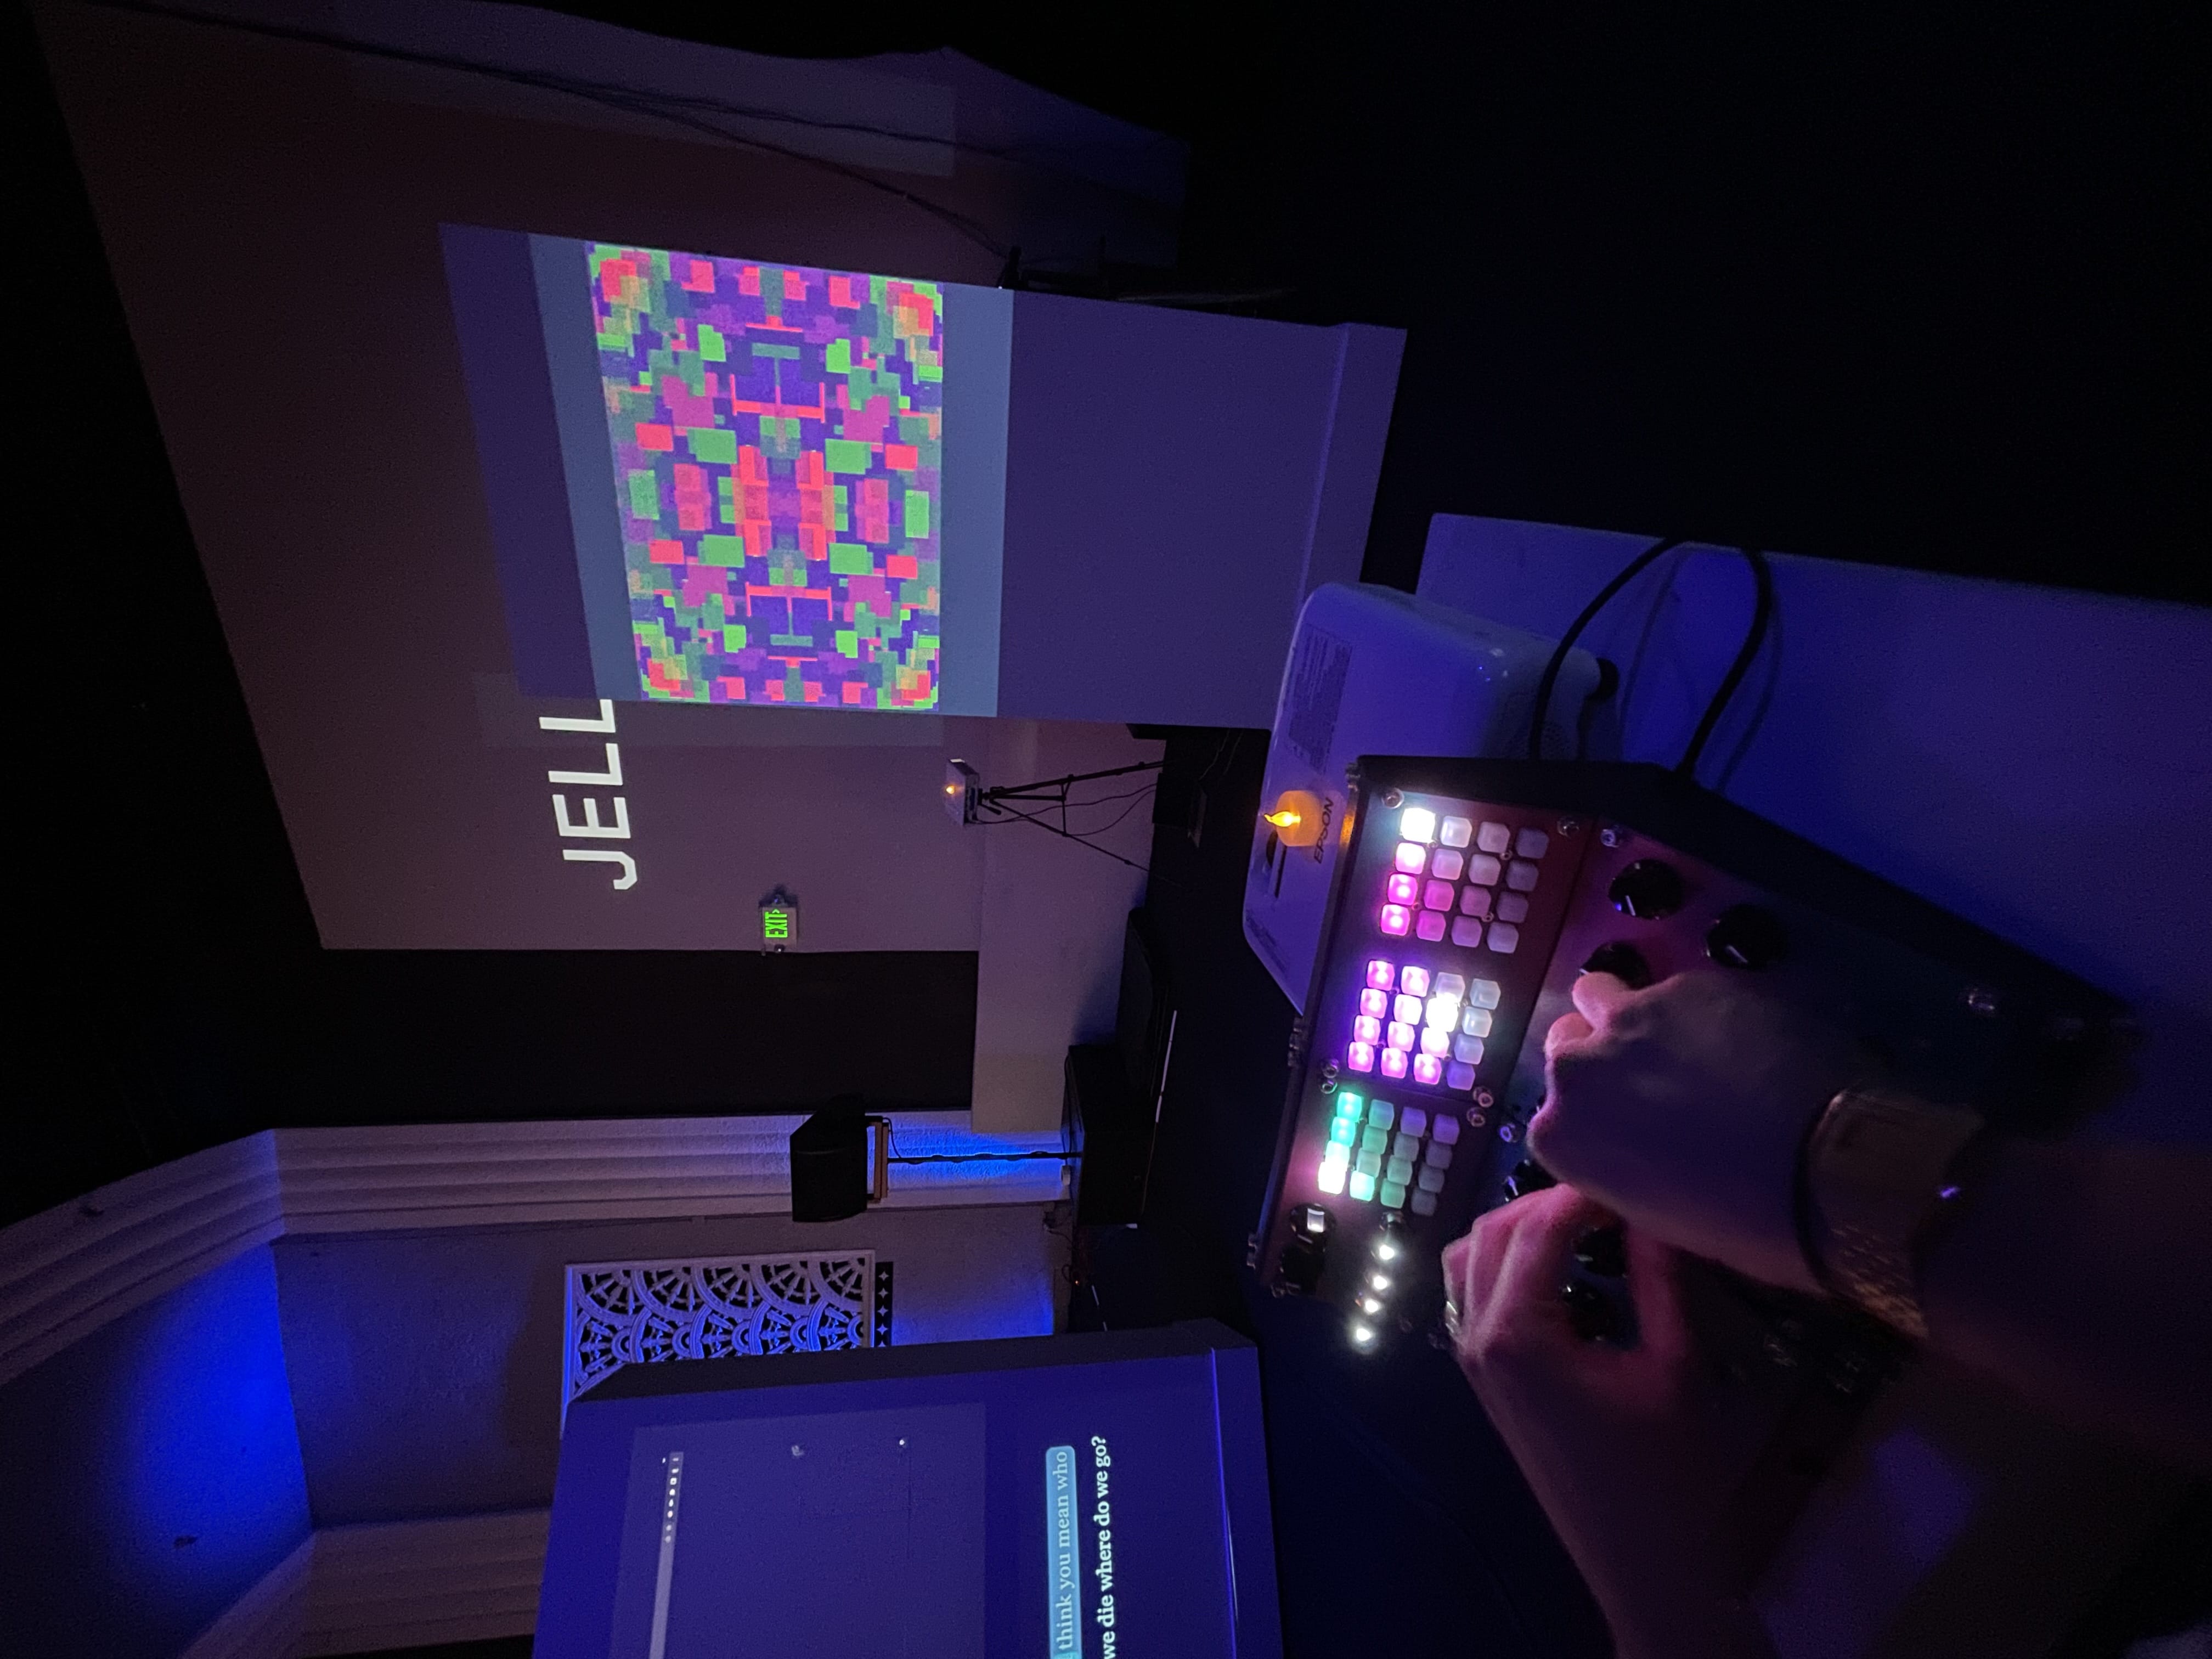
A few more glamour shots from the first installation at Gray Area:
