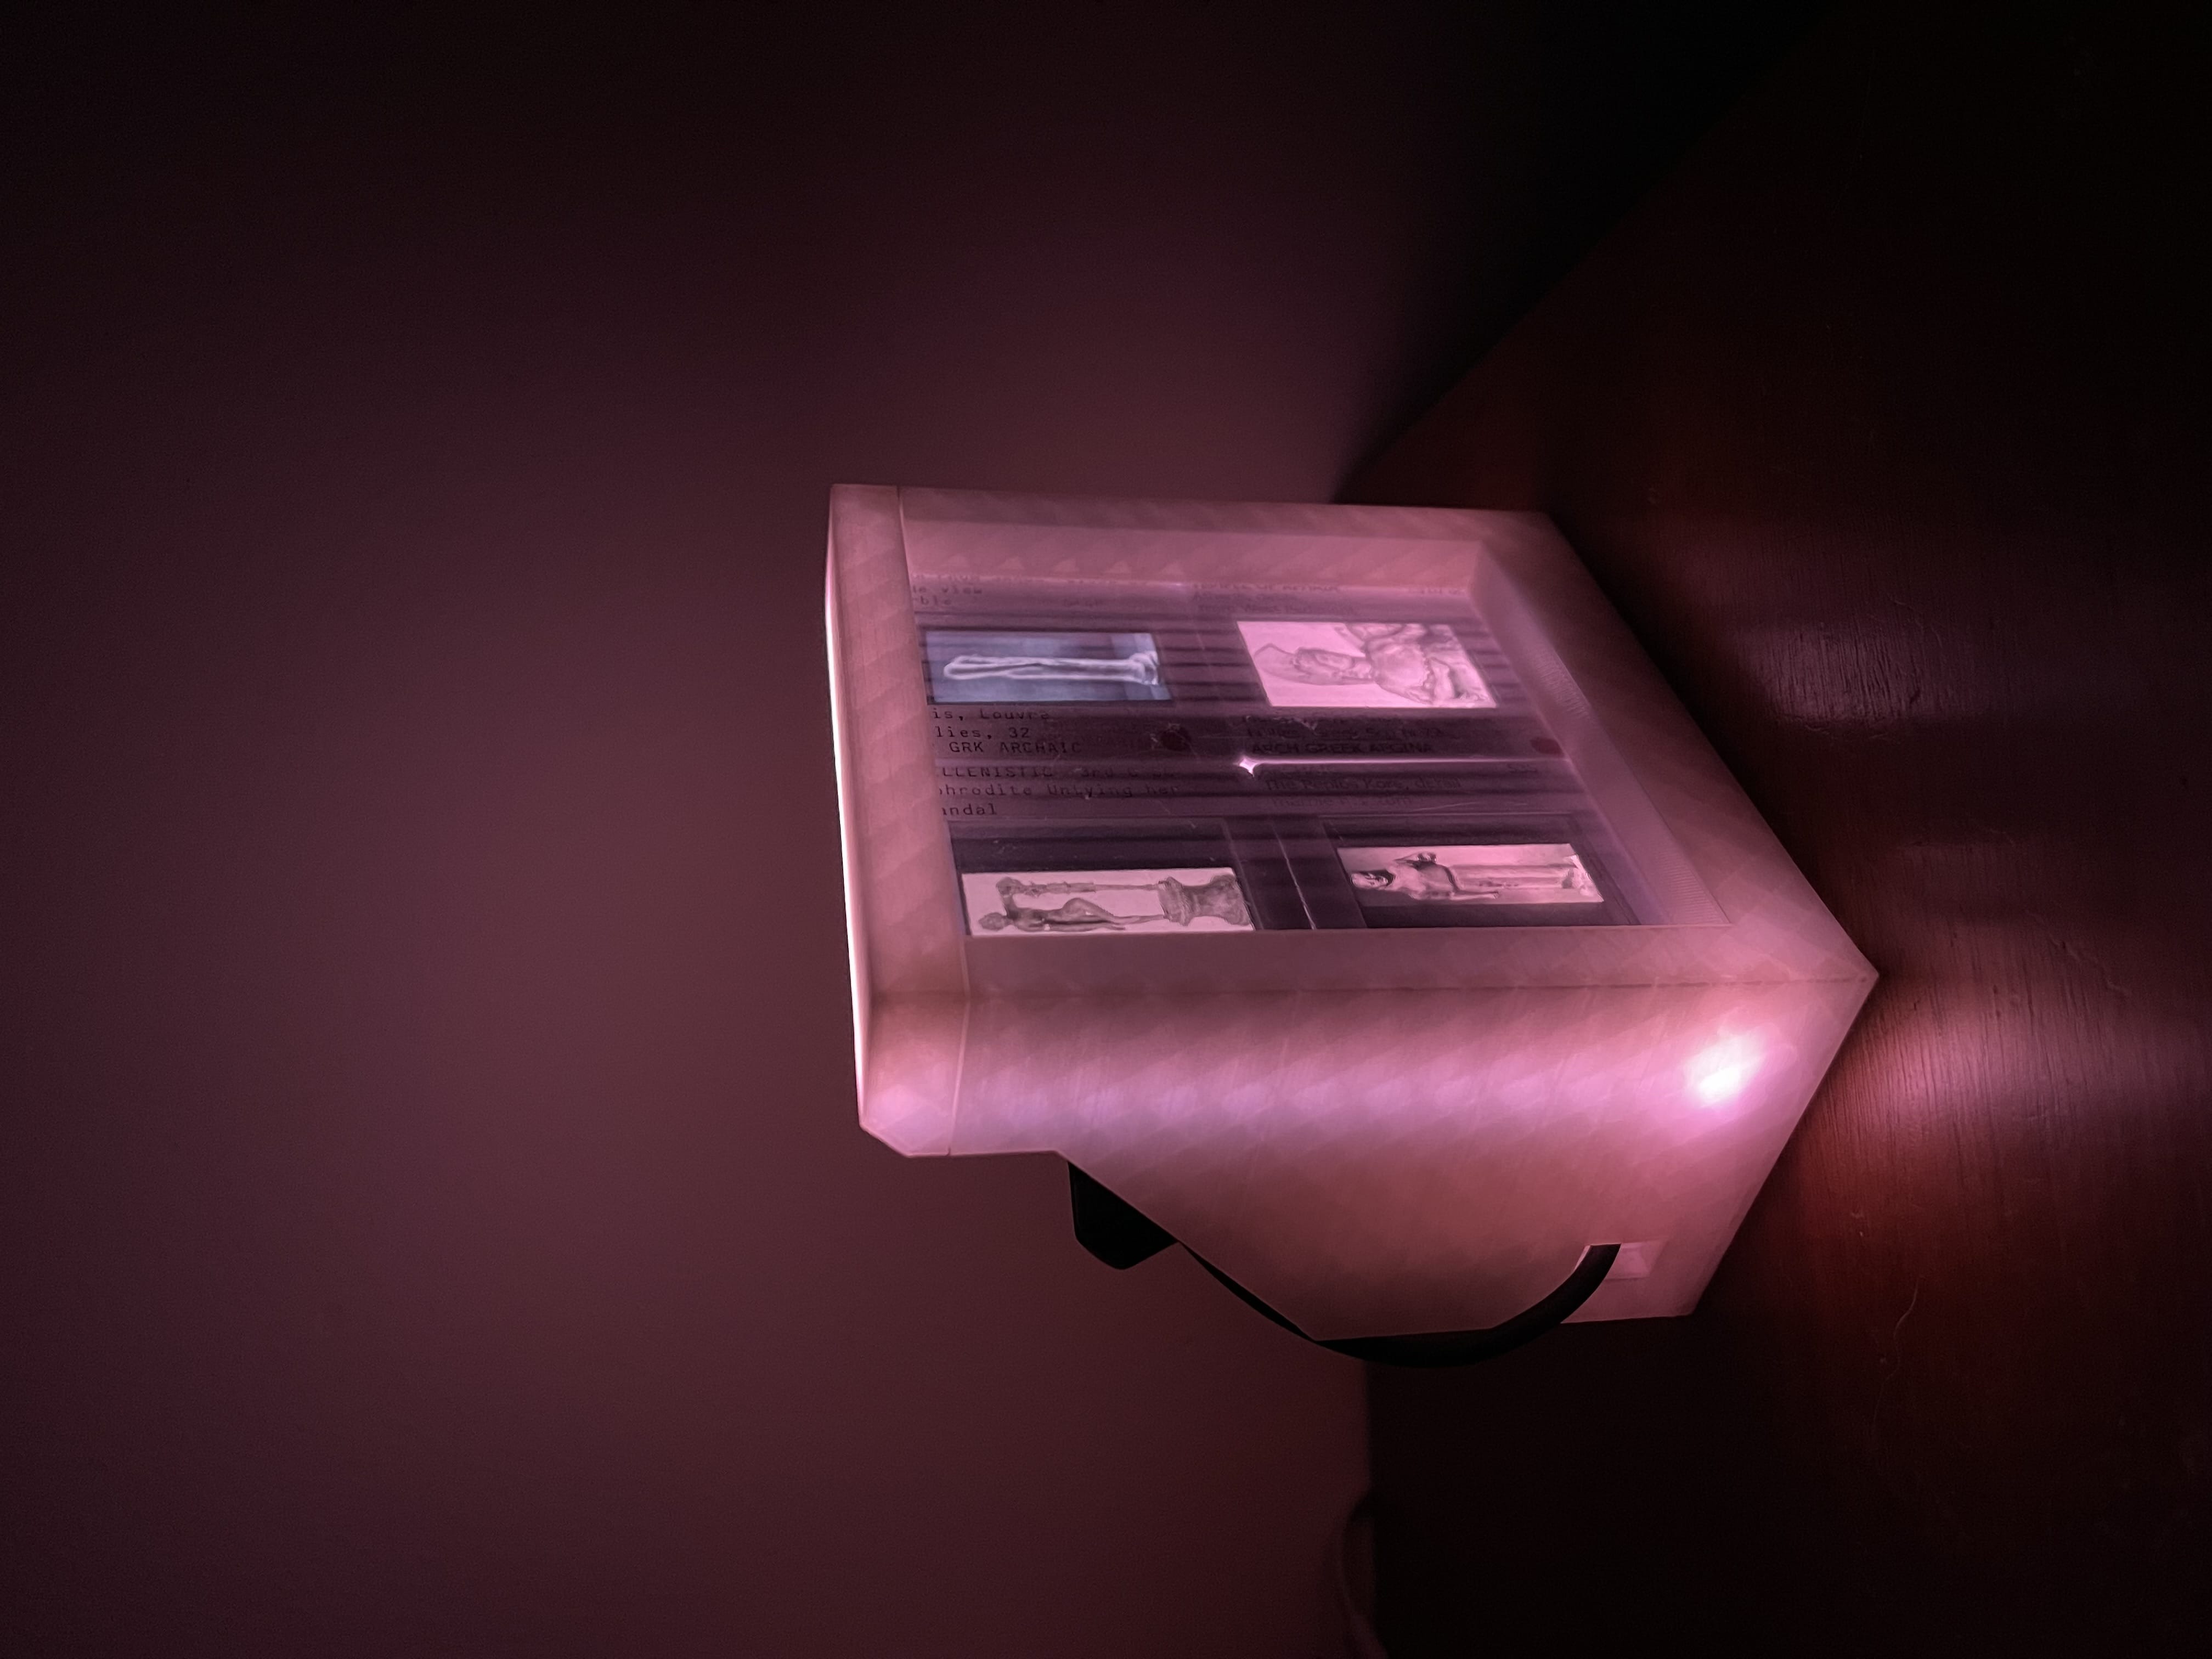
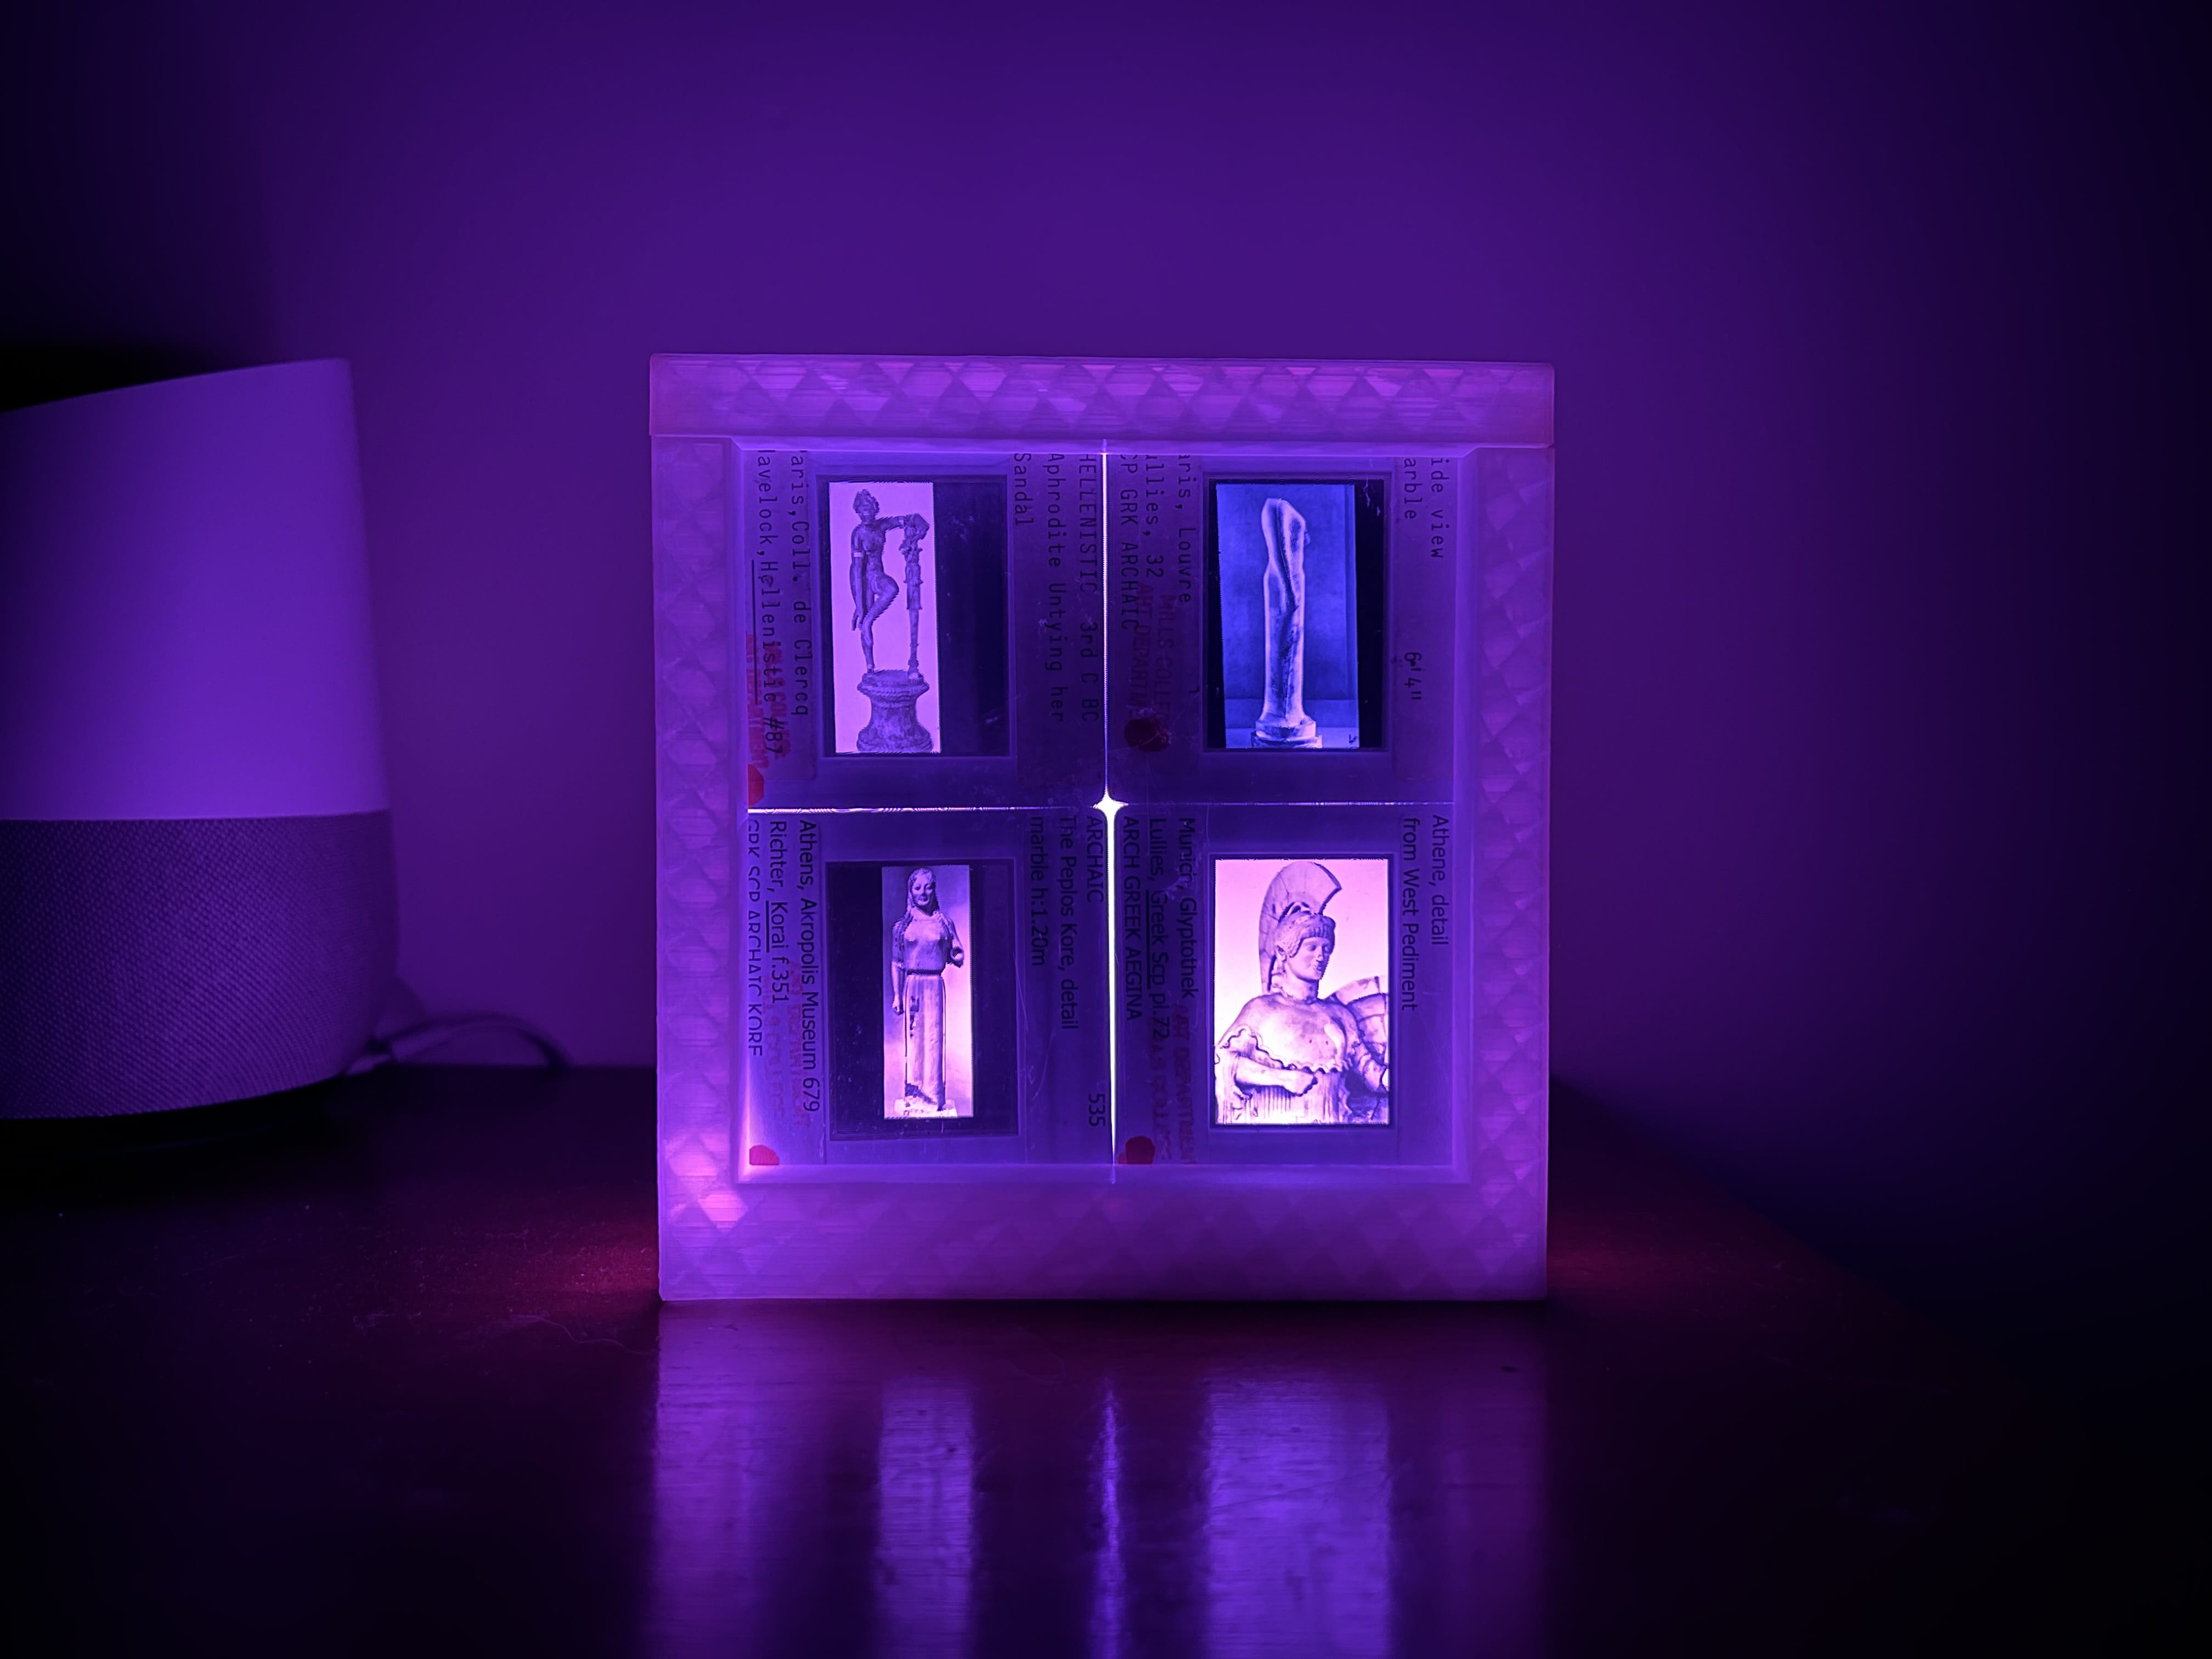
Olympus lamp
June 2021
This is a lamp with a glass-and-LED backlight that can provide nice rear illumination for projector slides. On the back it has knobs for brightness and color, and a light sensor so it can turn on automatically when it gets dark, like a nightlight! In front of the slides is a thin piece of acrylic that has a ridged texture that lends the photos a bit of a pixelated appearance and breaks up the shapes a little.
A couple years ago a friend gave me his old 3D printer after he upgraded to a fancier model. I set about learning to use Fusion360 and this project was one of the first things I built with my new skills.
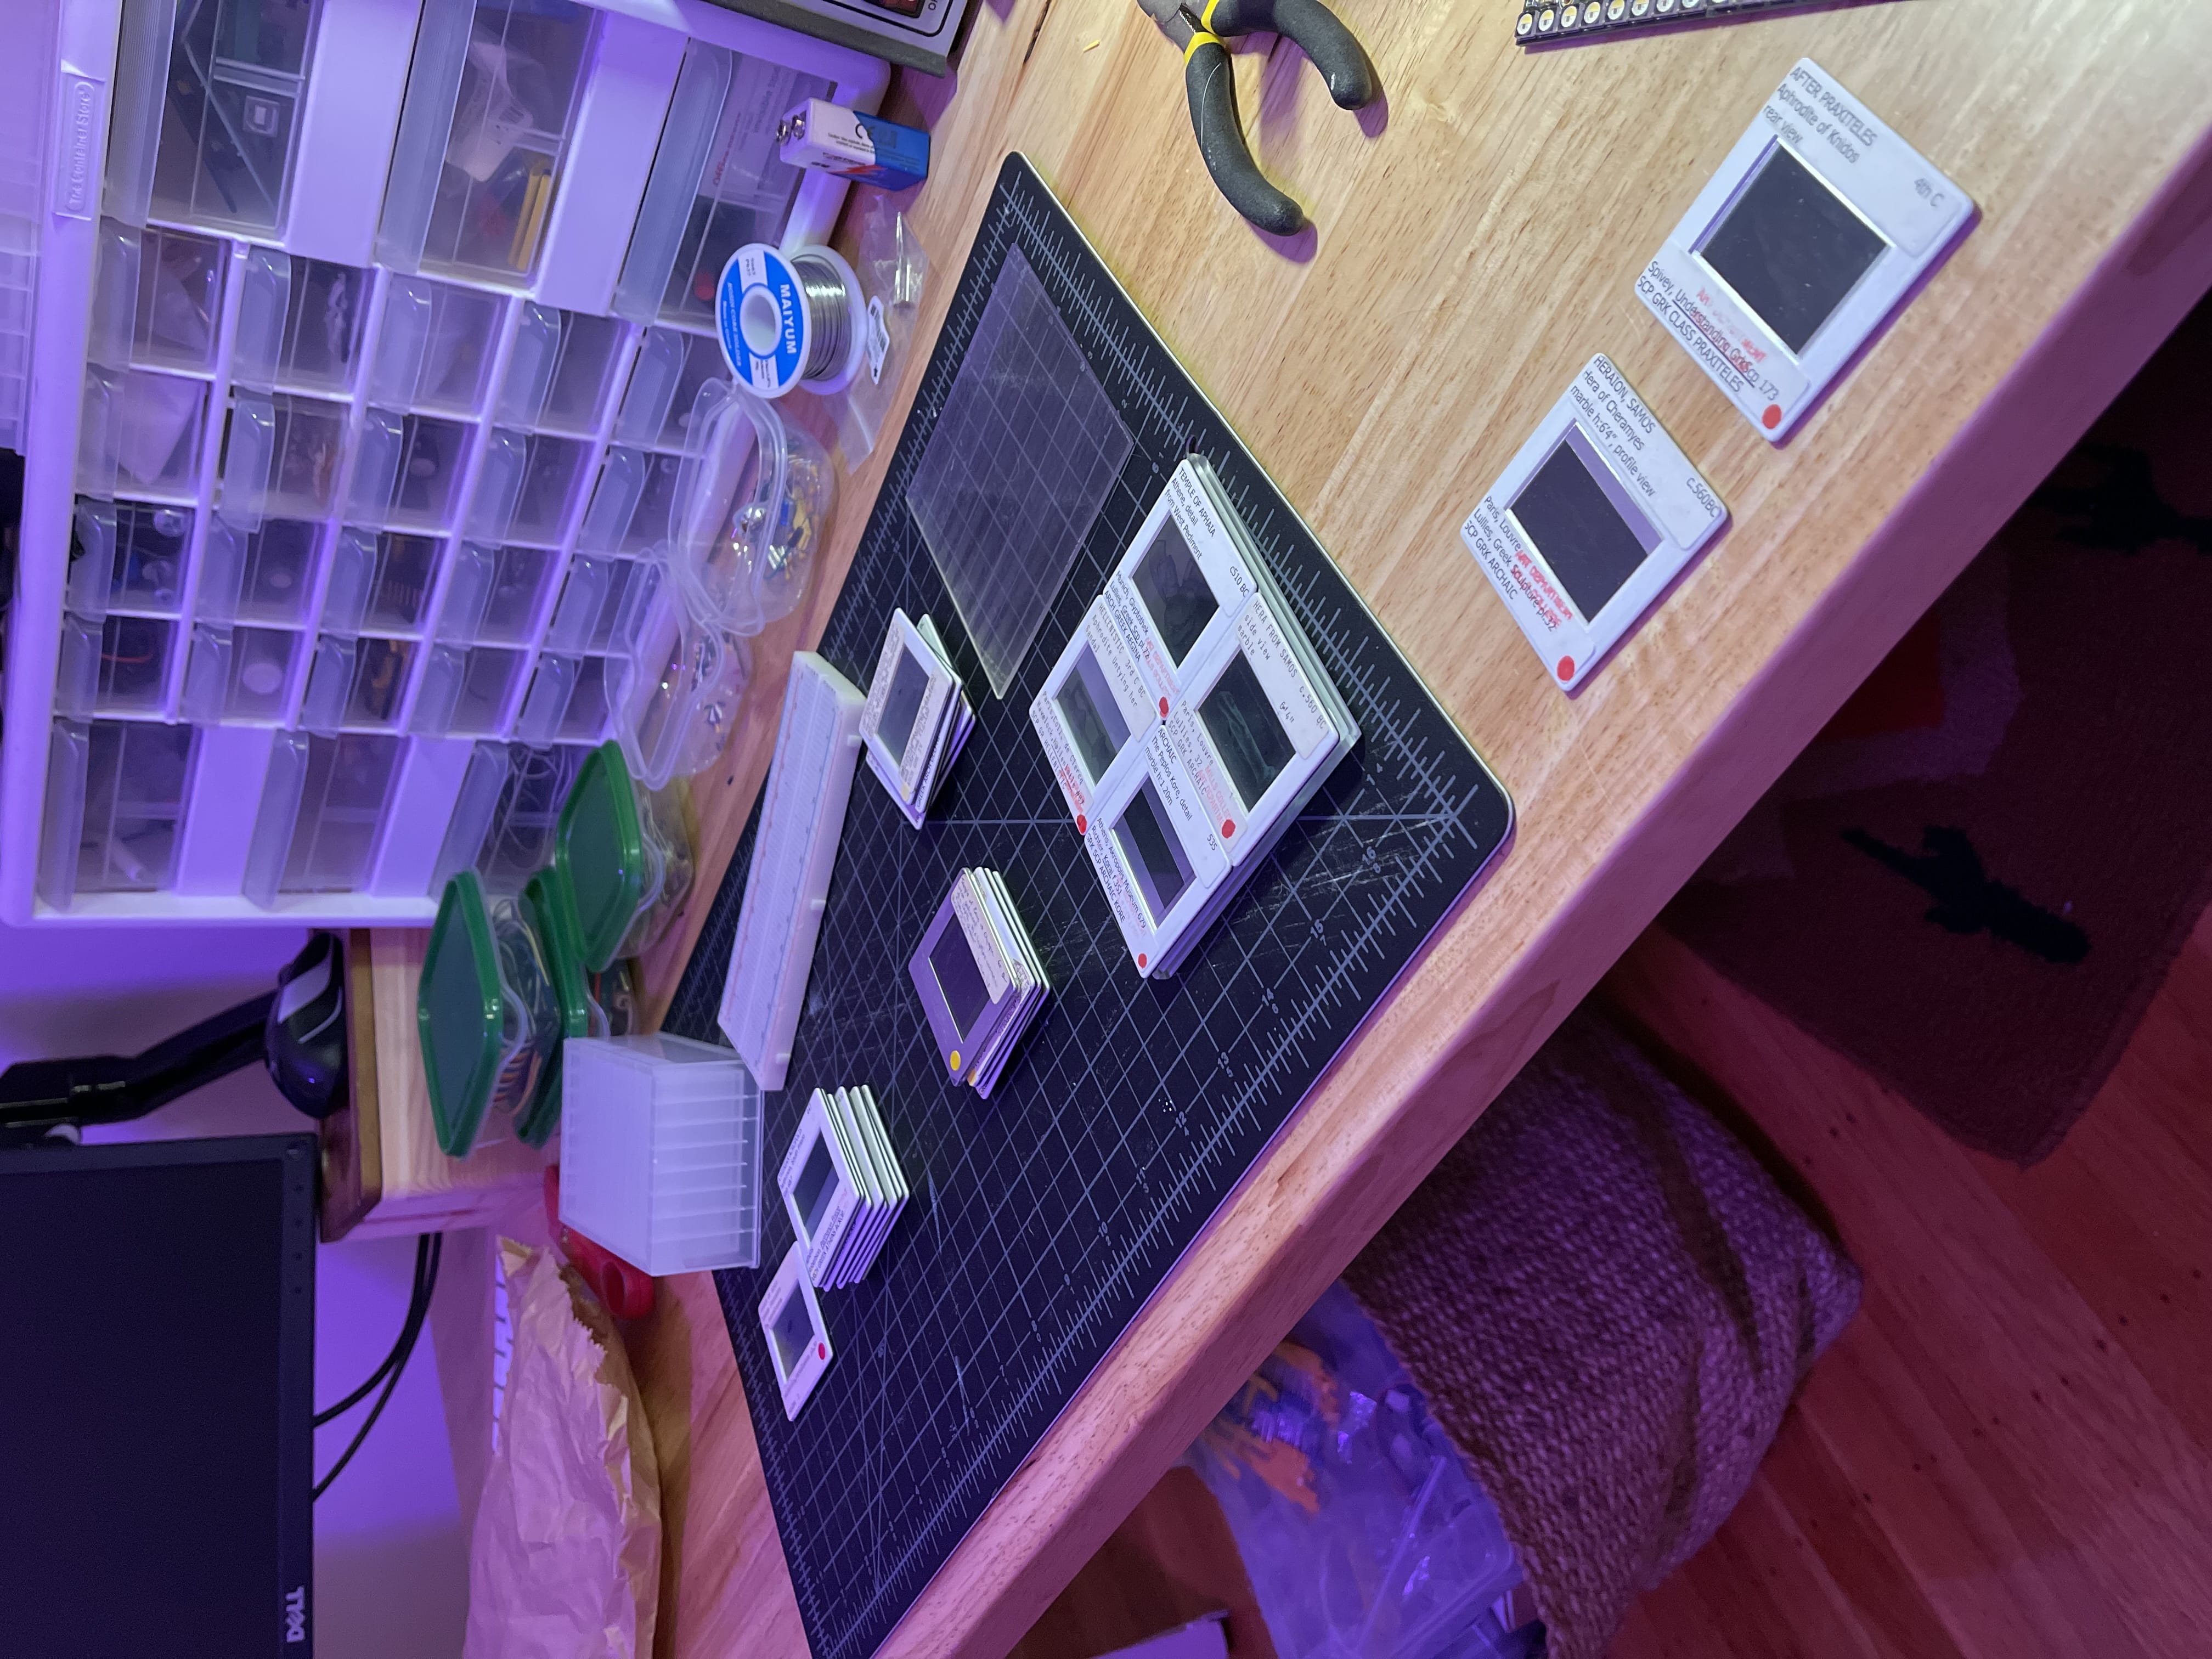
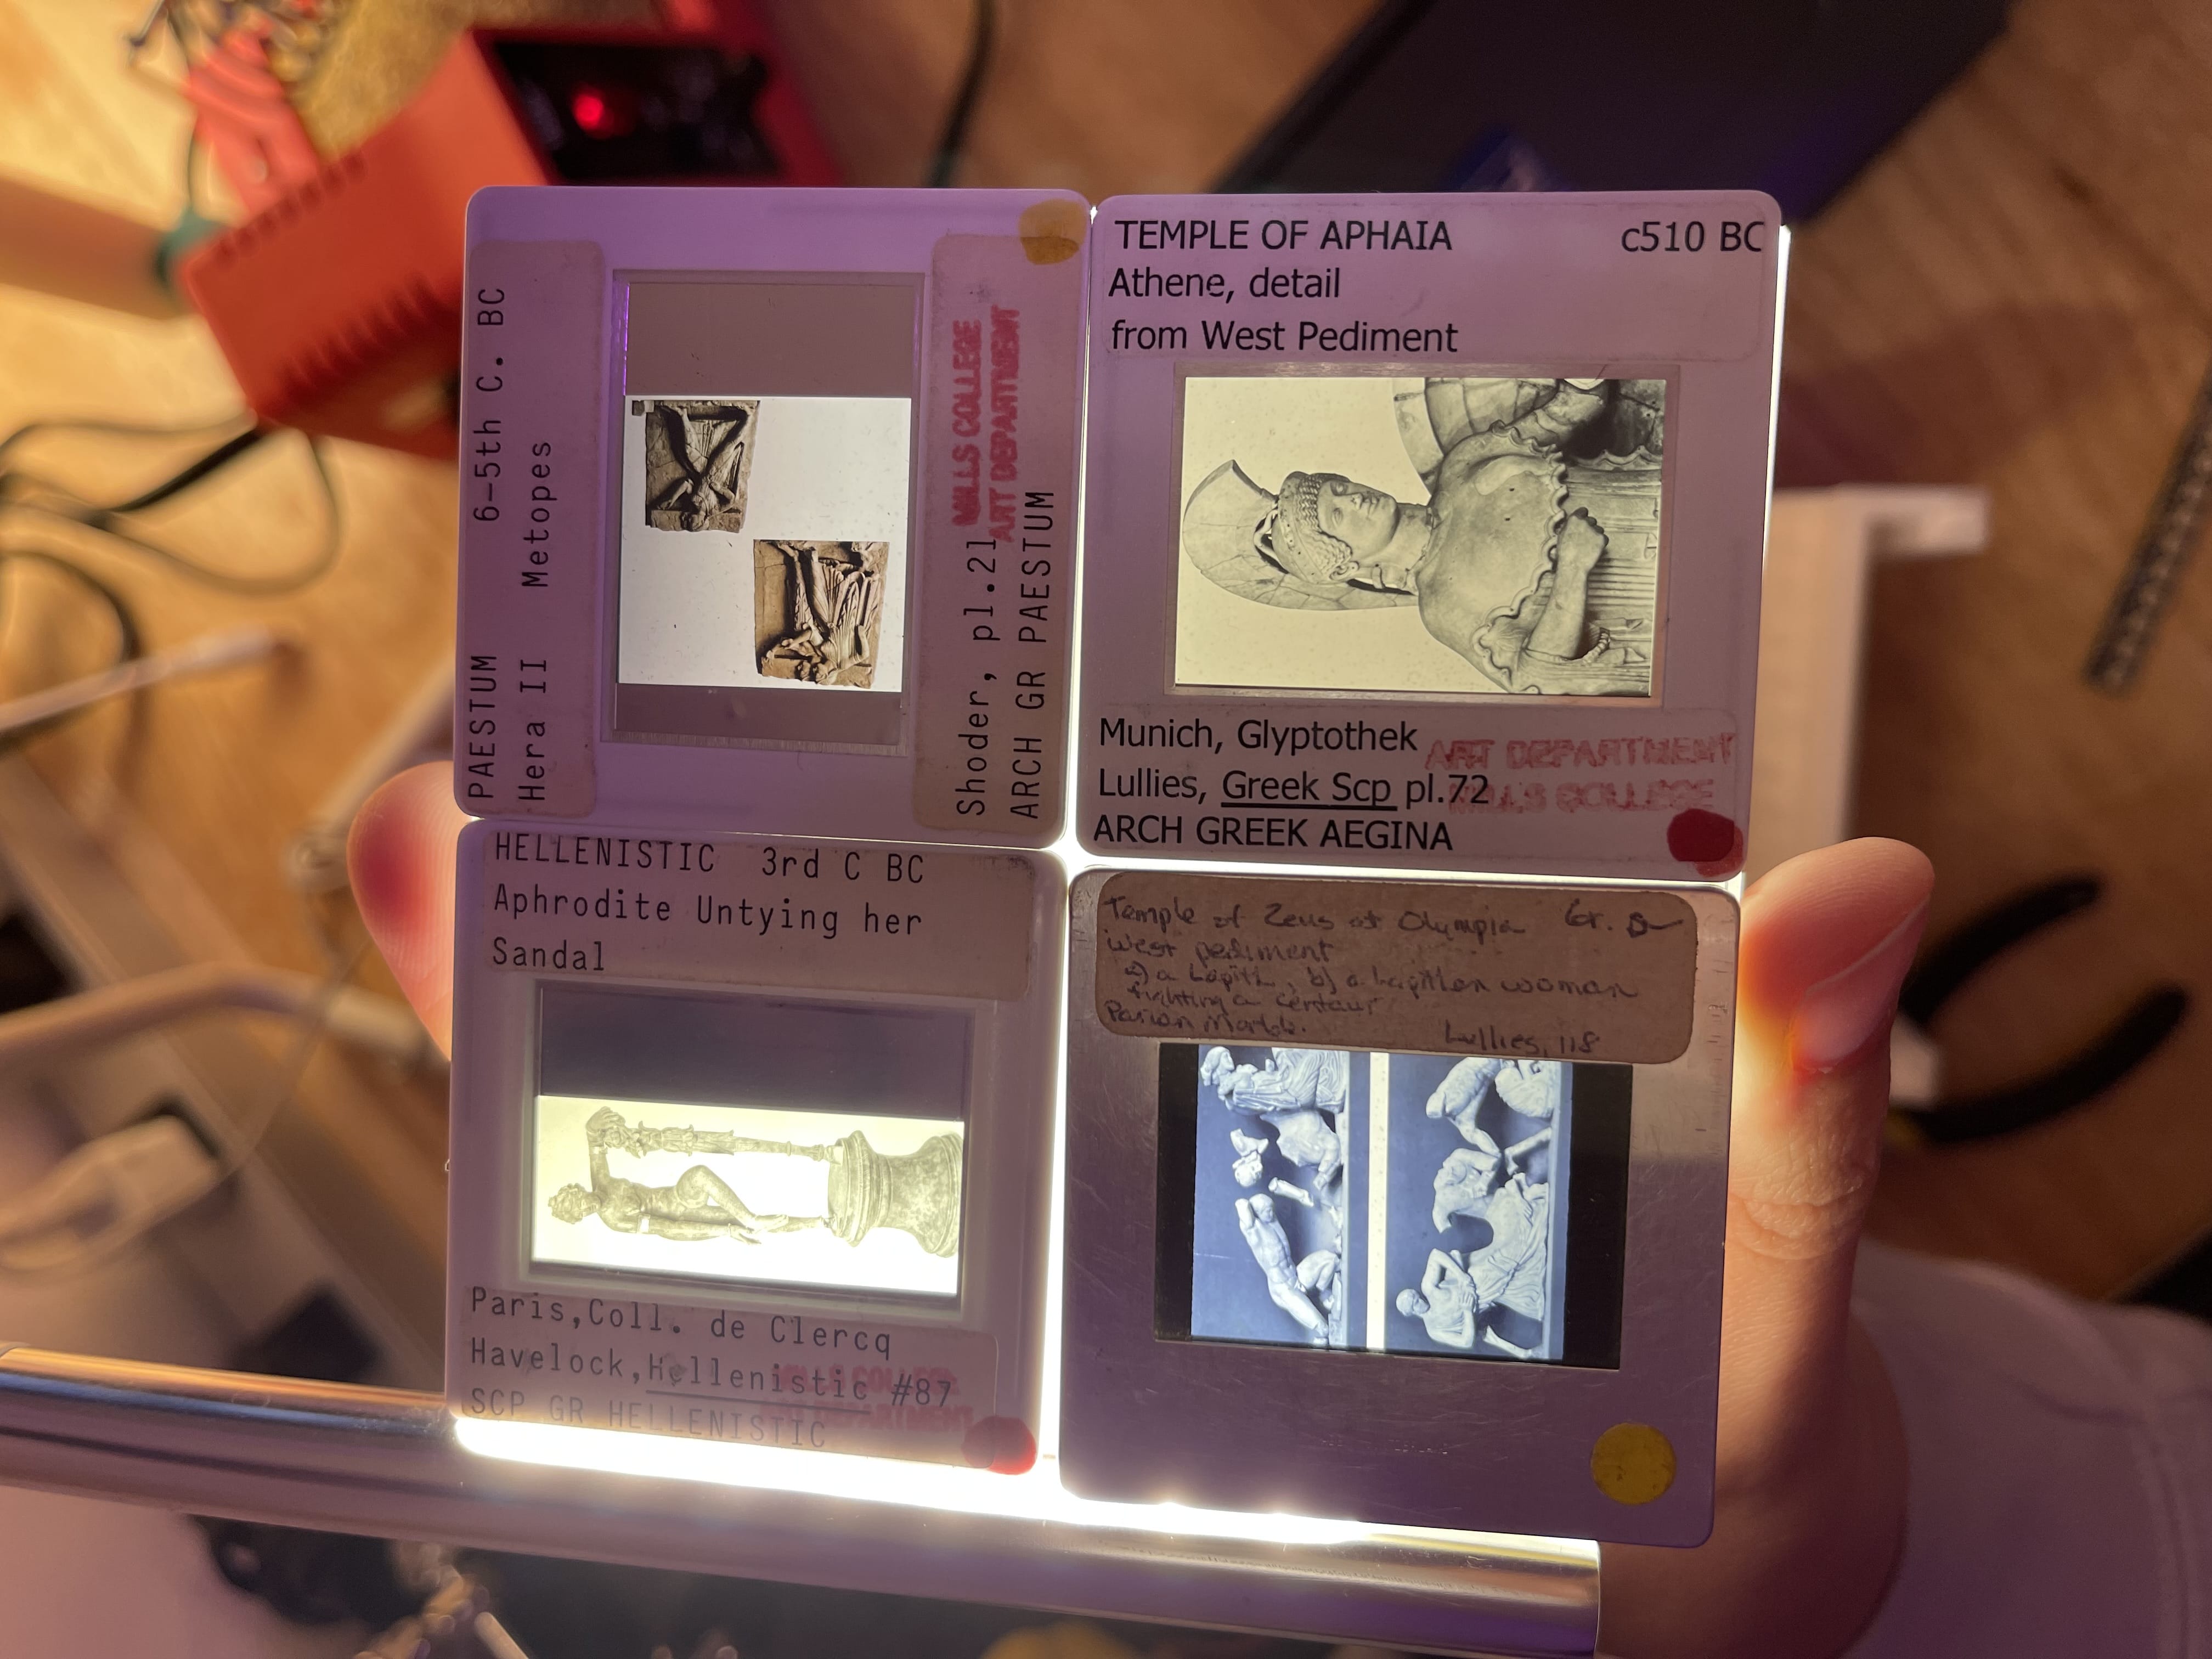
I was browsing around a local creative reuse center called SCRAP, that has just has bins and bins of... stuff... that you can purchase cheaply for fun projects. I found a big bin of projector slides from the Mills College art department, which included a bunch of awesome photos of greek statues. I found another bin with glass samples cut into 4"x4" squares, and whaddaya know, a 2x2 grid of tiles fits perfectly. I had the idea to add some LED edge lighting on the glass to create a backlight effect, which I tested quickly with the work lamp on my desk.
It looked great!
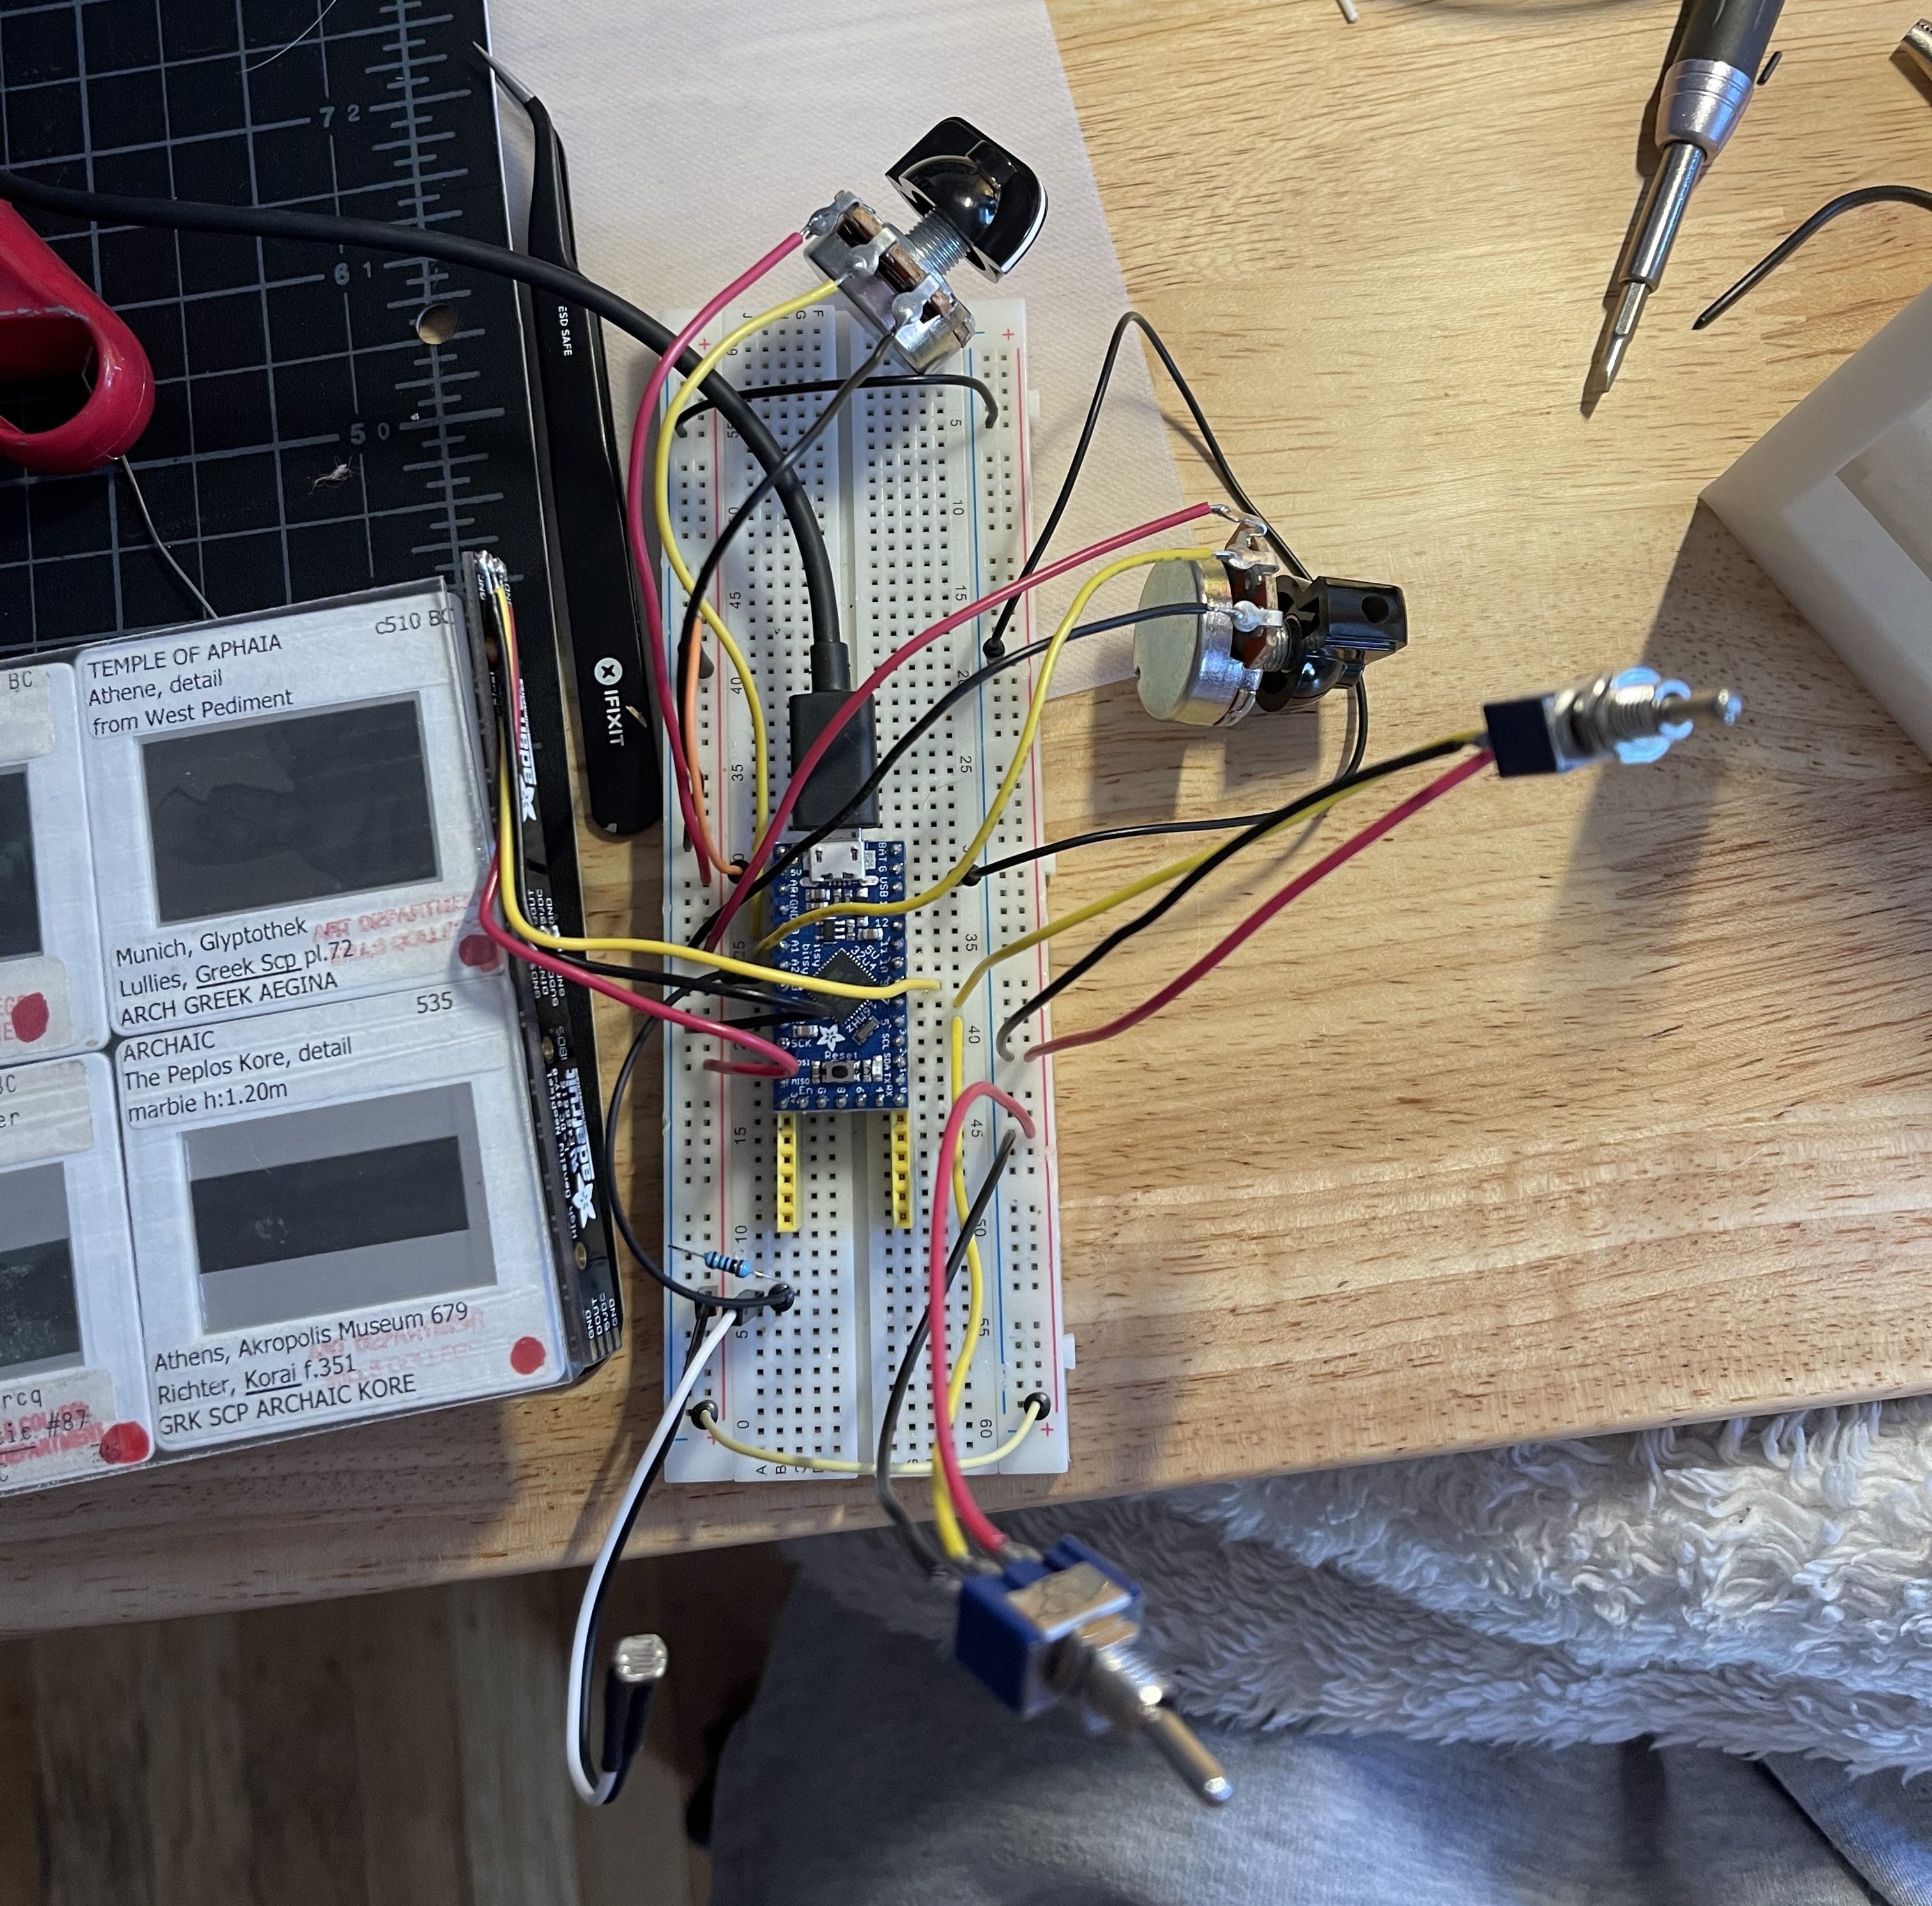
Here you can see the circuit I used — the microcontroller is an Adafruit ItsyBitsy 32u4 that I had lying around. Small, cheap, and effective! There are two potentiometers: one for brightness and one for color. I think a lot of LED projects suffer from rainbow overload, and especially for a light source I wanted to have some nice neutral and subtle colors available, so I split up the color control space into three segments:
- Cool white to warm white
- Low saturation rainbow
- High saturation rainbow
In one full rotation of the knob you can sweep through all three of those ranges, and find the perfect vibe for your space.
There are two toggle switches: one is an on/off switch for the whole system, and the other enables the light sensor so that it can turn on automatically when you switch off the room lights. To make this work smoothly I added a simple hysteresis effect: if the light is off, the lighting sensor has to read quite low, and if the light is on, the lighting sensor has to read quite high to turn it off. This makes the states feel a bit more "sticky", so if you're in an evening twilight condition it isn't flickering on and off. With some manual tuning of the thresholds this felt quite nice!
At the very bottom of the image you can see the light sensor — a simple photoresistor. And to the left you can see the LED strips — a pair of RGBW Adafruit Neopixel Sticks connected end-to-end.
All of this was soldered to a half-size perma-proto board and crammed into the enclosure.
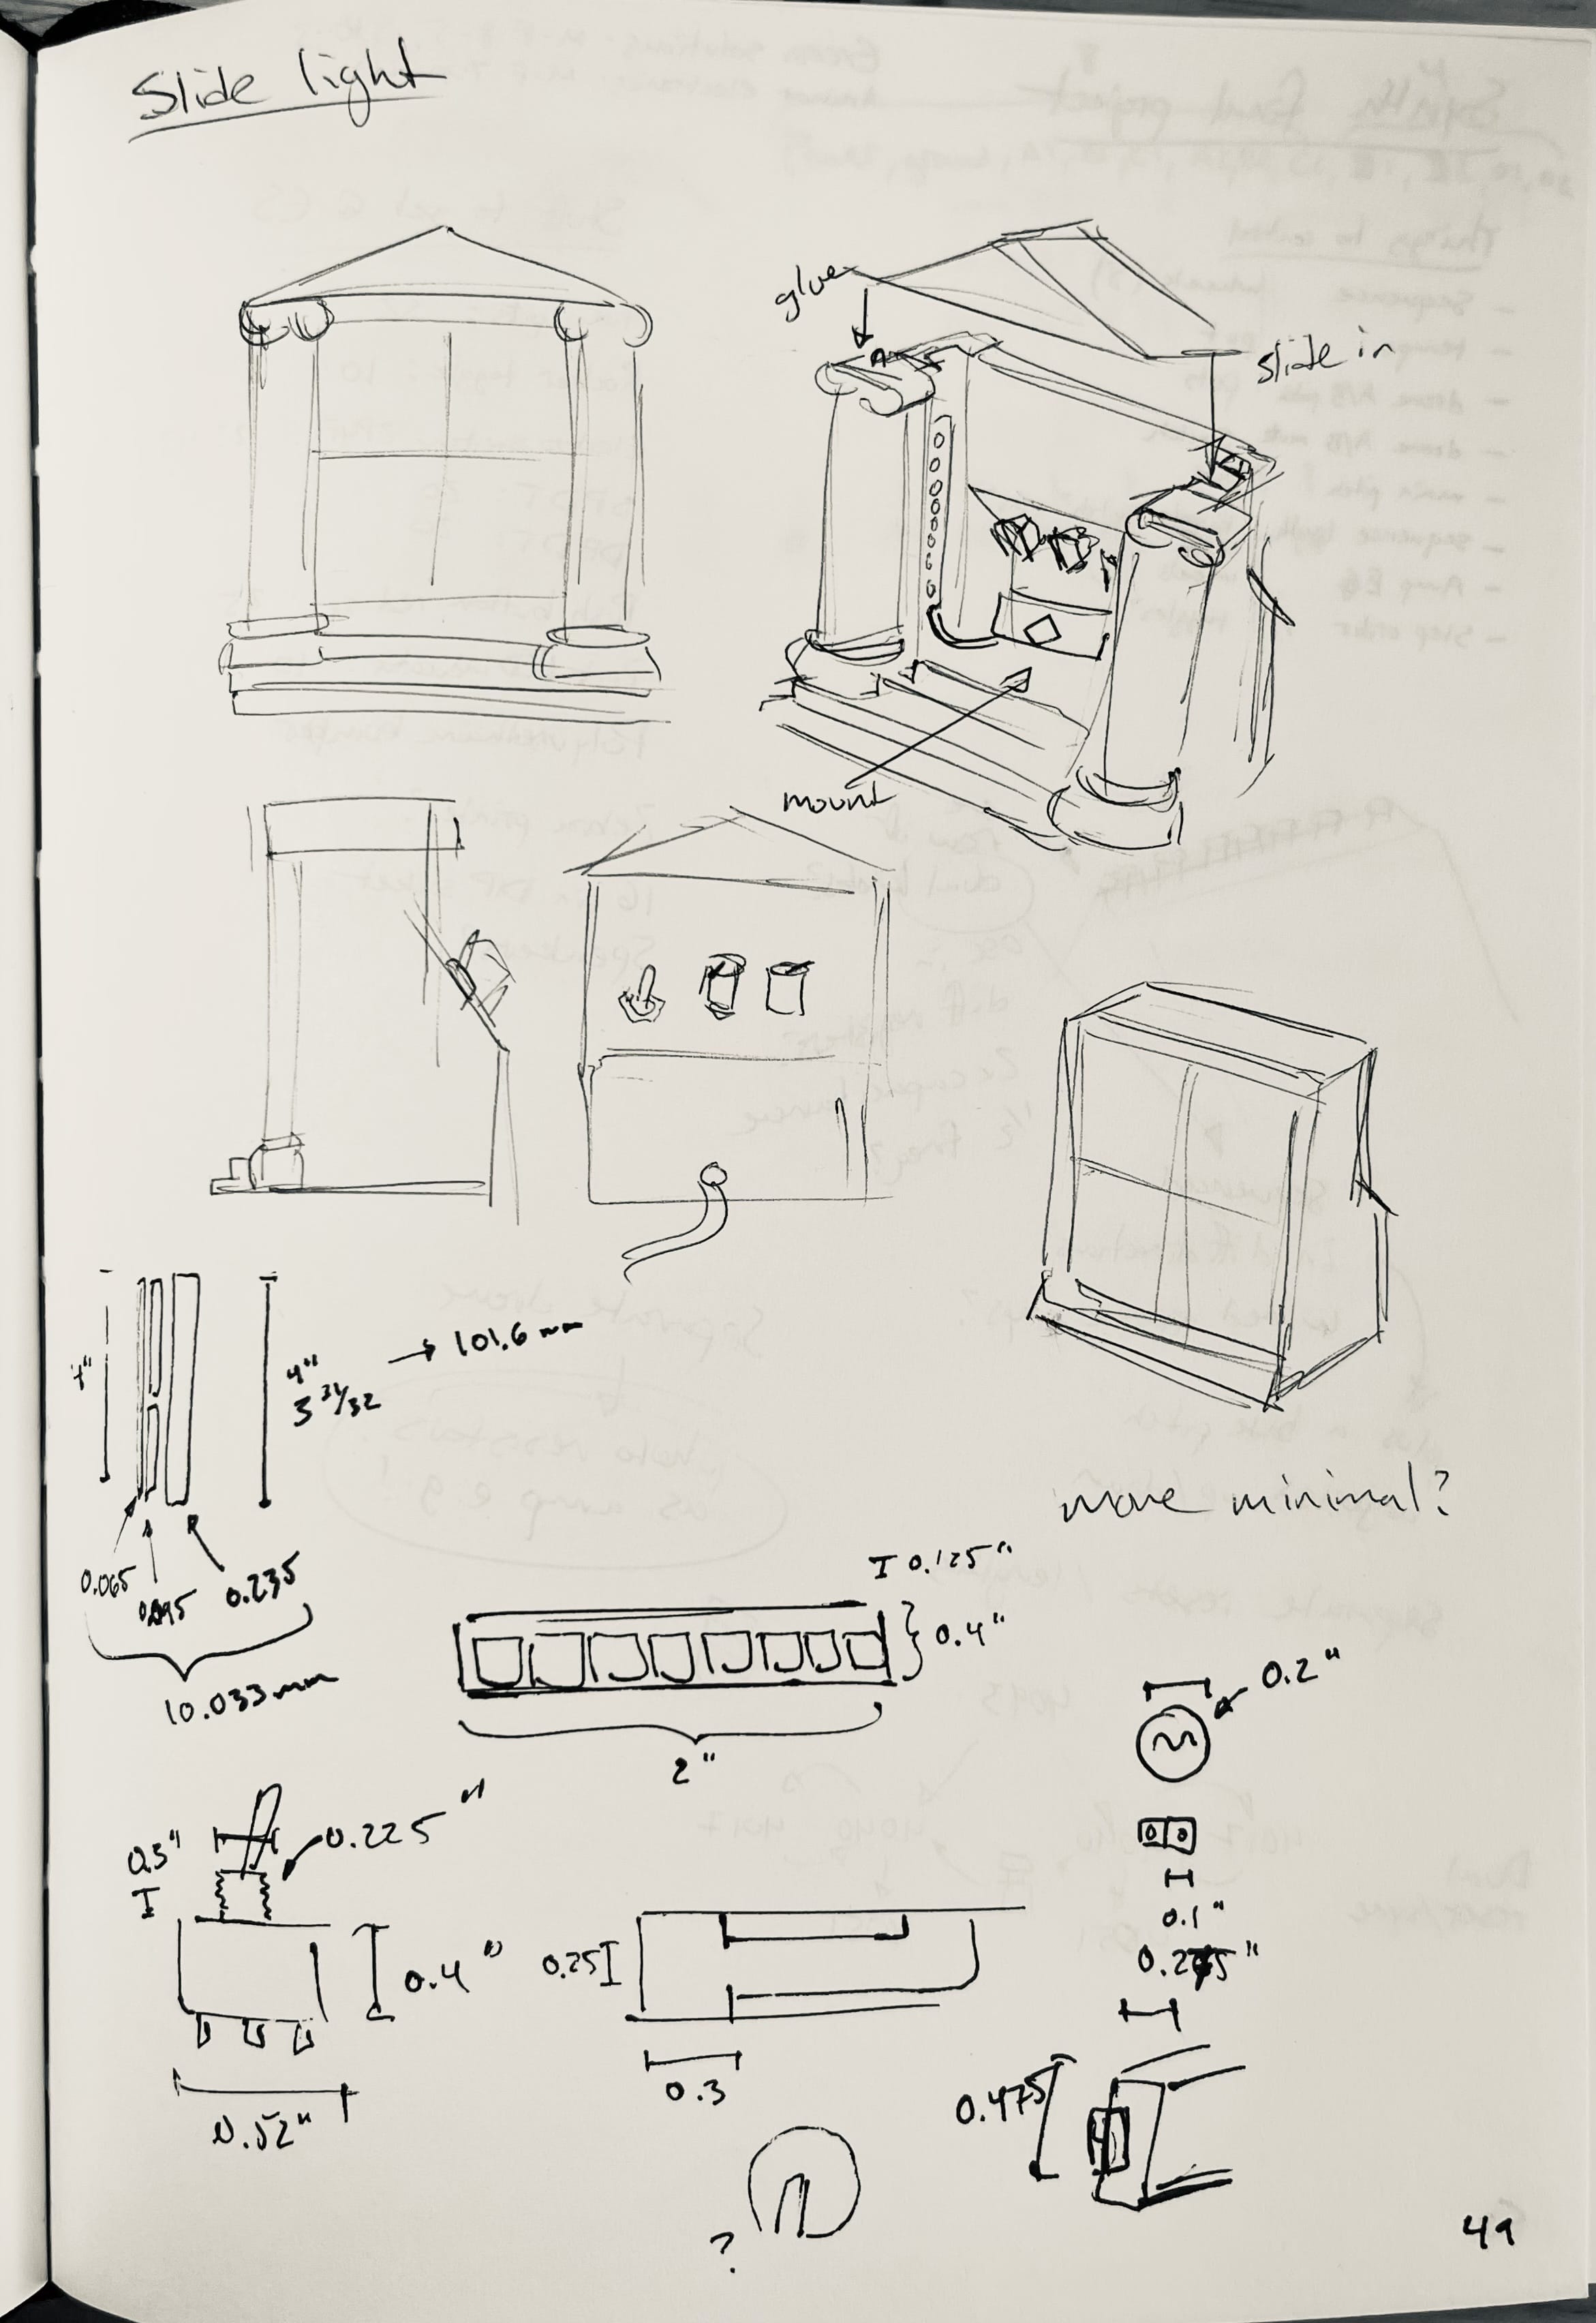
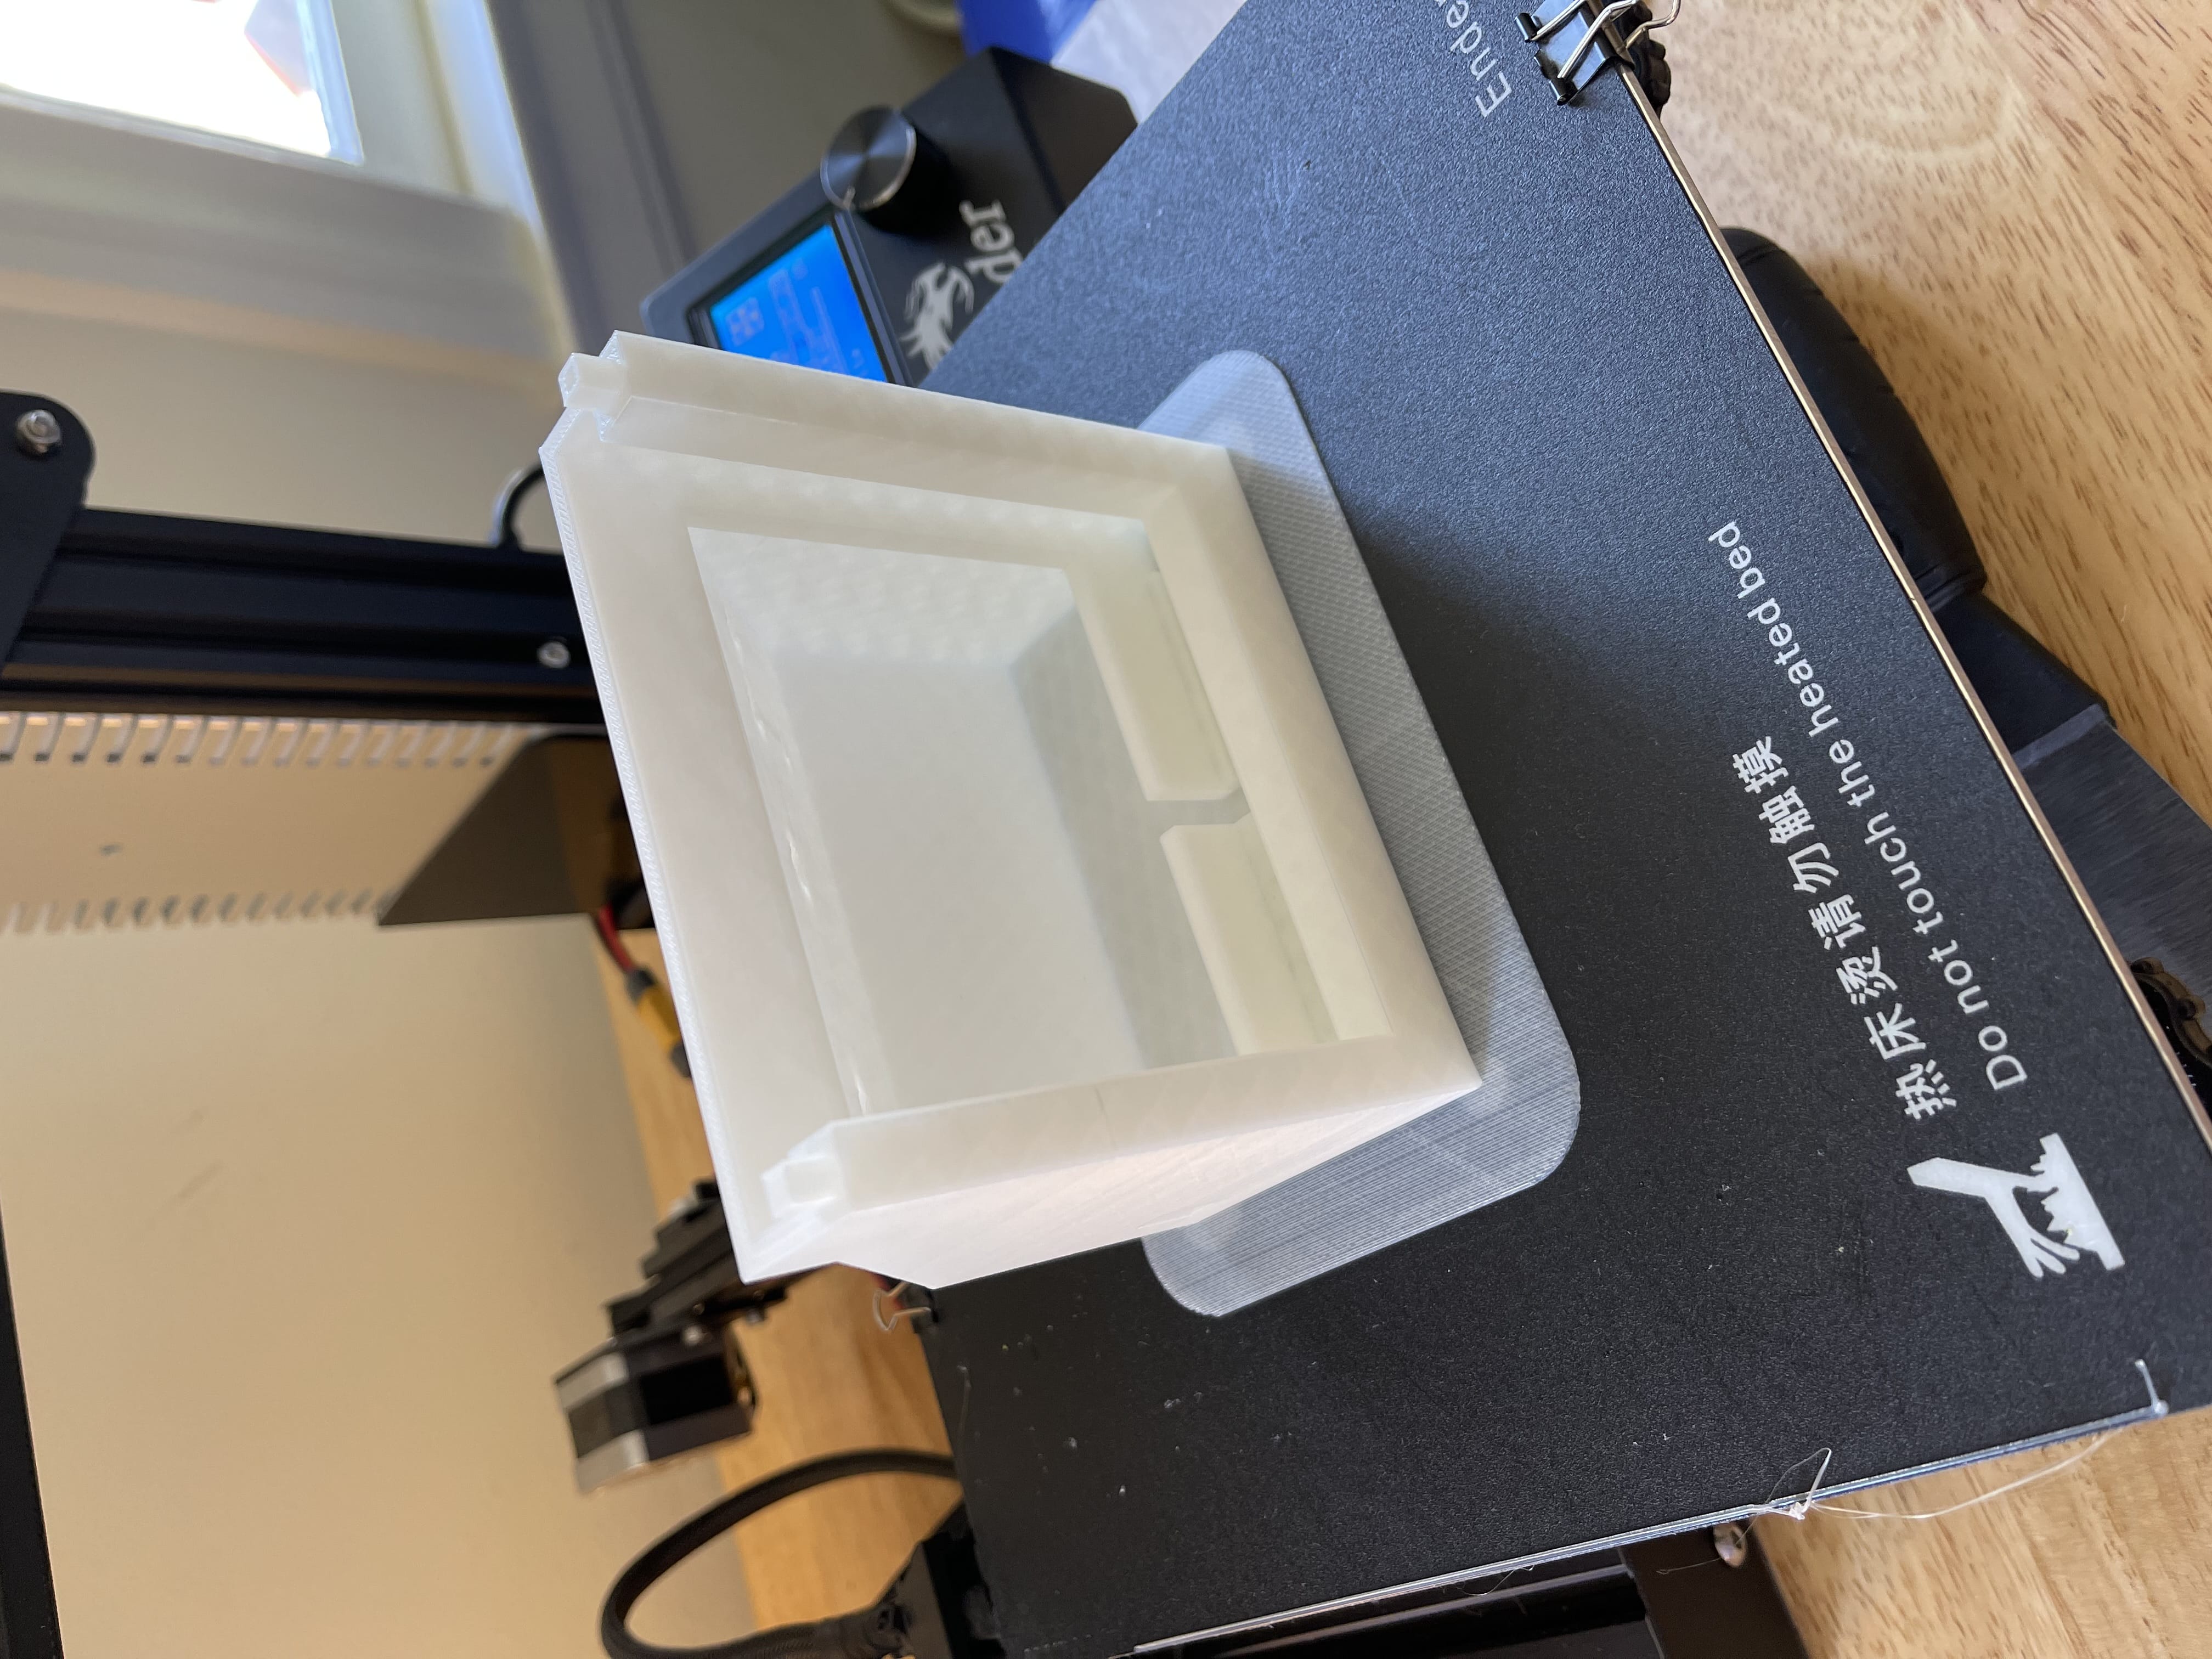
I wish I had better documentation of my process of designing the enclosure, but here's a sketch and the final result :)
In between was a bunch of experimental tinkering in Fusion360. Once I got the sketch -> extrude -> refine workflow down, it felt really natural to design 3D things! It's always so exciting to learn a new skill, and 3D printing really unlocked a ton of creative possibilities for me.
I have a lot of things I'd change now — there's a lot of empty space in there, and the little pegs on top were meant to key into the lid and stop it from sliding around, but they were too fragile in practice and one of them snapped off.
A quick demo video:
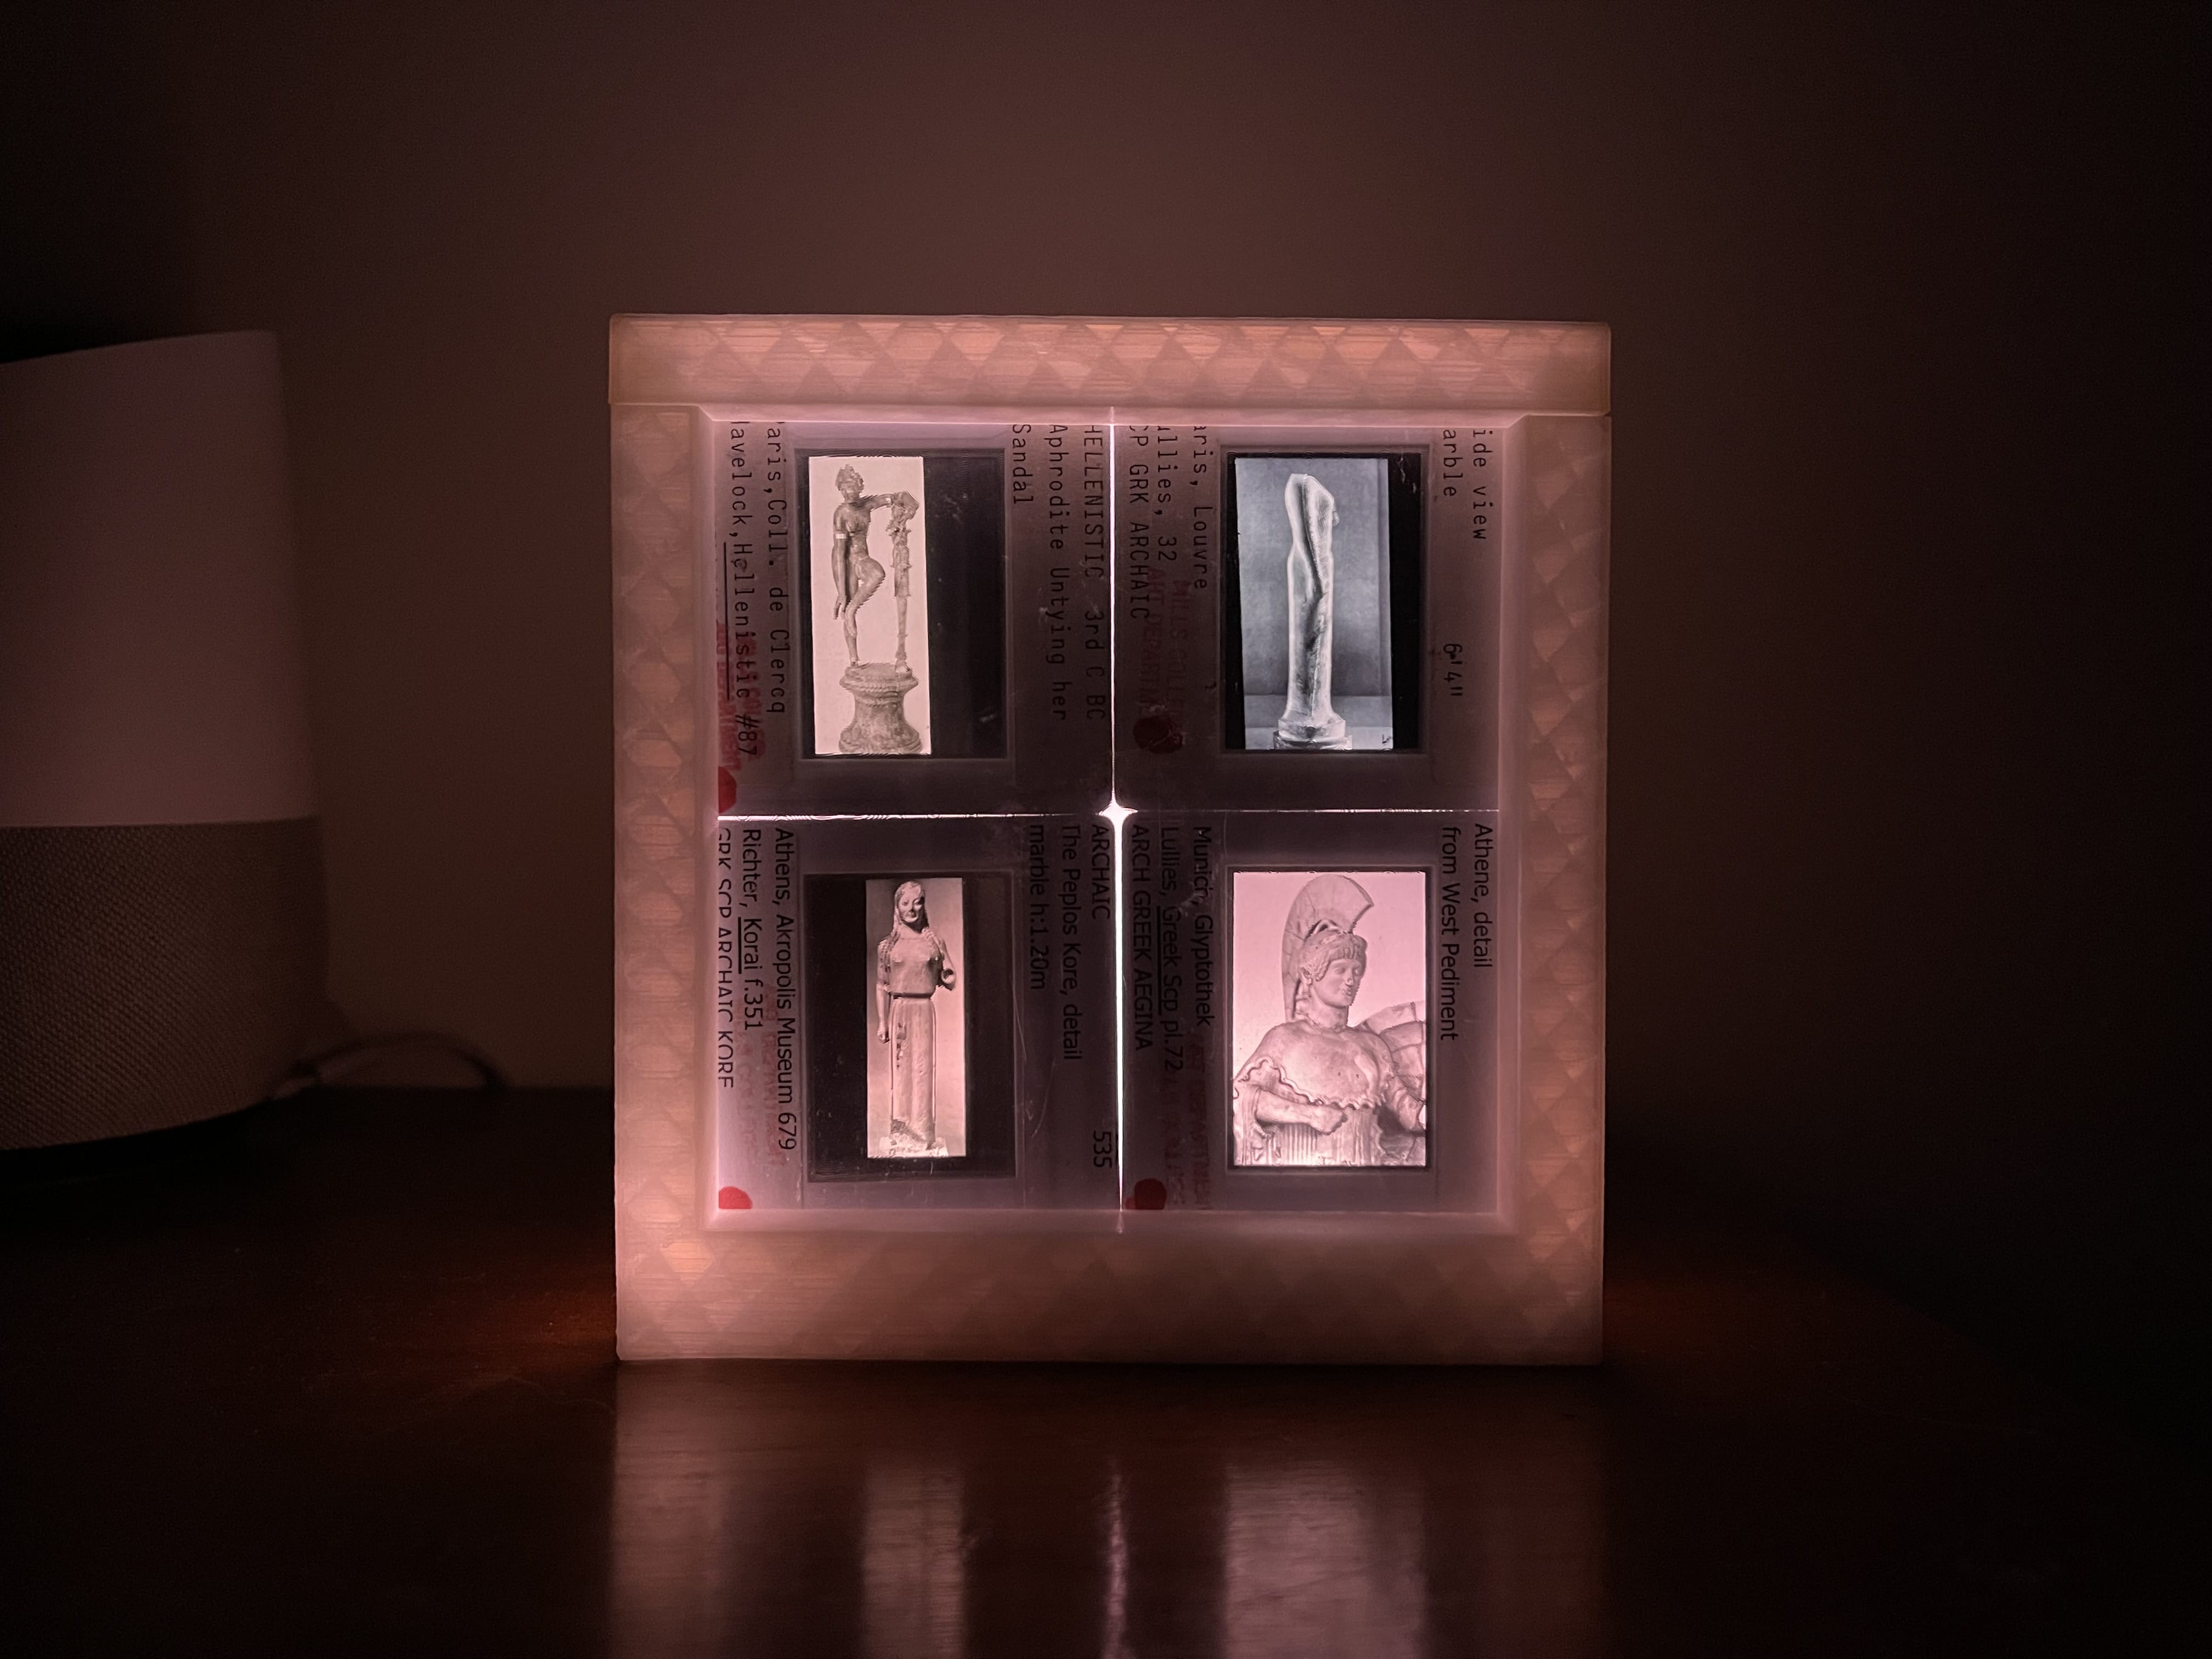
Here are a few more shots of the final result! The photos kind of capture it, but the soft glow from the semi-transparent enclosure is really nice. And you can see the internal "infill pattern" of the print which is kinda neat — the slicer program automatically fills volumes like thick walls with a tilted-cube pattern to balance strength and filament usage.
