Cyberdemon choker
Late 2021 – 2024
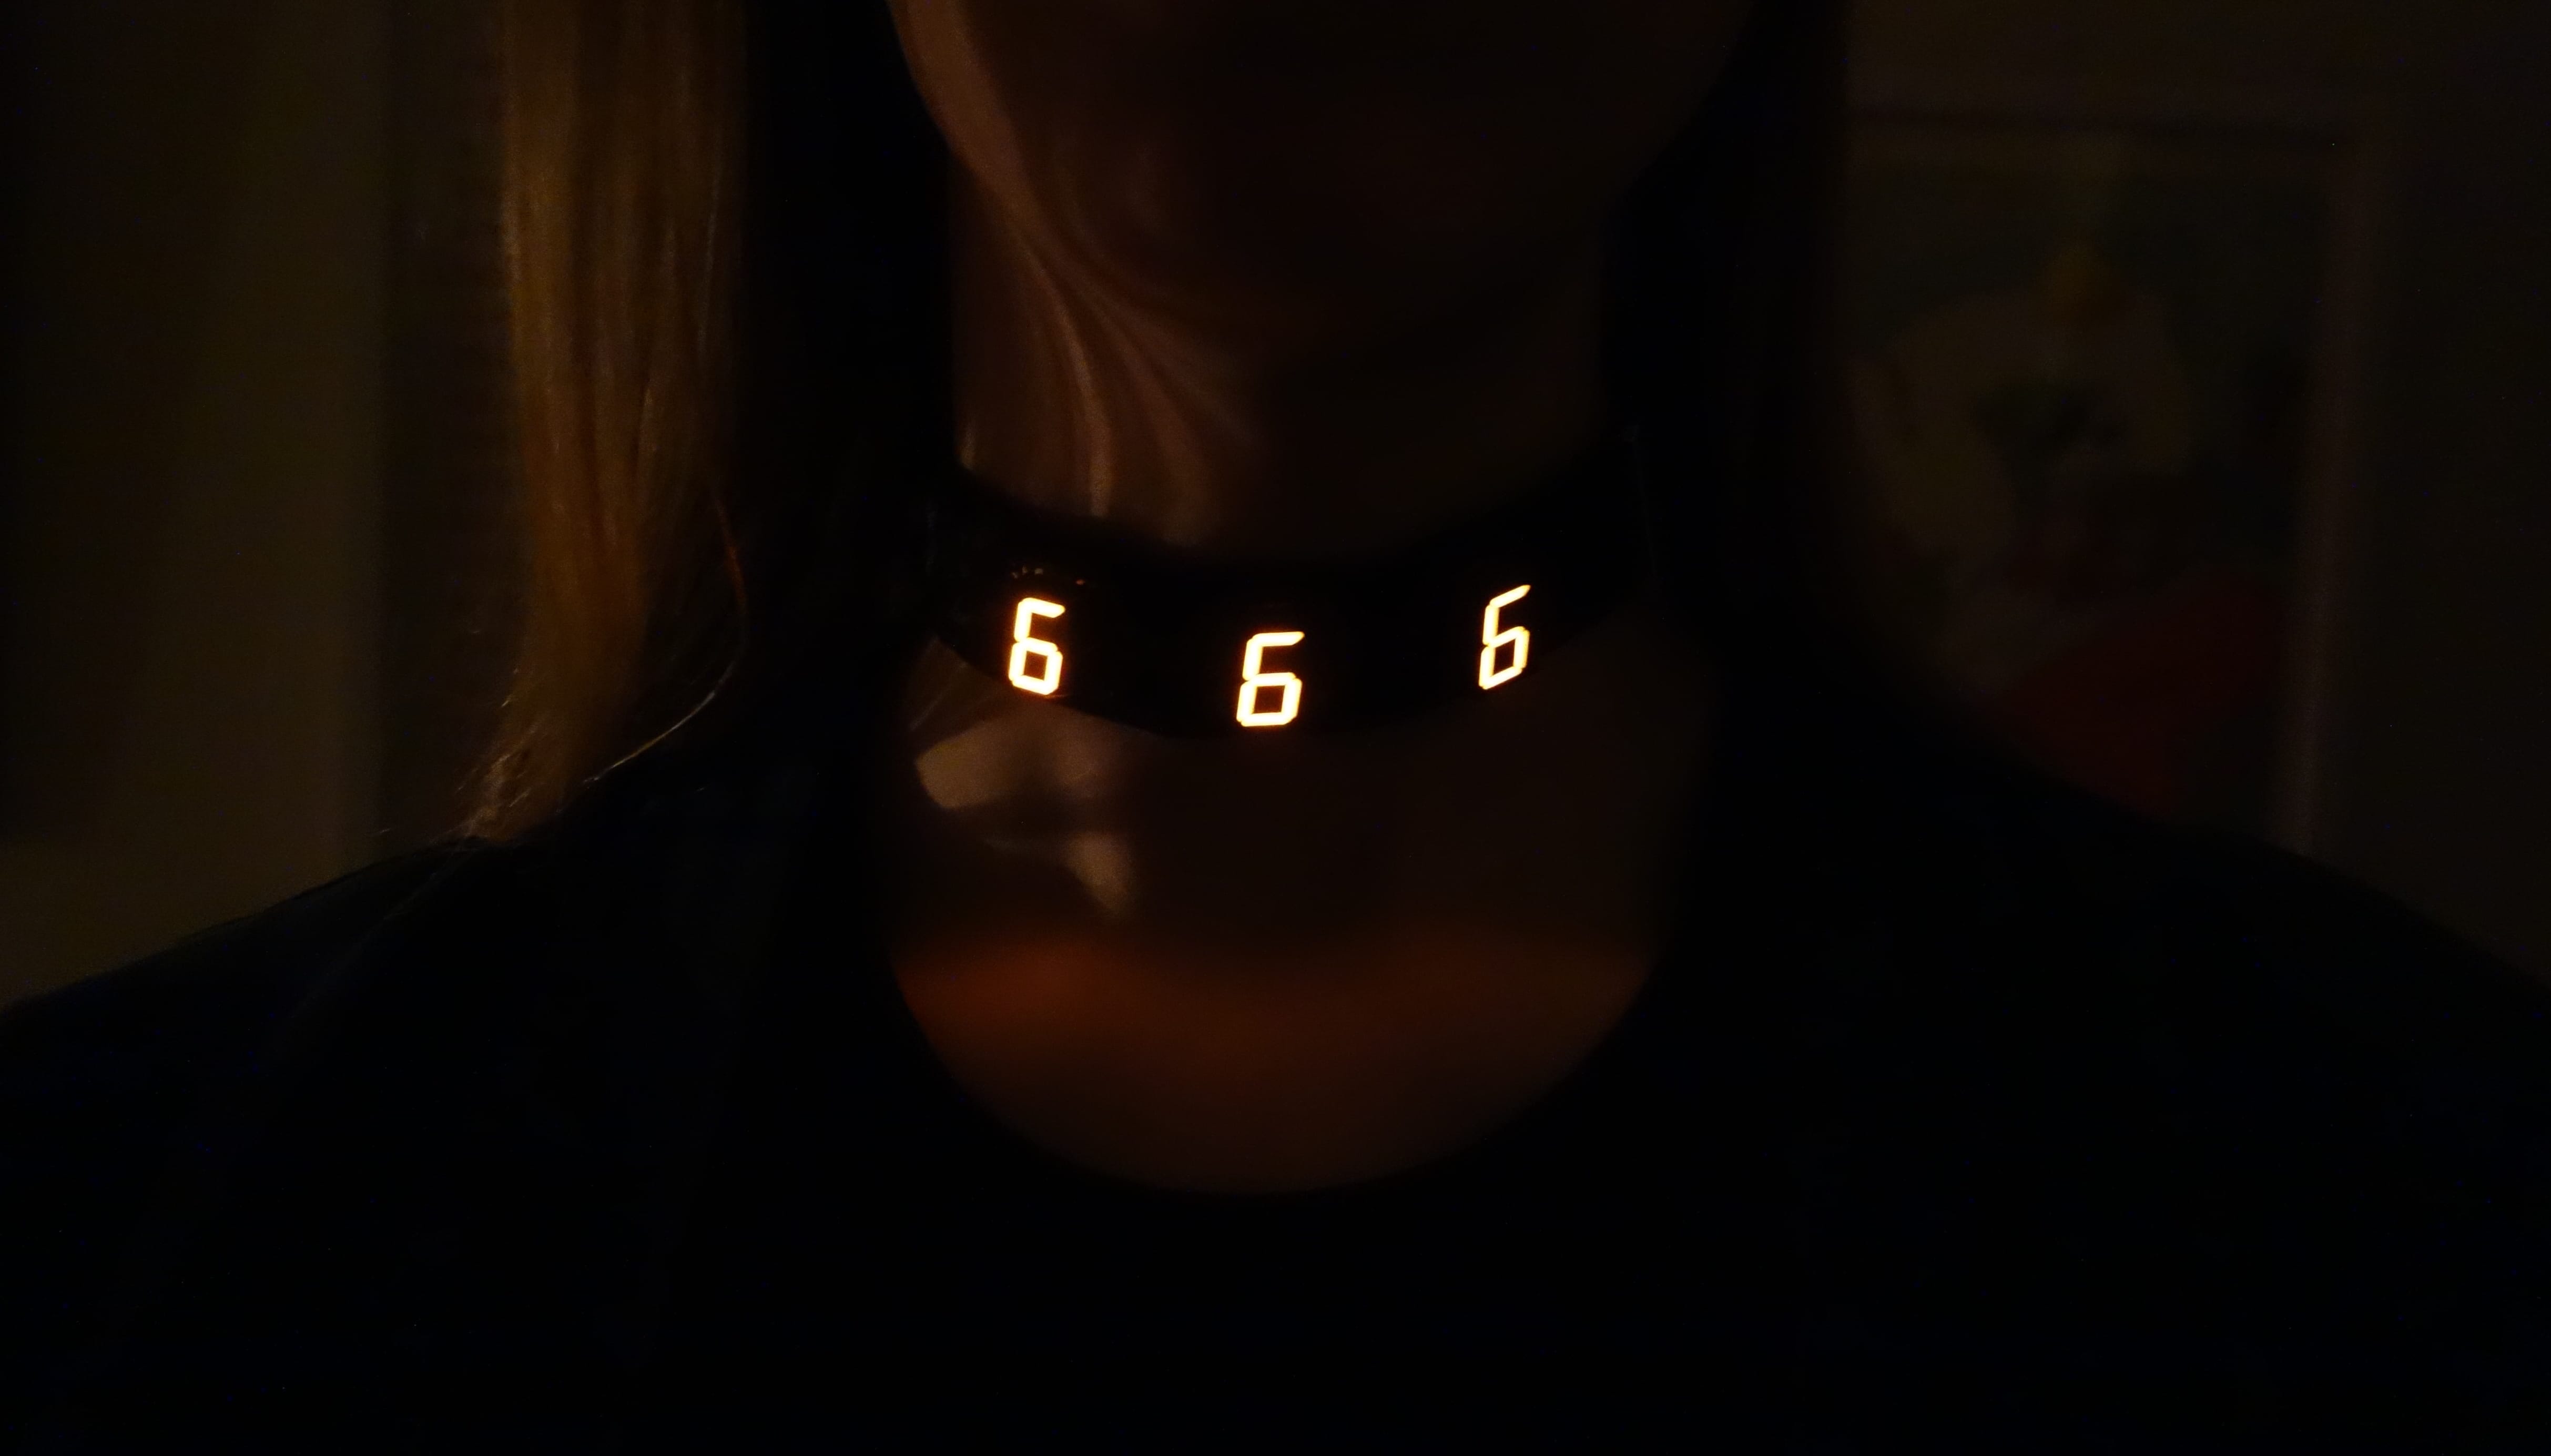
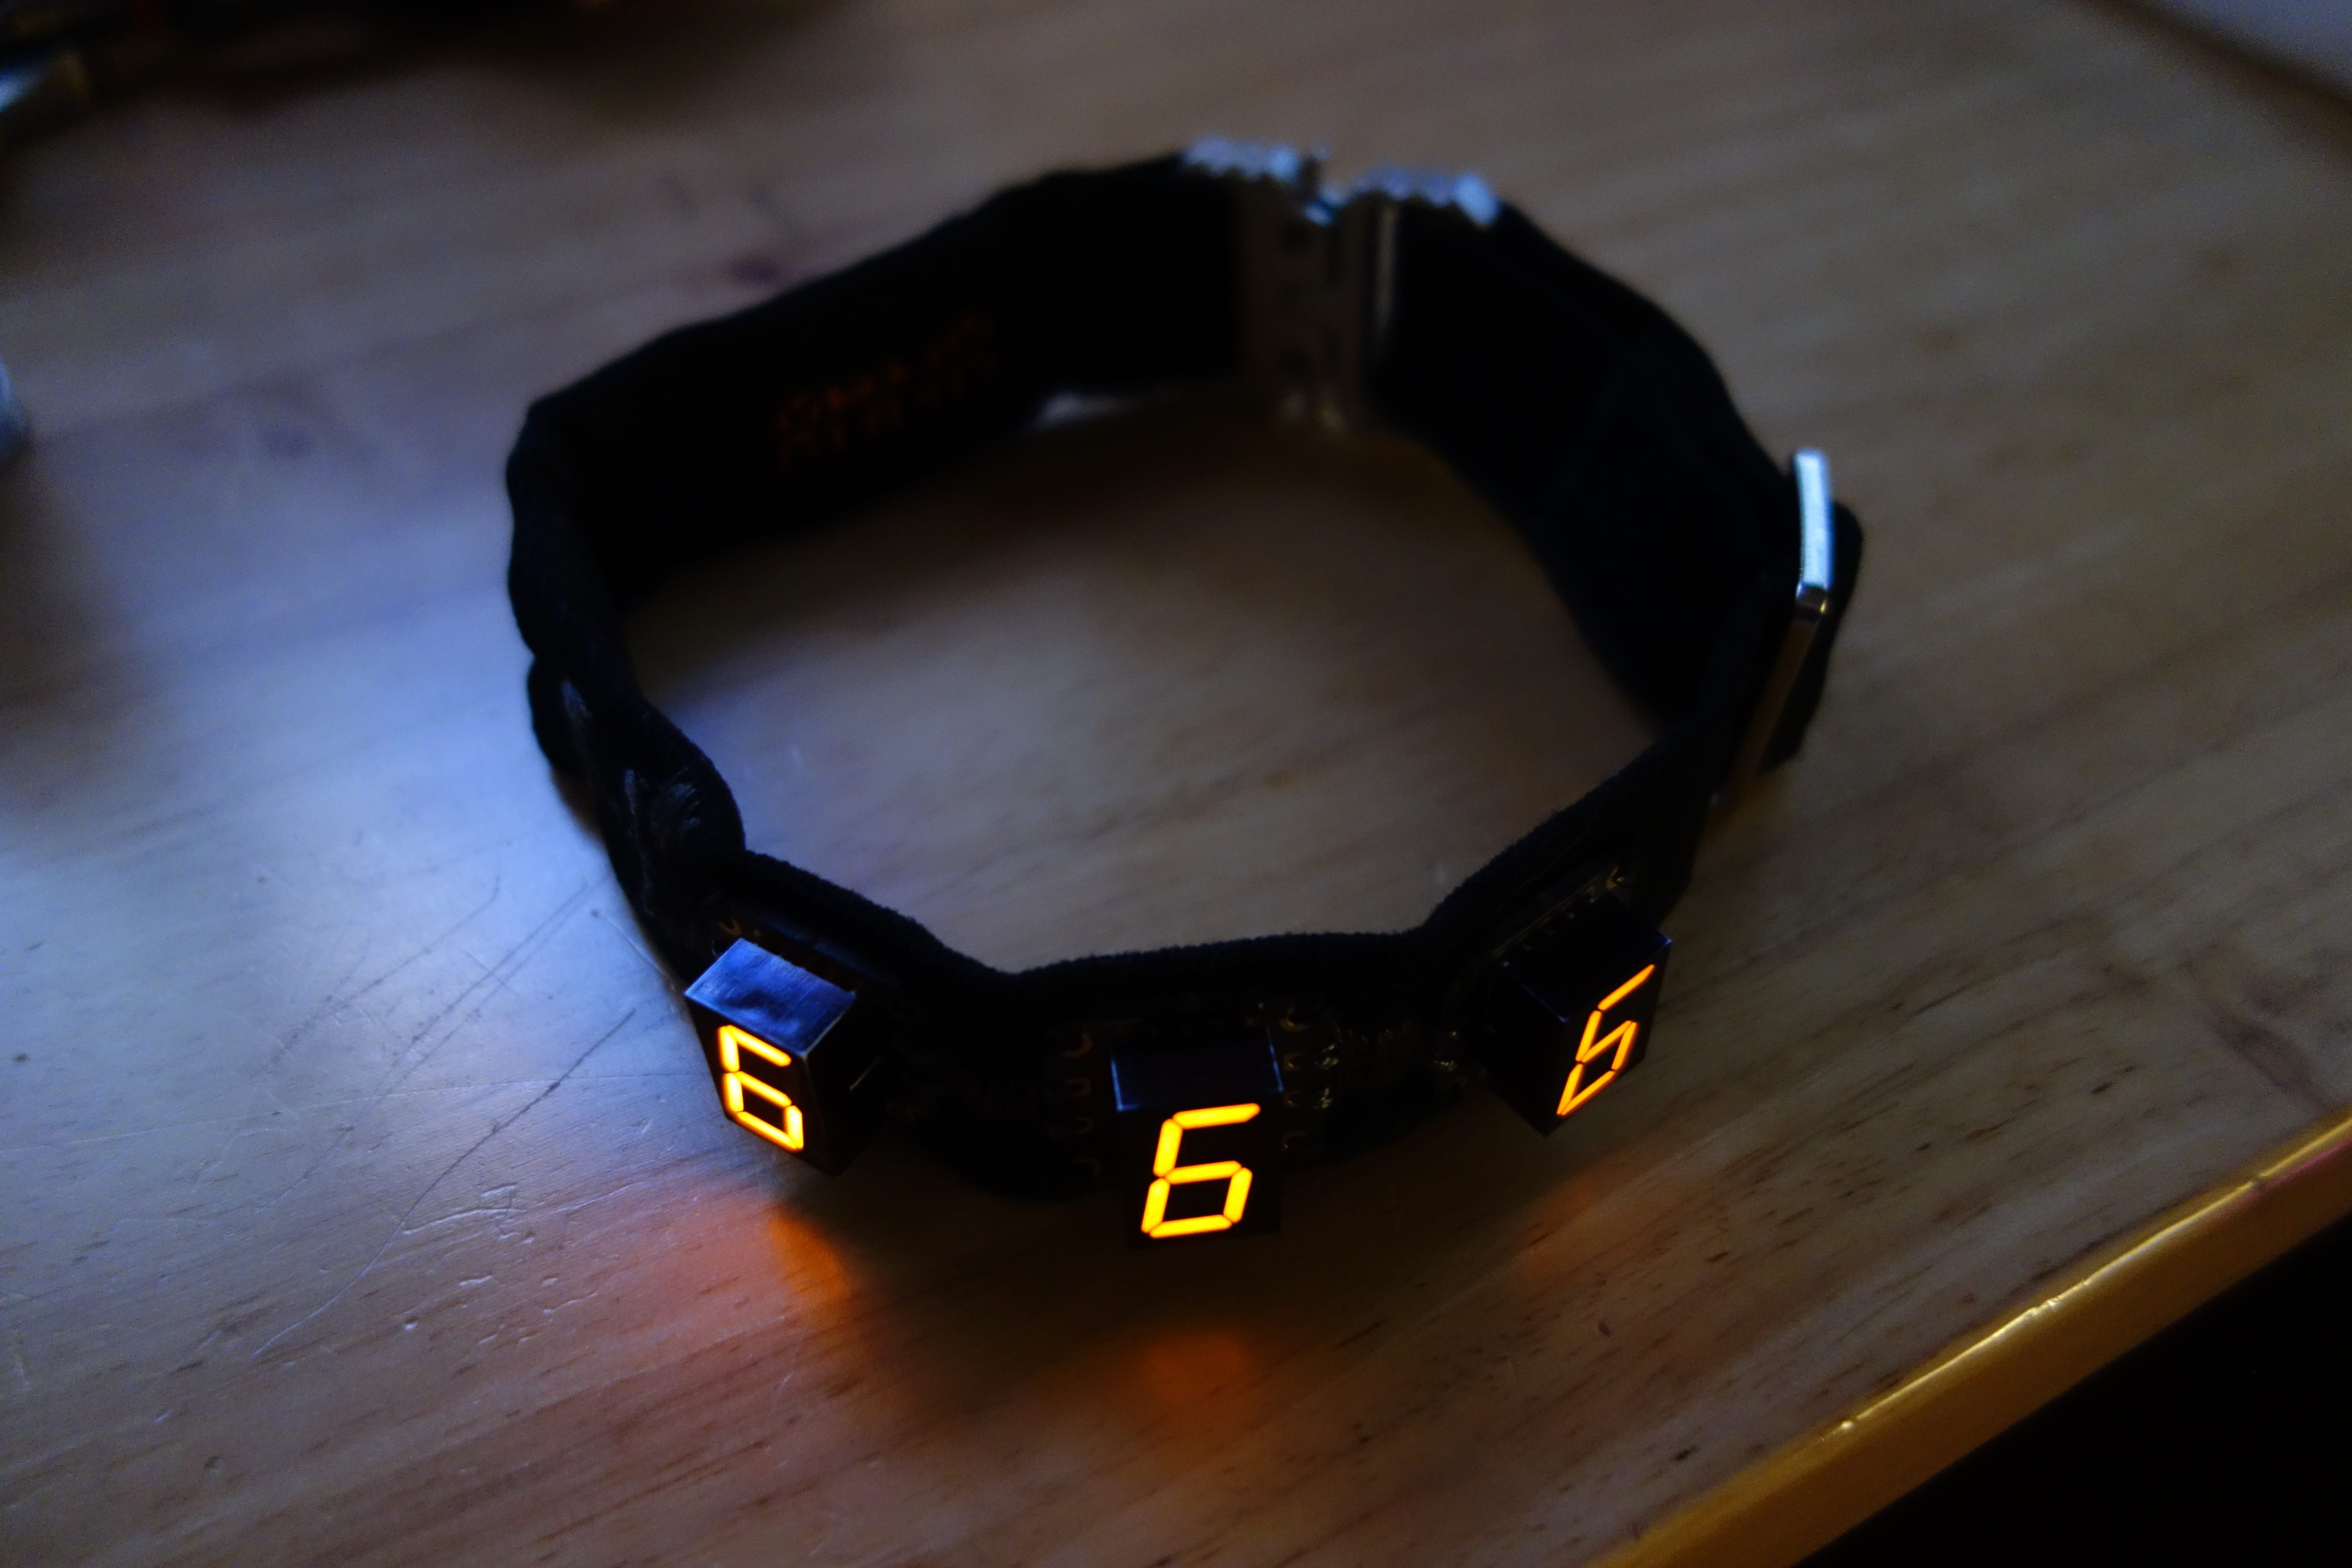
A subtly-illuminated necklace designed for goth night. This is the project that incited my interest in wearable electronics!
This is the third version — it has a concealed microcontroller, lipo battery, and charger, connected to the digits through conductive thread.
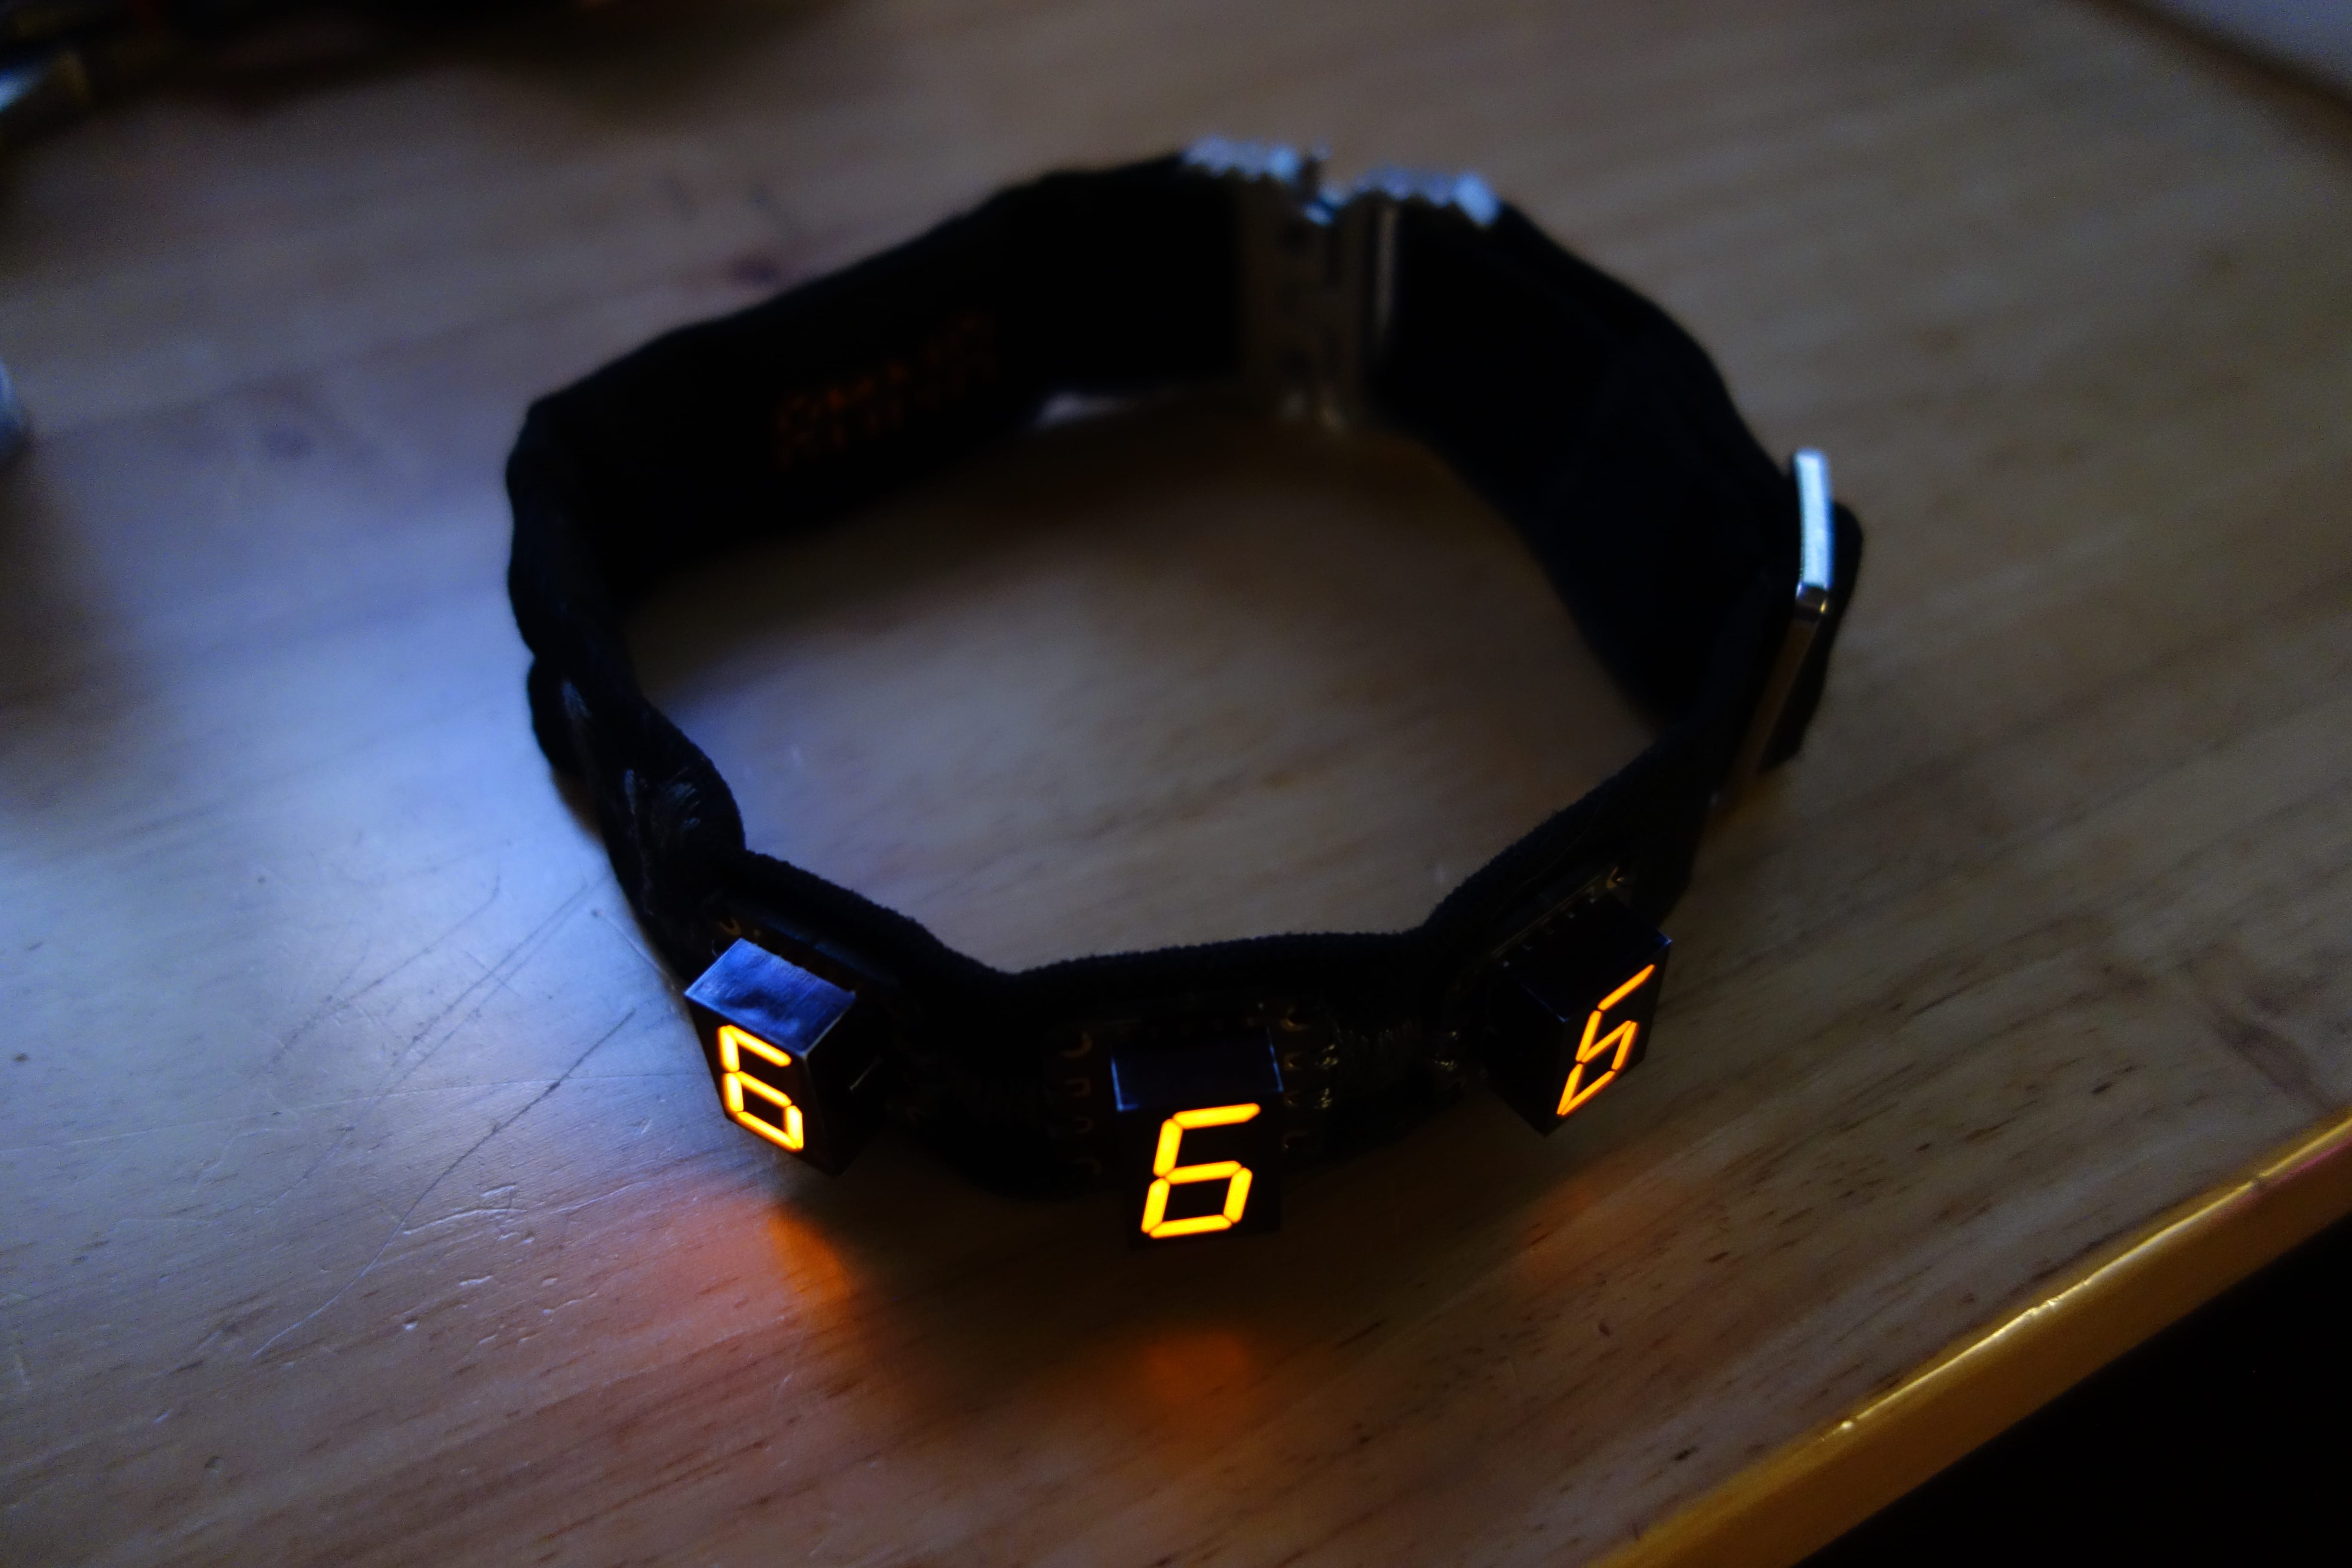
Let's go back to the beginning and check out the first iteration…
Version 1
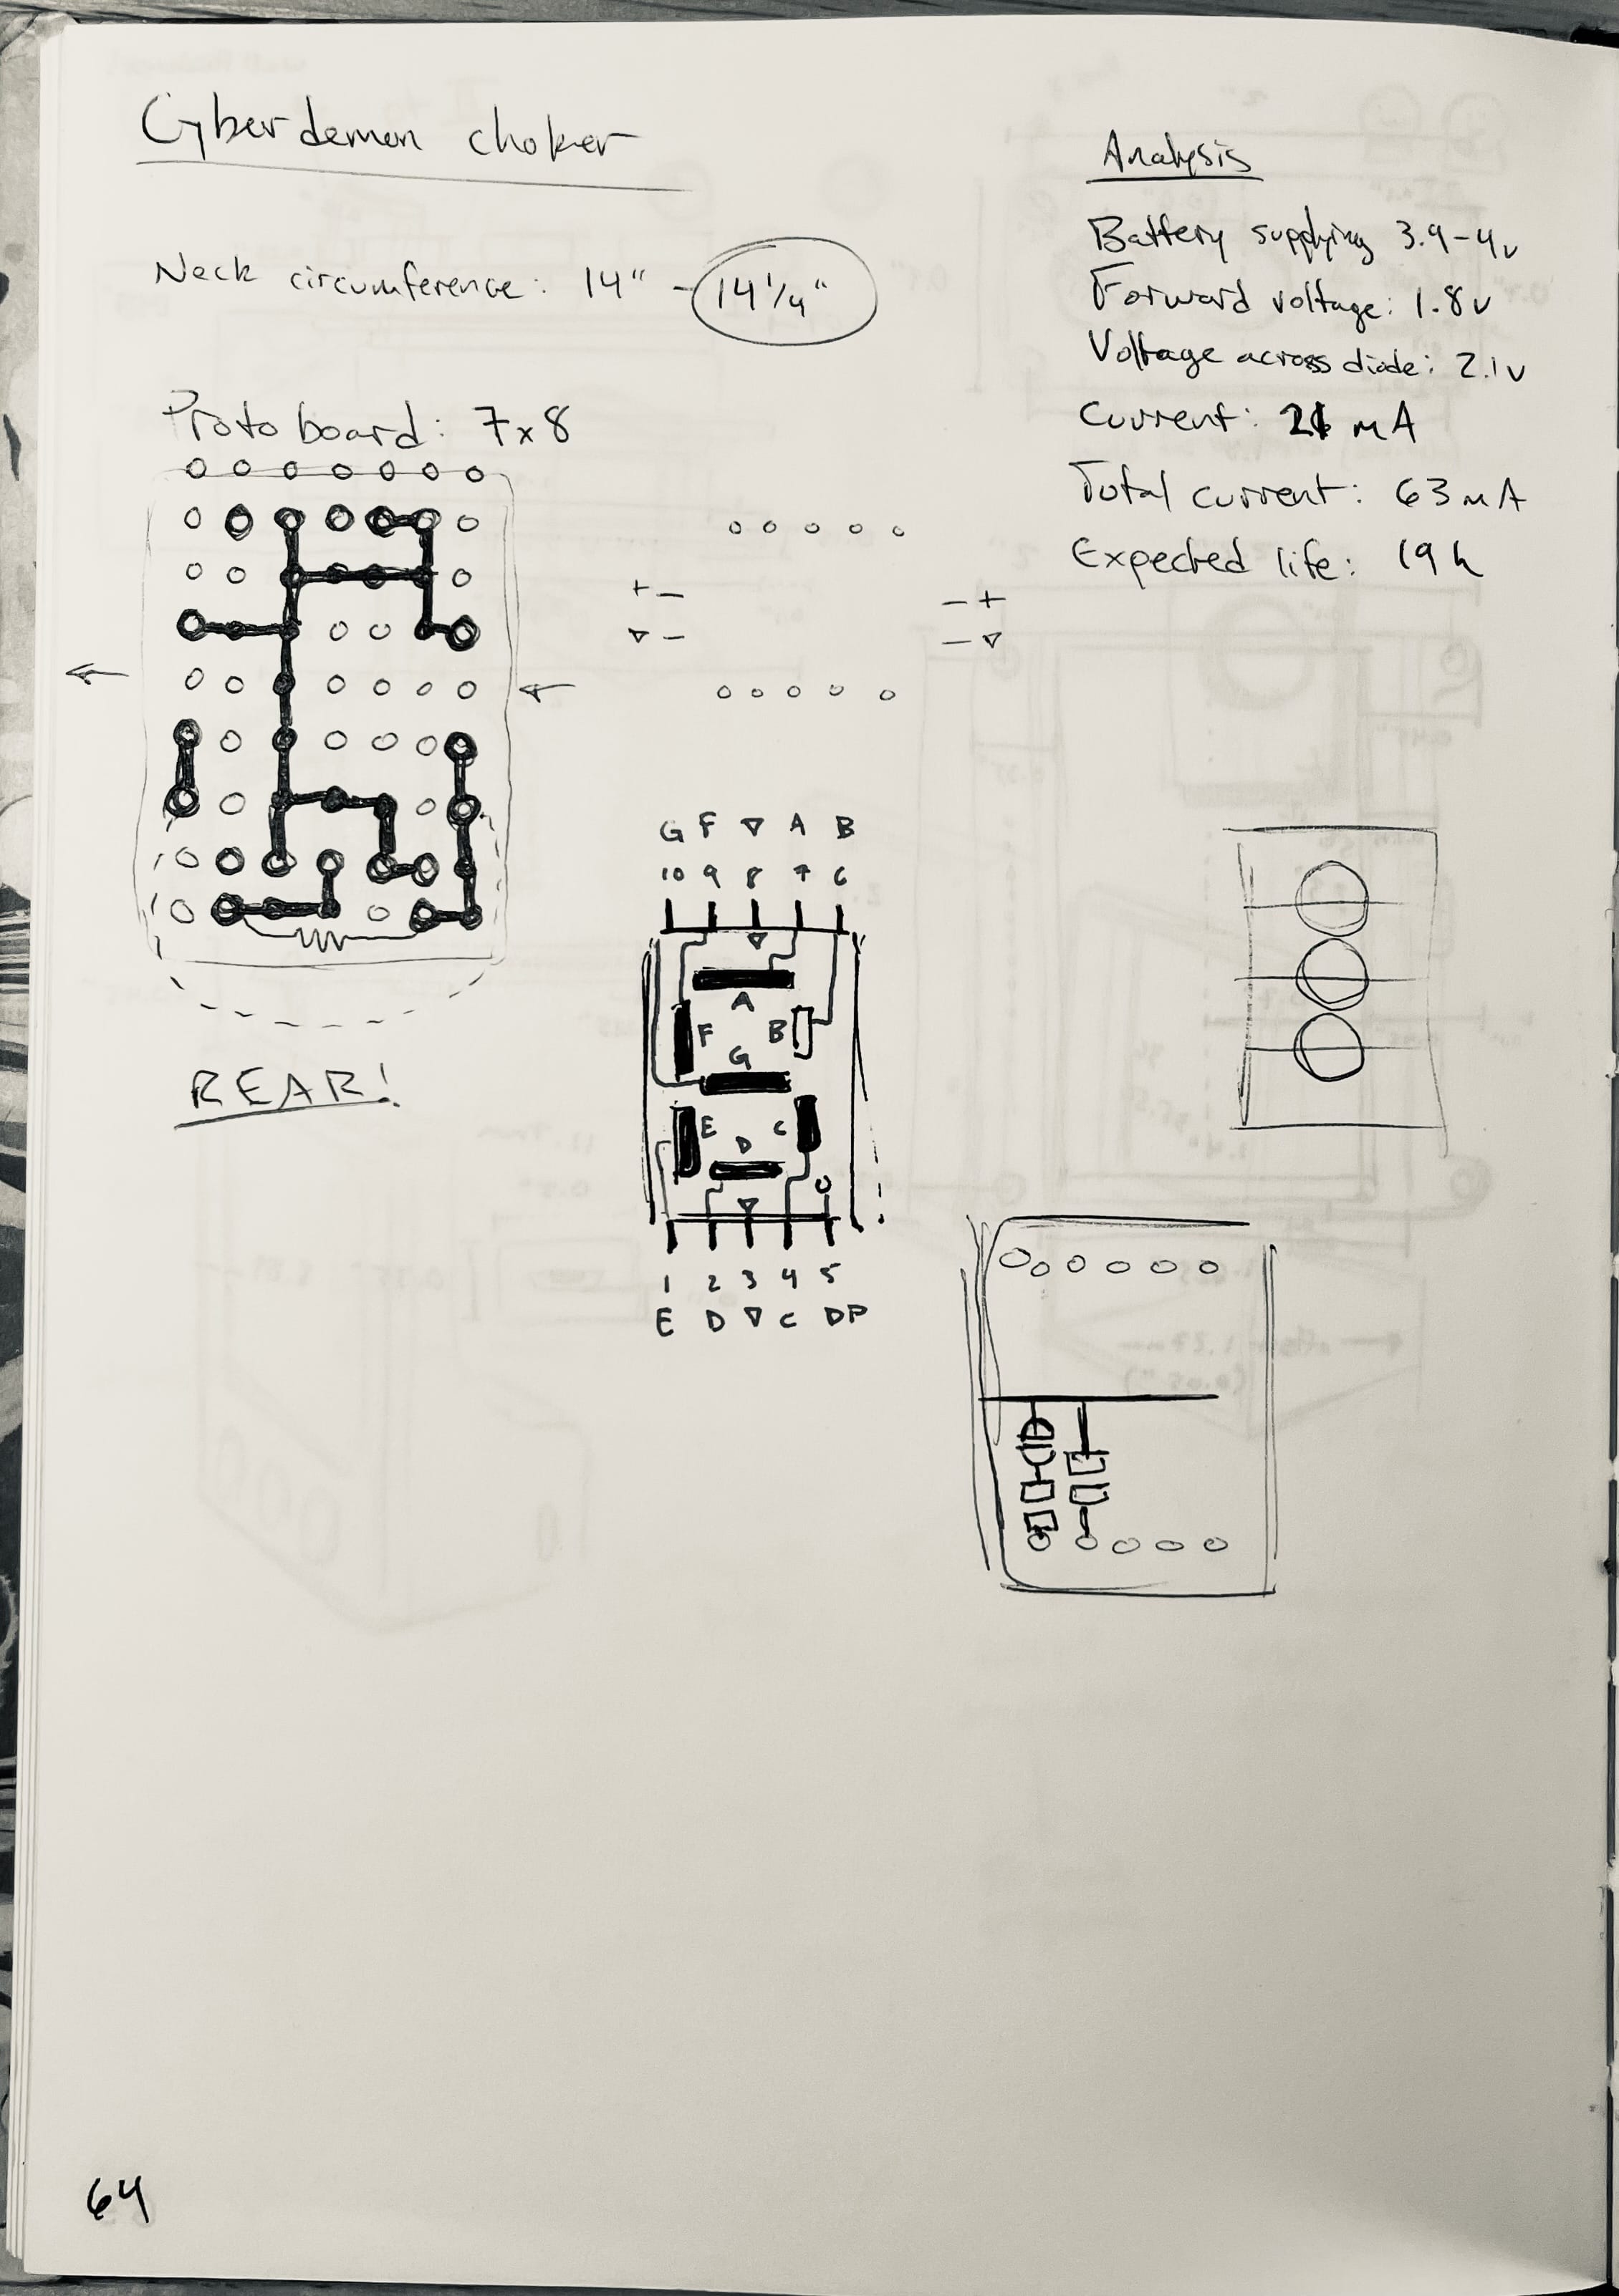
In 2021 I got an invite to attend a goth night at a local club for a friend's birthday party. During the lockdowns in 2020 I had taken a couple of online electronics classes through my local community college, and I wanted to put my new skills to work by designing a little electronic accessory for the party. After sketching a bit, I had the idea to make a glowing 666 choker.
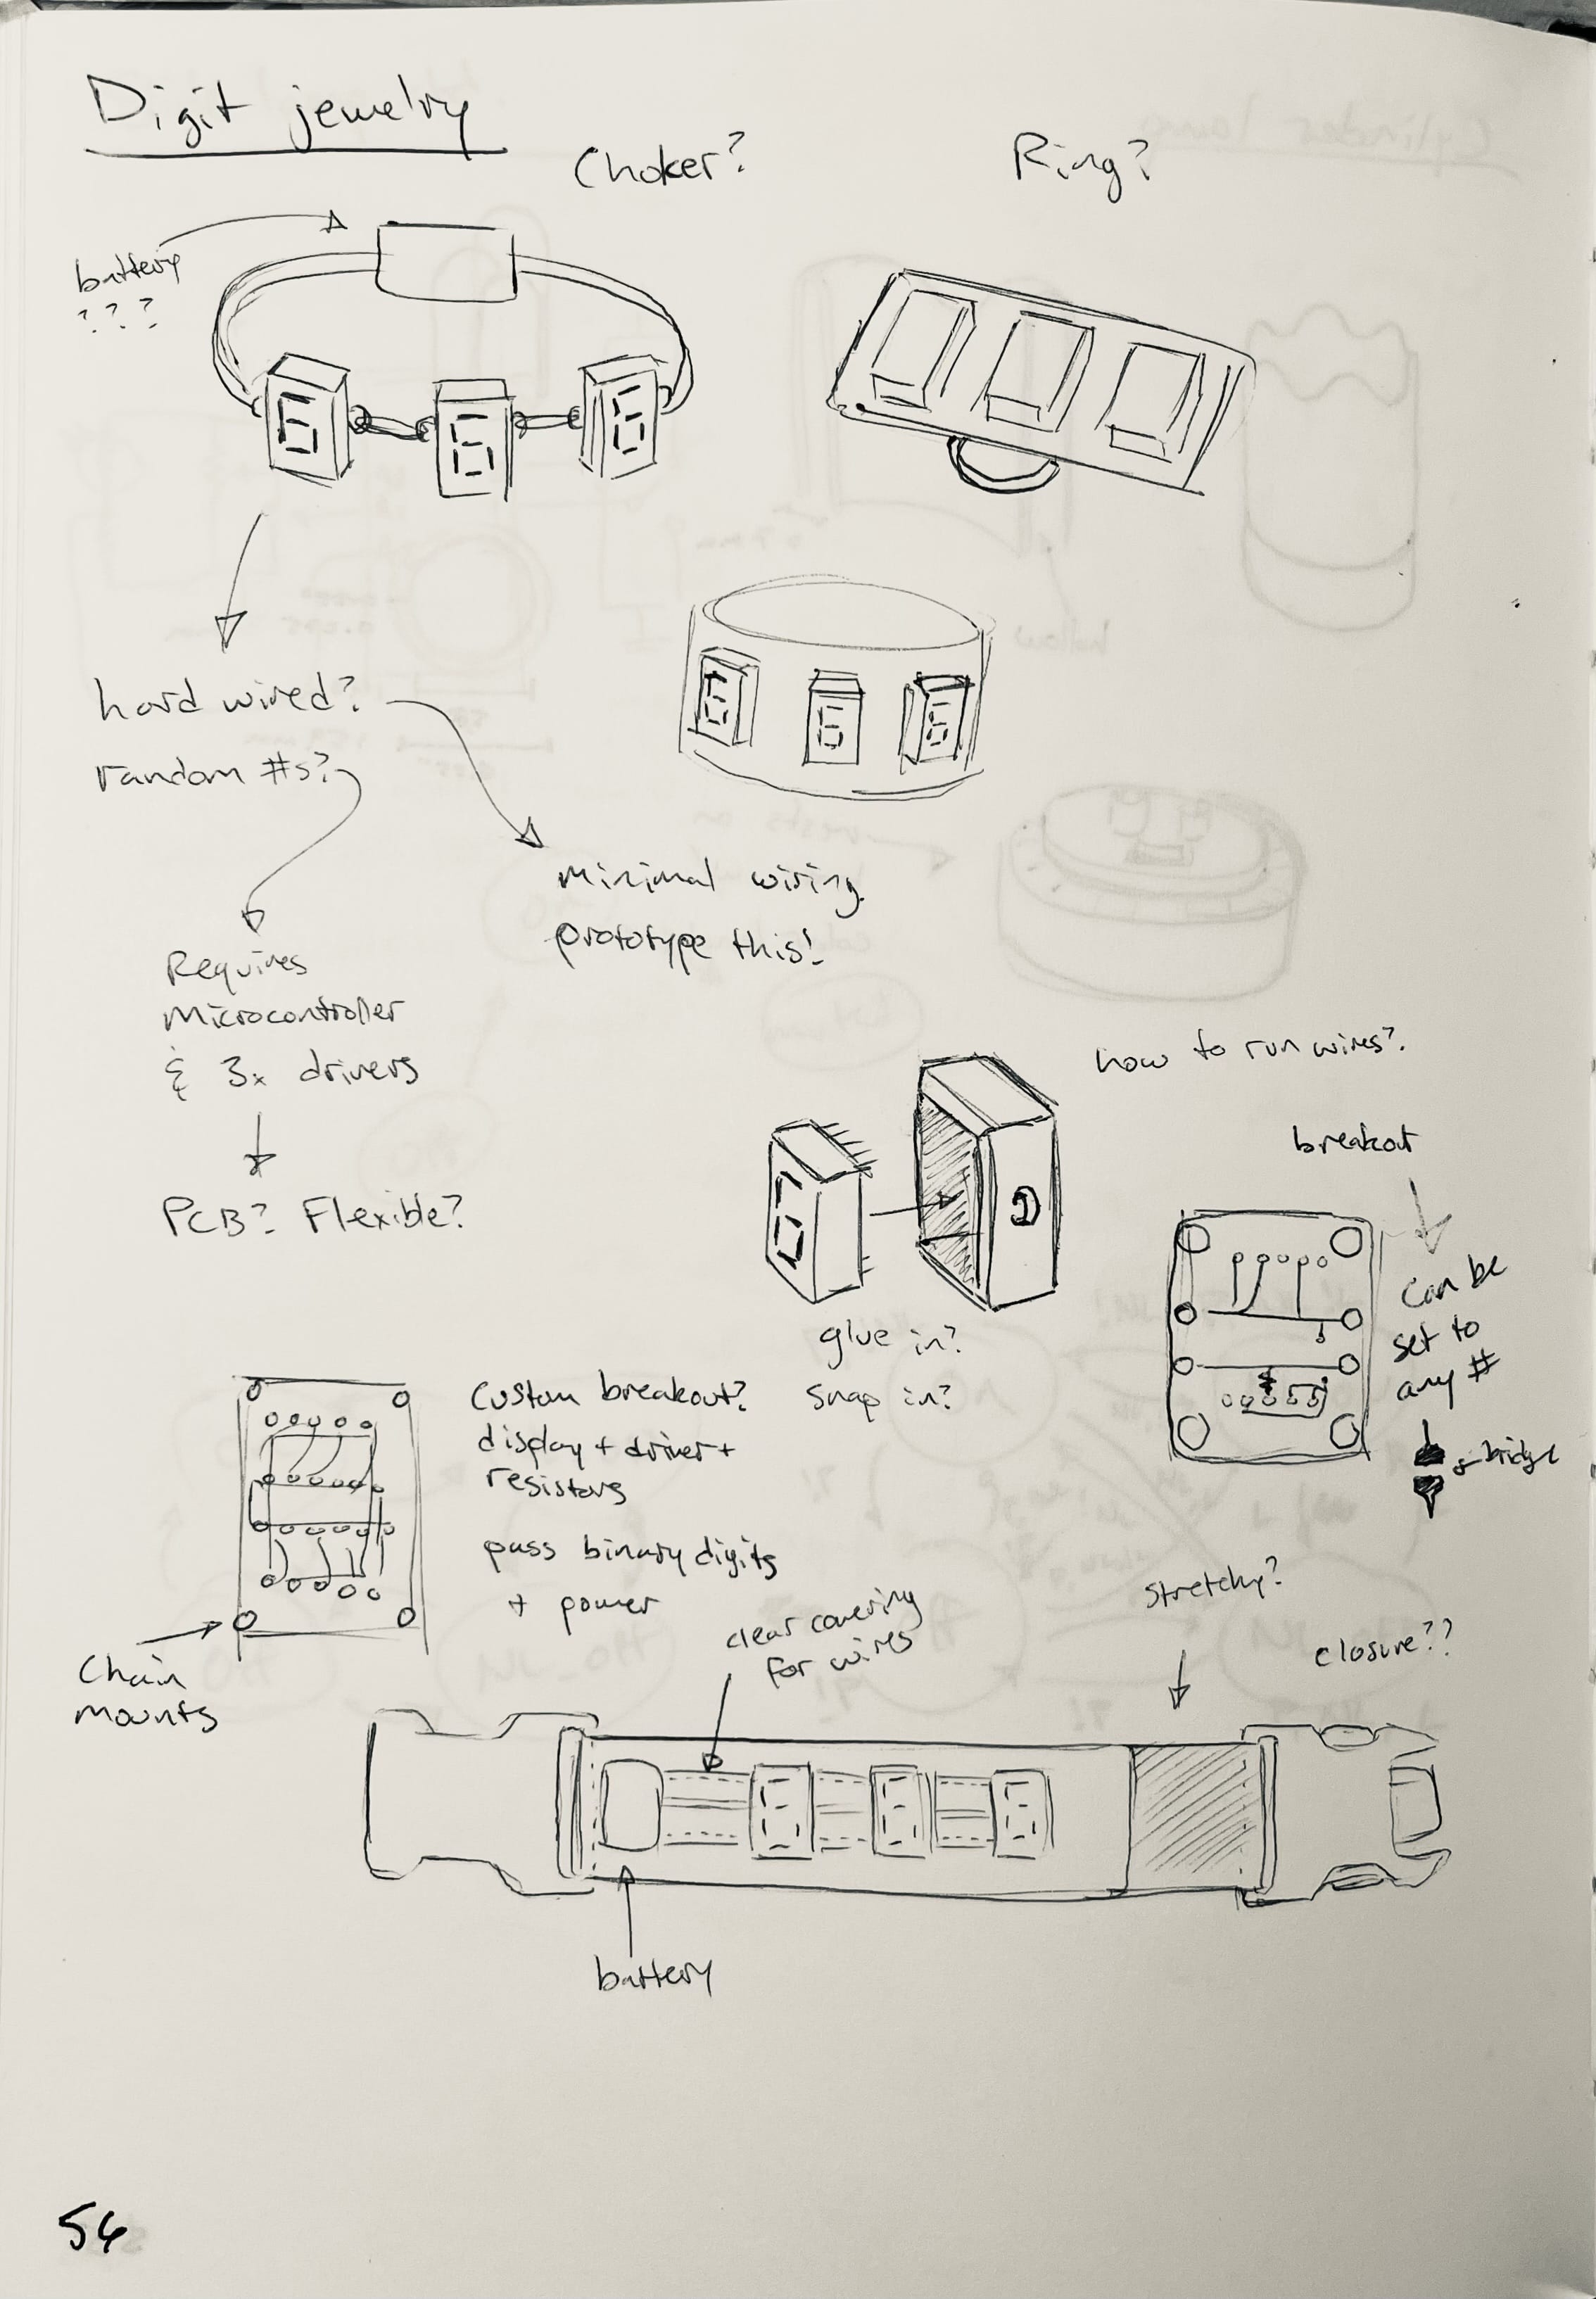
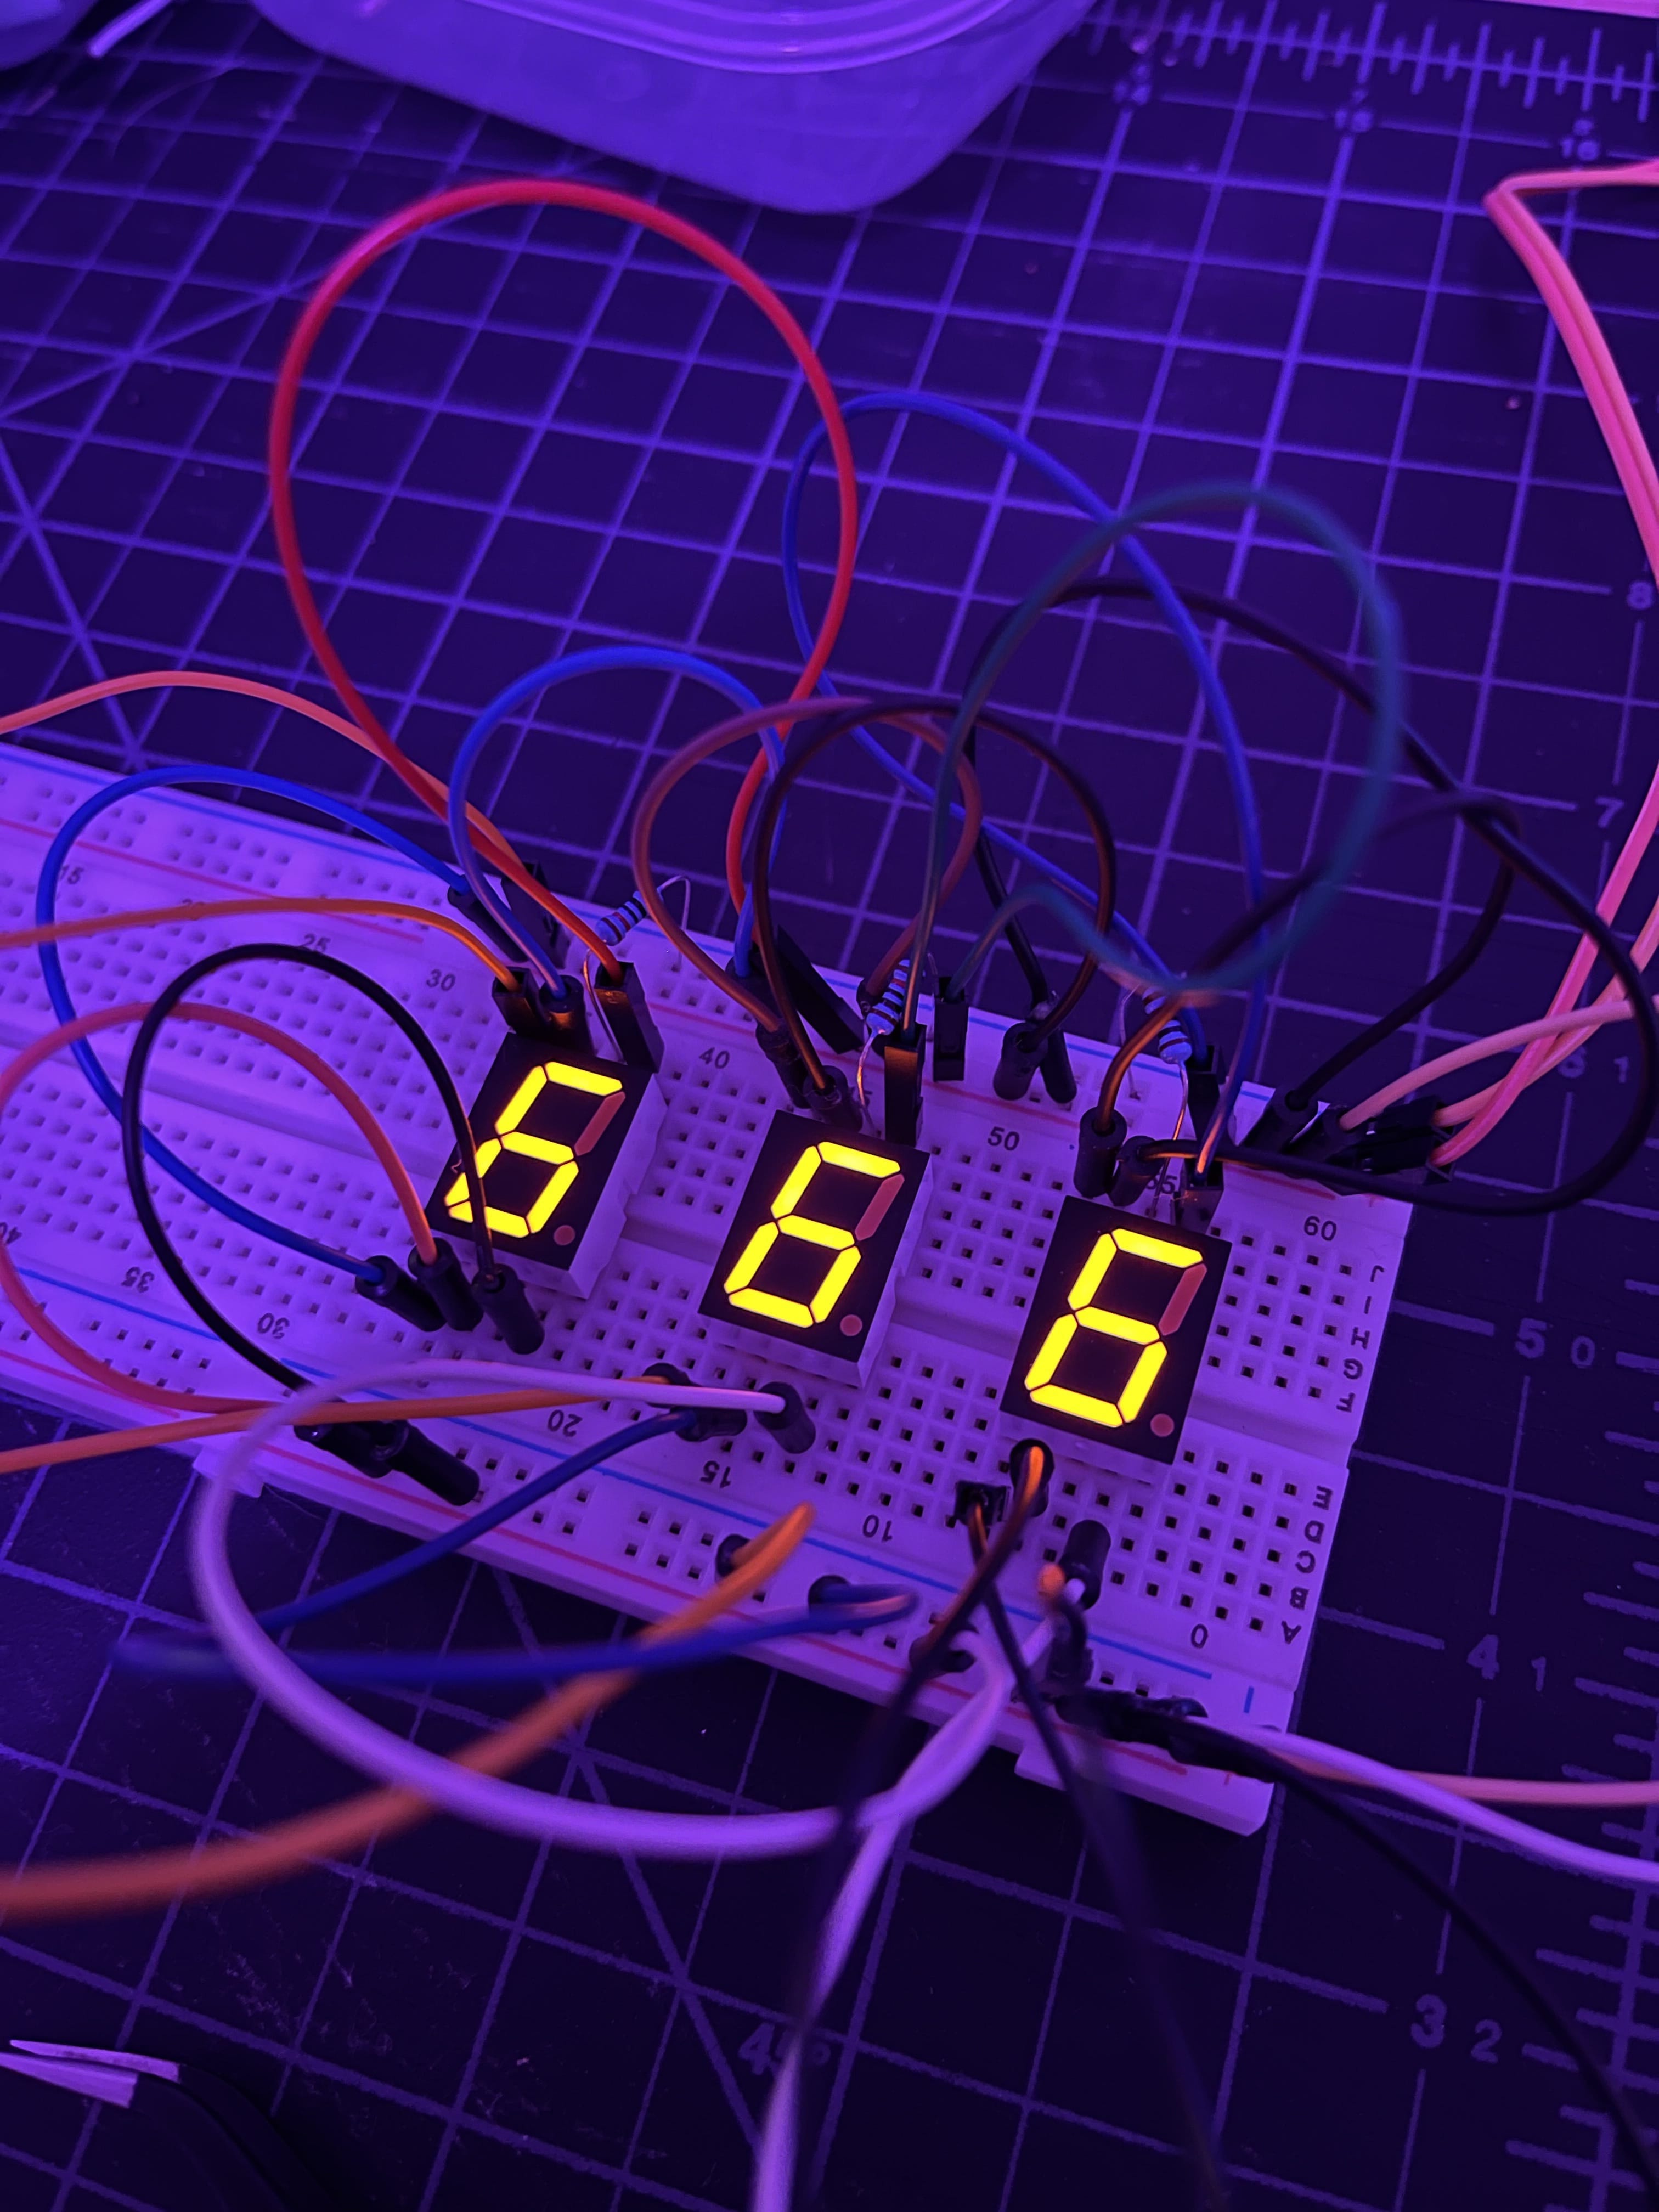
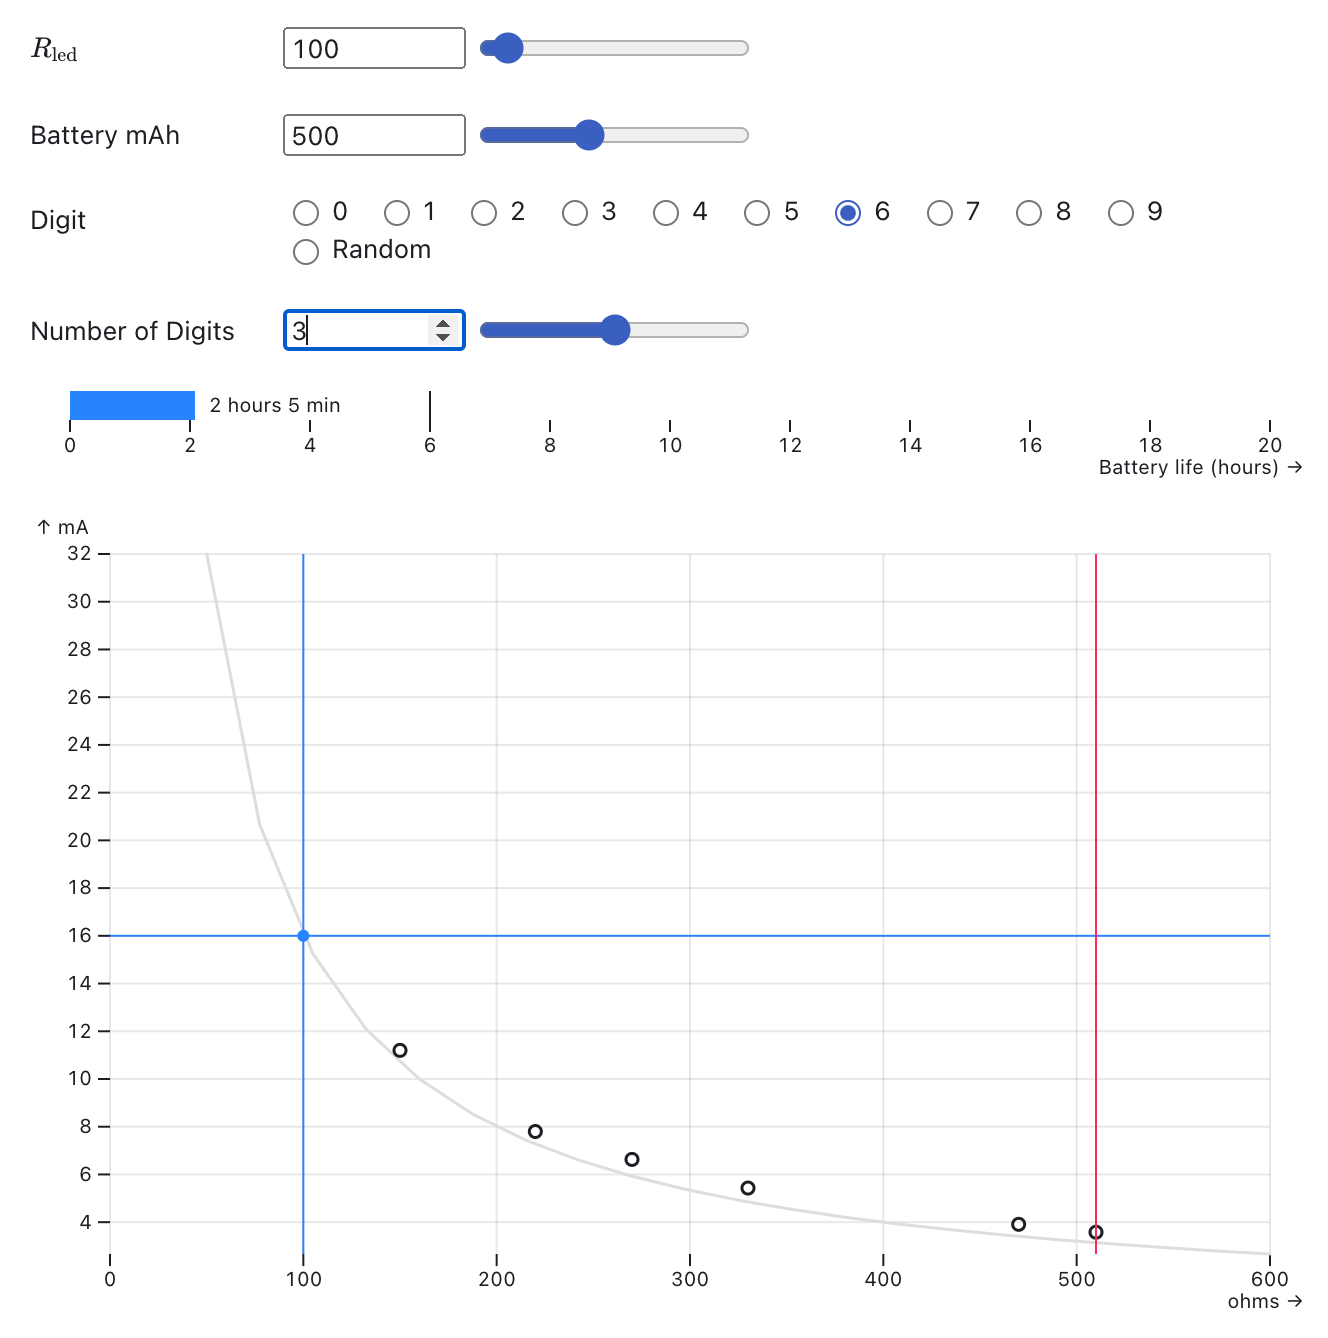
Next I had to test out the circuit and figure out what value resistors would create a nice comfortable brightness in a club environment.
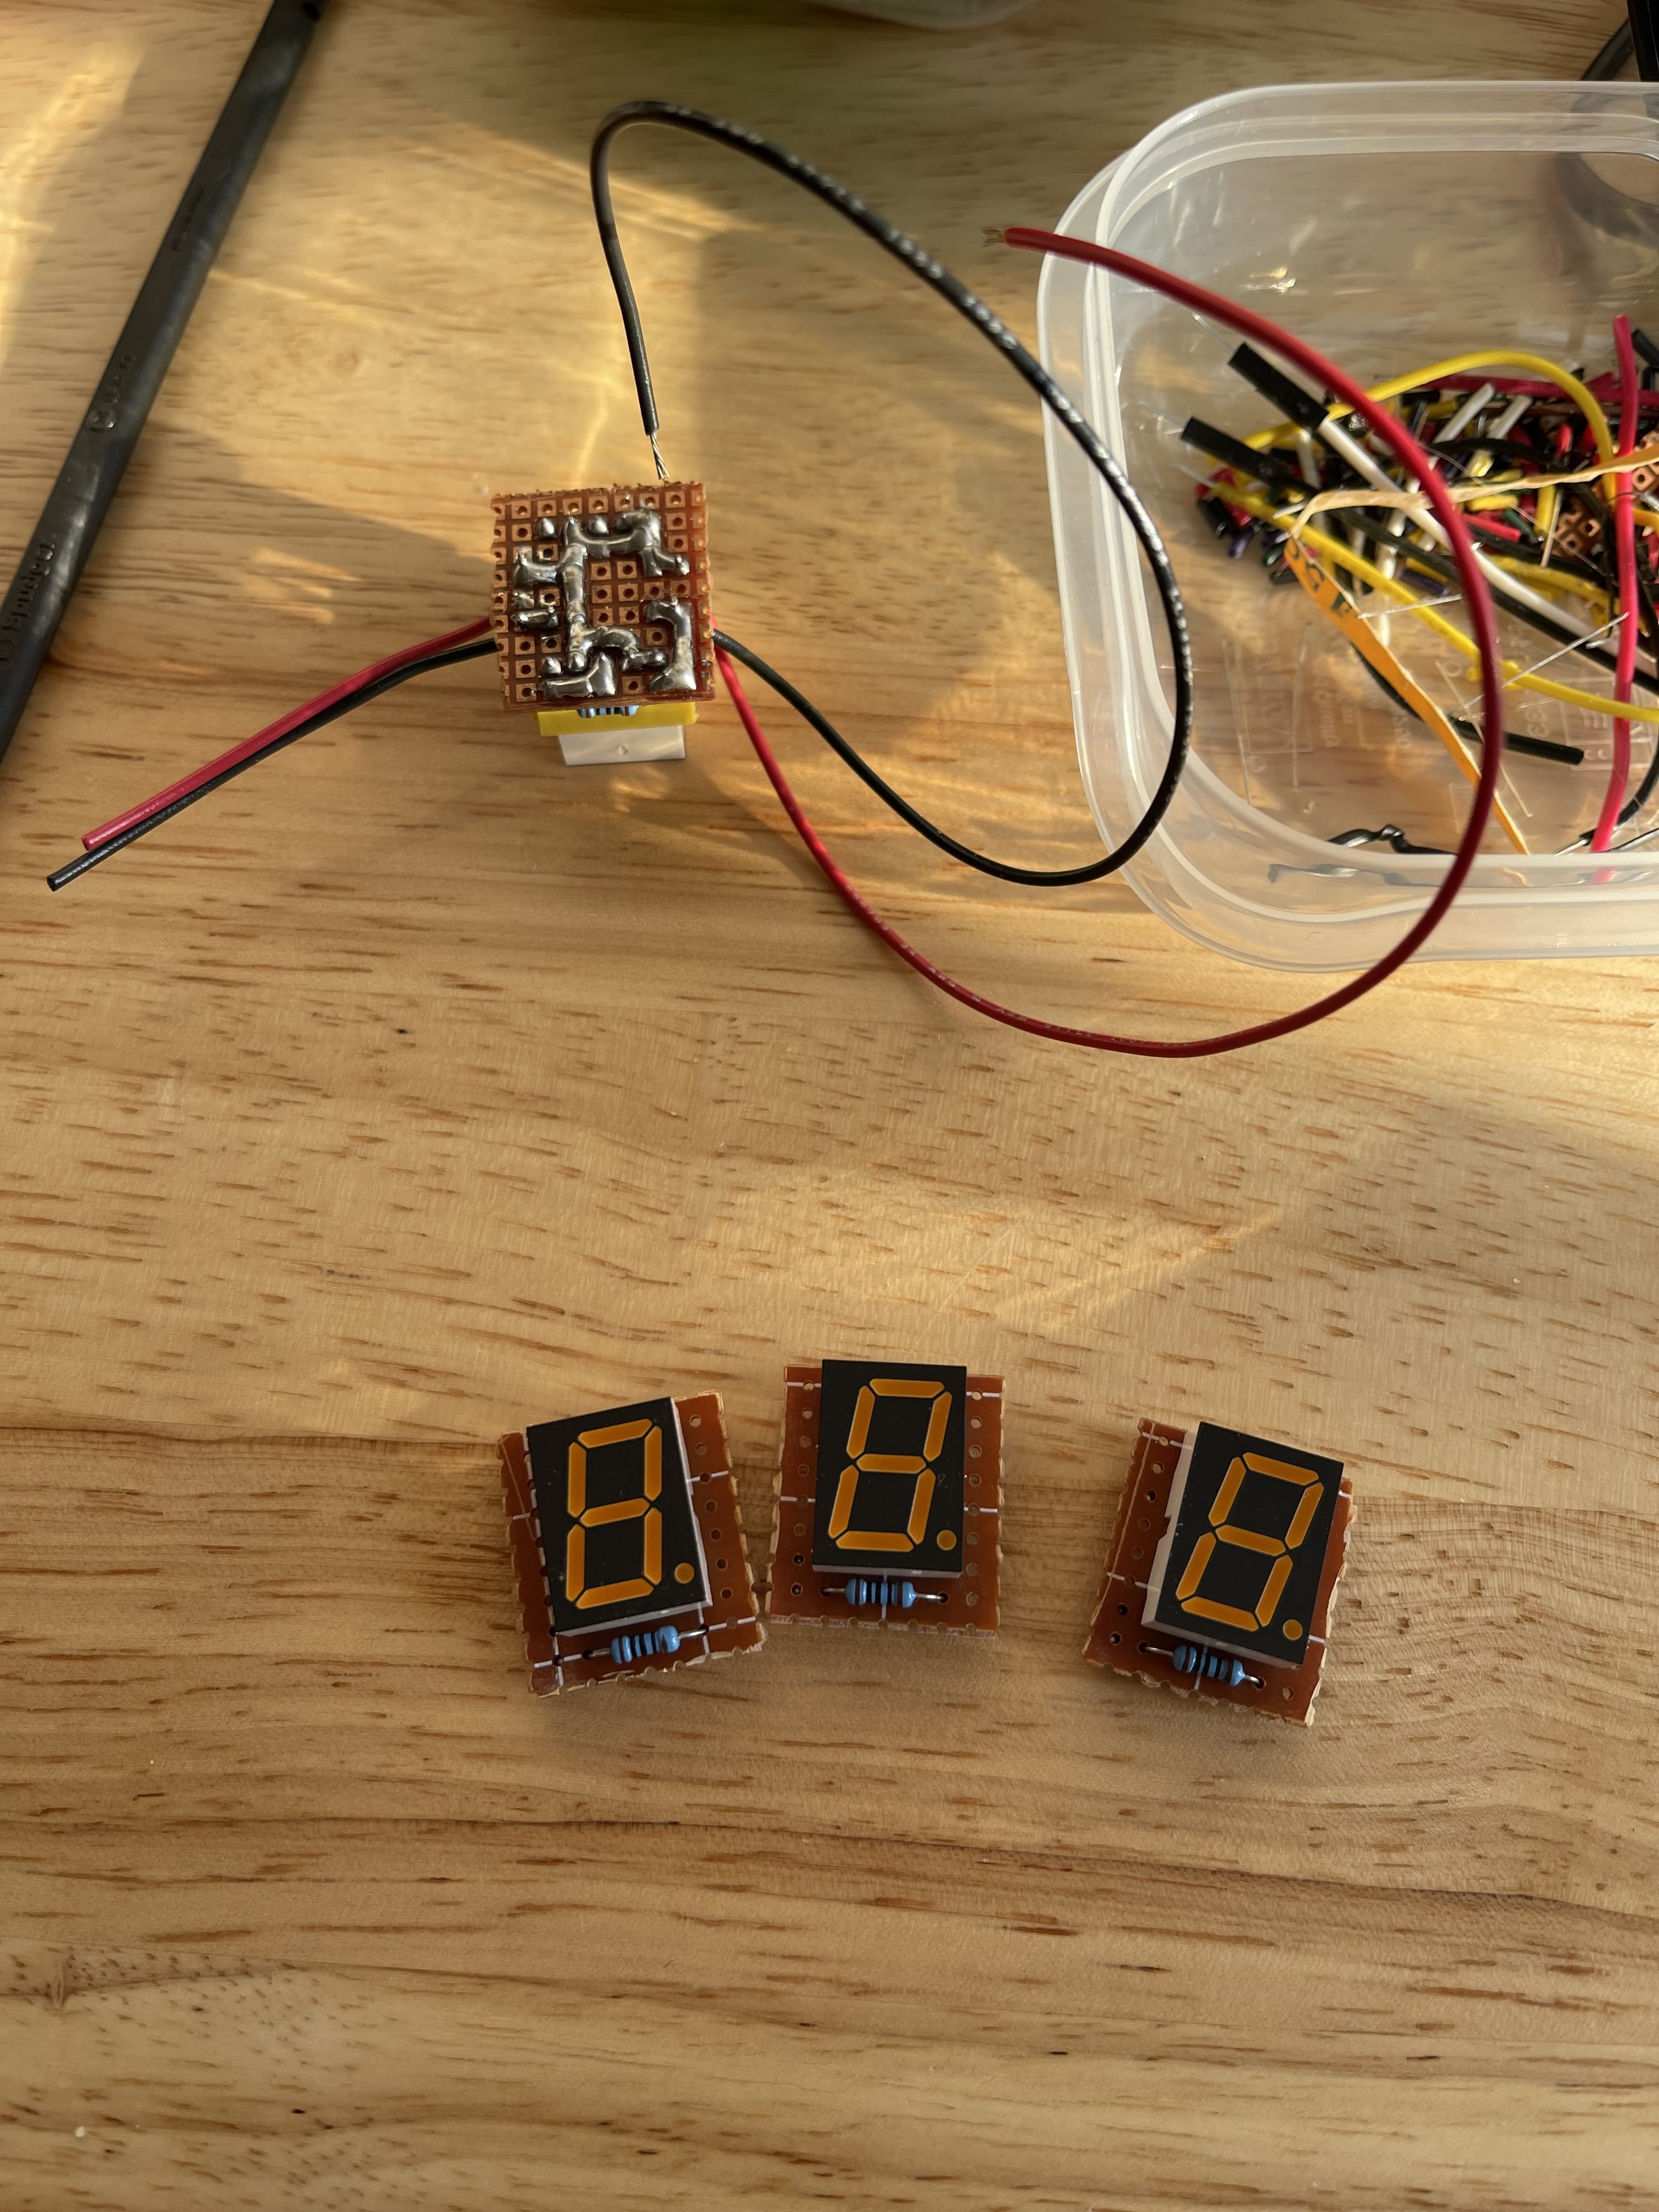
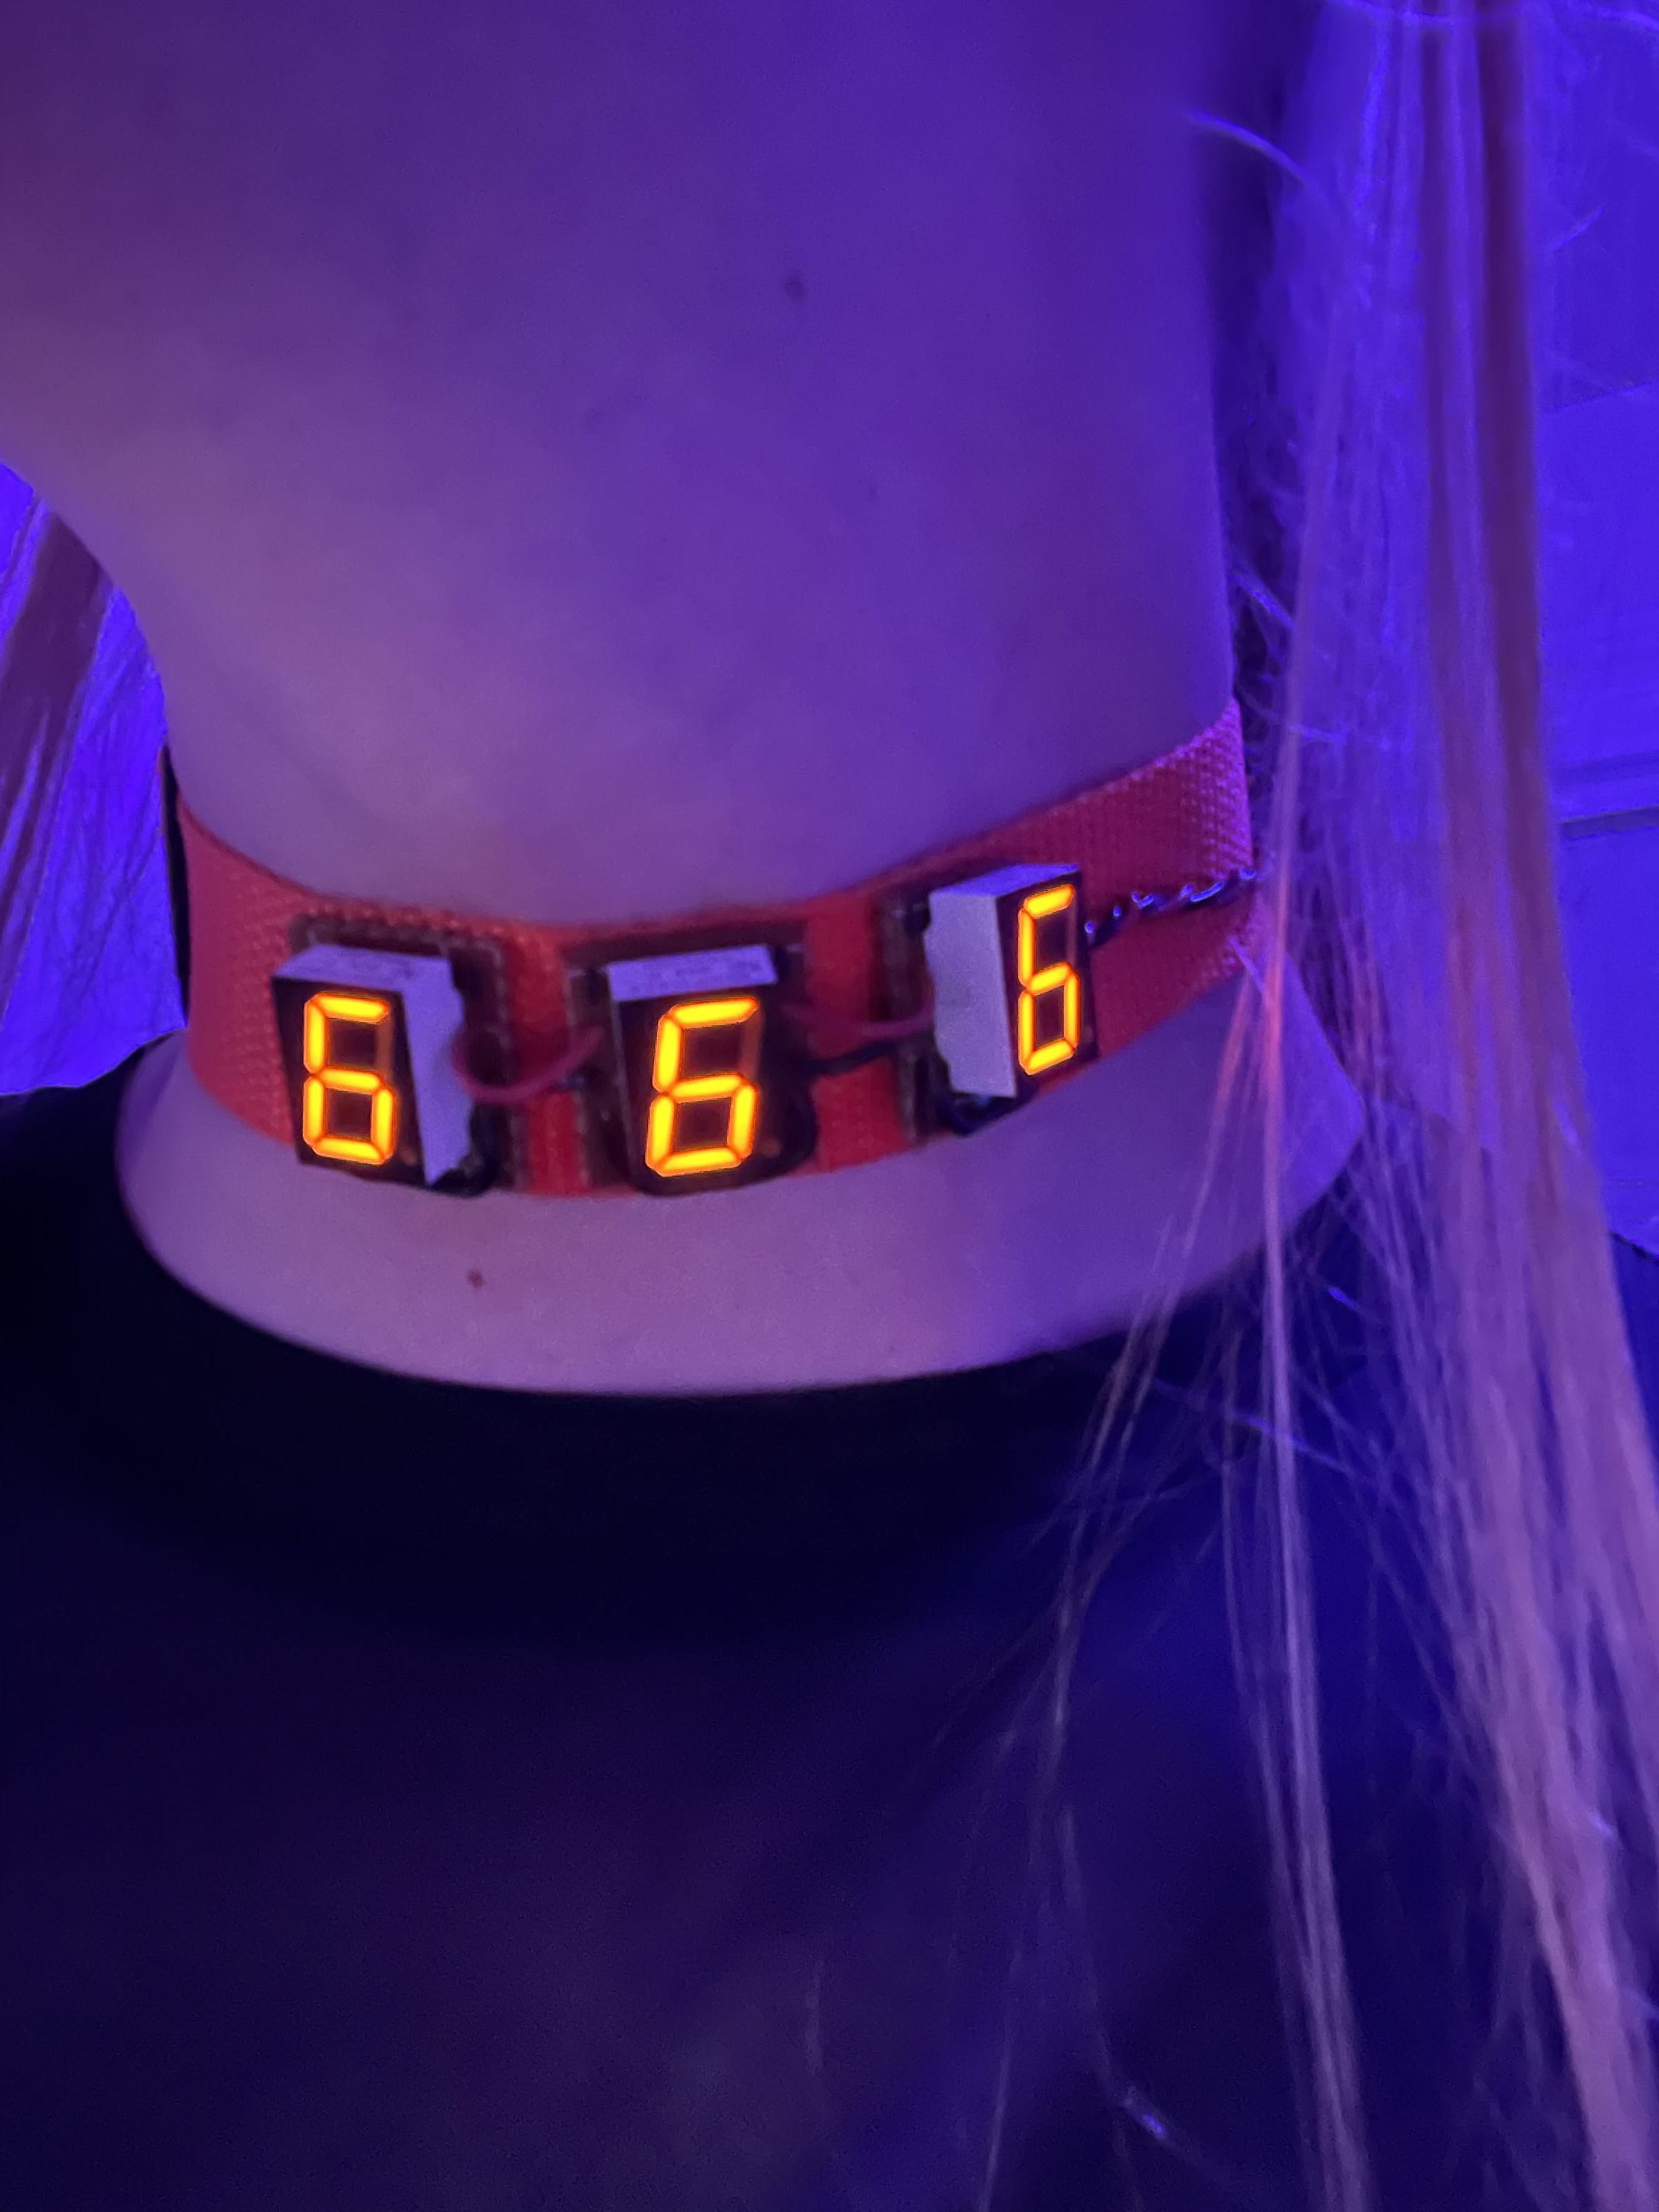
I got a strip of 1" orange nylon webbing (sadly not fluorescent orange), and tacked the digits on. I also added a switch and a wire connection to the battery pack. I only had larger batteries on hand, so the 1200 mAh battery was connected via a thick wire that went down the back of my shirt to a pouch in my pocket. You can see it tied to a metal loop for strain relief towards the right side of this pic. It's not pretty but it's a prototype 🤷🏼♀️
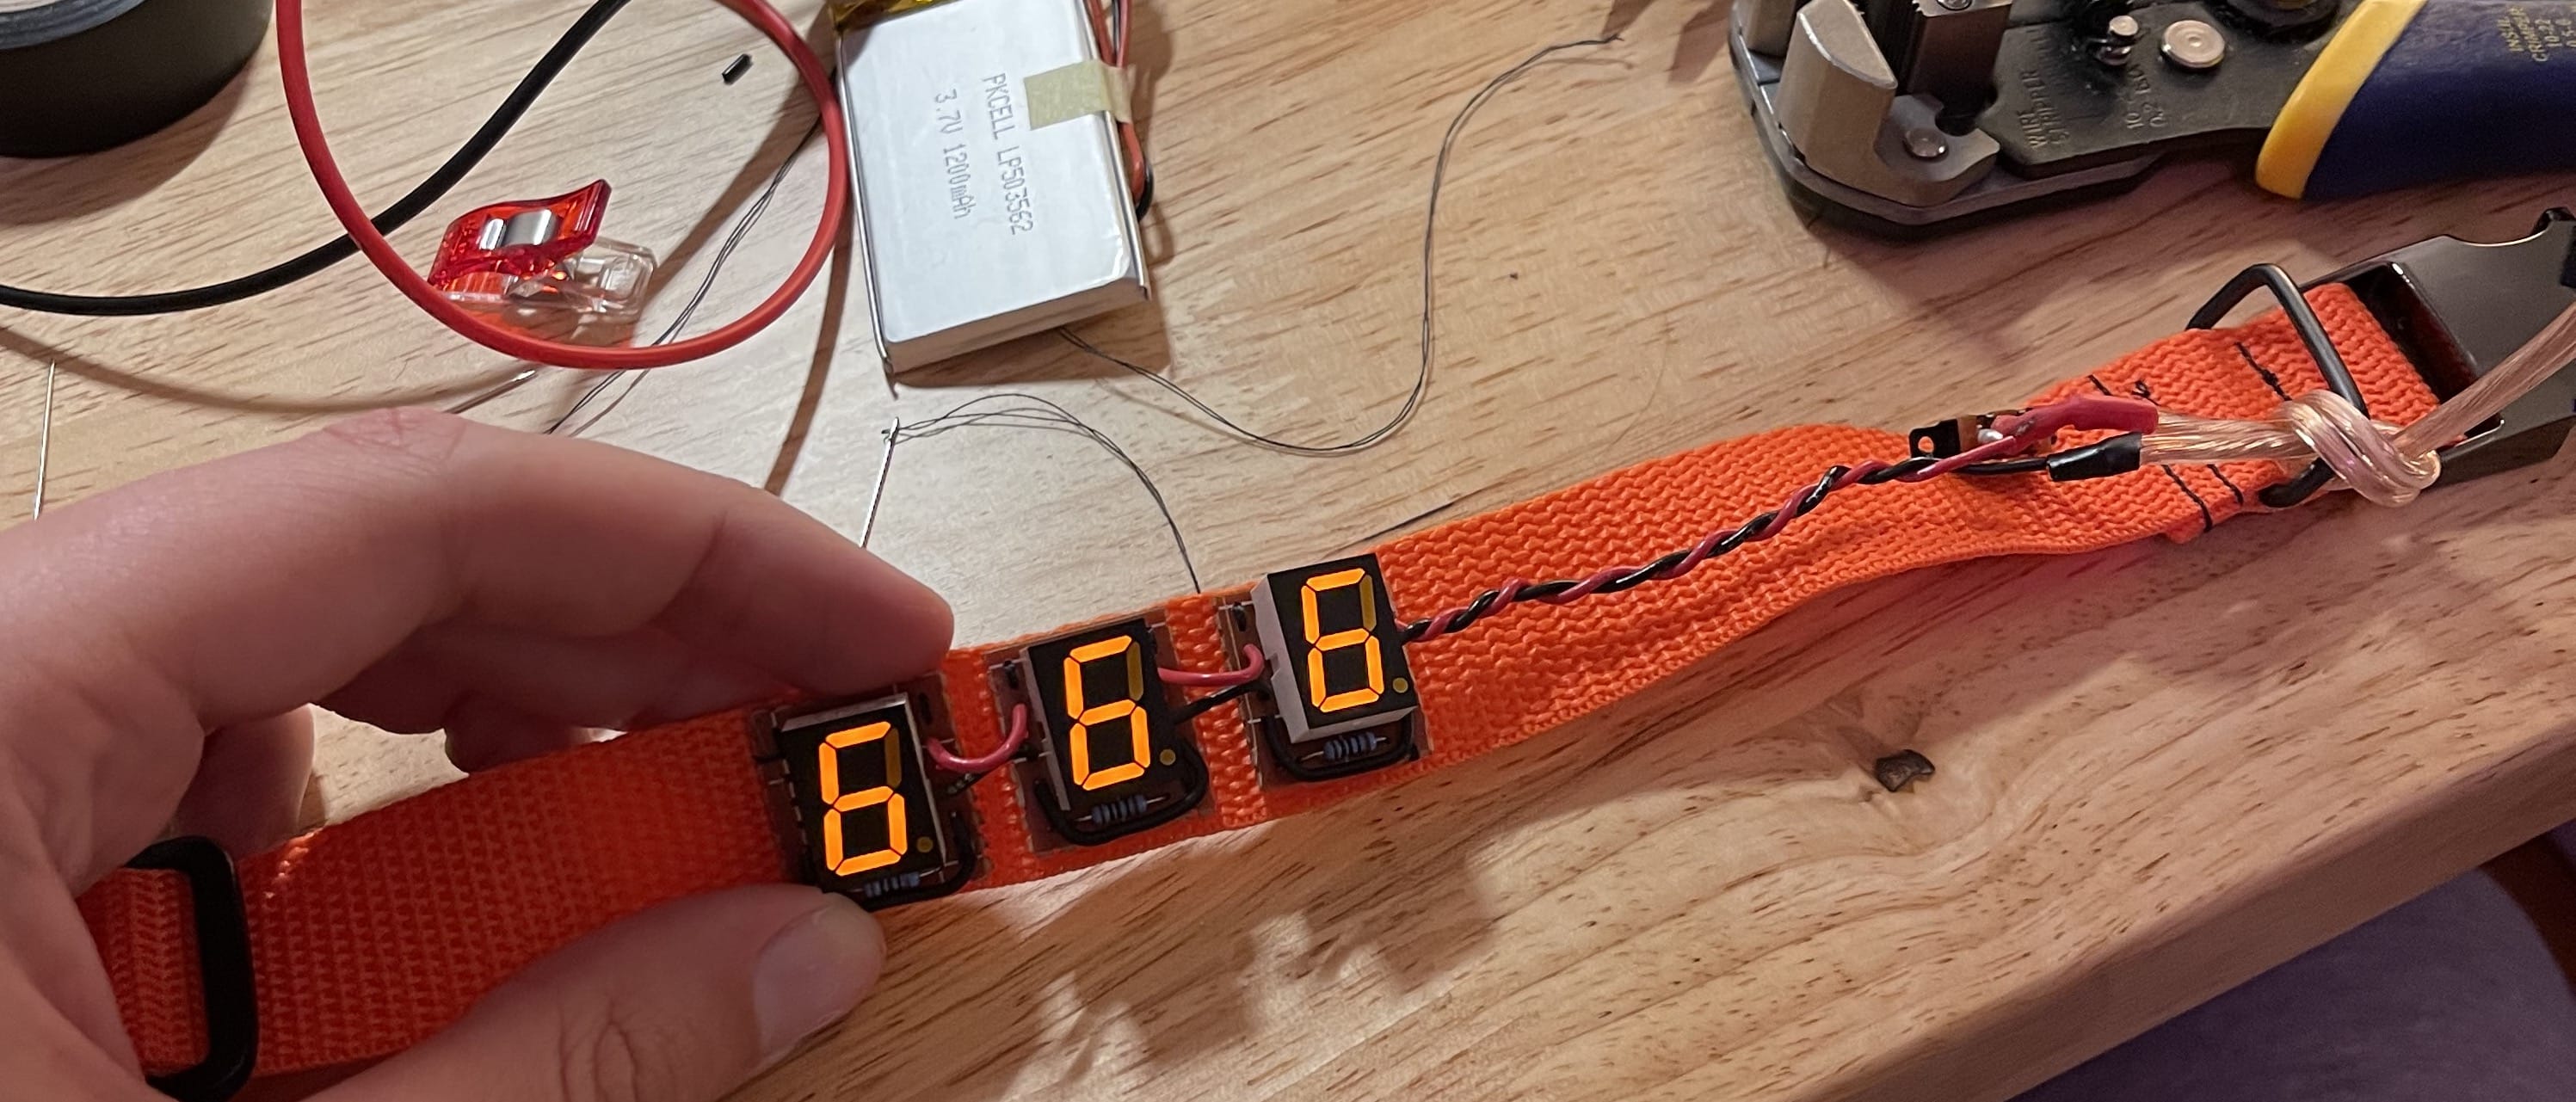
The final result! It's hard to get a sense from the pic but the effect of the lighting is just what I wanted, it casts a subtle glow but doesn't laser you in the eye.

Version 2
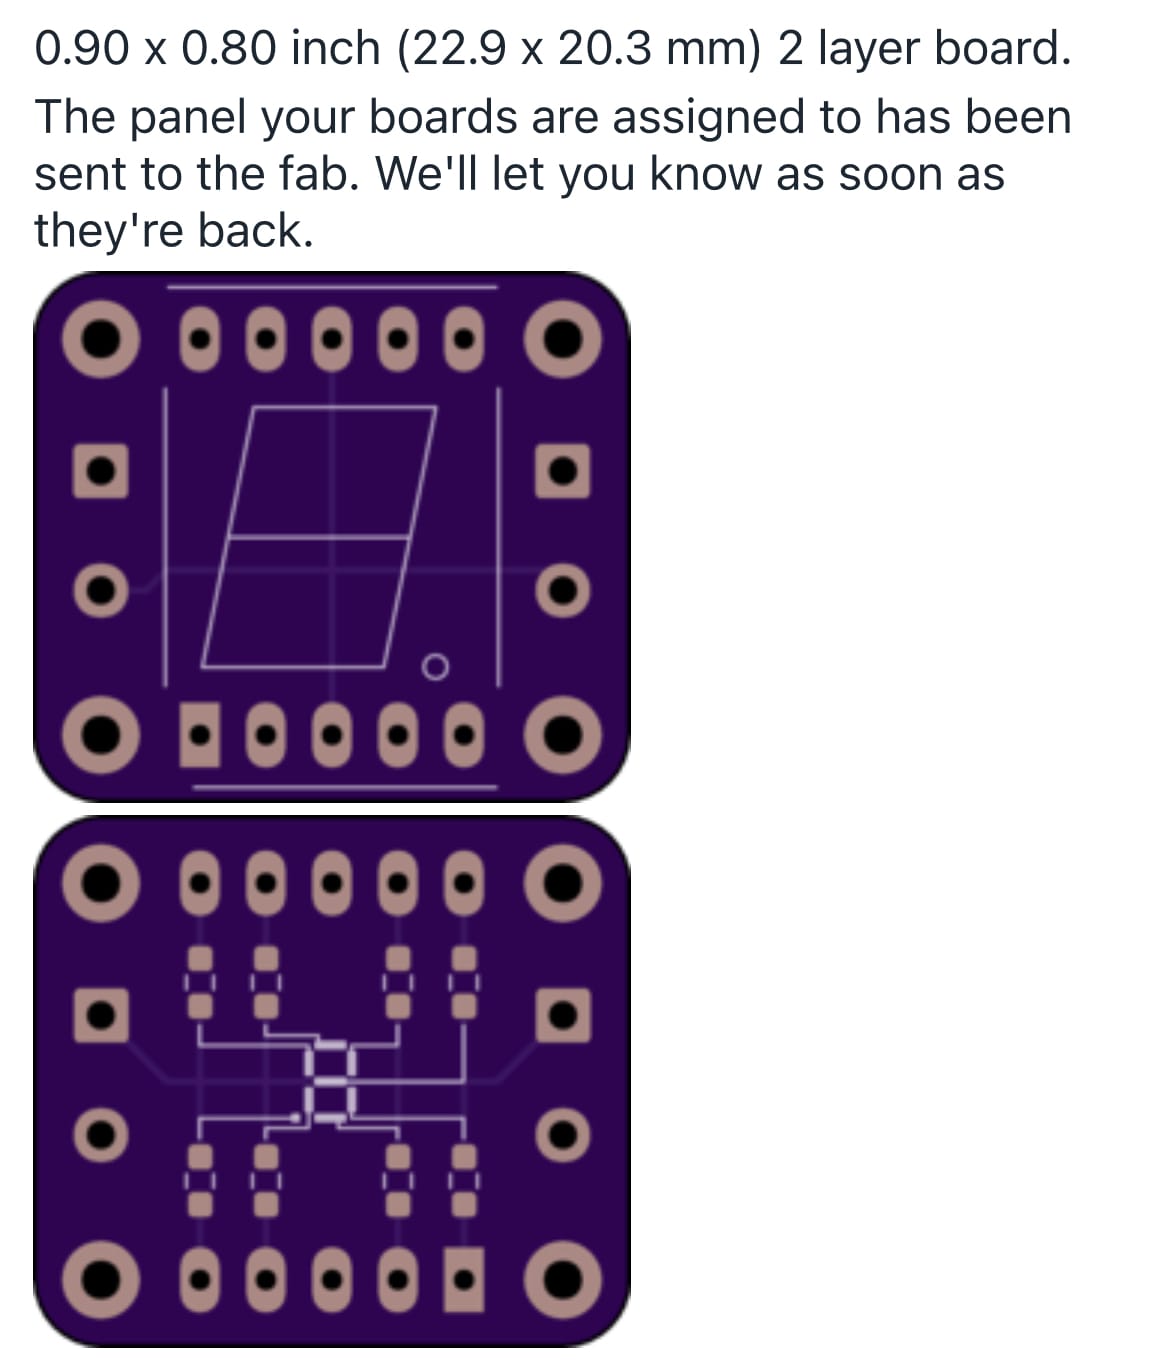
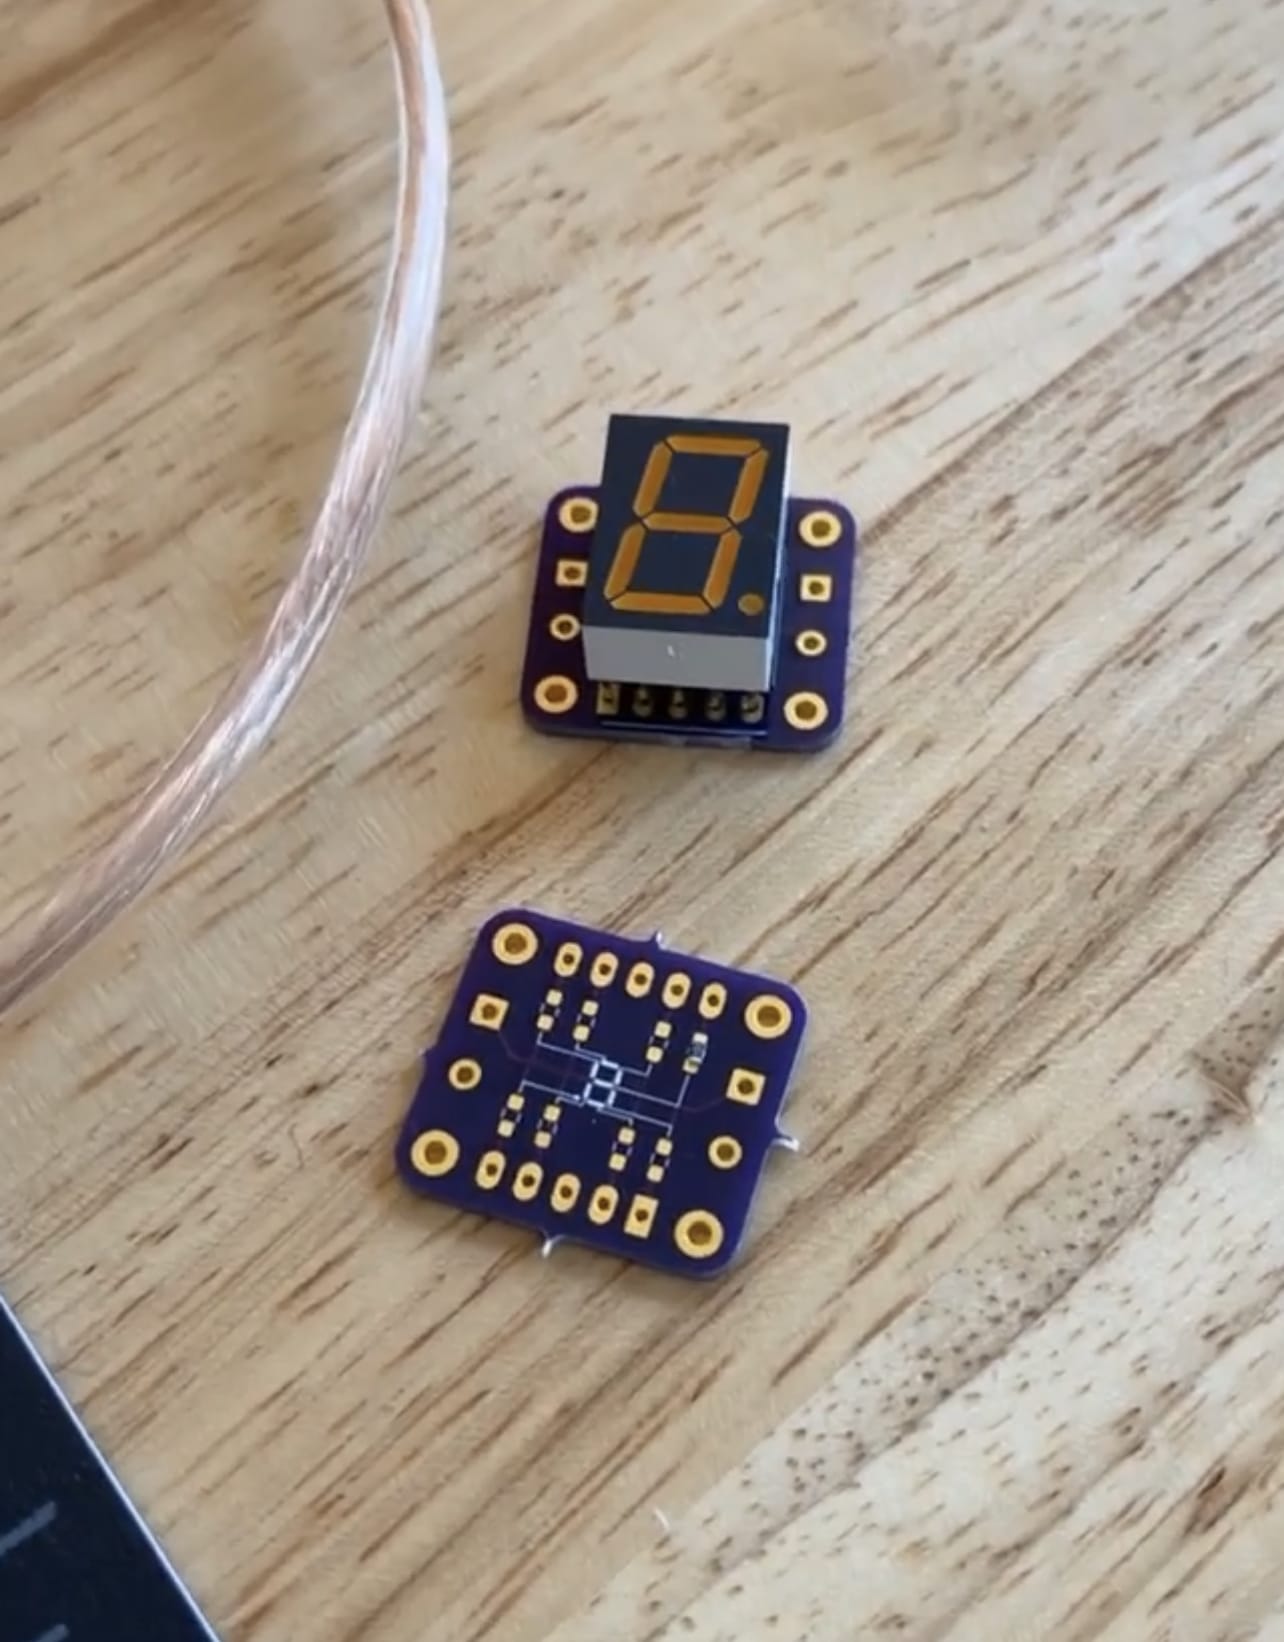
These PCBs made the chokers easier to assemble and with a much more professional look. I also got a few tiny surface mount 100 ohm resistors, which took some trial-and-error but proved to be doable.
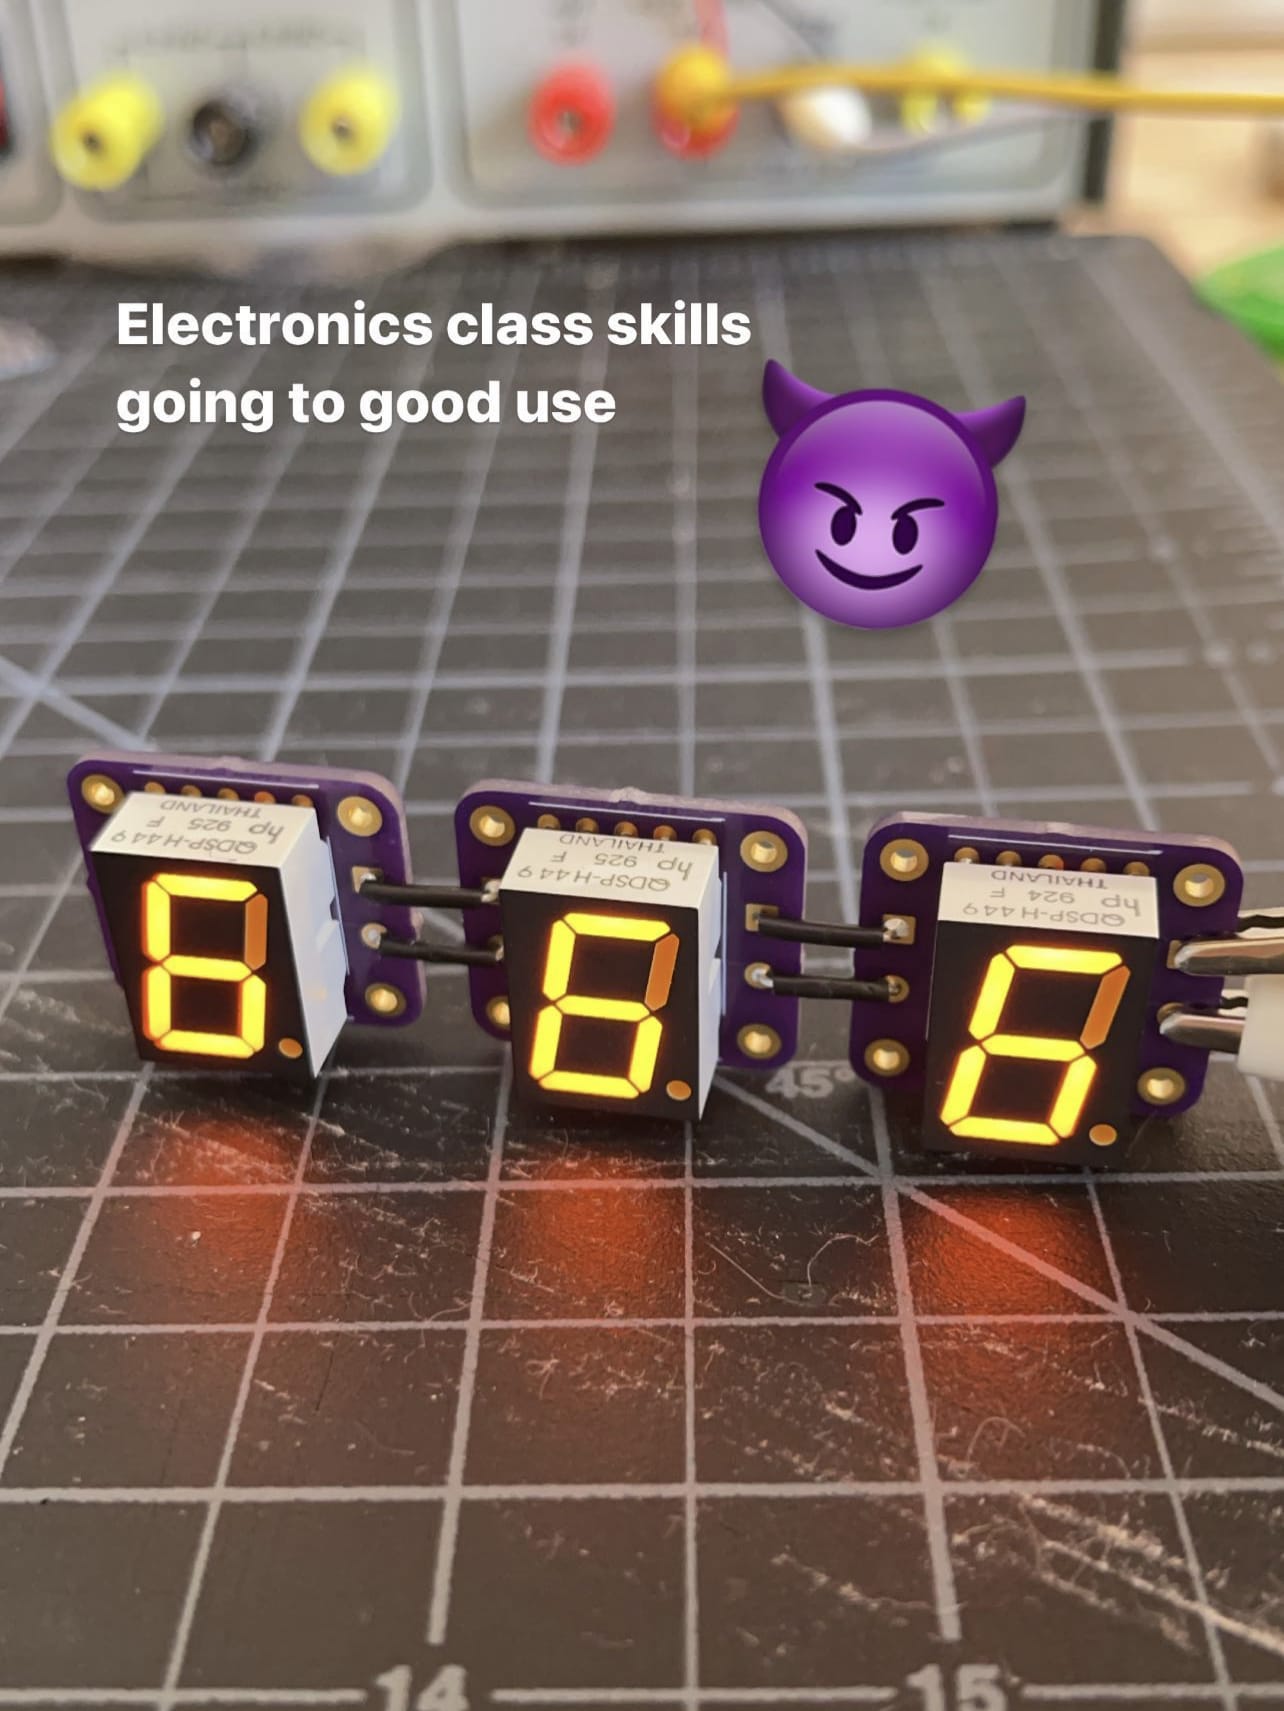
These neck straps work the same way as in the first version: about 22 inches of 1" nylon webbing, with a clip and a slide adjuster (which is crucial to dial in the fit). The major innovation here was to create a pocket for the lipo battery to sit in. The battery isn't sewn or locked in in any way, which was actually a big benefit, since it's easy to swap out for a new one if it dies in the club, or if you didn't have time to charge it up before going out. The wires through the switch are still just exposed, but I figured it added to the DIY aesthetic.
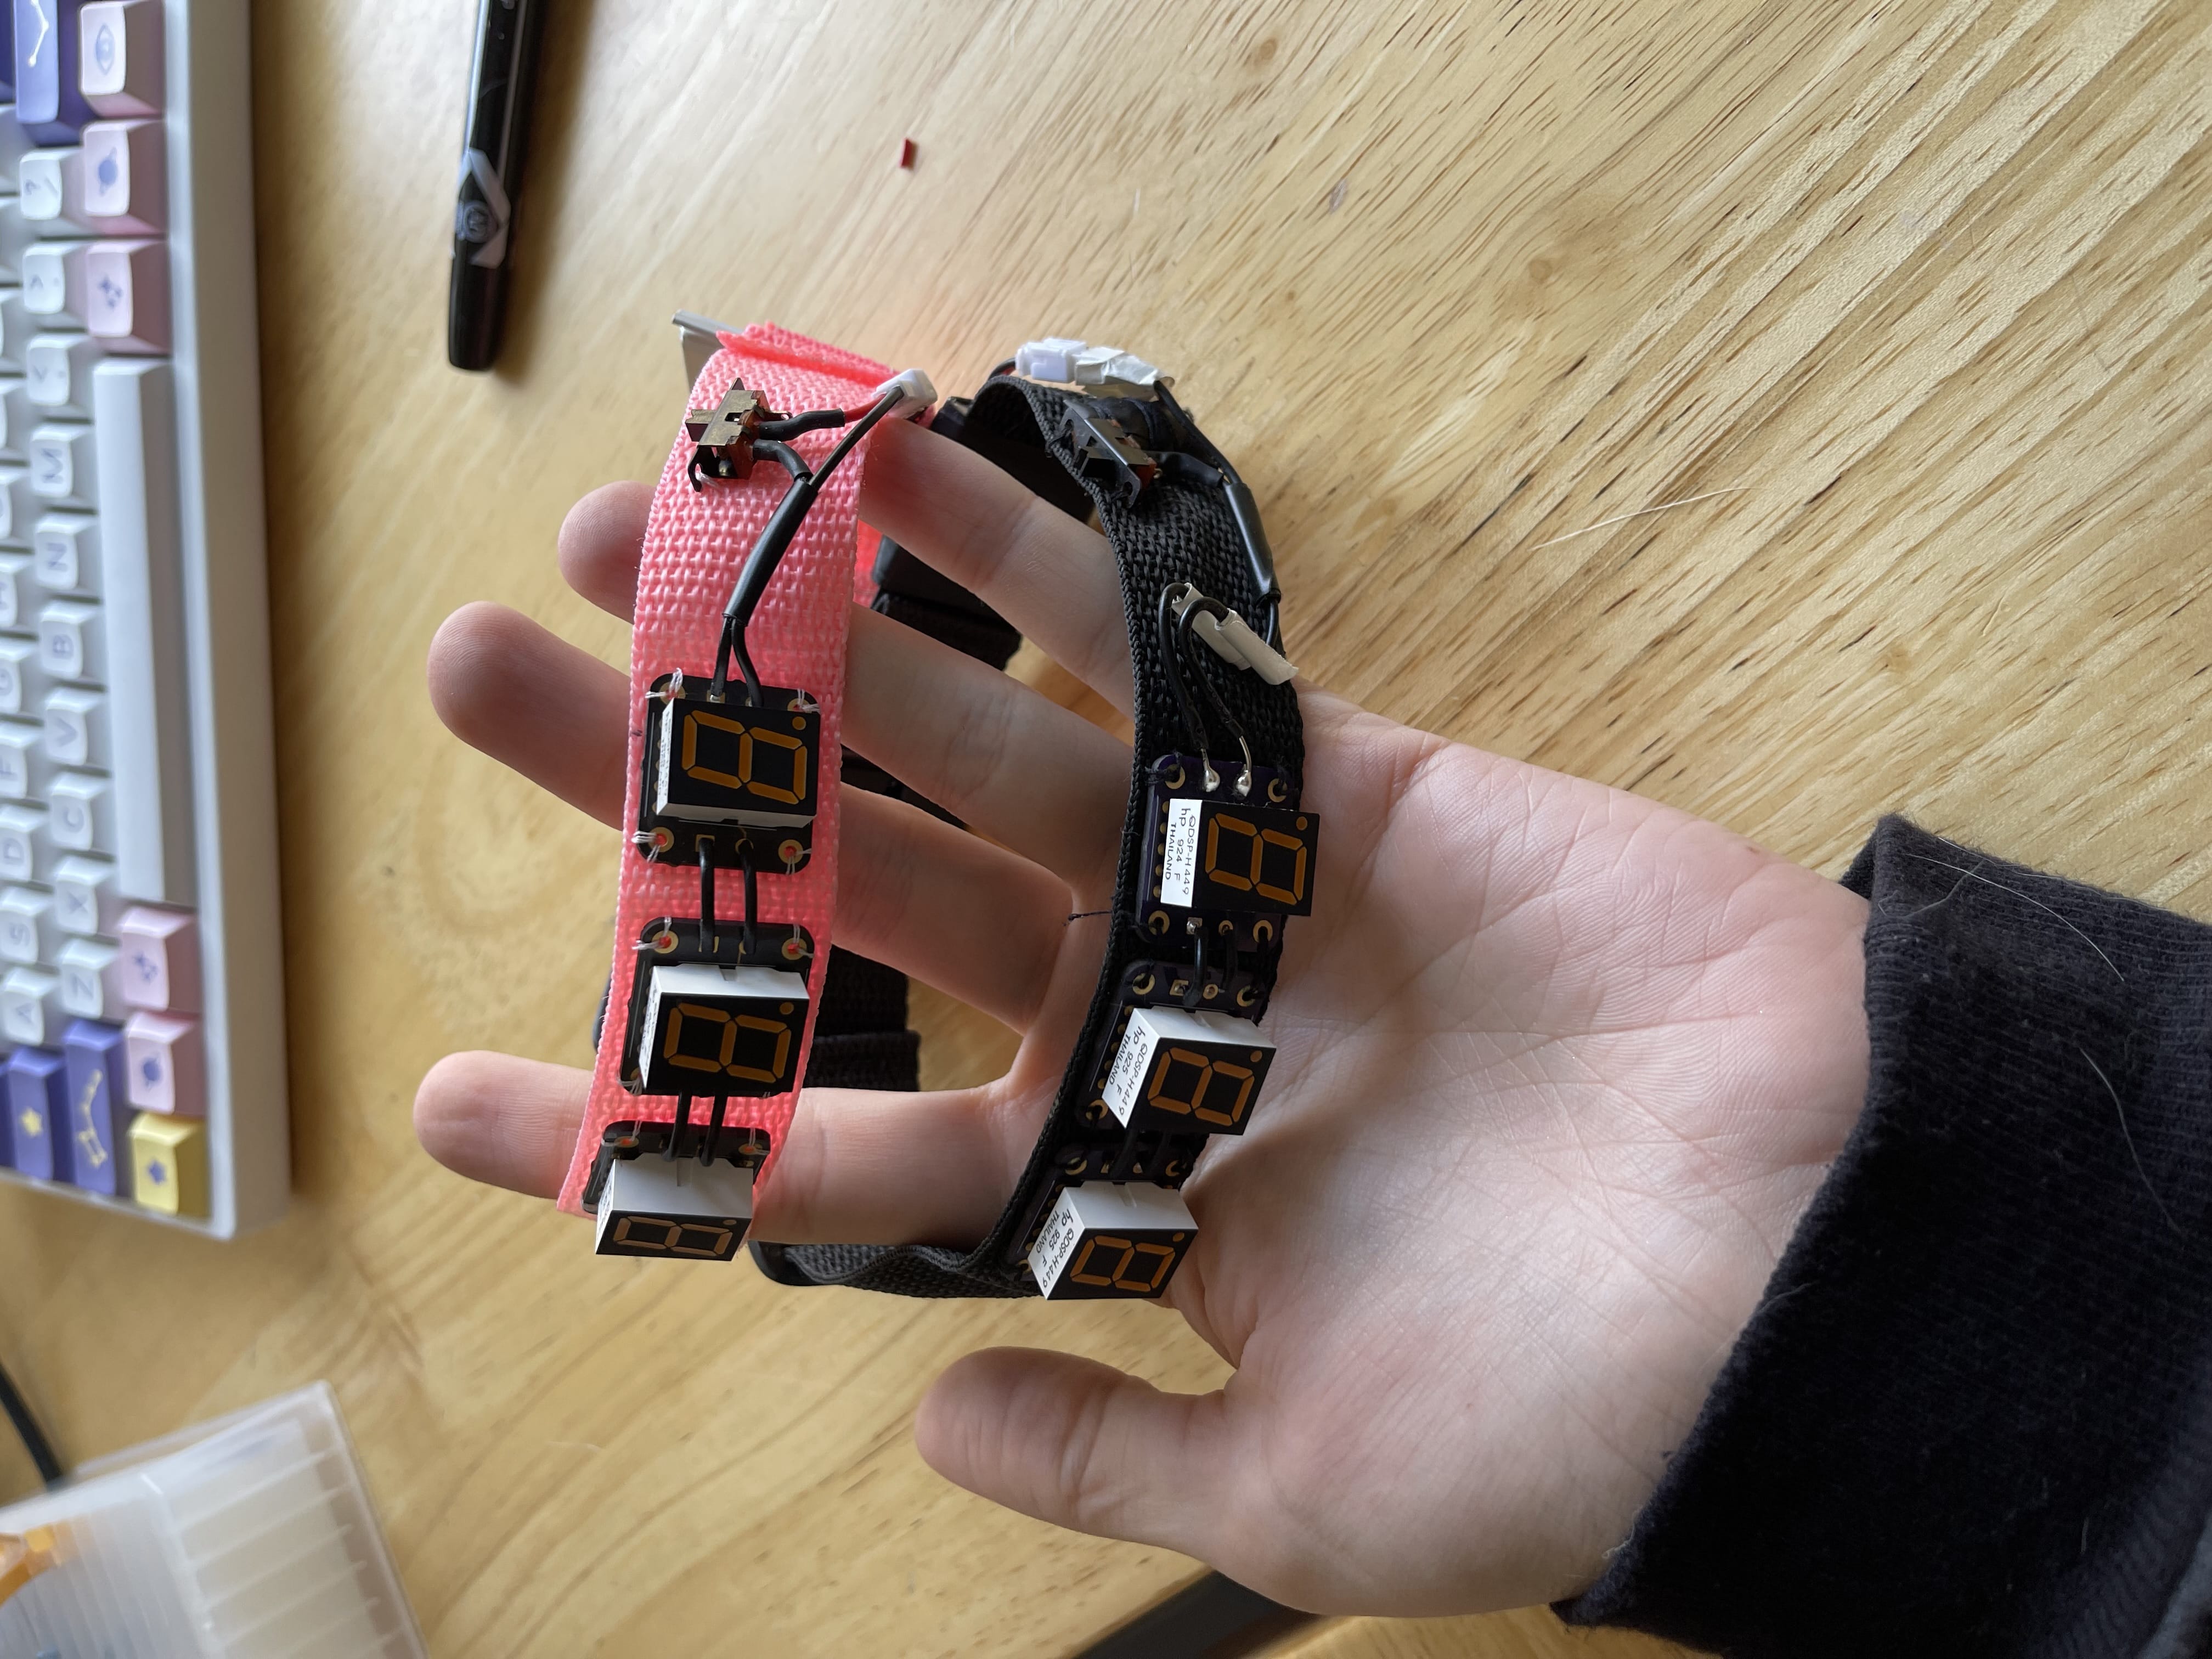
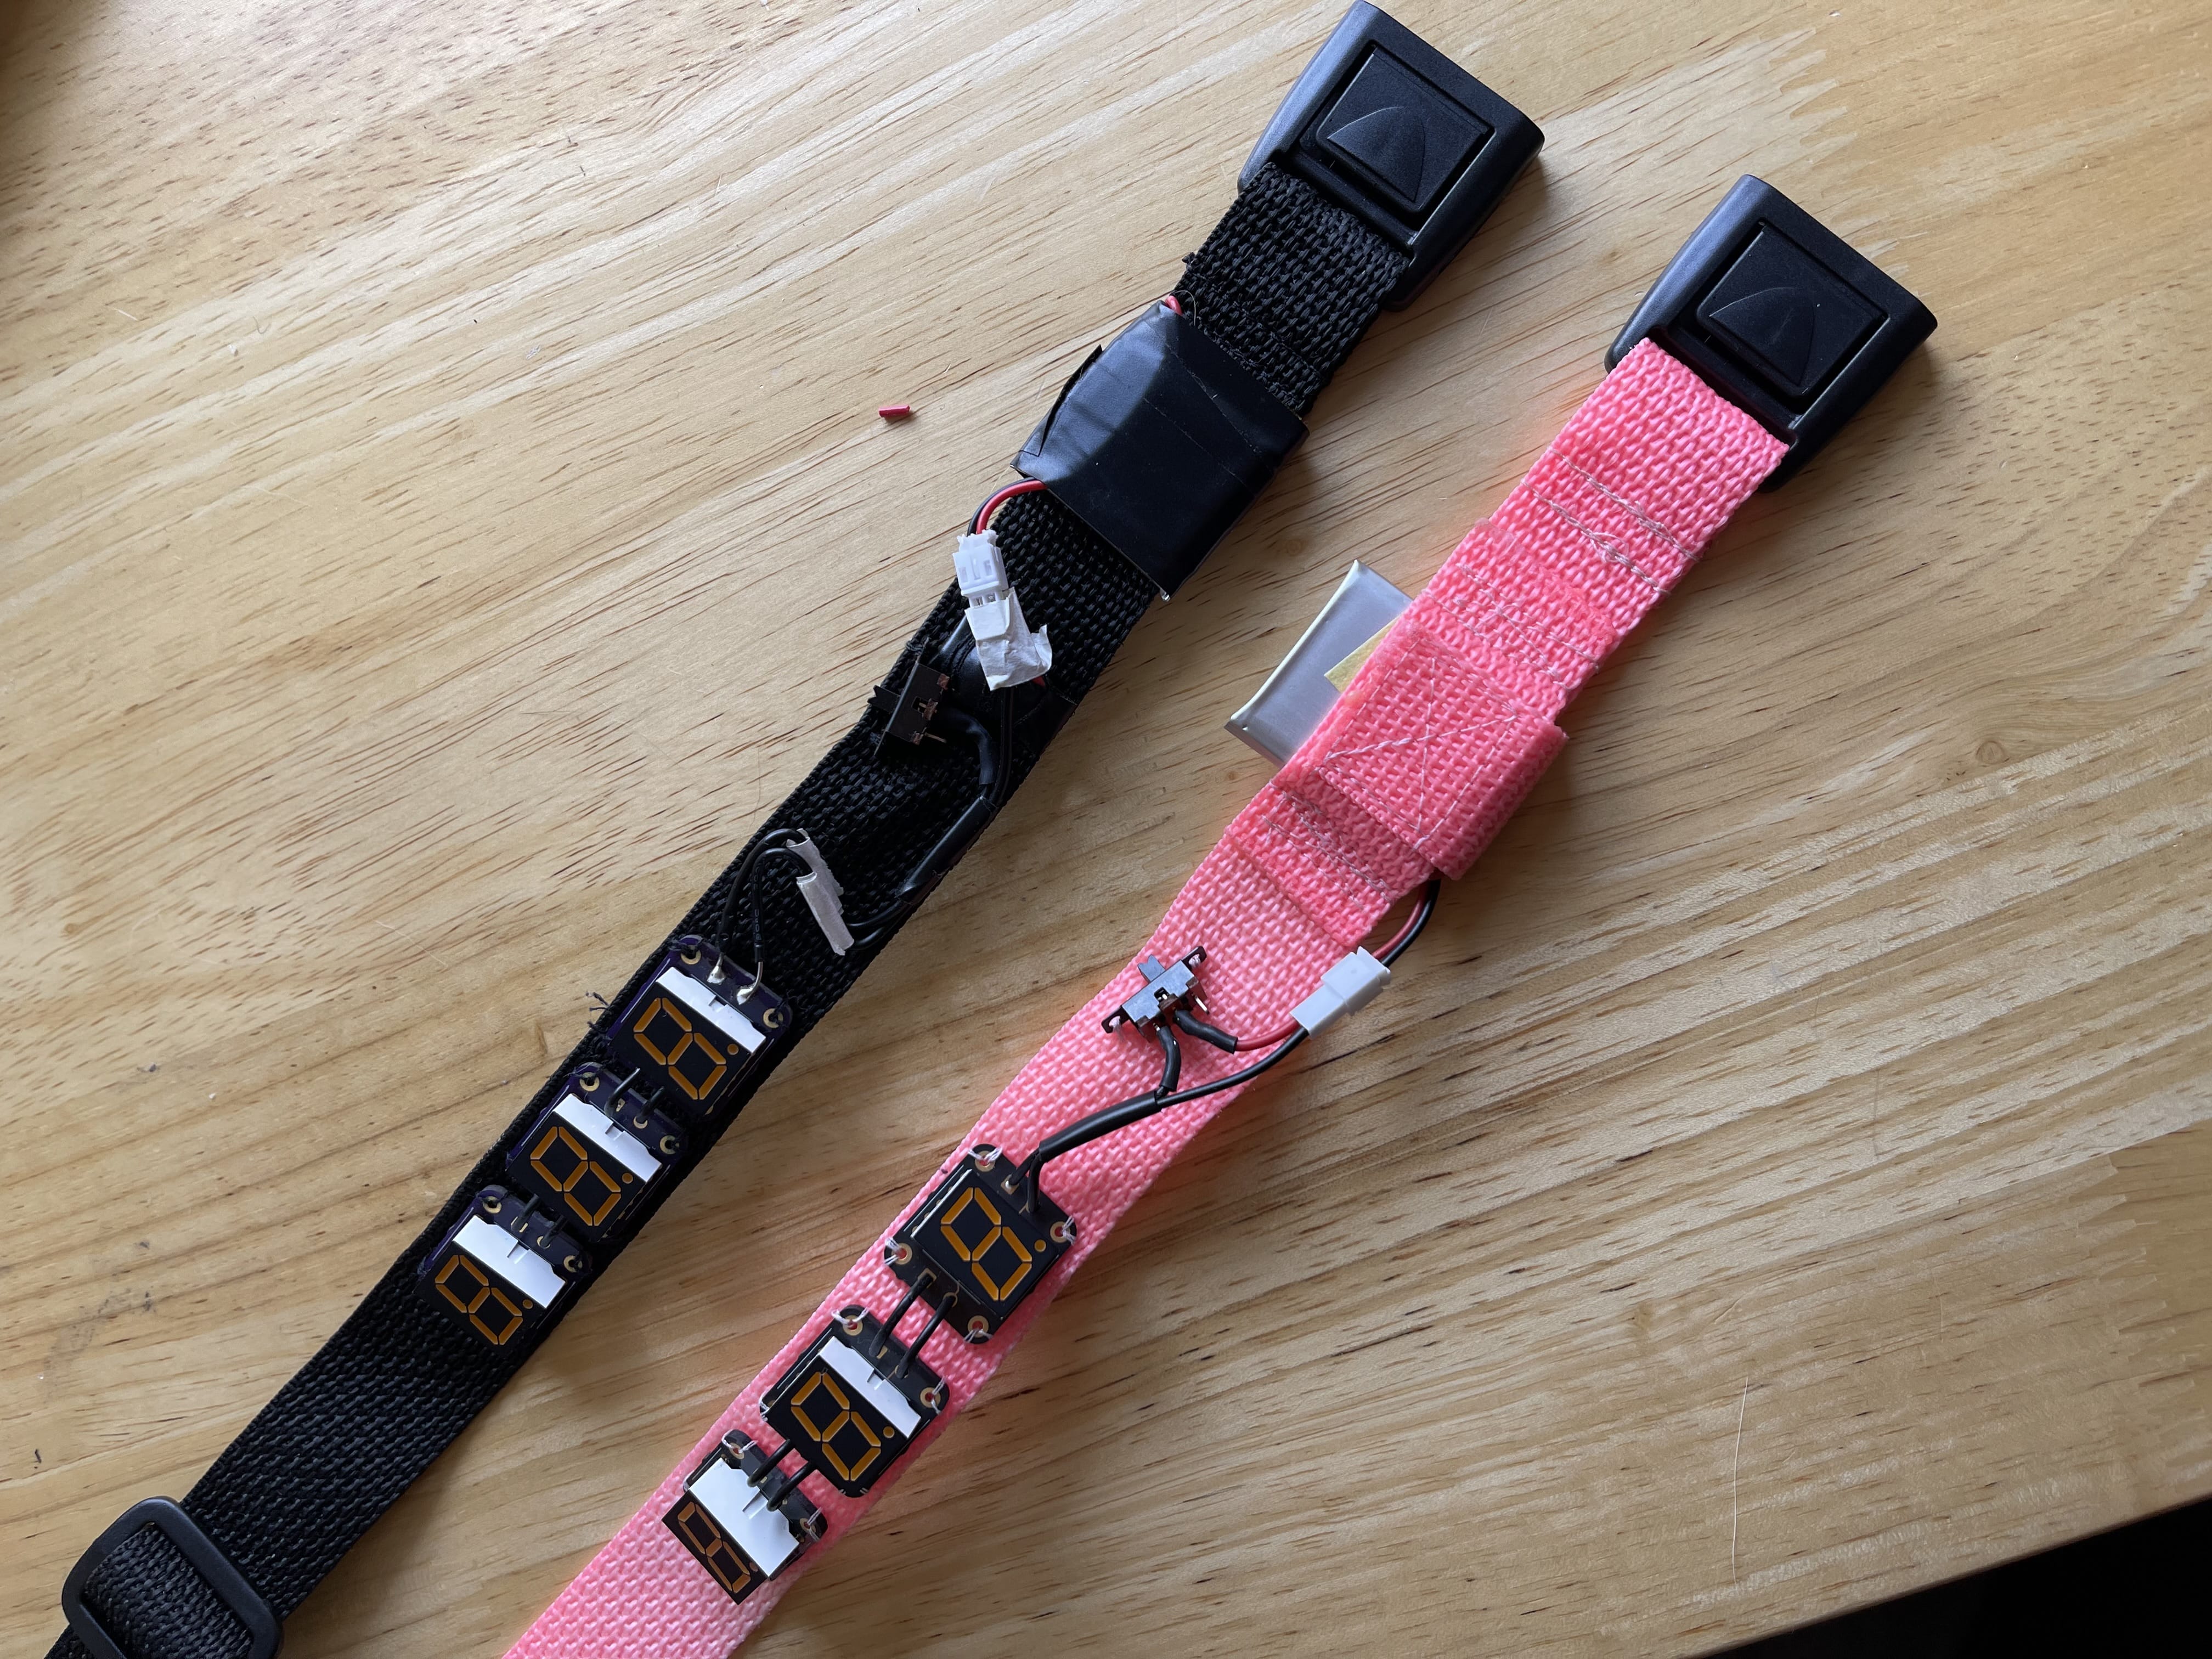
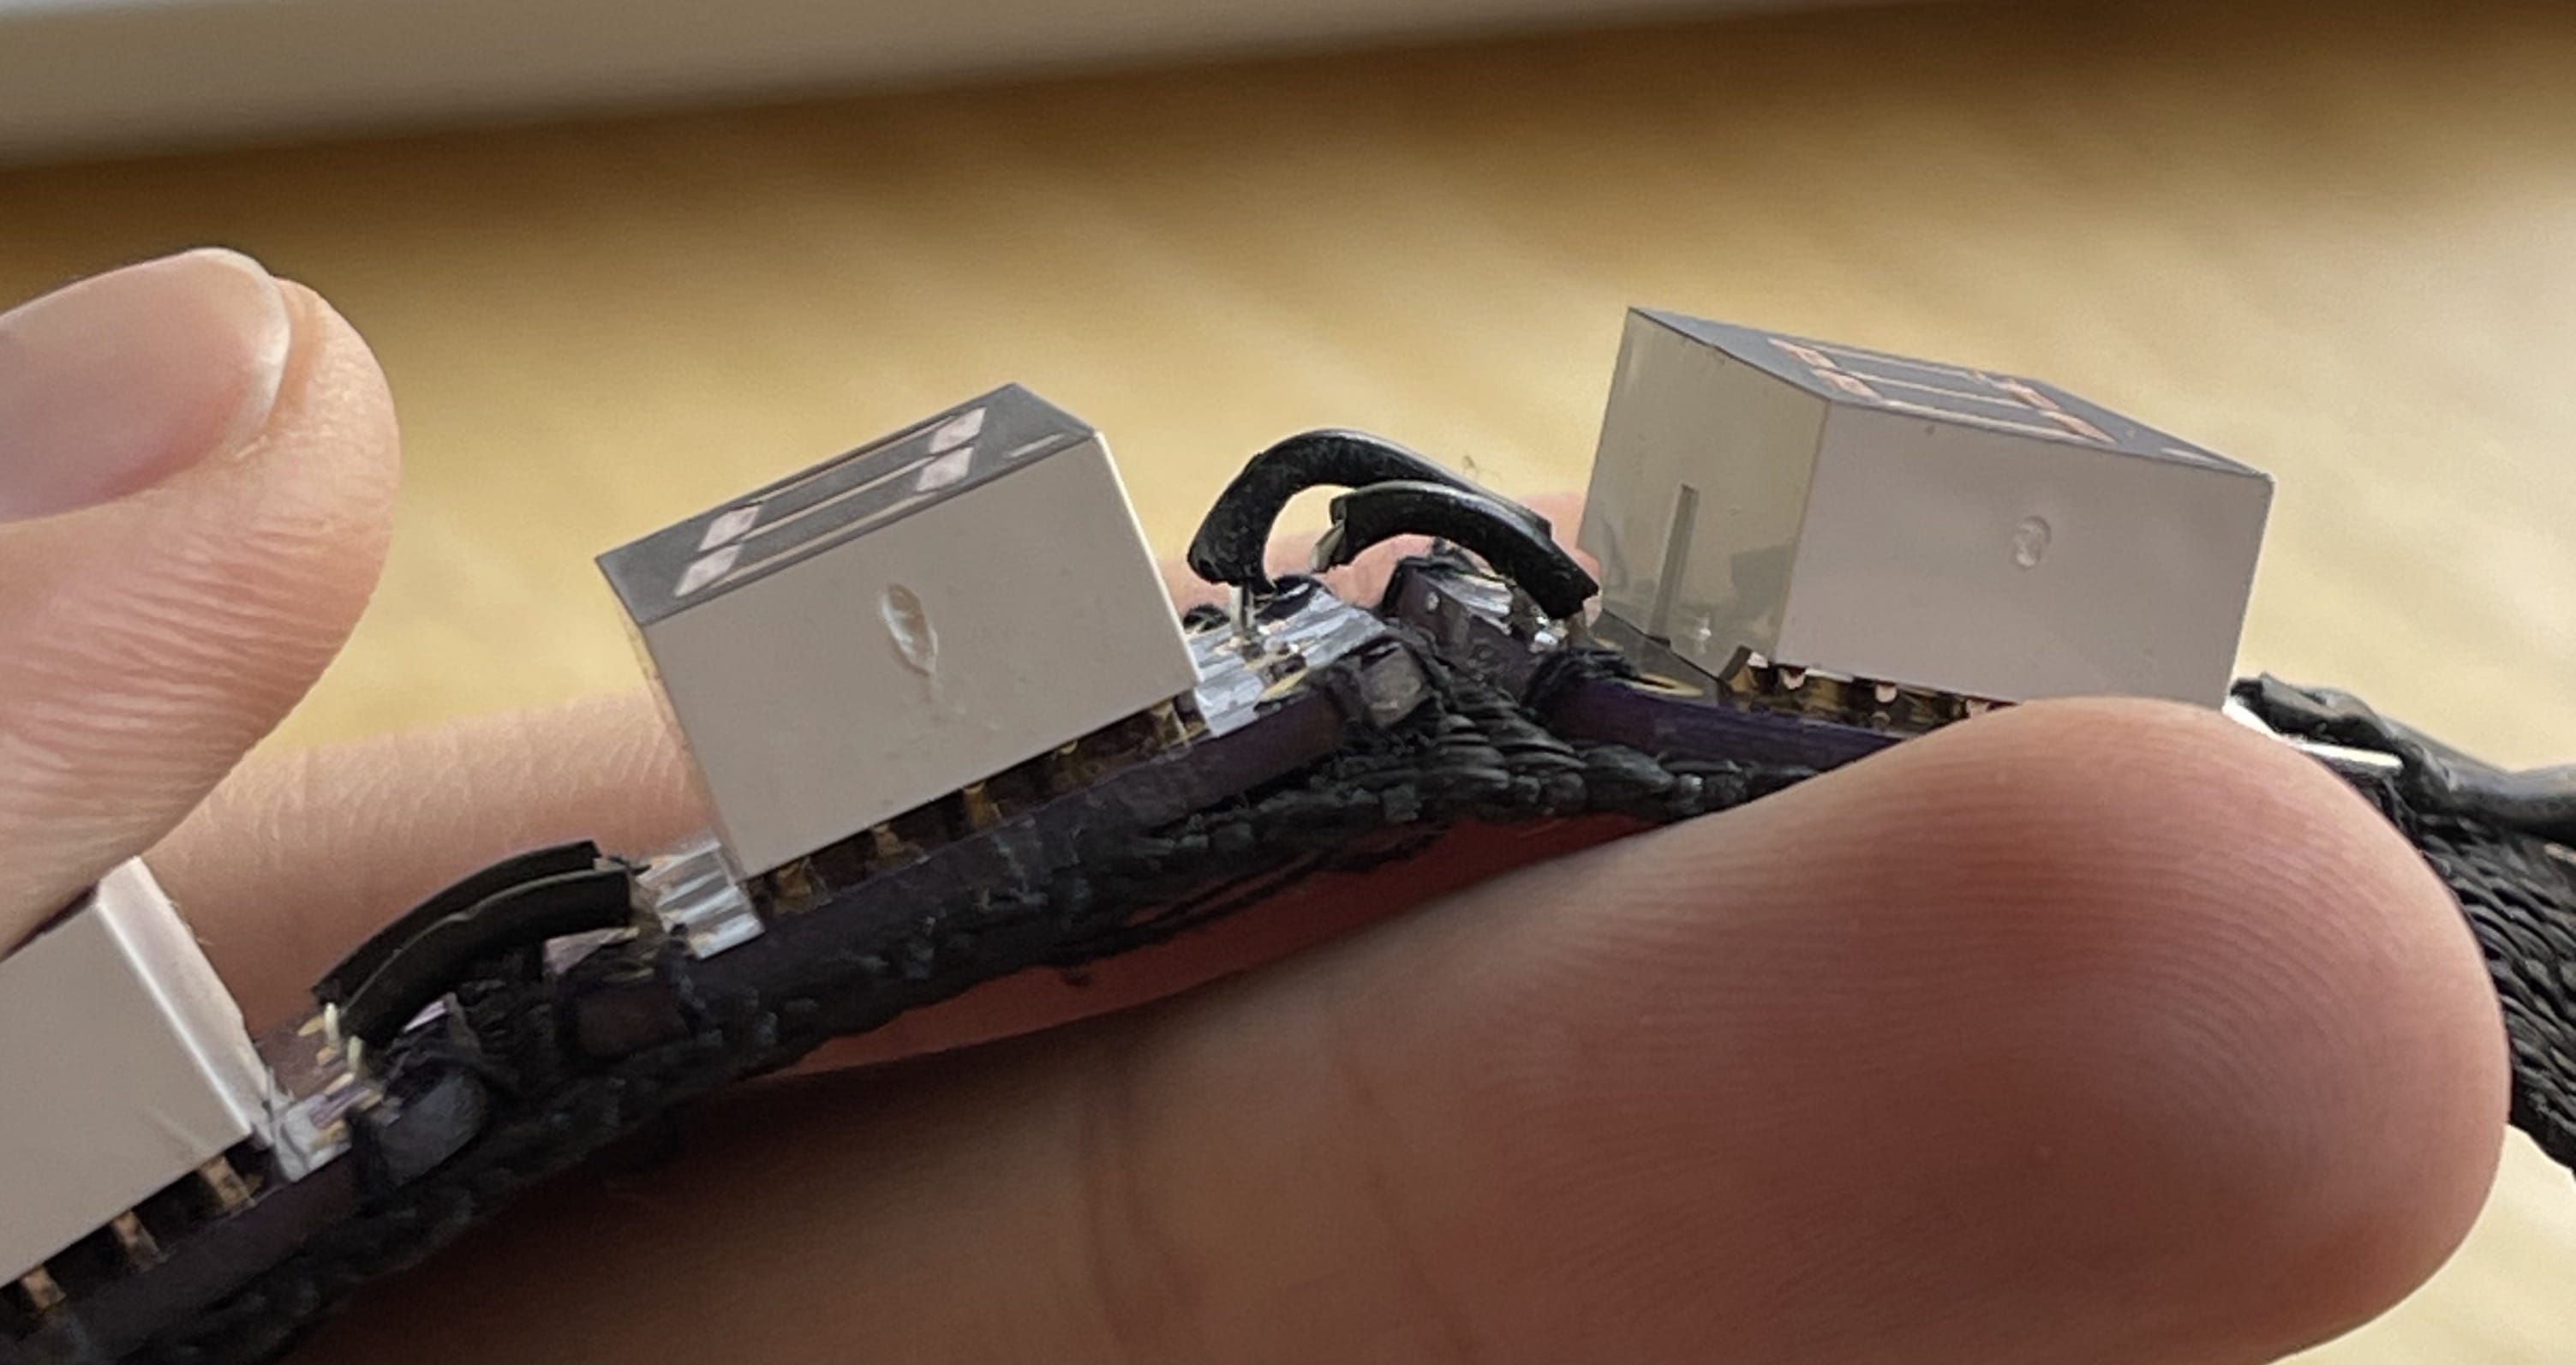
I wore this model pretty regularly, though quickly realized a flaw: the digits have power and ground wires daisy chained between them, which is a high-flex area as you put the choker on and take it off. The solid core wire I was used to using for projects up until this point just wasn't up to the task. I repaired each of these a few times, but ultimately gave up and decided to do a version 3 to really fix this issue.
Version 3
I started working on this next version while attending a class called Thread and Circuits: A Guide to Electro-Textiles by the wonderful creative workshop group Dogbotic. In it, we learned about sewing with conductive thread, and I realized this could be a solution to my daisy-chain-breakage problem.
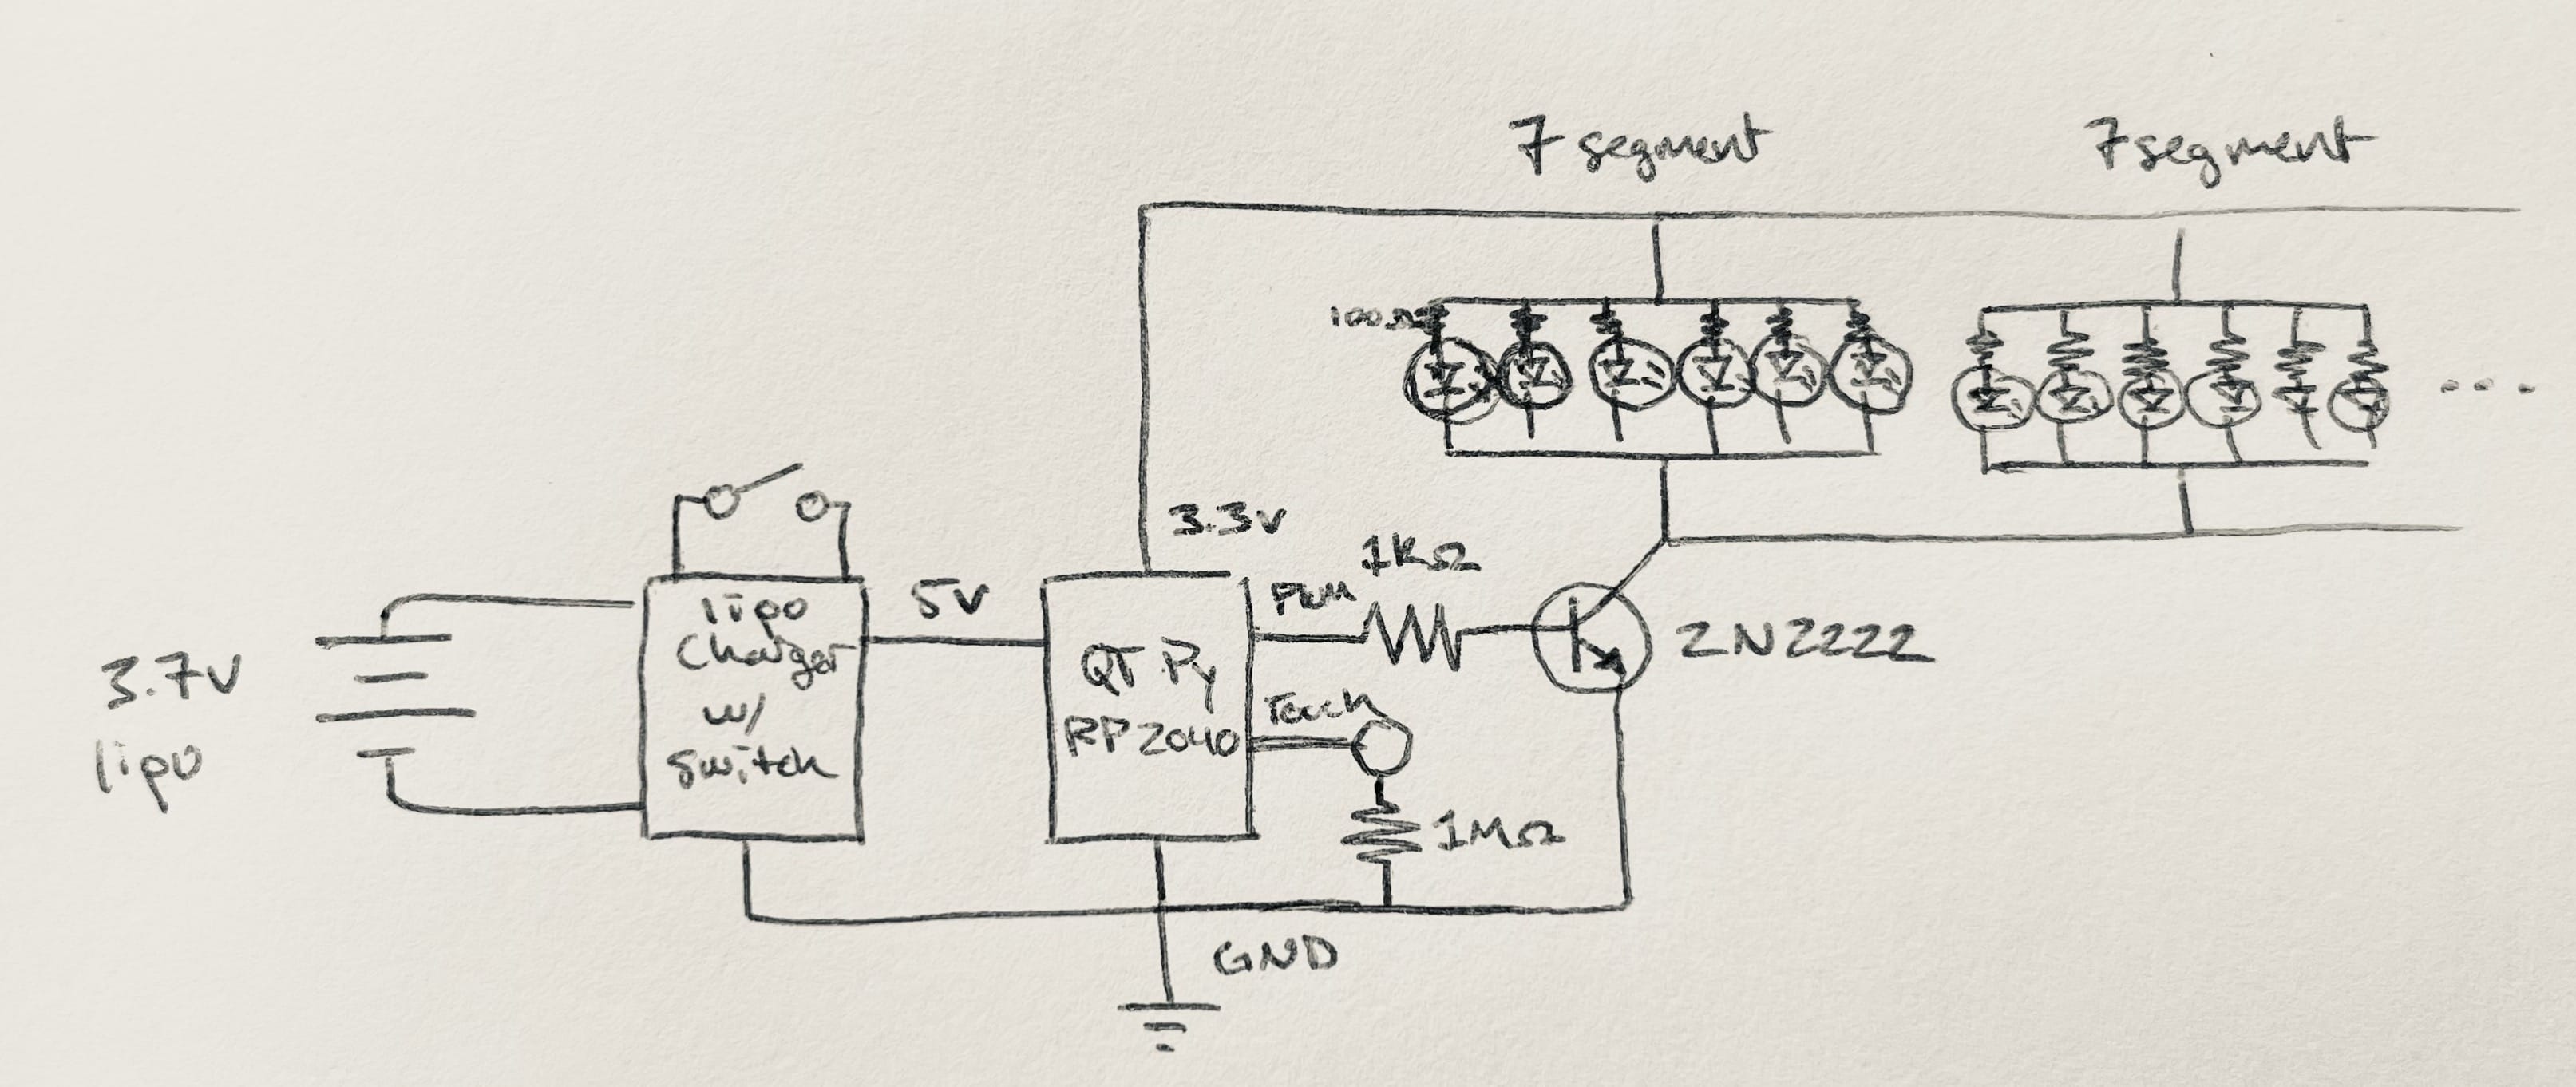
Here's a schematic of the circuit!
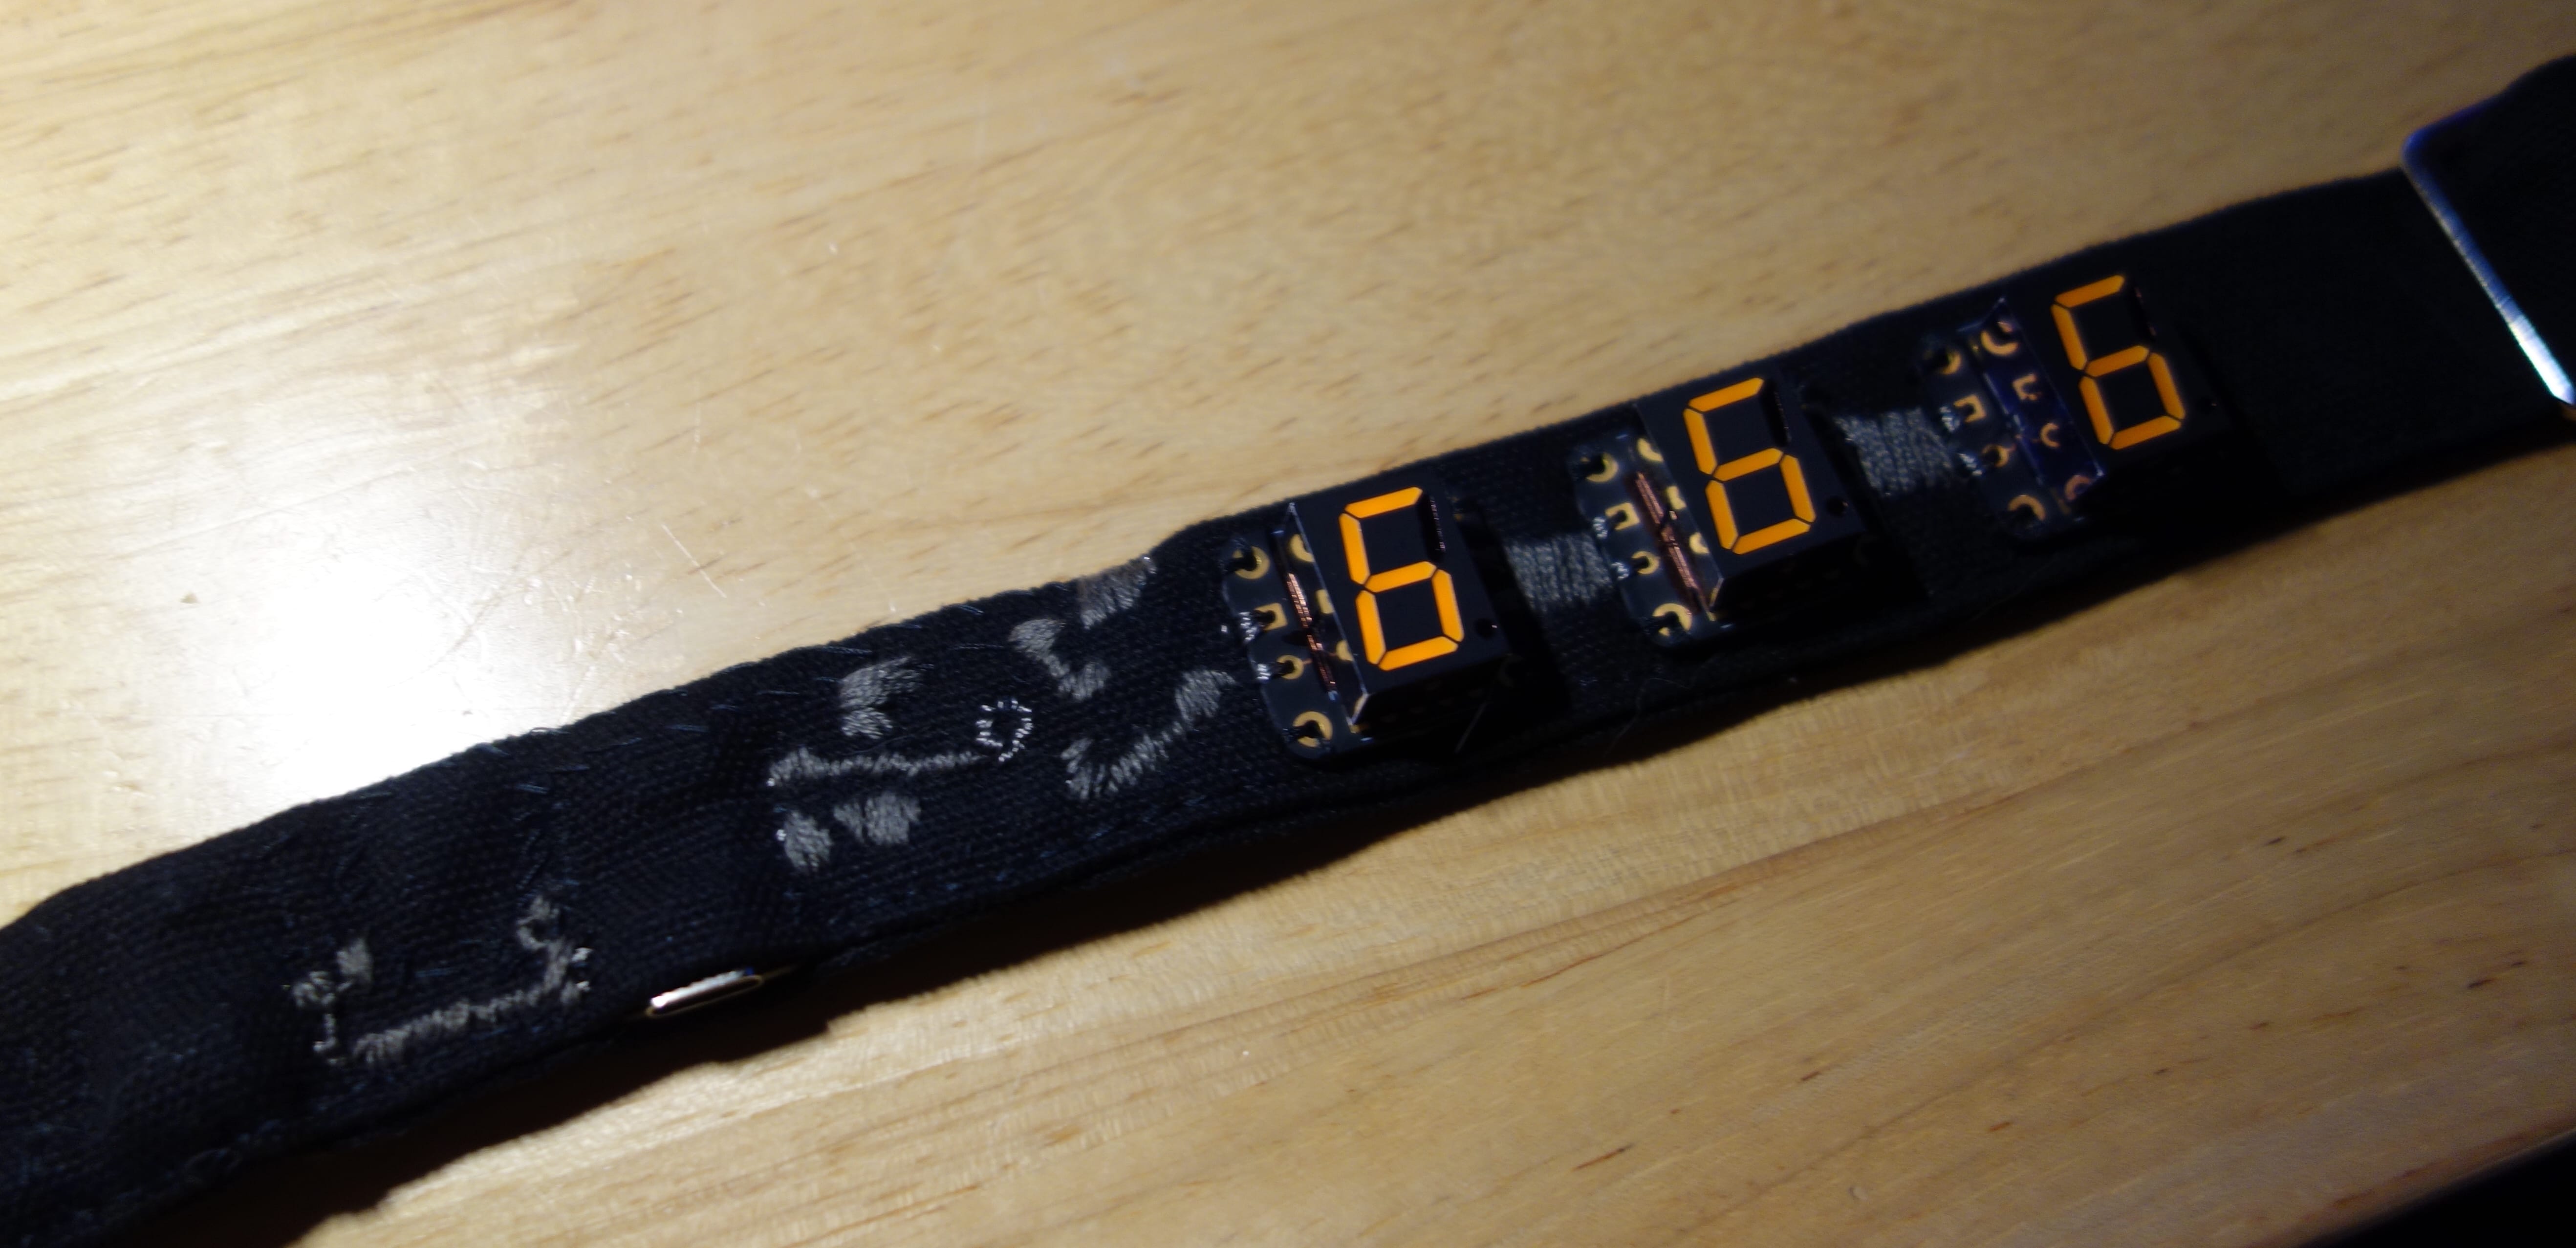
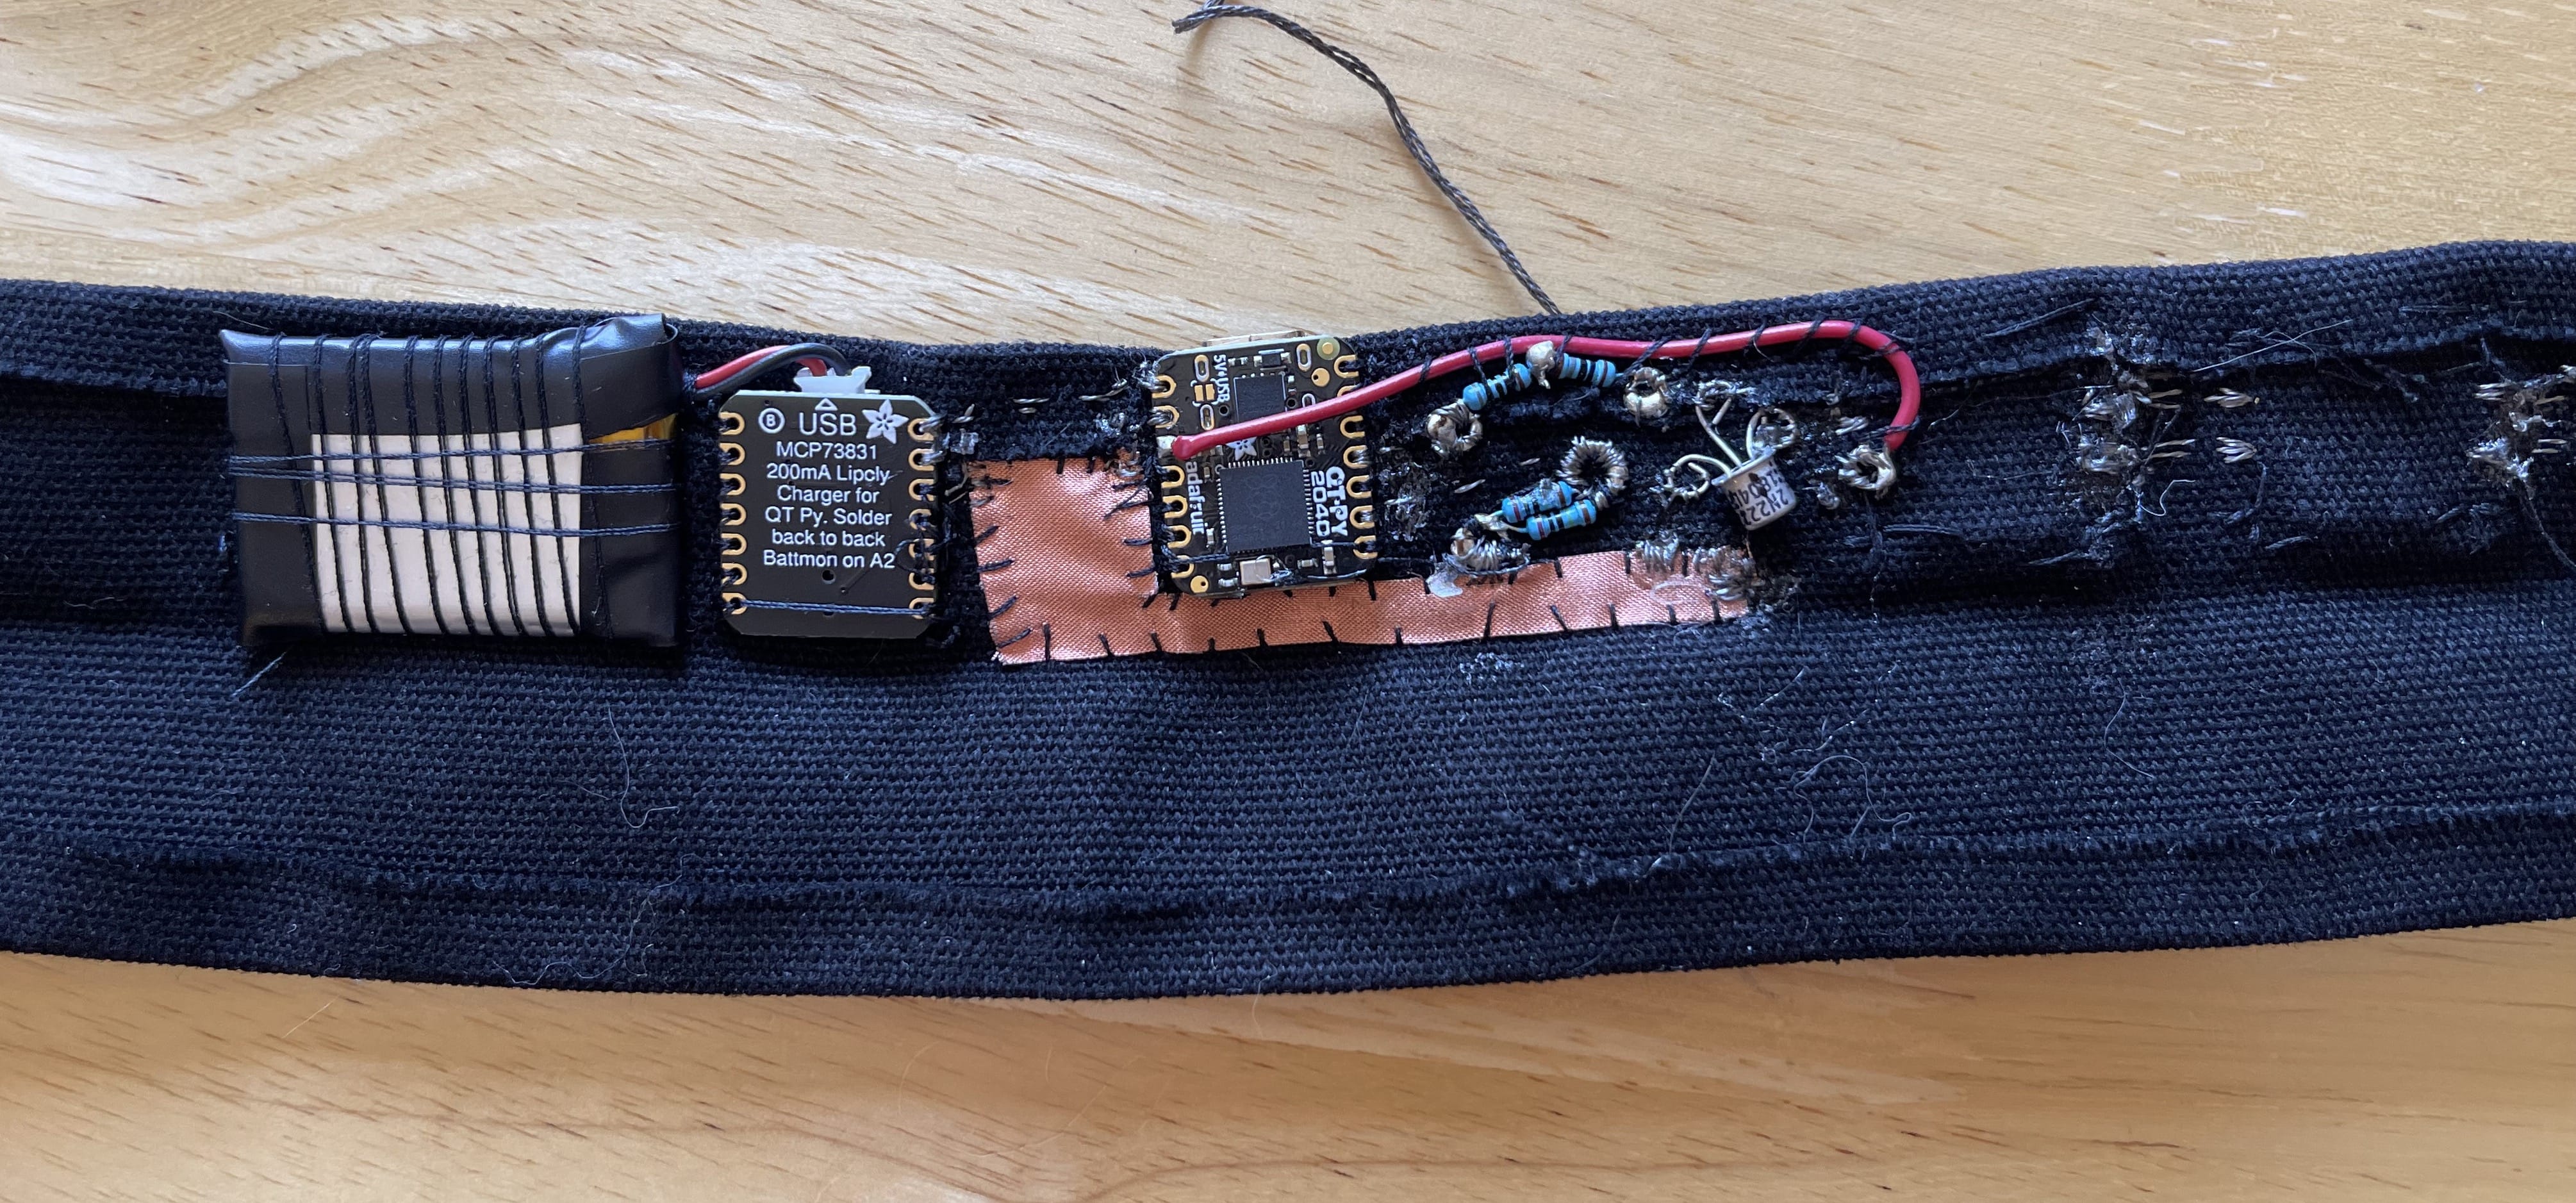
Here's the inside of the choker. Instead of a strip of nylon webbing, I cut a 2.5" wide strip of cotton canvas, then sewed all the components to one side and folded it over, creating a nice soft layer for comfort and insulation.
From left to right you can see the:
- Lipoly battery
- Battery charger
- Adafruit QTPy RP2040
- A strip of woven copper fabric (used as a ground plane here)
- Resistors to bias the transistor and calibrate the capacitive touch ring
- 2N2222 transistor (which is used to control the current flowing to the LEDs)
- The underside of two of the three digit displays
After this was all assembled I did a battery life test where it lasted for about 8.5 hours on a solid medium brightness. With a lighting effect that blinks or pulses, I think it could last about twice that long.
I can't tell you the number of mistakes I made implementing this schematic. And they're tricky to undo! You can't easily seam-rip conductive thread, and perforations in that copper fabric are permanent.
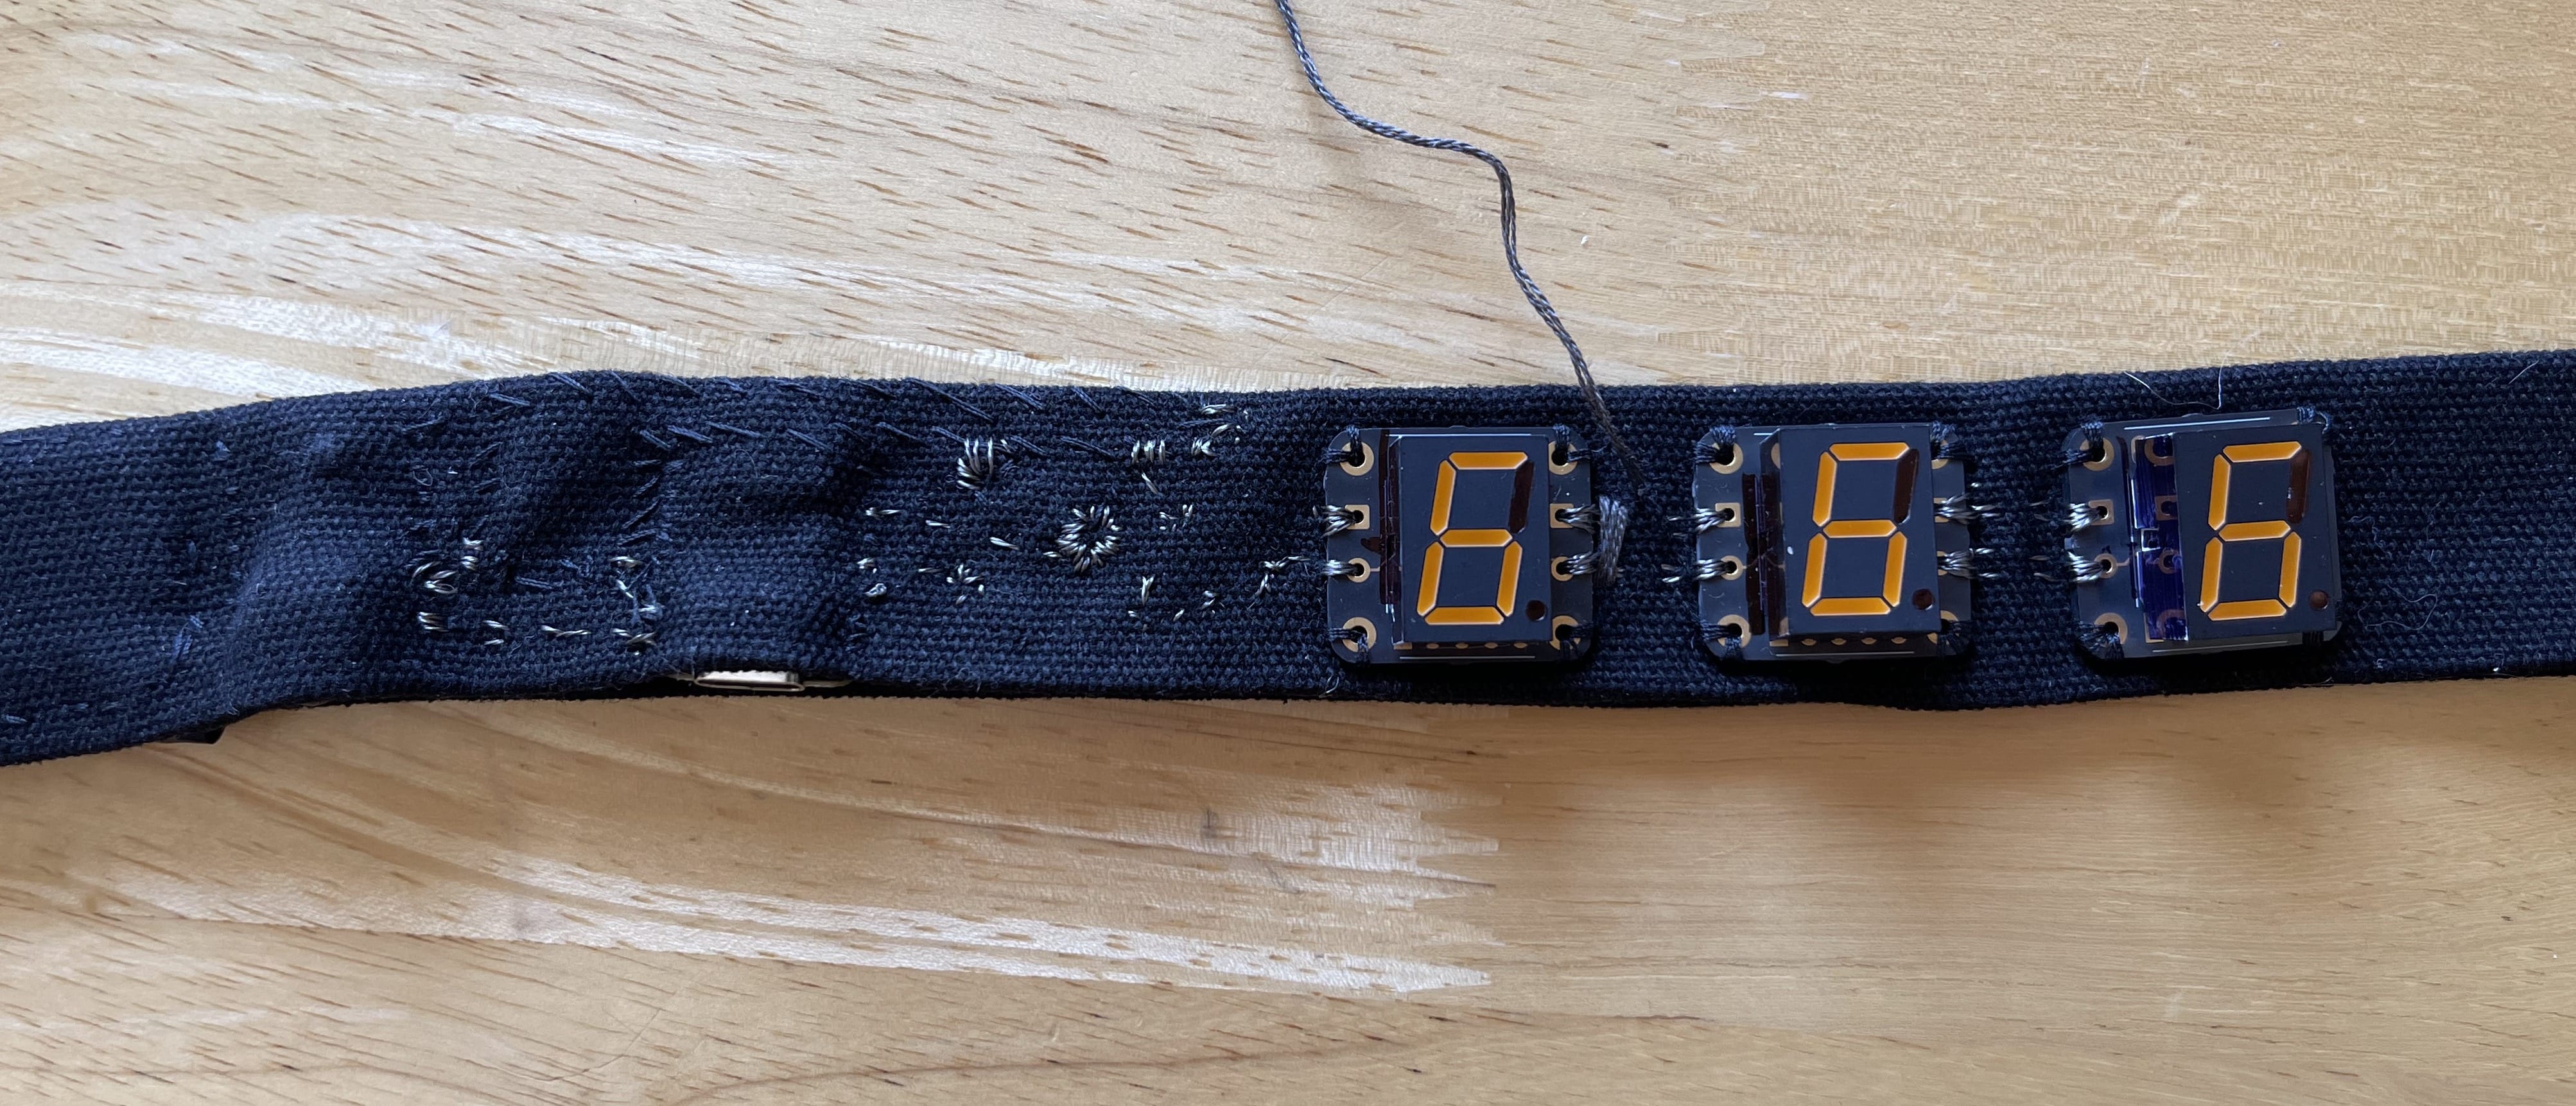
If these connections fold and make contact, or get a drop of sweat on them, they could short out and damage the microcontroller. So with these kinds of projects, it helps to embroider over the exposed conductive thread. Unless you want part of it to act like a touch pad!
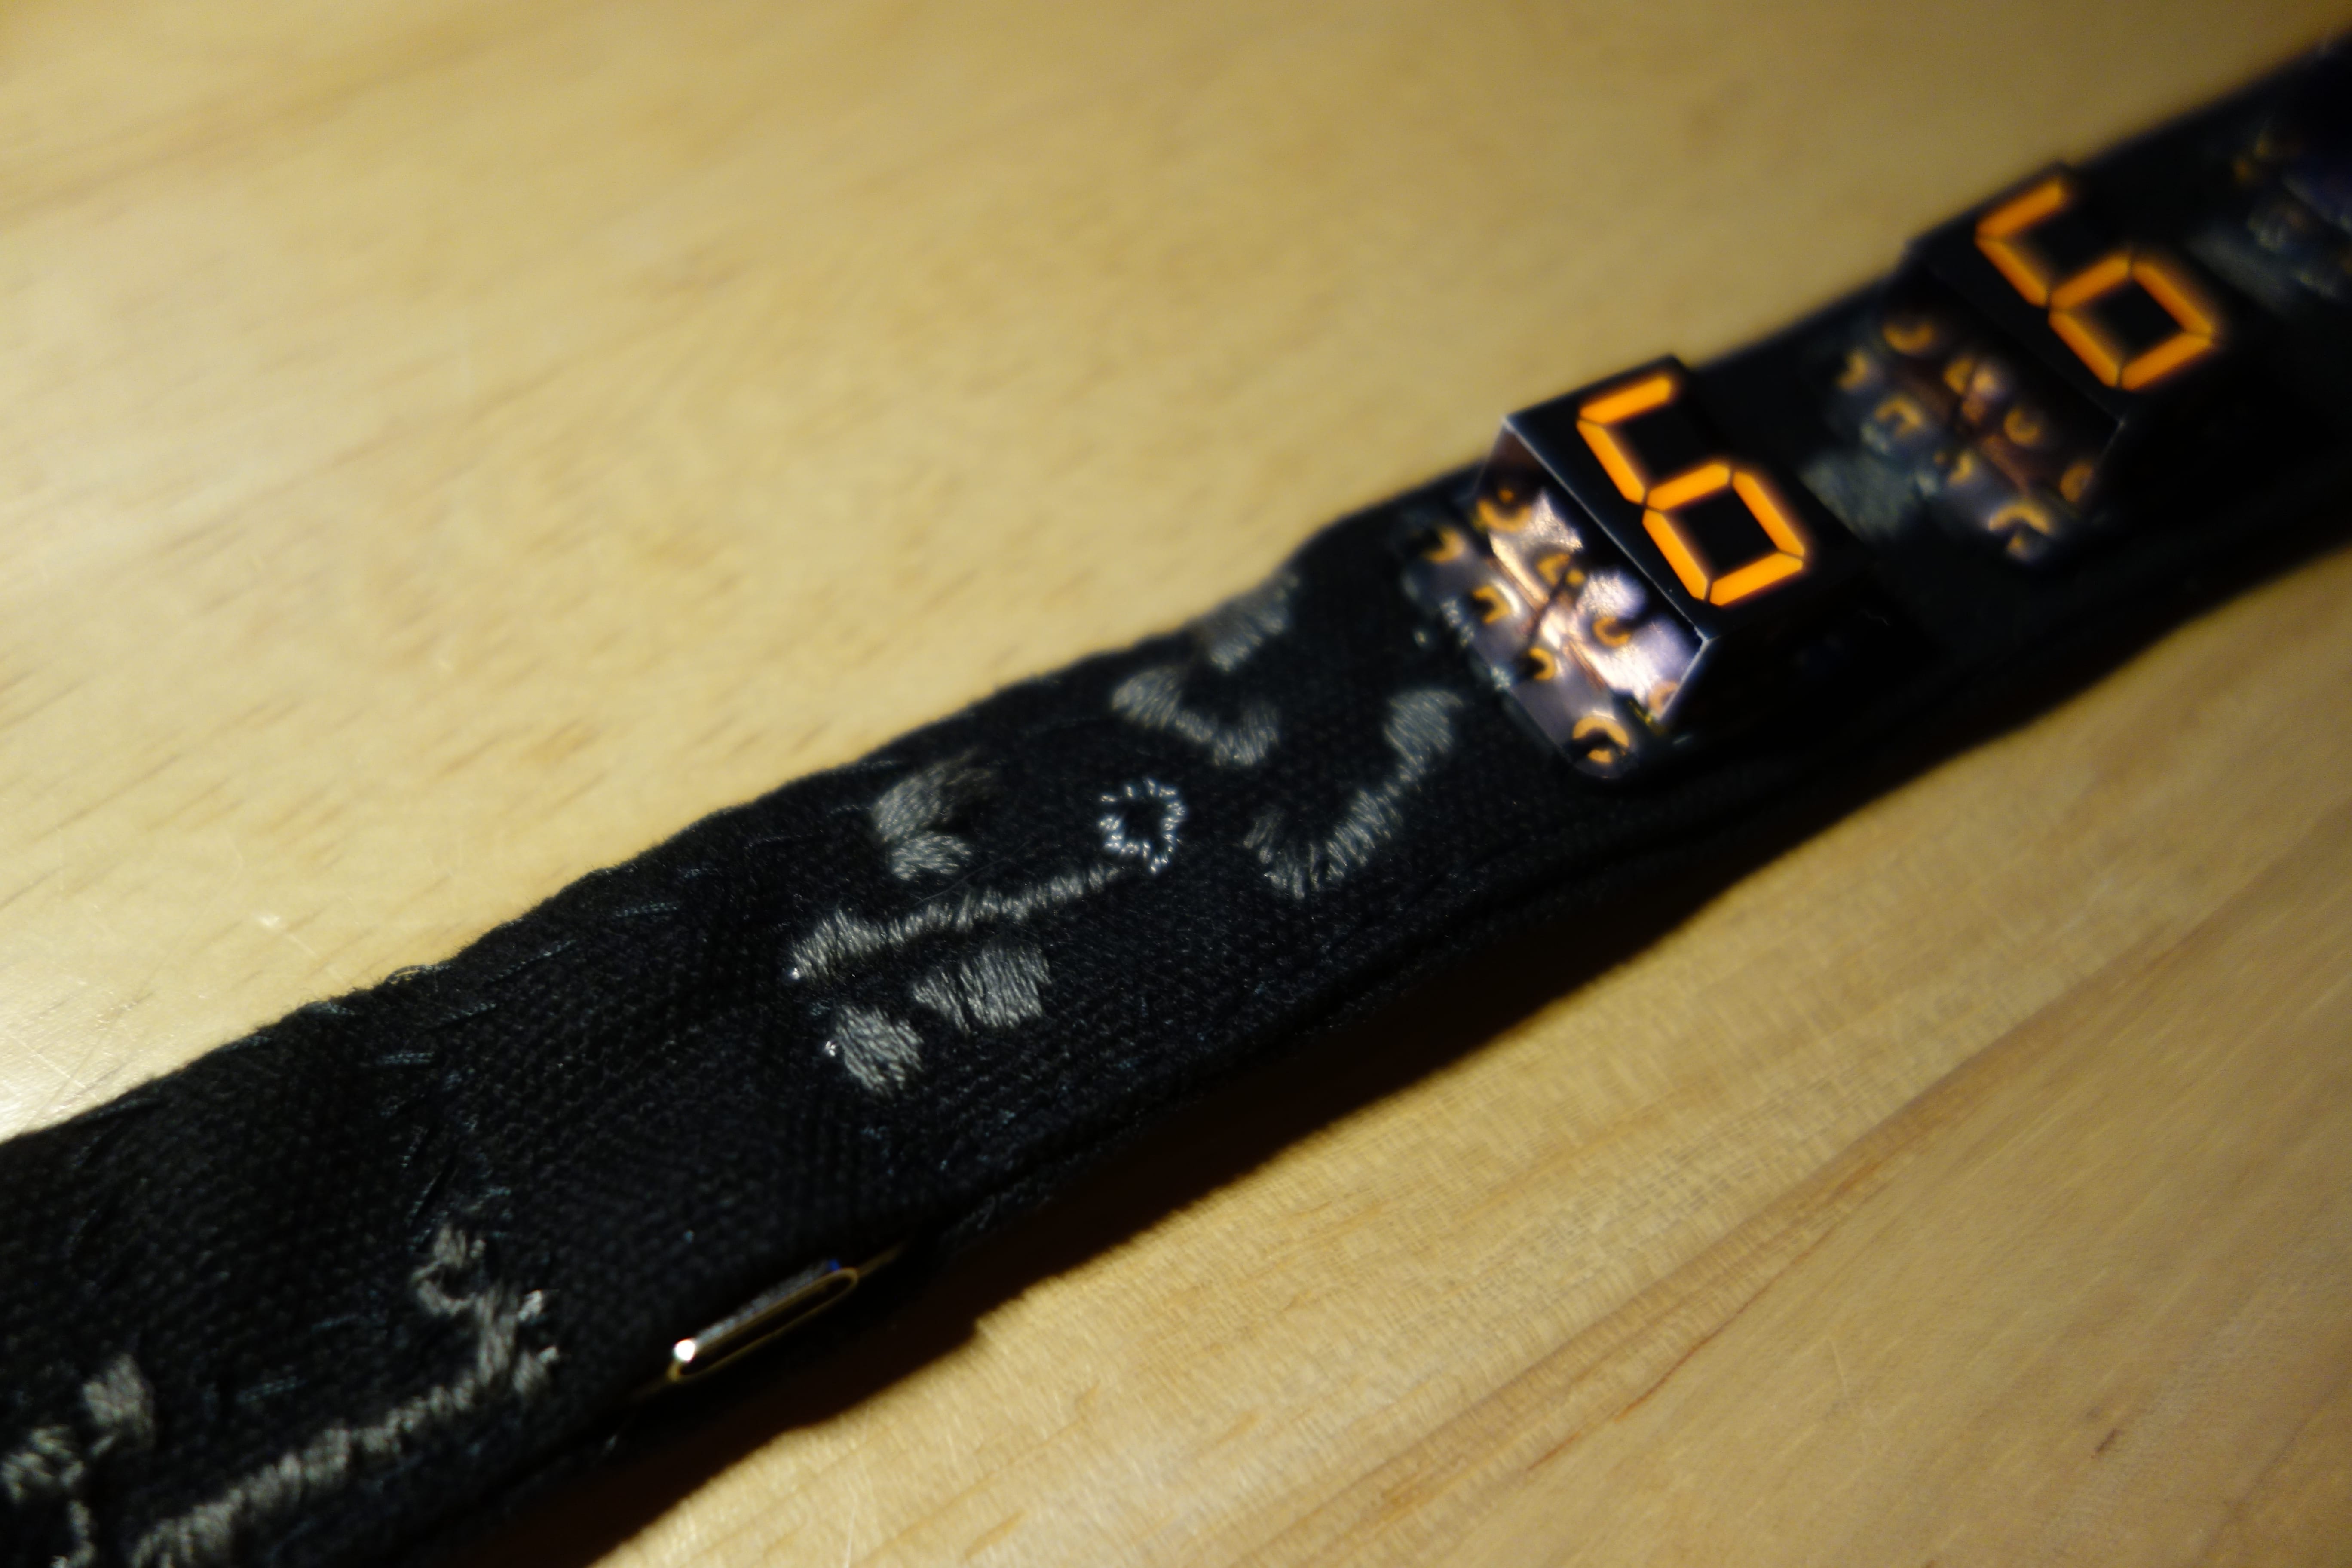
After finishing the embroidery, I sewed the strap shut along the long edge, and attached the clasp and slide adjuster. I also blacked out the edges of the digits with a sharpie marker, which was surprisingly effective!
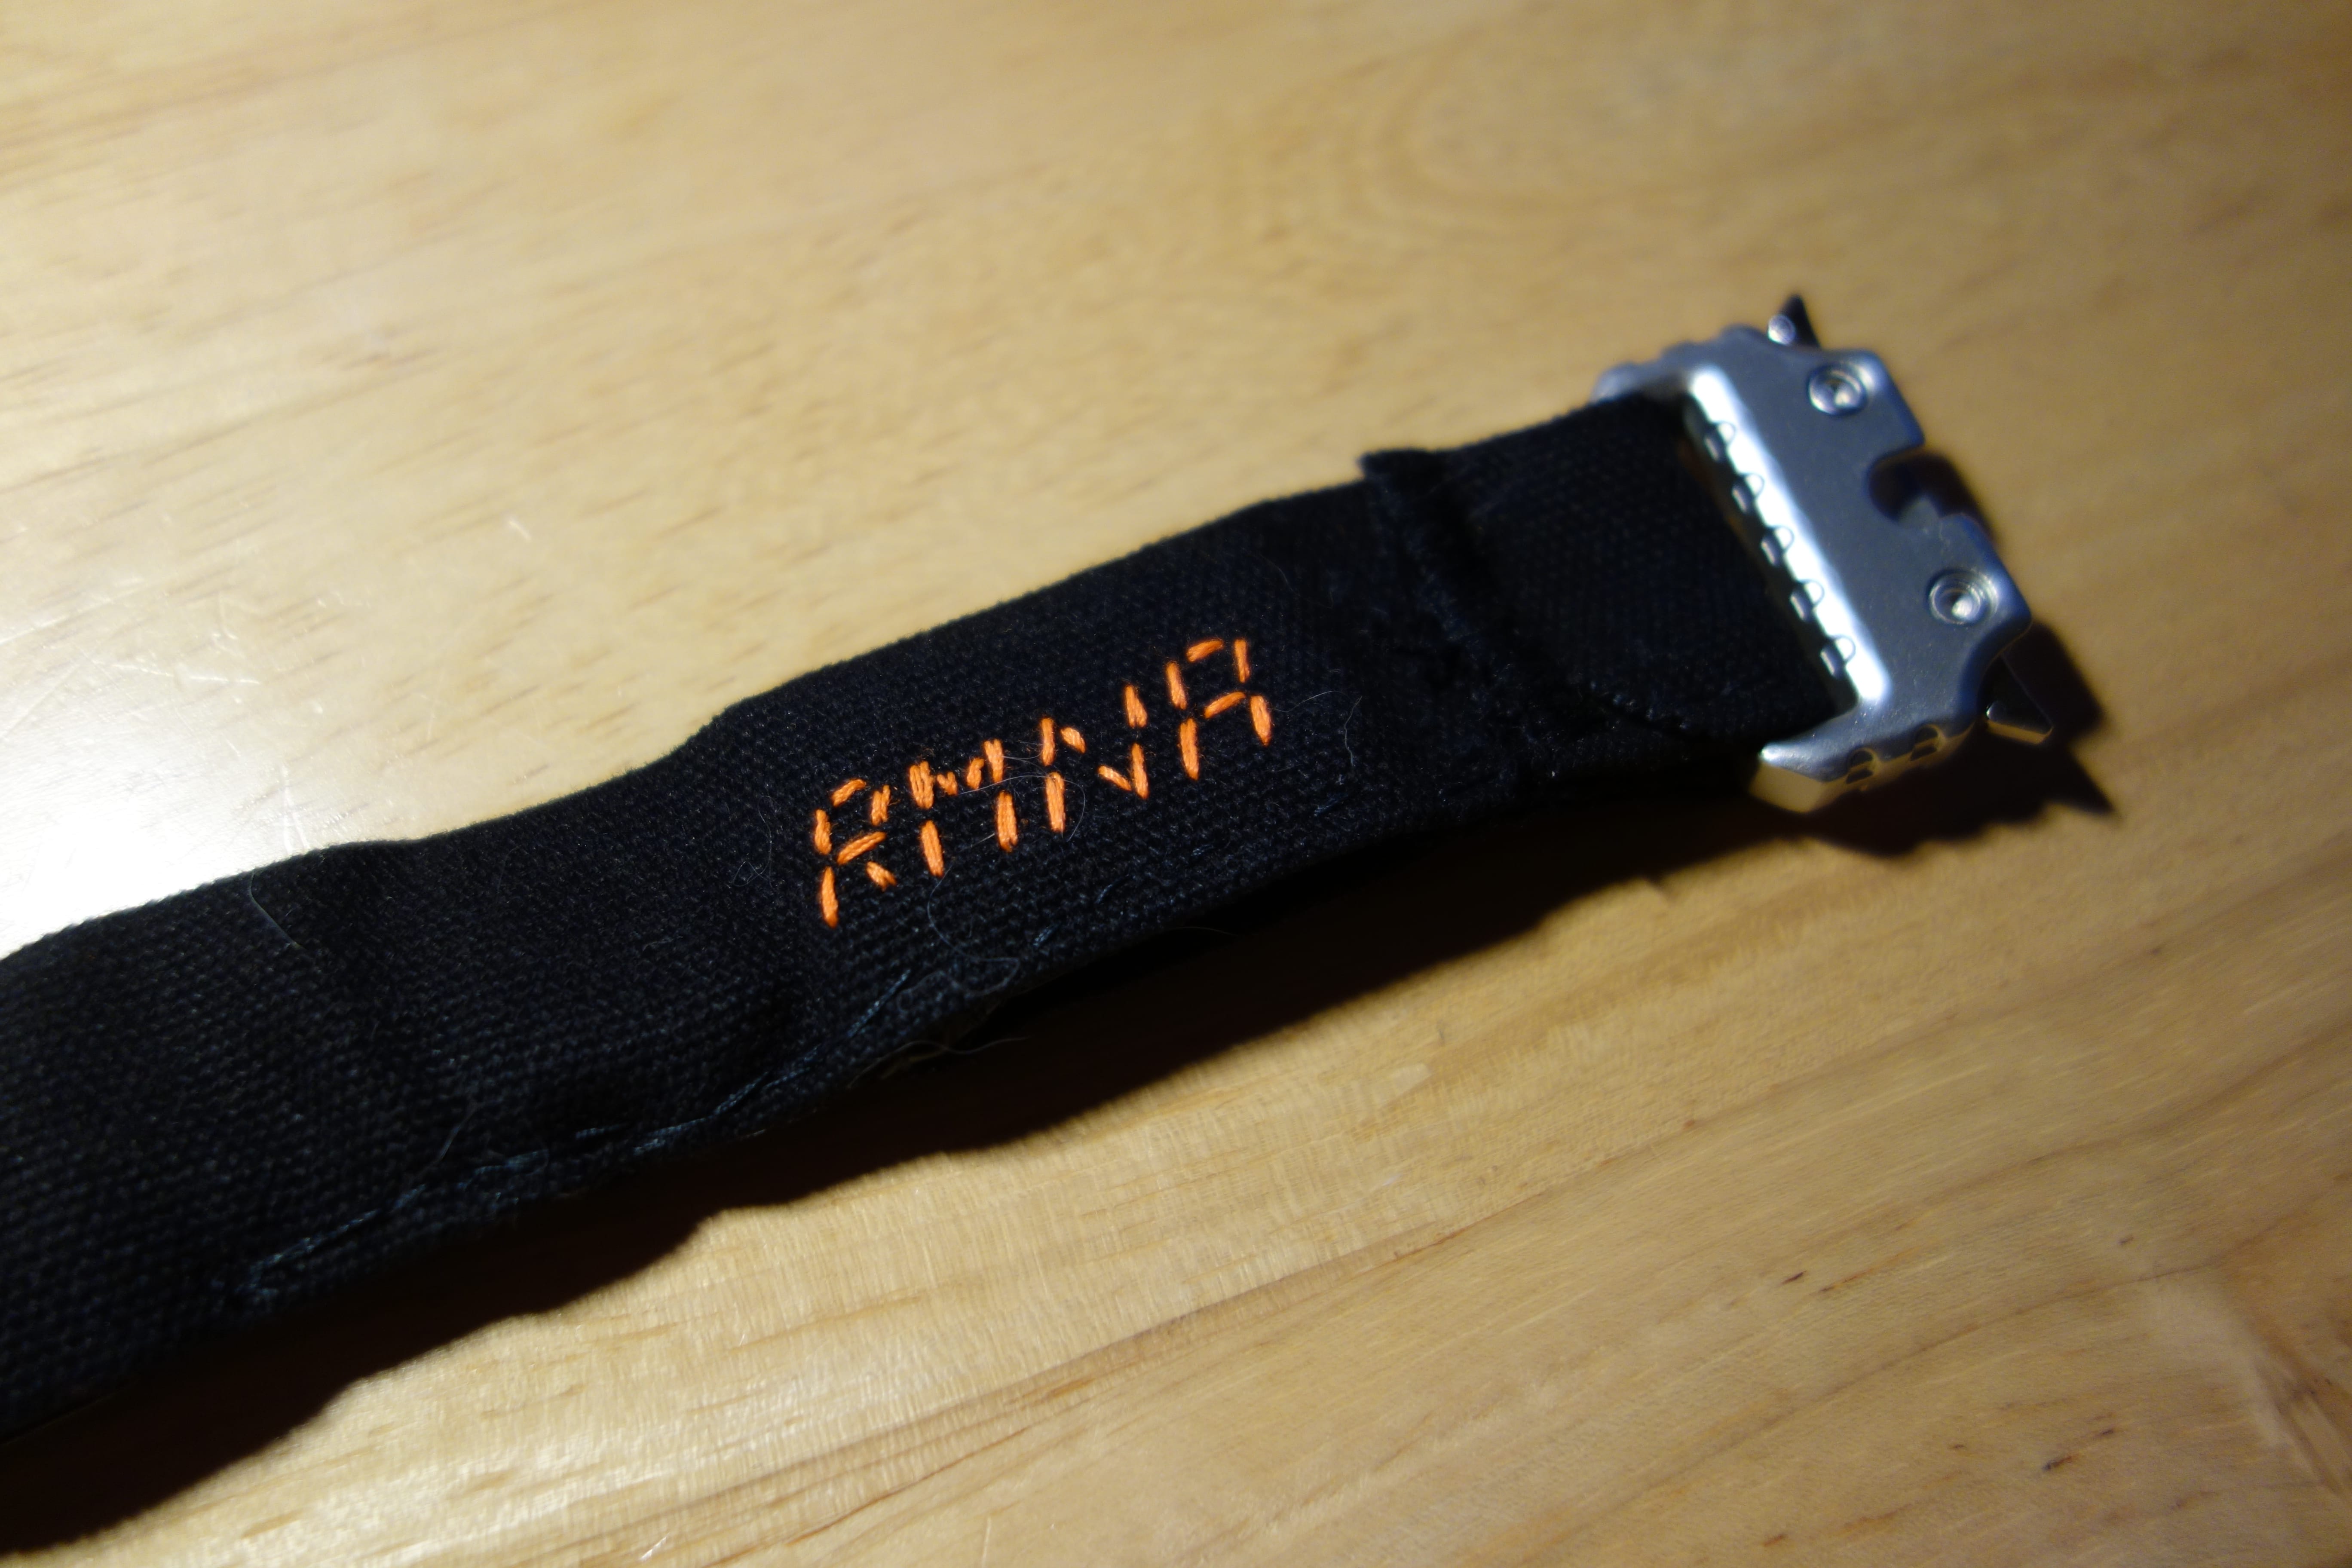
Gotta add a little signature!