Dither clock
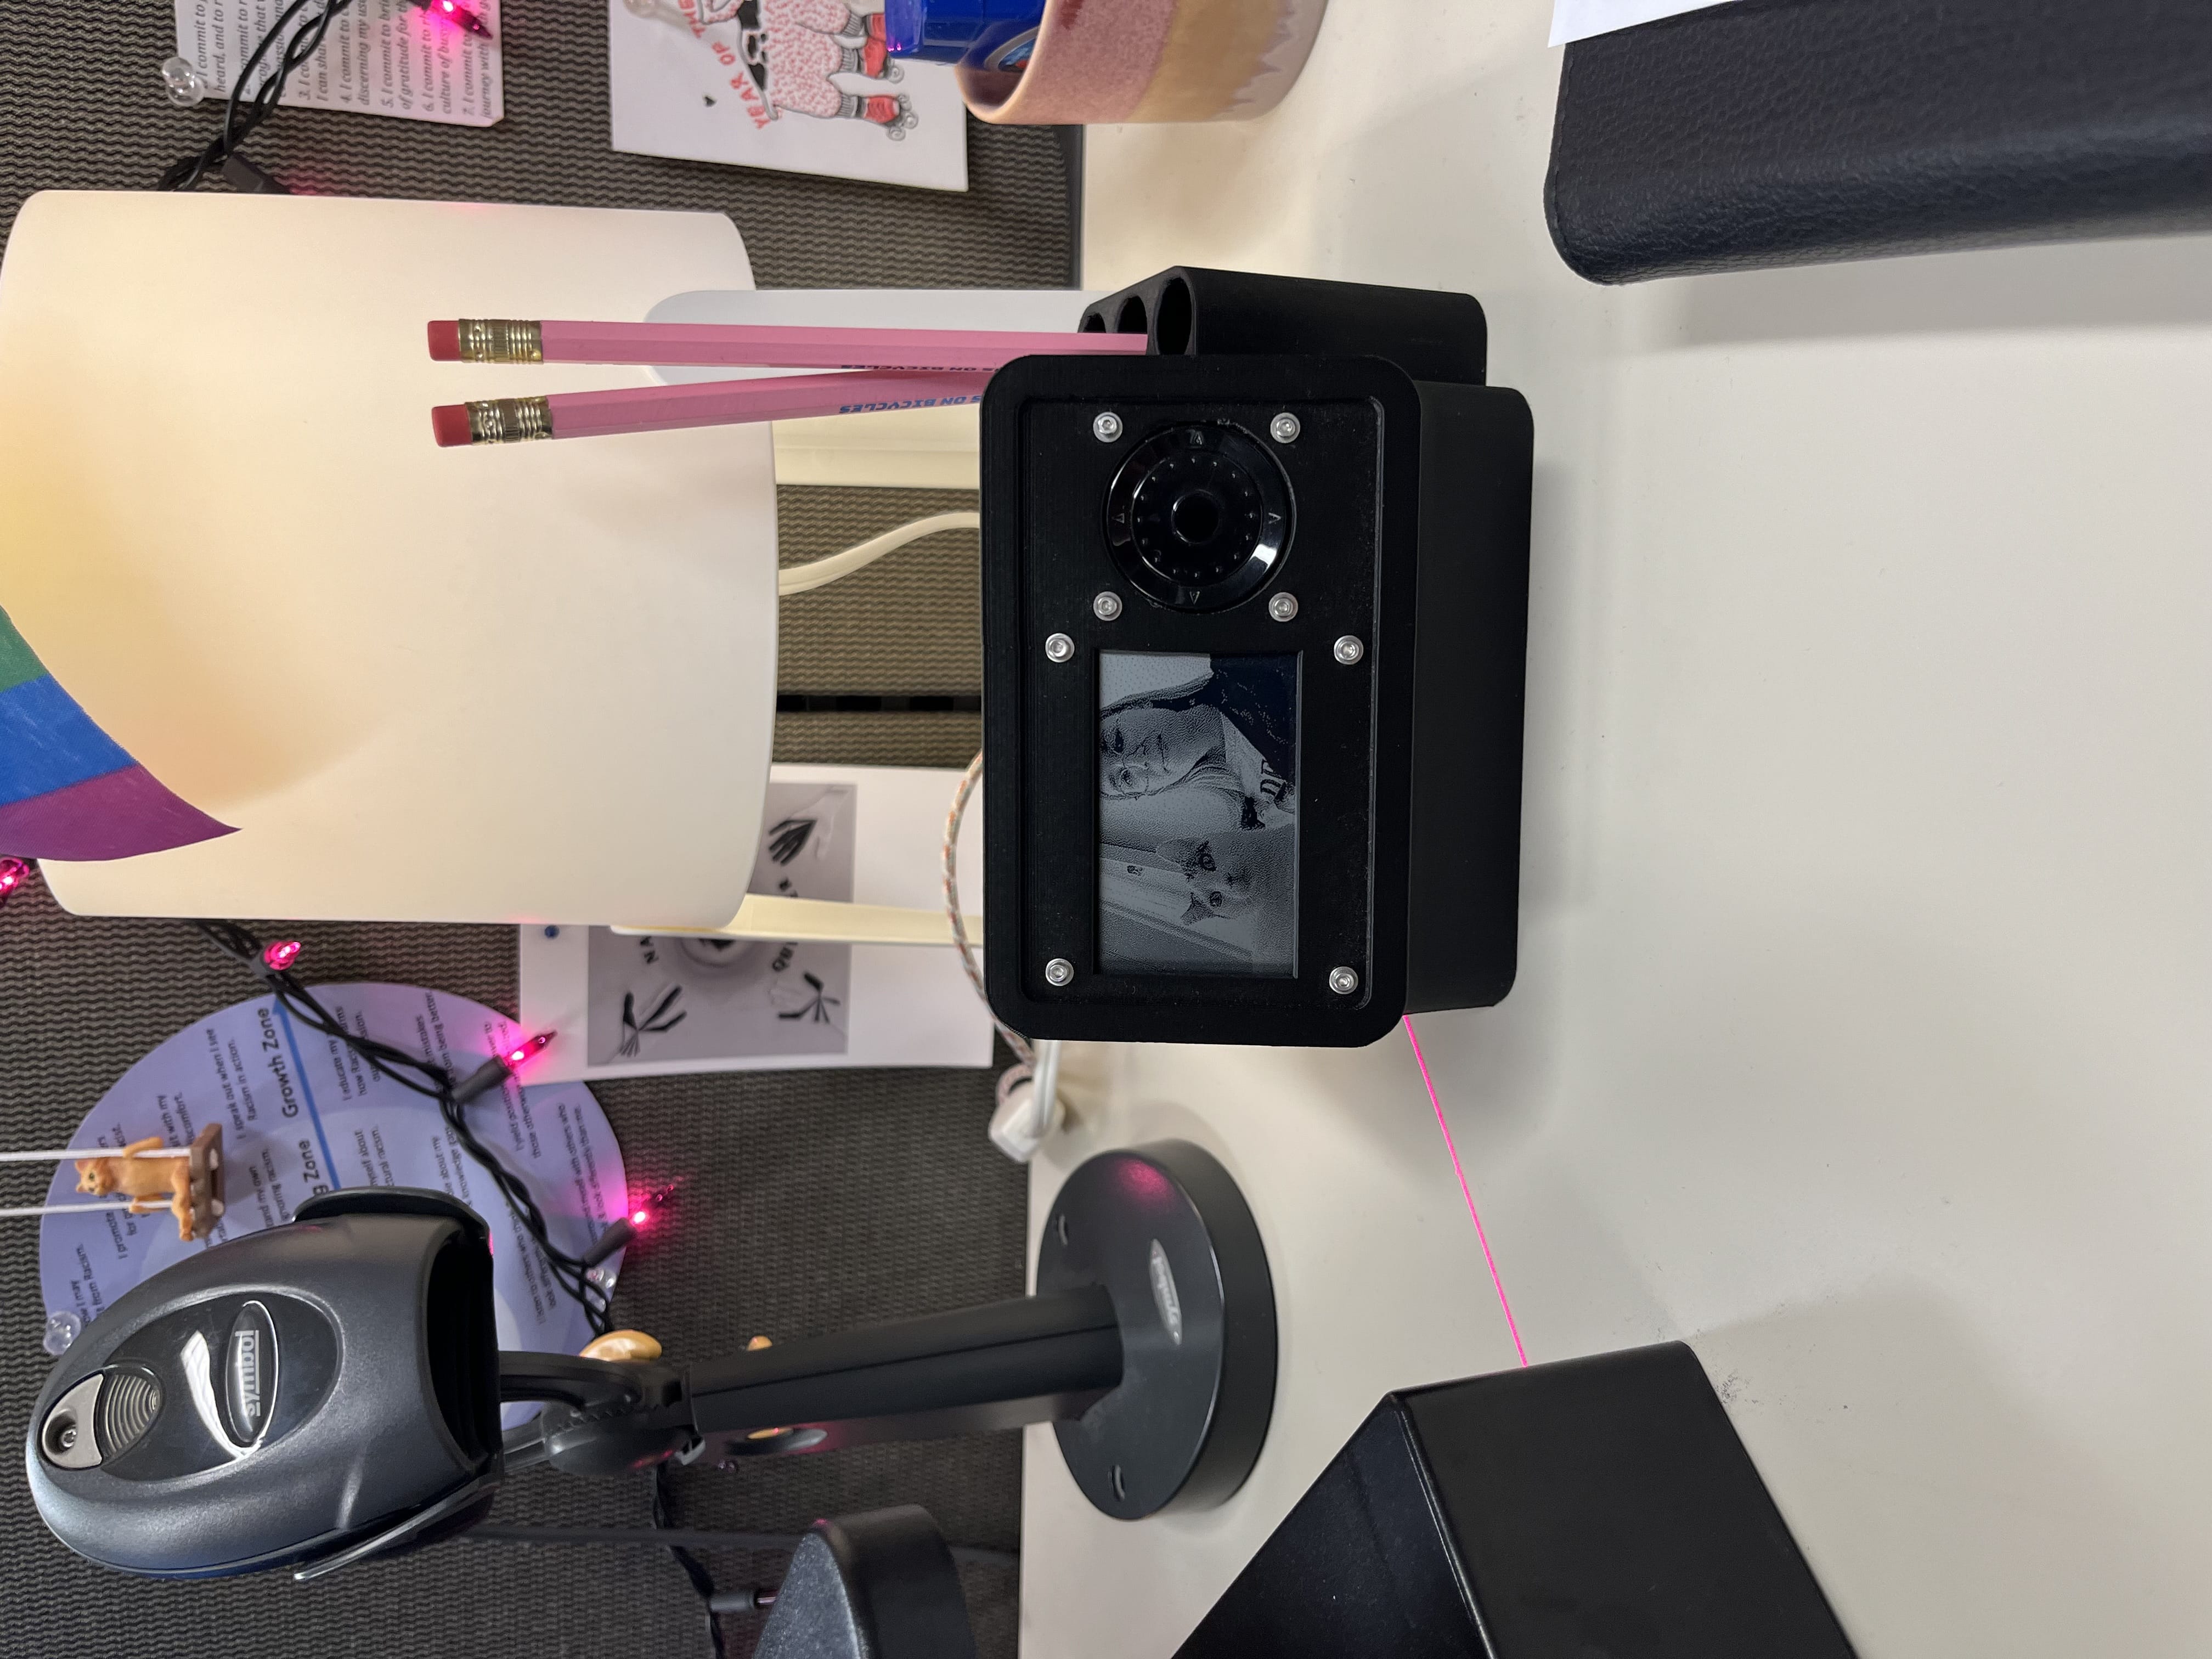
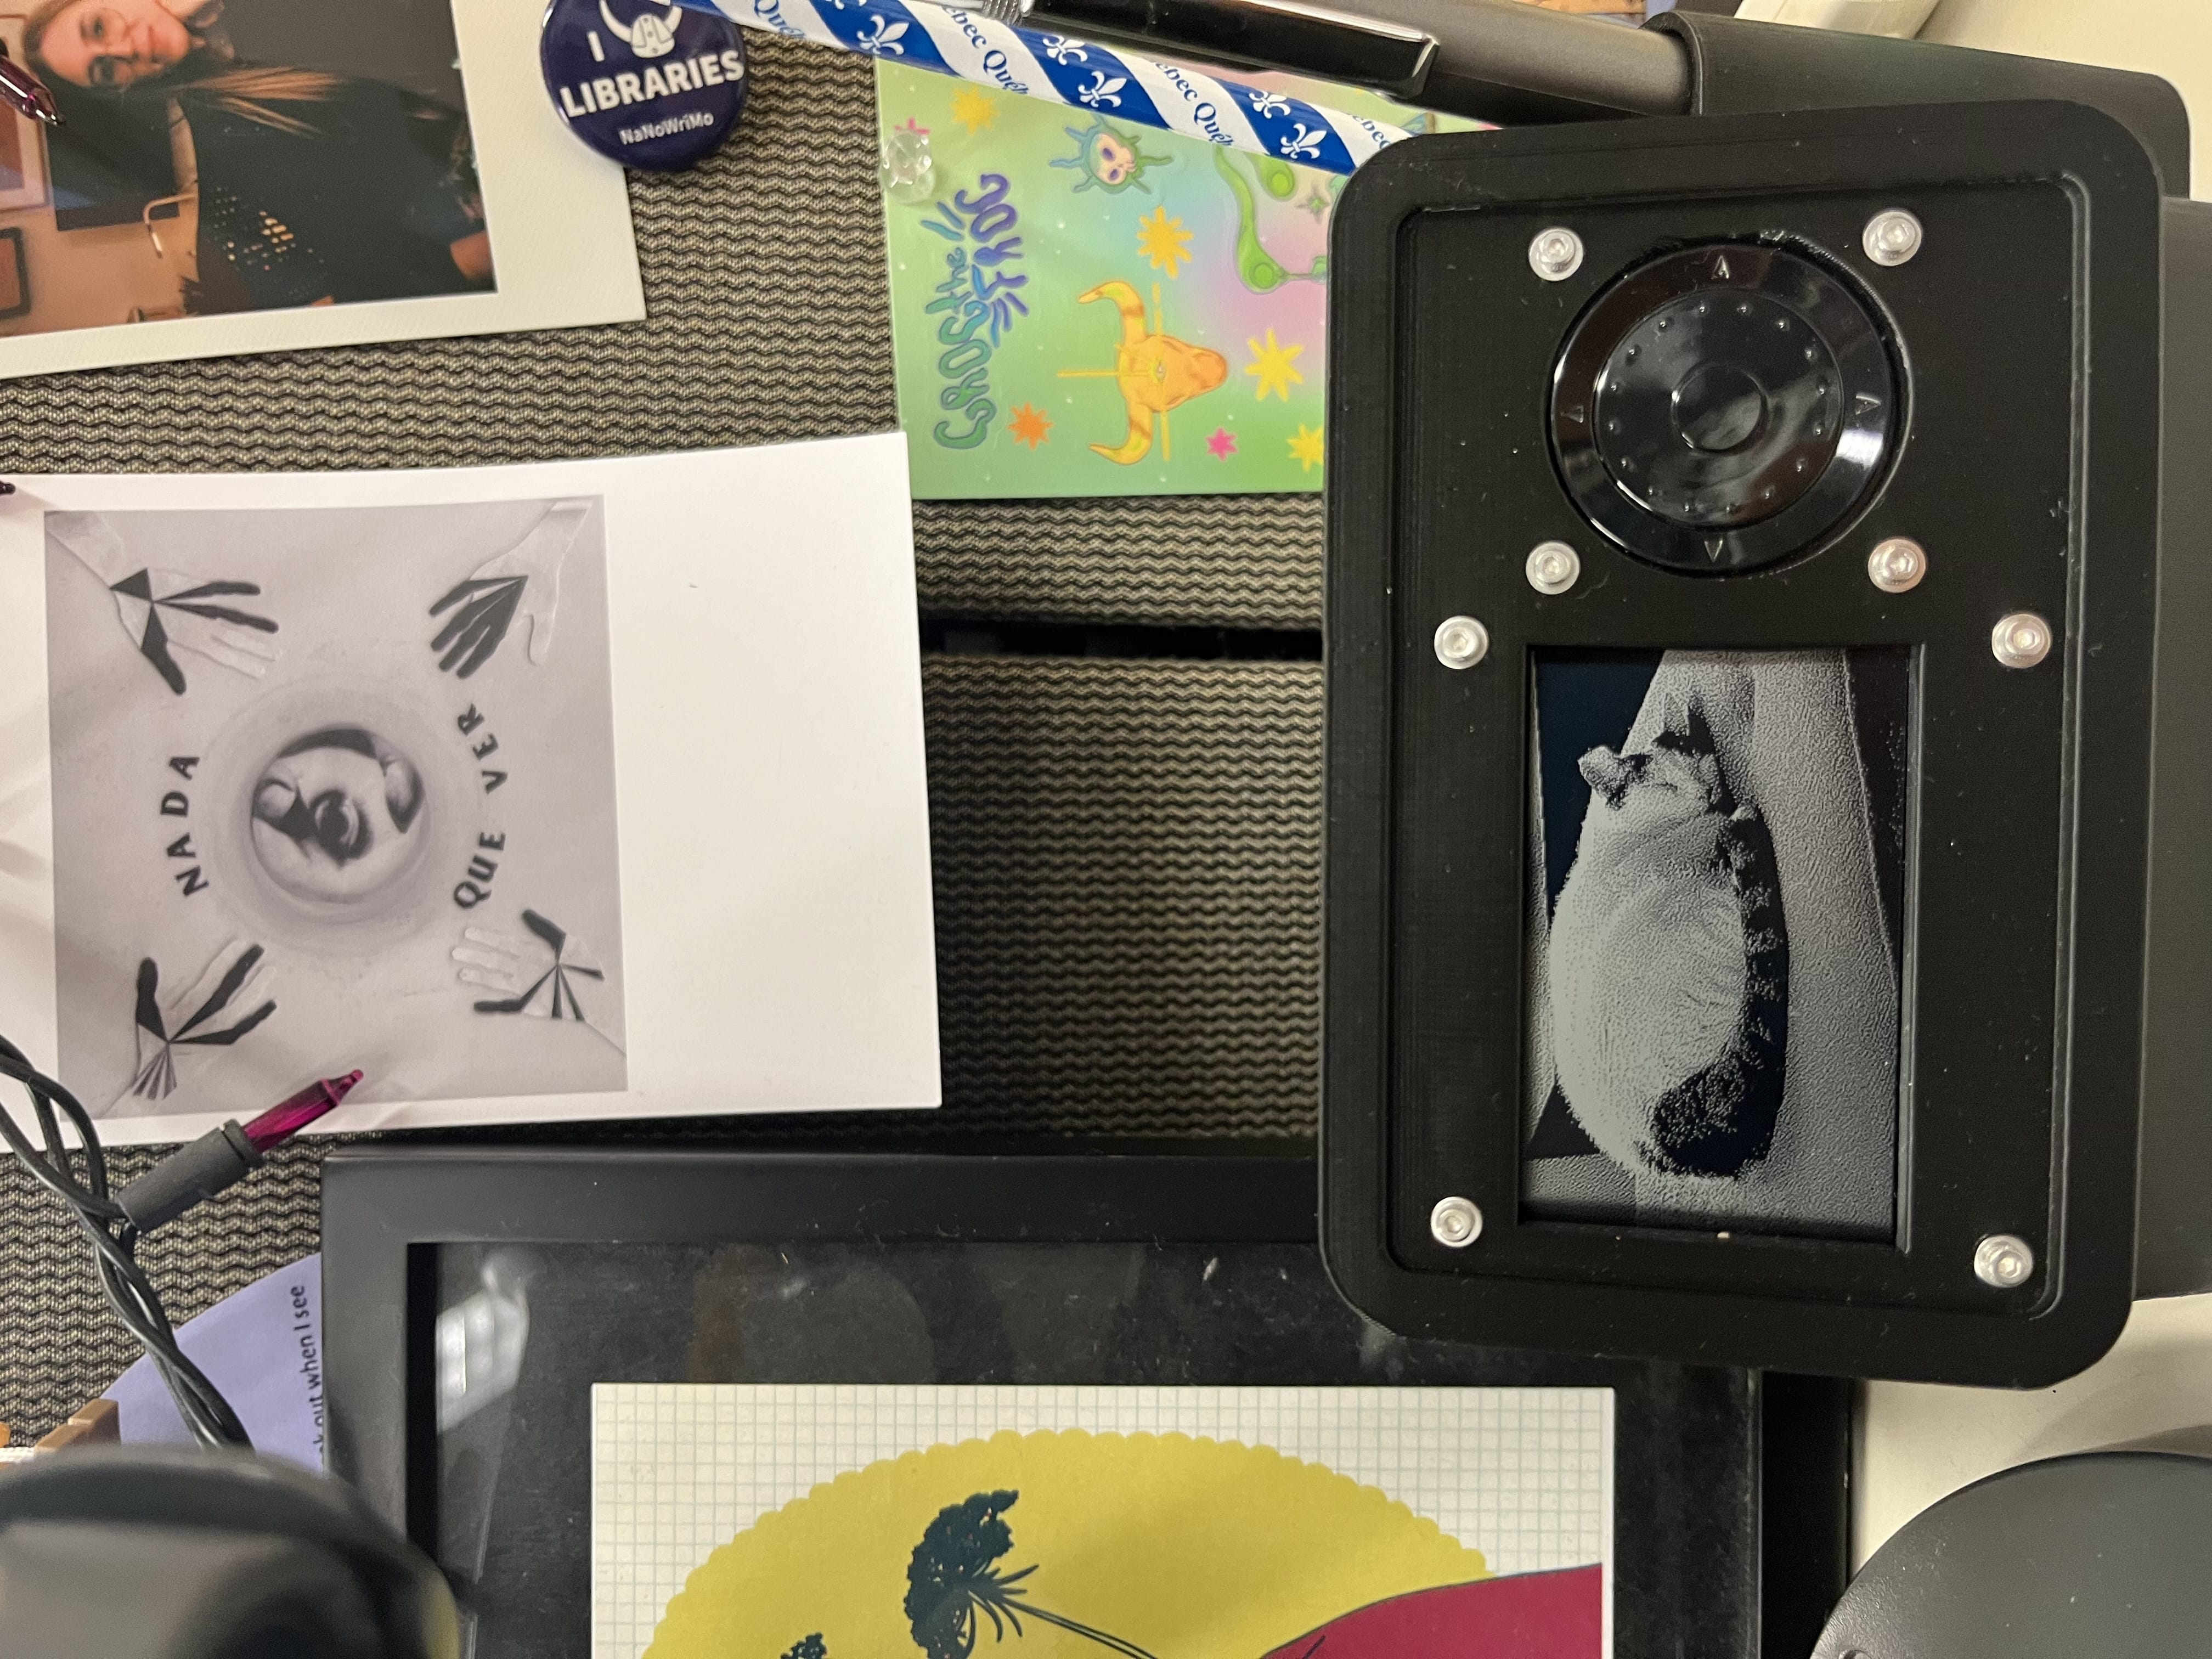
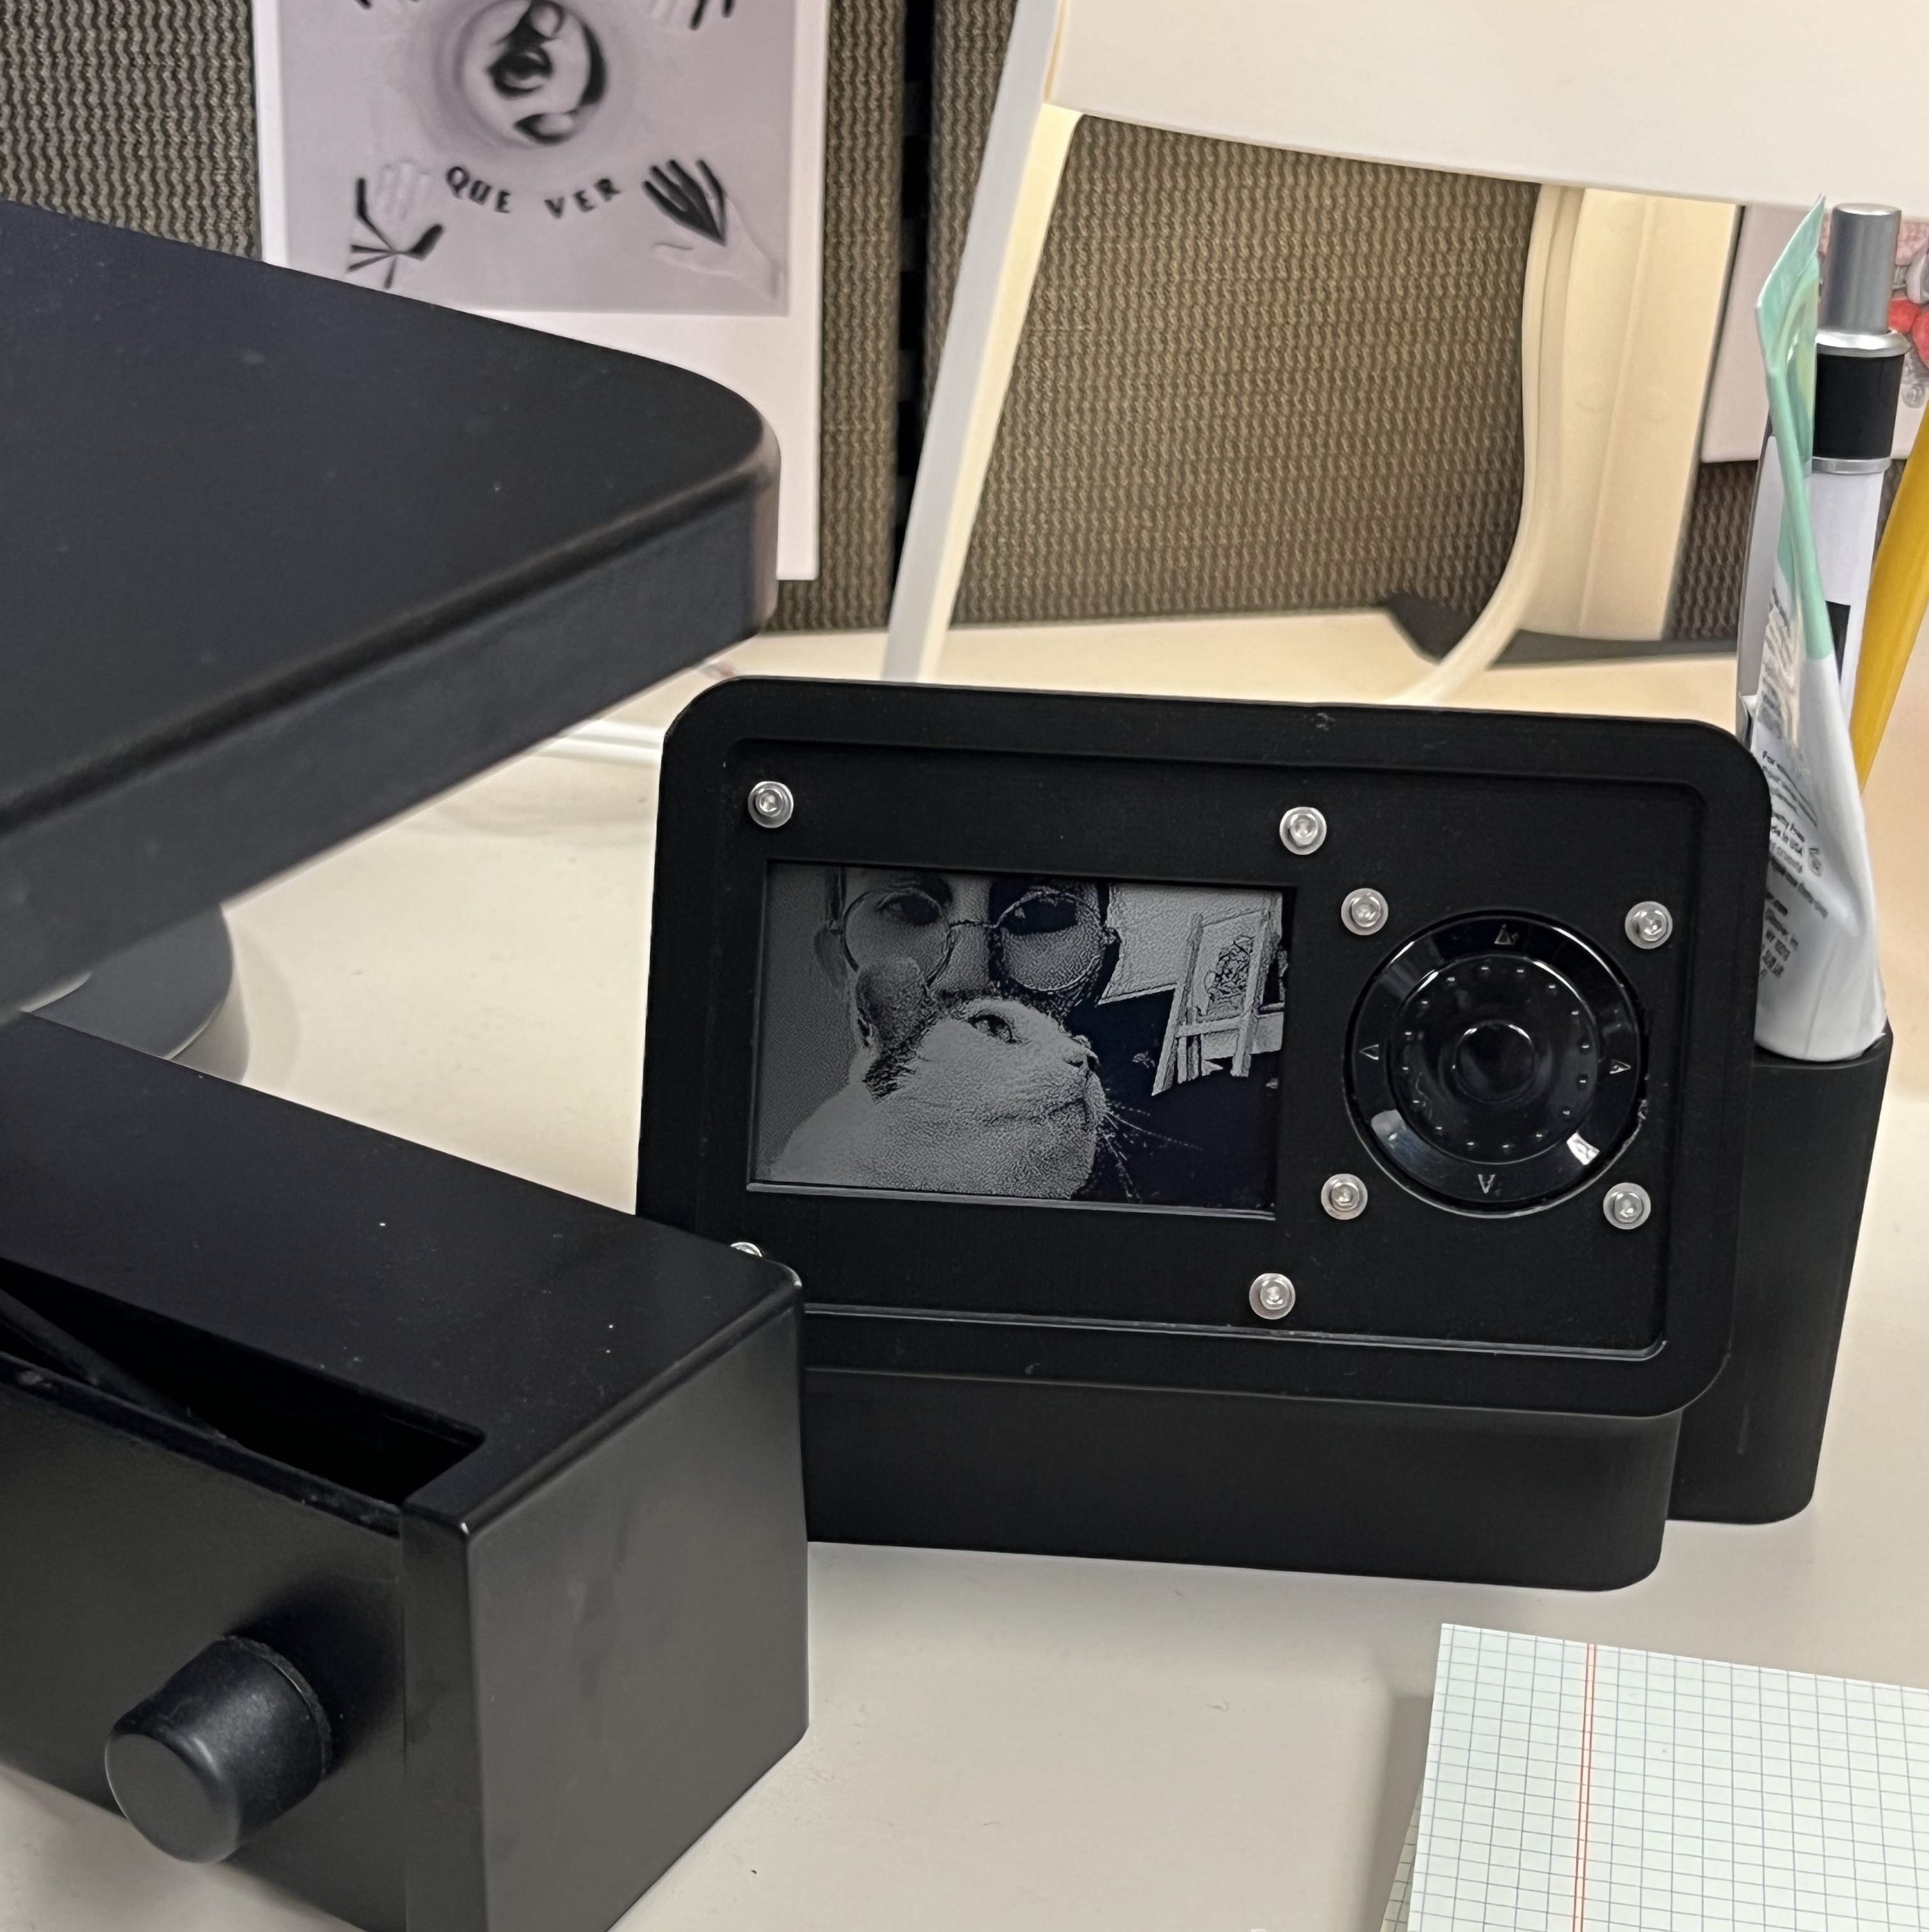
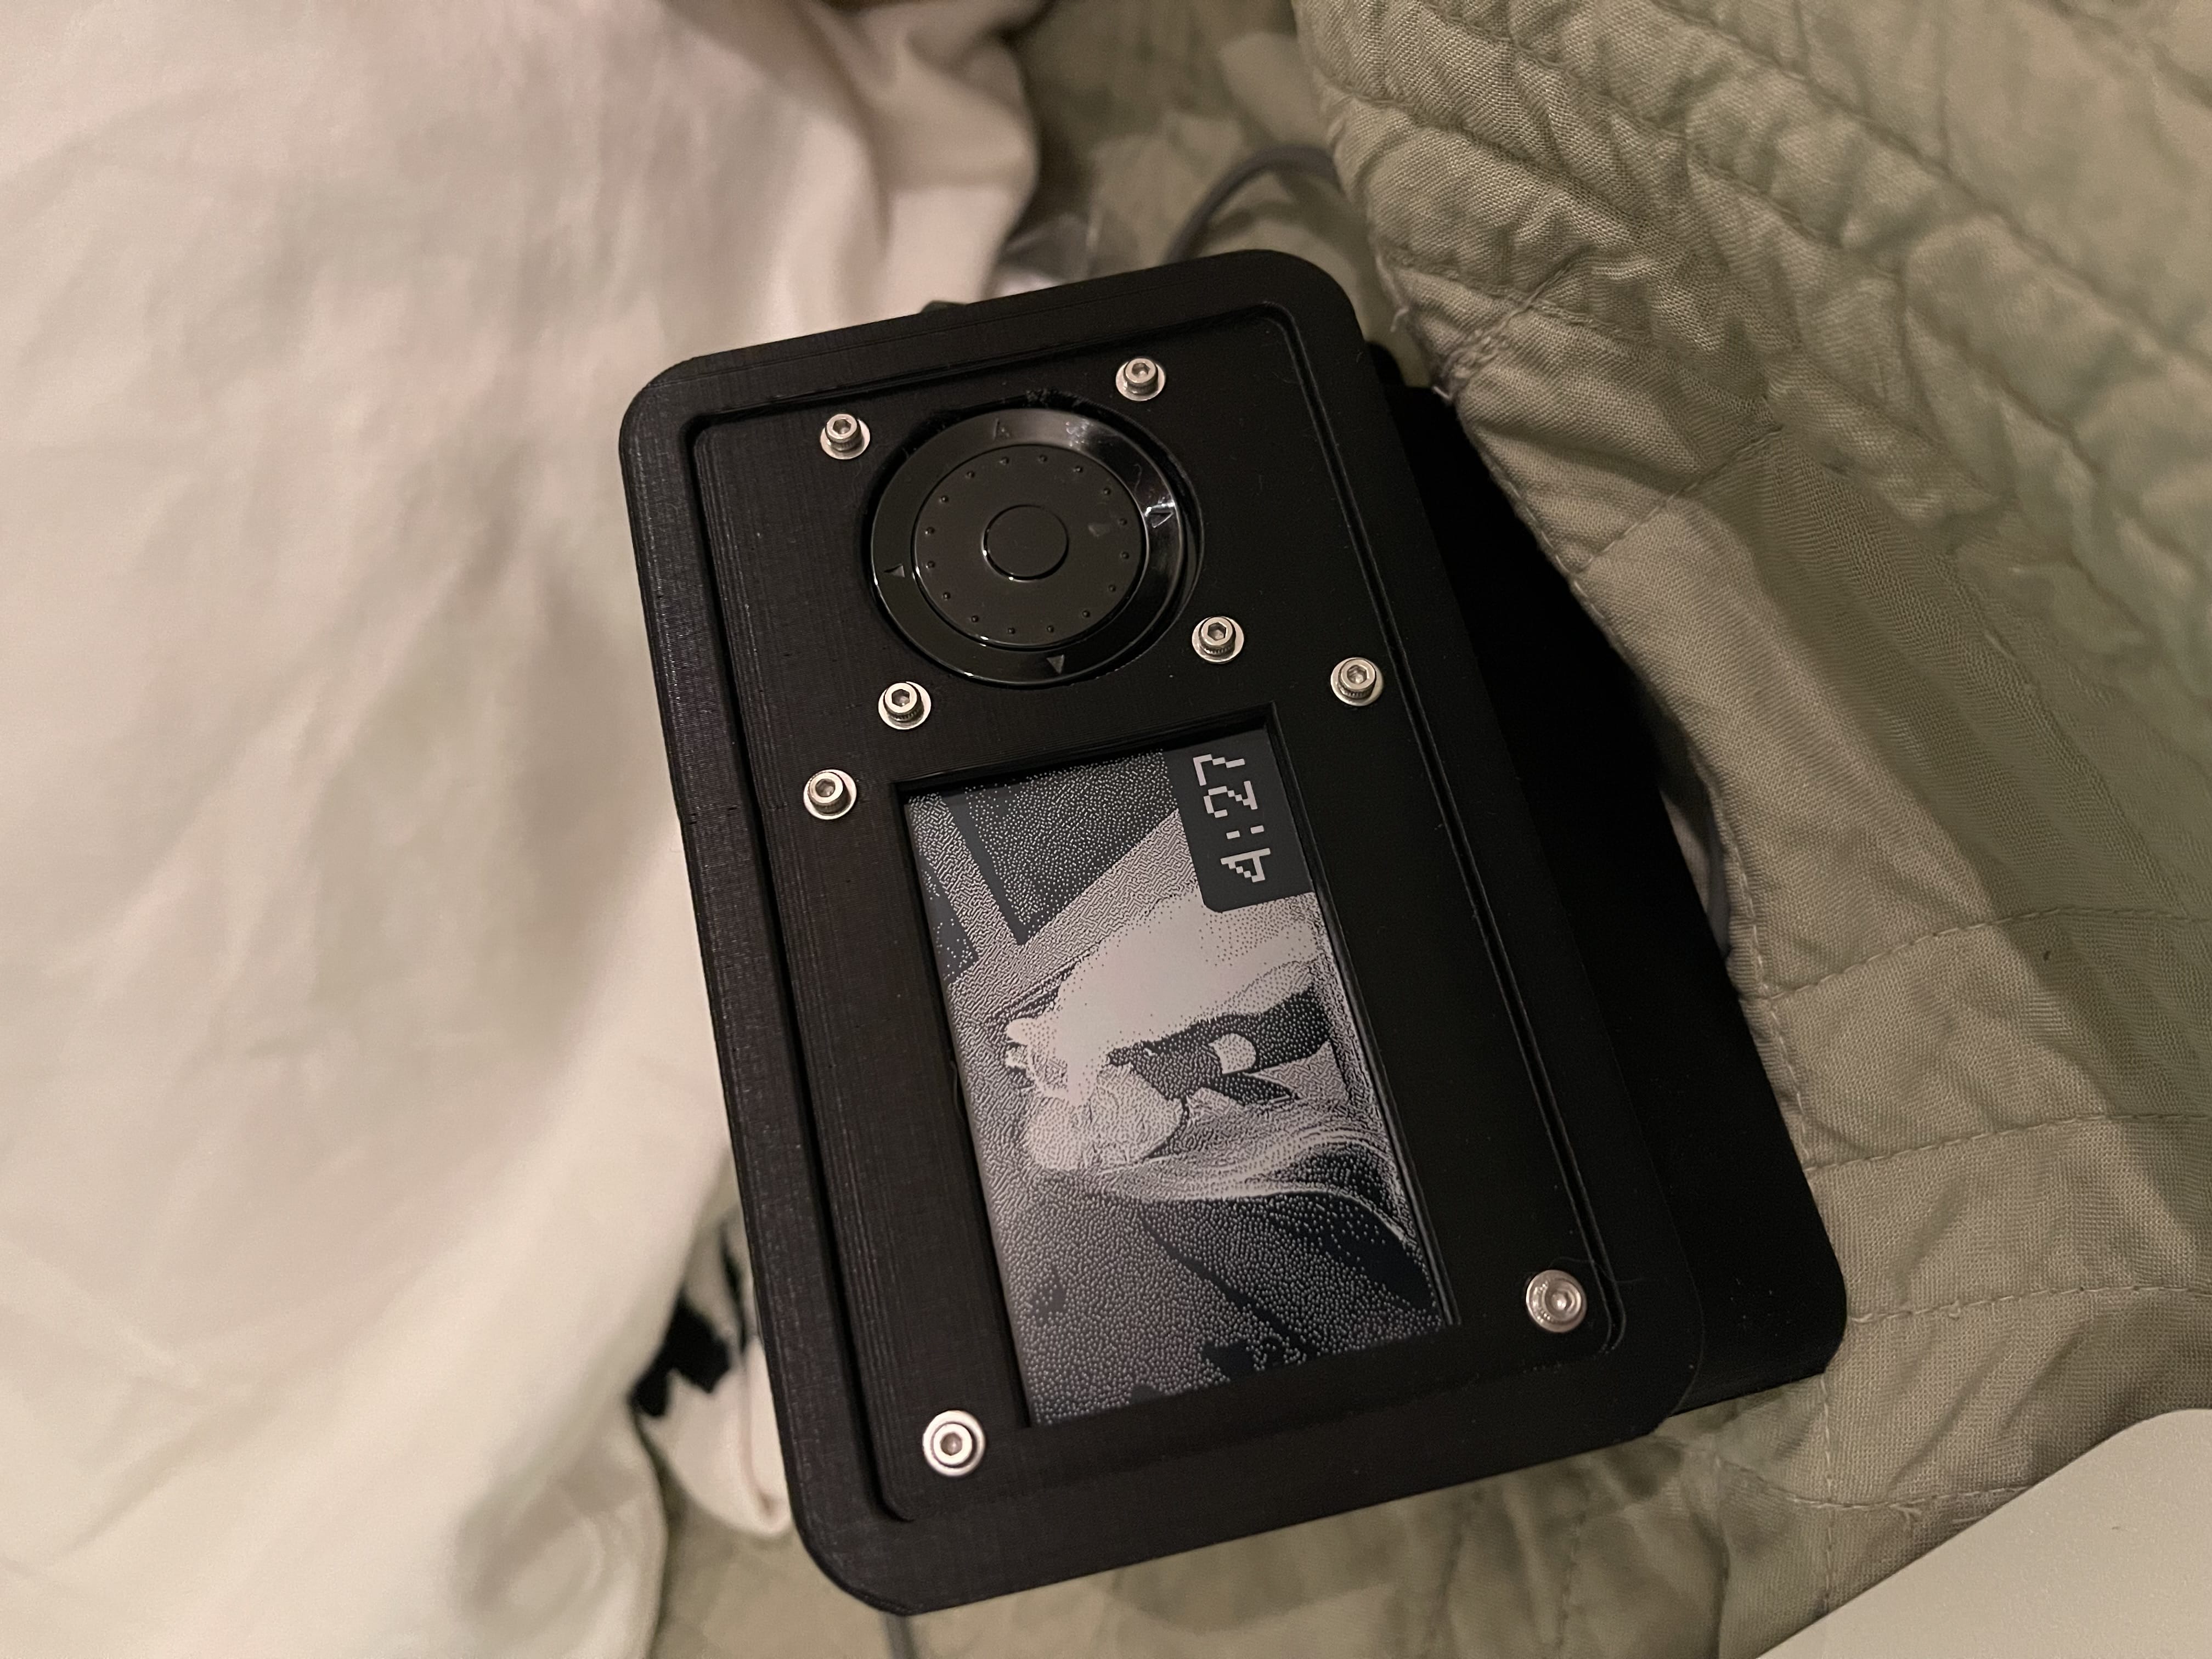
I work at home, and my wife Maggie works from a library (she's a librarian). I get to look at our cat all day, but she doesn't get to do that, because they don't allow cats at the library. So I built her a clock with a little screen that shows a different picture of our cat every day.
When I ordered parts for the Electric Oracle, I bought two of the Sharp Memory Display screens because I thought they were neat. It's a two-color display (each pixel can be either black or a sort of silvery gray), and it doesn't have a backlight. I used it here for a nice subtle design that doesn't demand your attention — it's just a calm object waiting to show you a pleasing image.
Because it's a two-color display (that's also quite low resolution at 400x240), I dithered all the images with Dither Me This. I later had to convert them to a specific bitmap format too, as mentioned in this guide.
Circuit
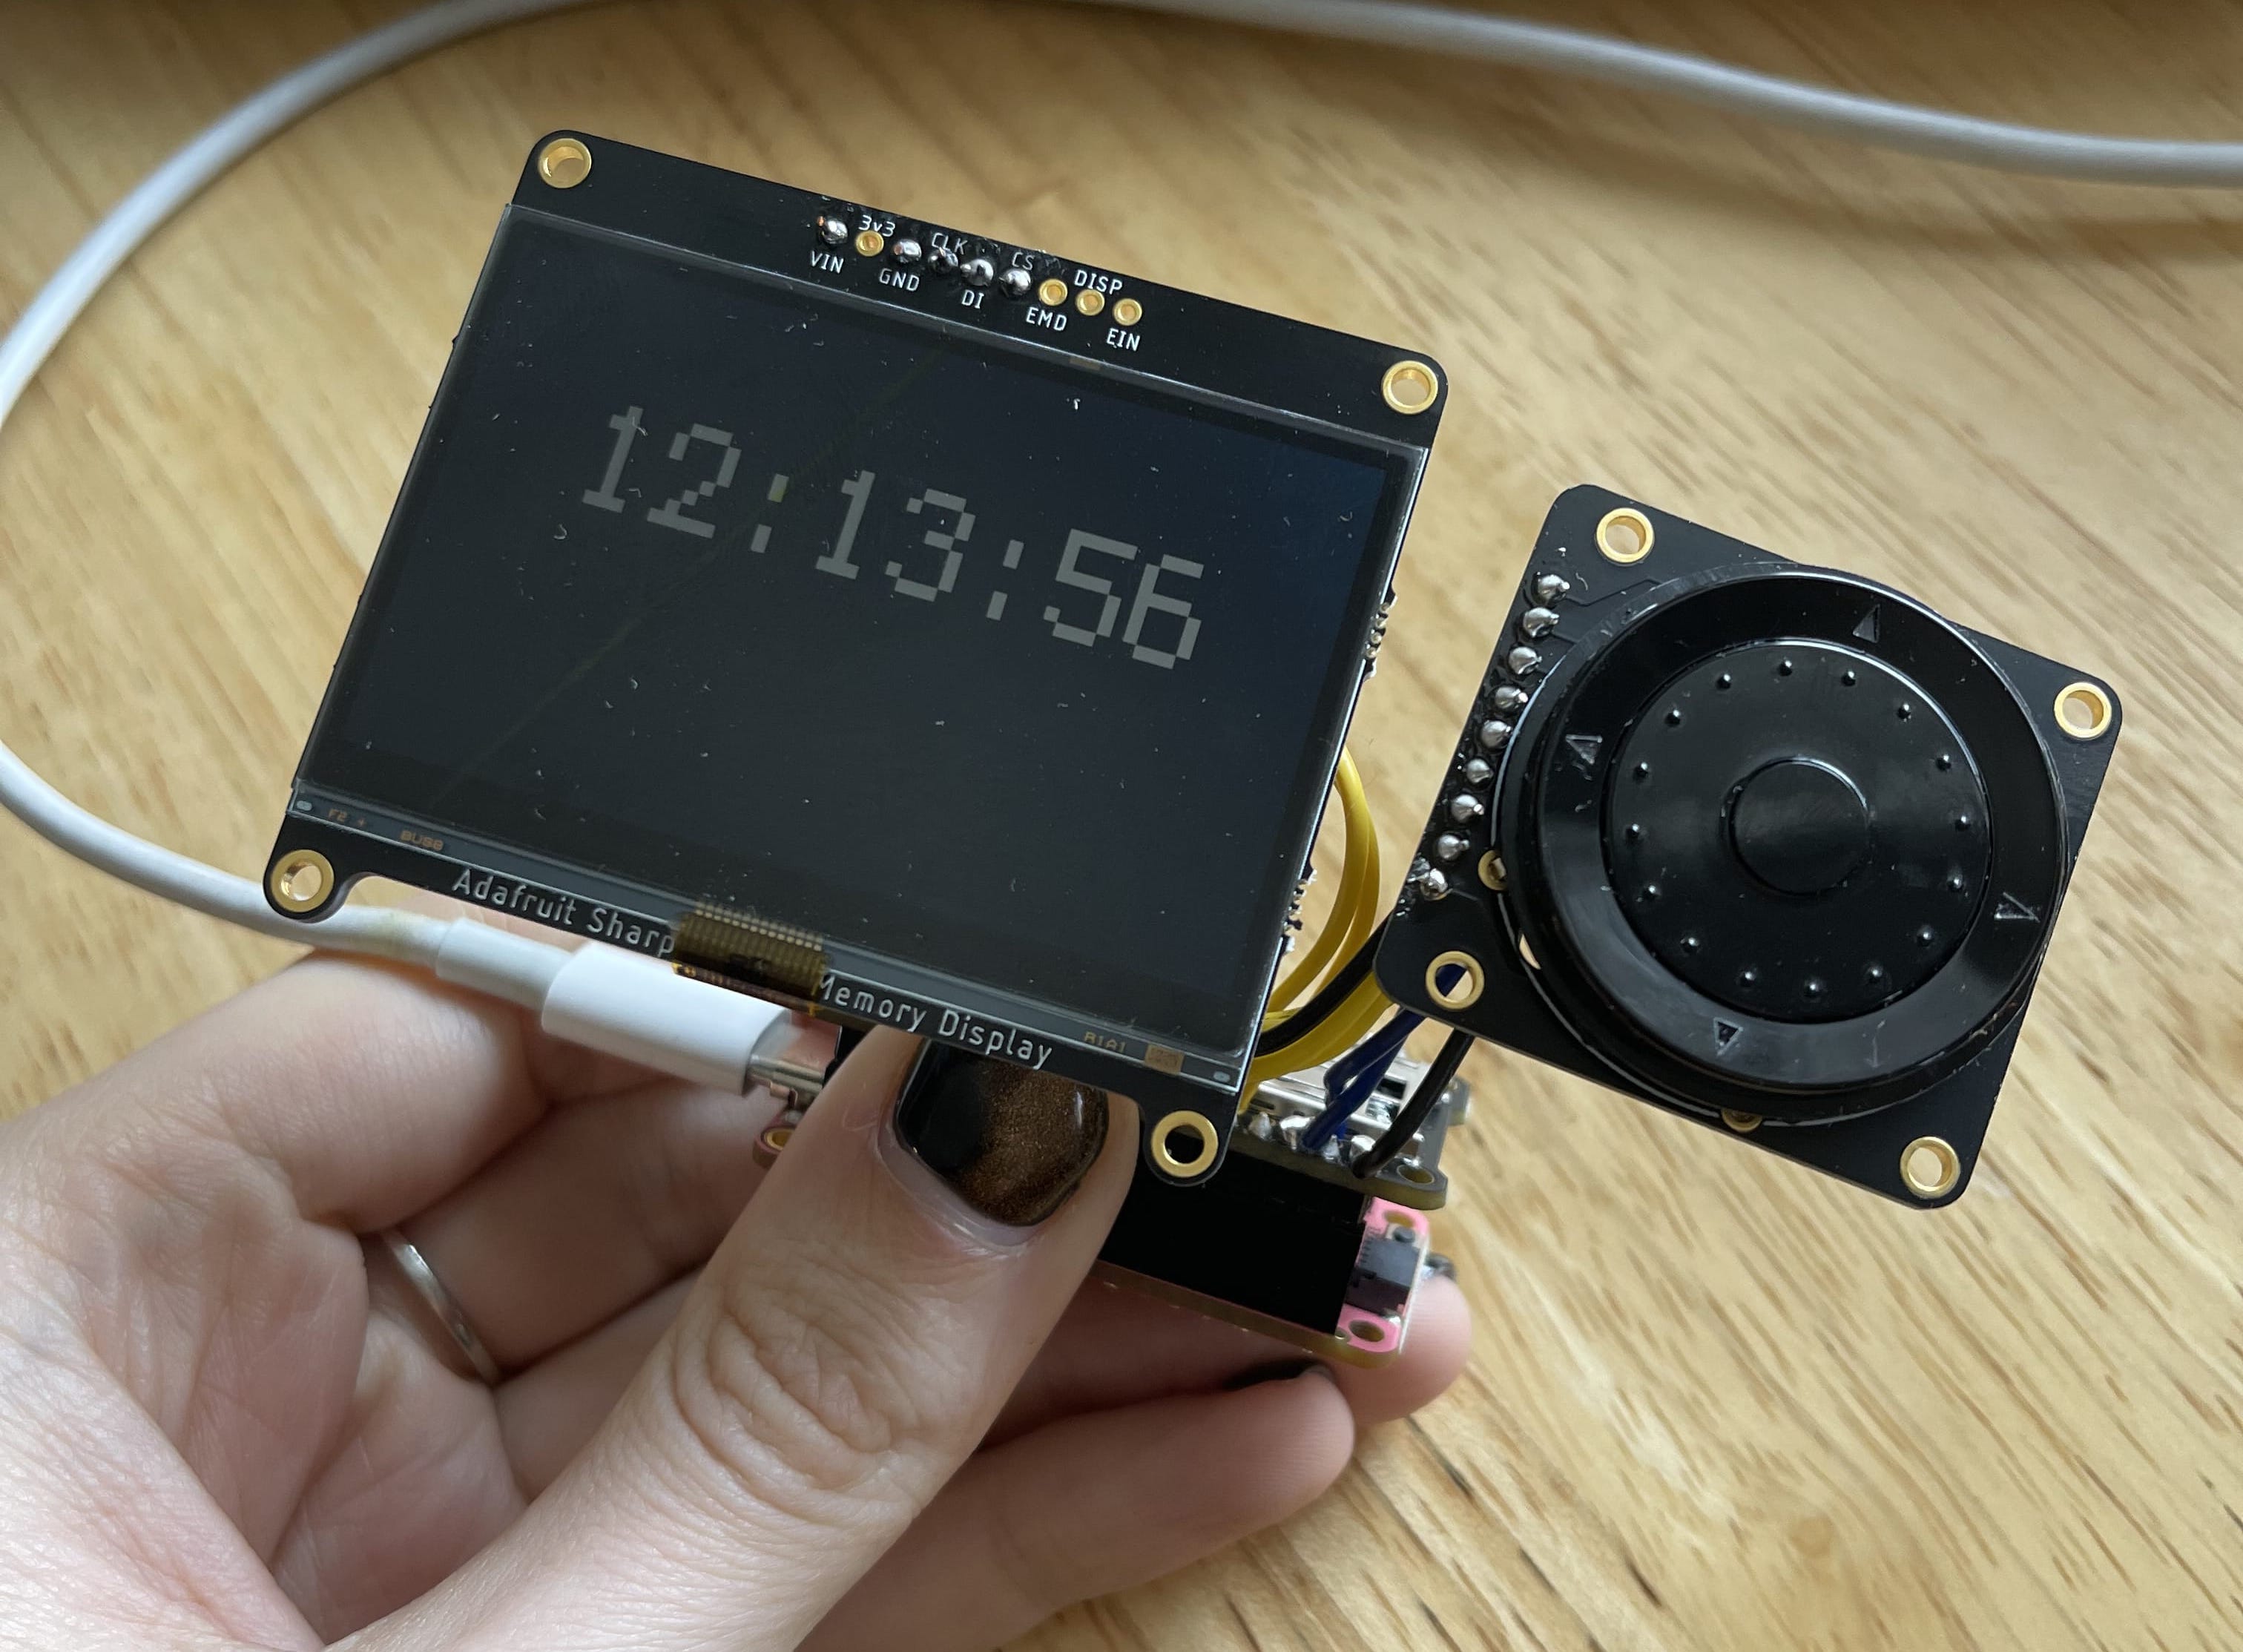
This project was built with parts I use often — an Adafruit Feather RP2040 board (I just have a bunch of these sitting around), with a special add-on called the Adalogger, which has an SD card slot (for the images), and a real-time clock module for accurate timekeeping.
I stacked up the feather and the adalogger with headers, then soldered in a clickwheel for switching modes (I wanted to design a few different options for displaying the time), and the display. A bit of example code from the adafruit learn guides got the time up and running!
The board is programmed in CircuitPython, which makes development super easy.
Enclosure
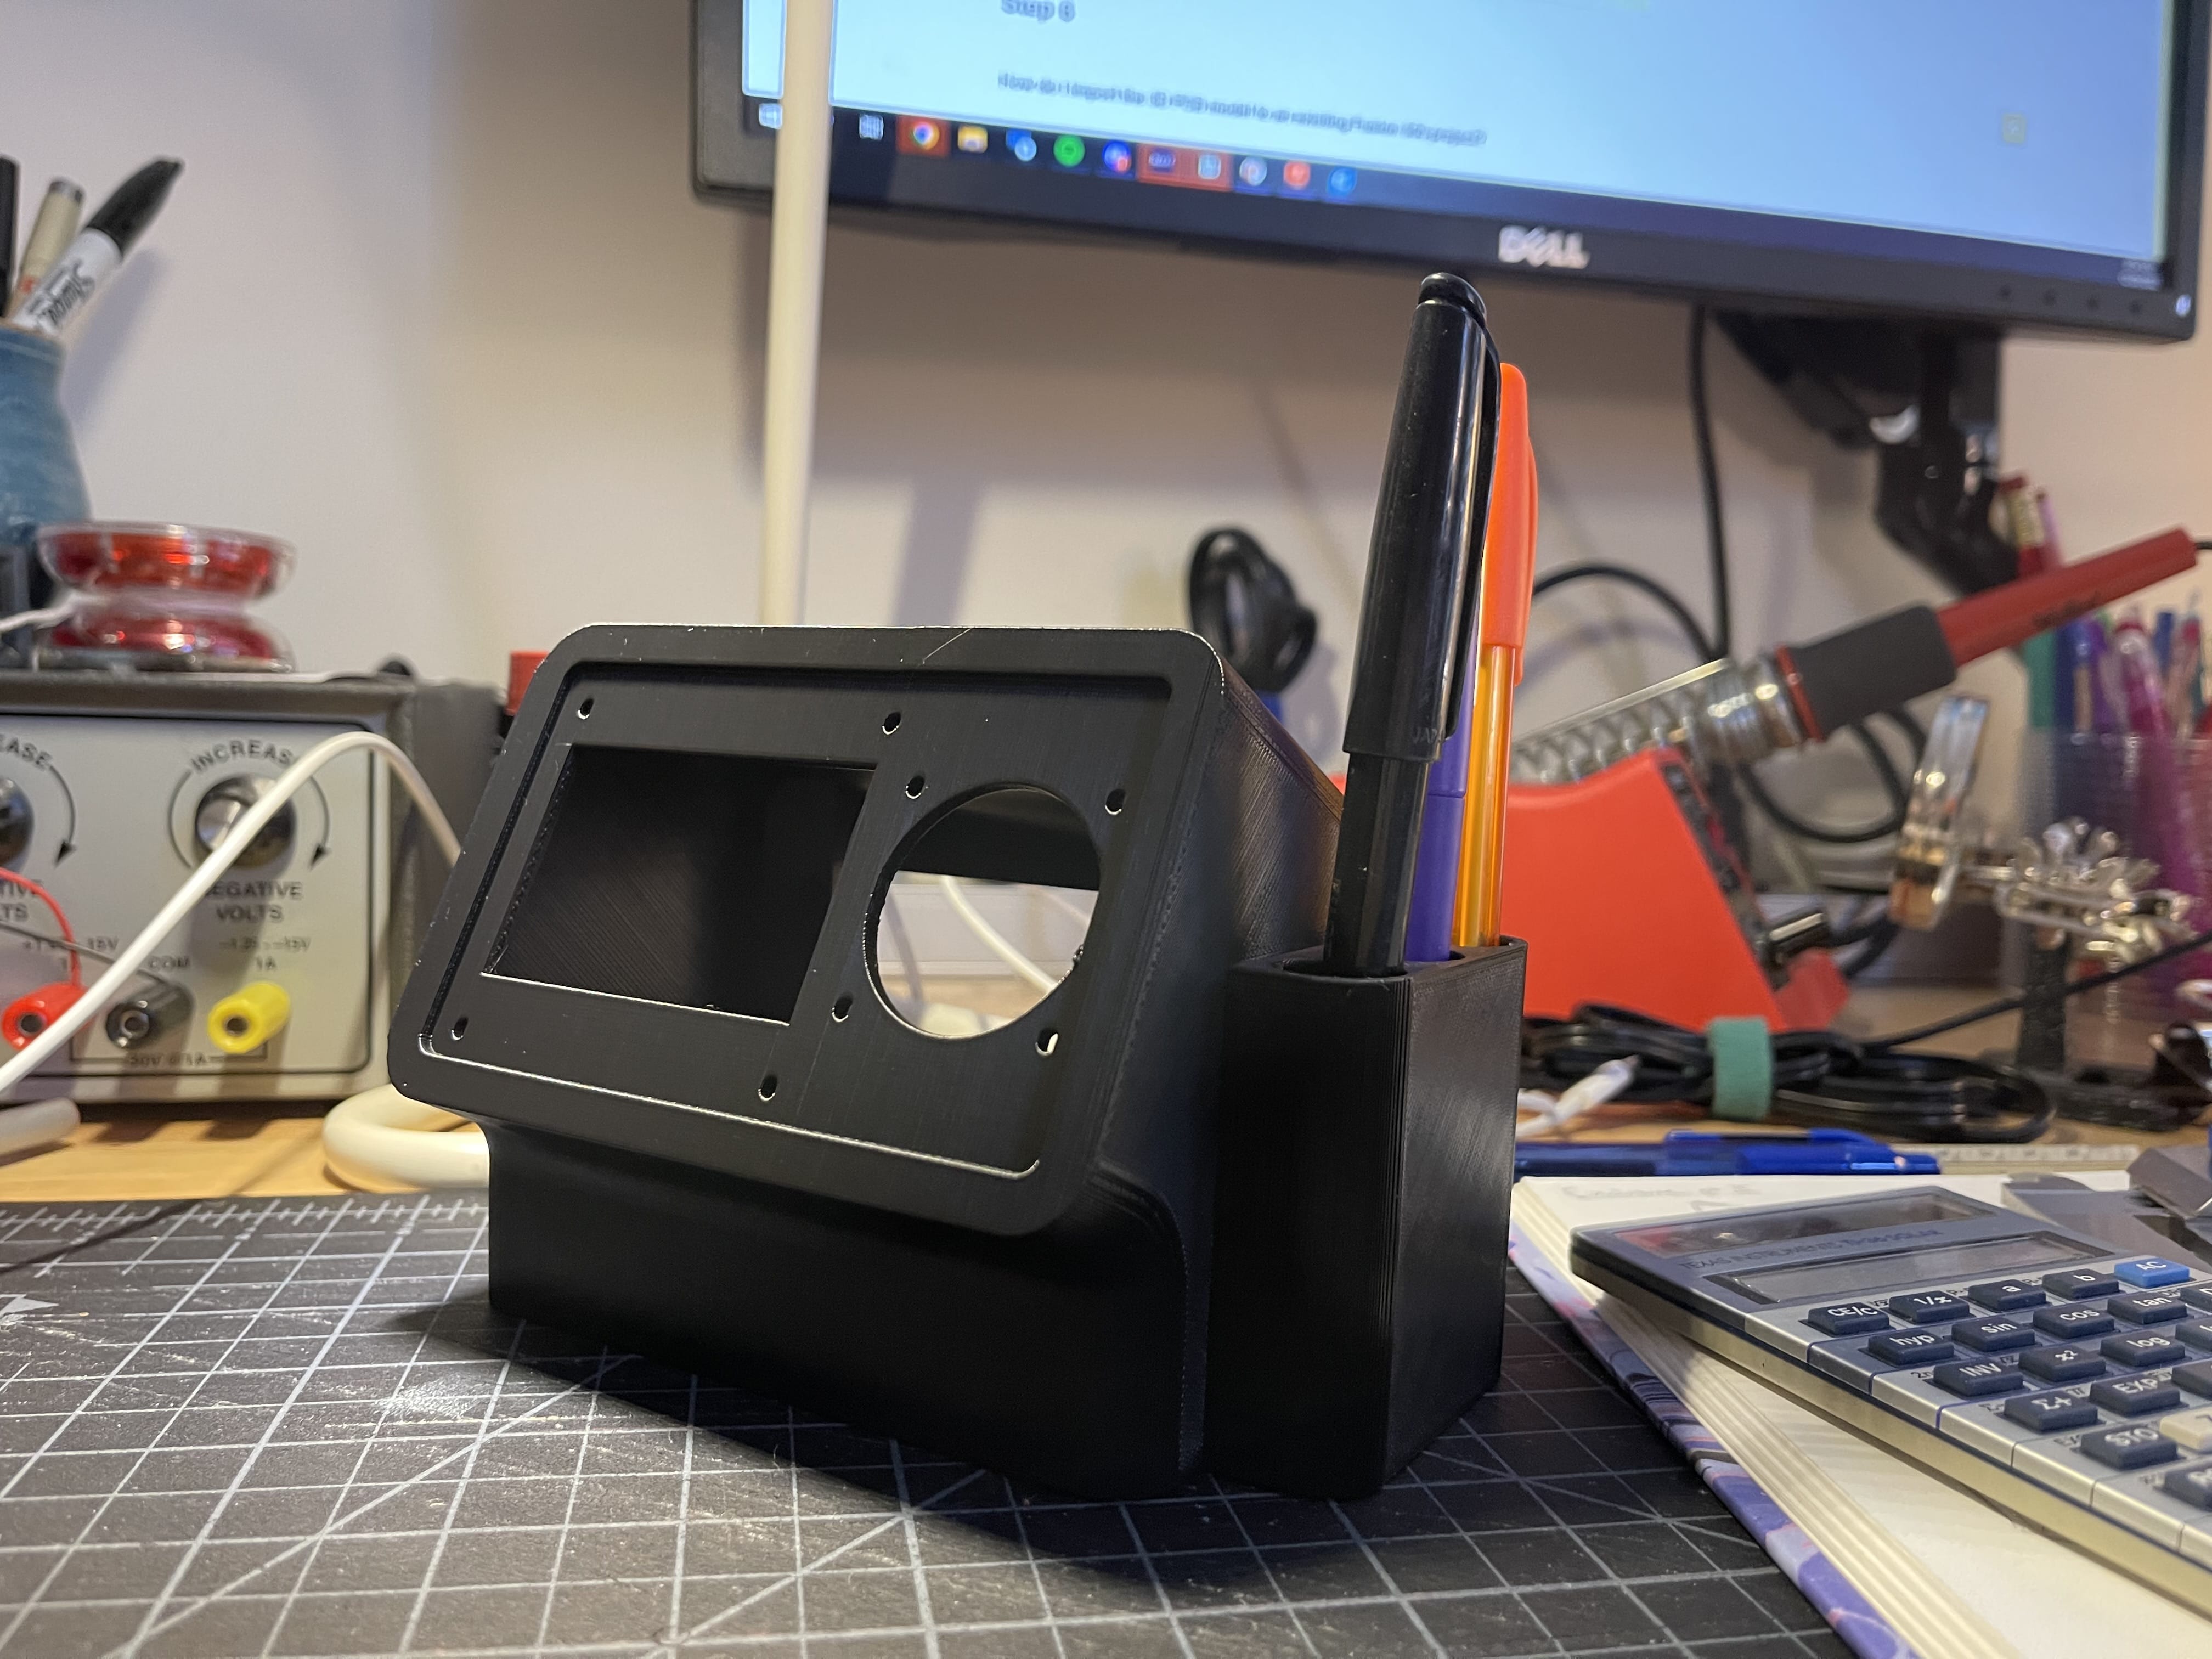
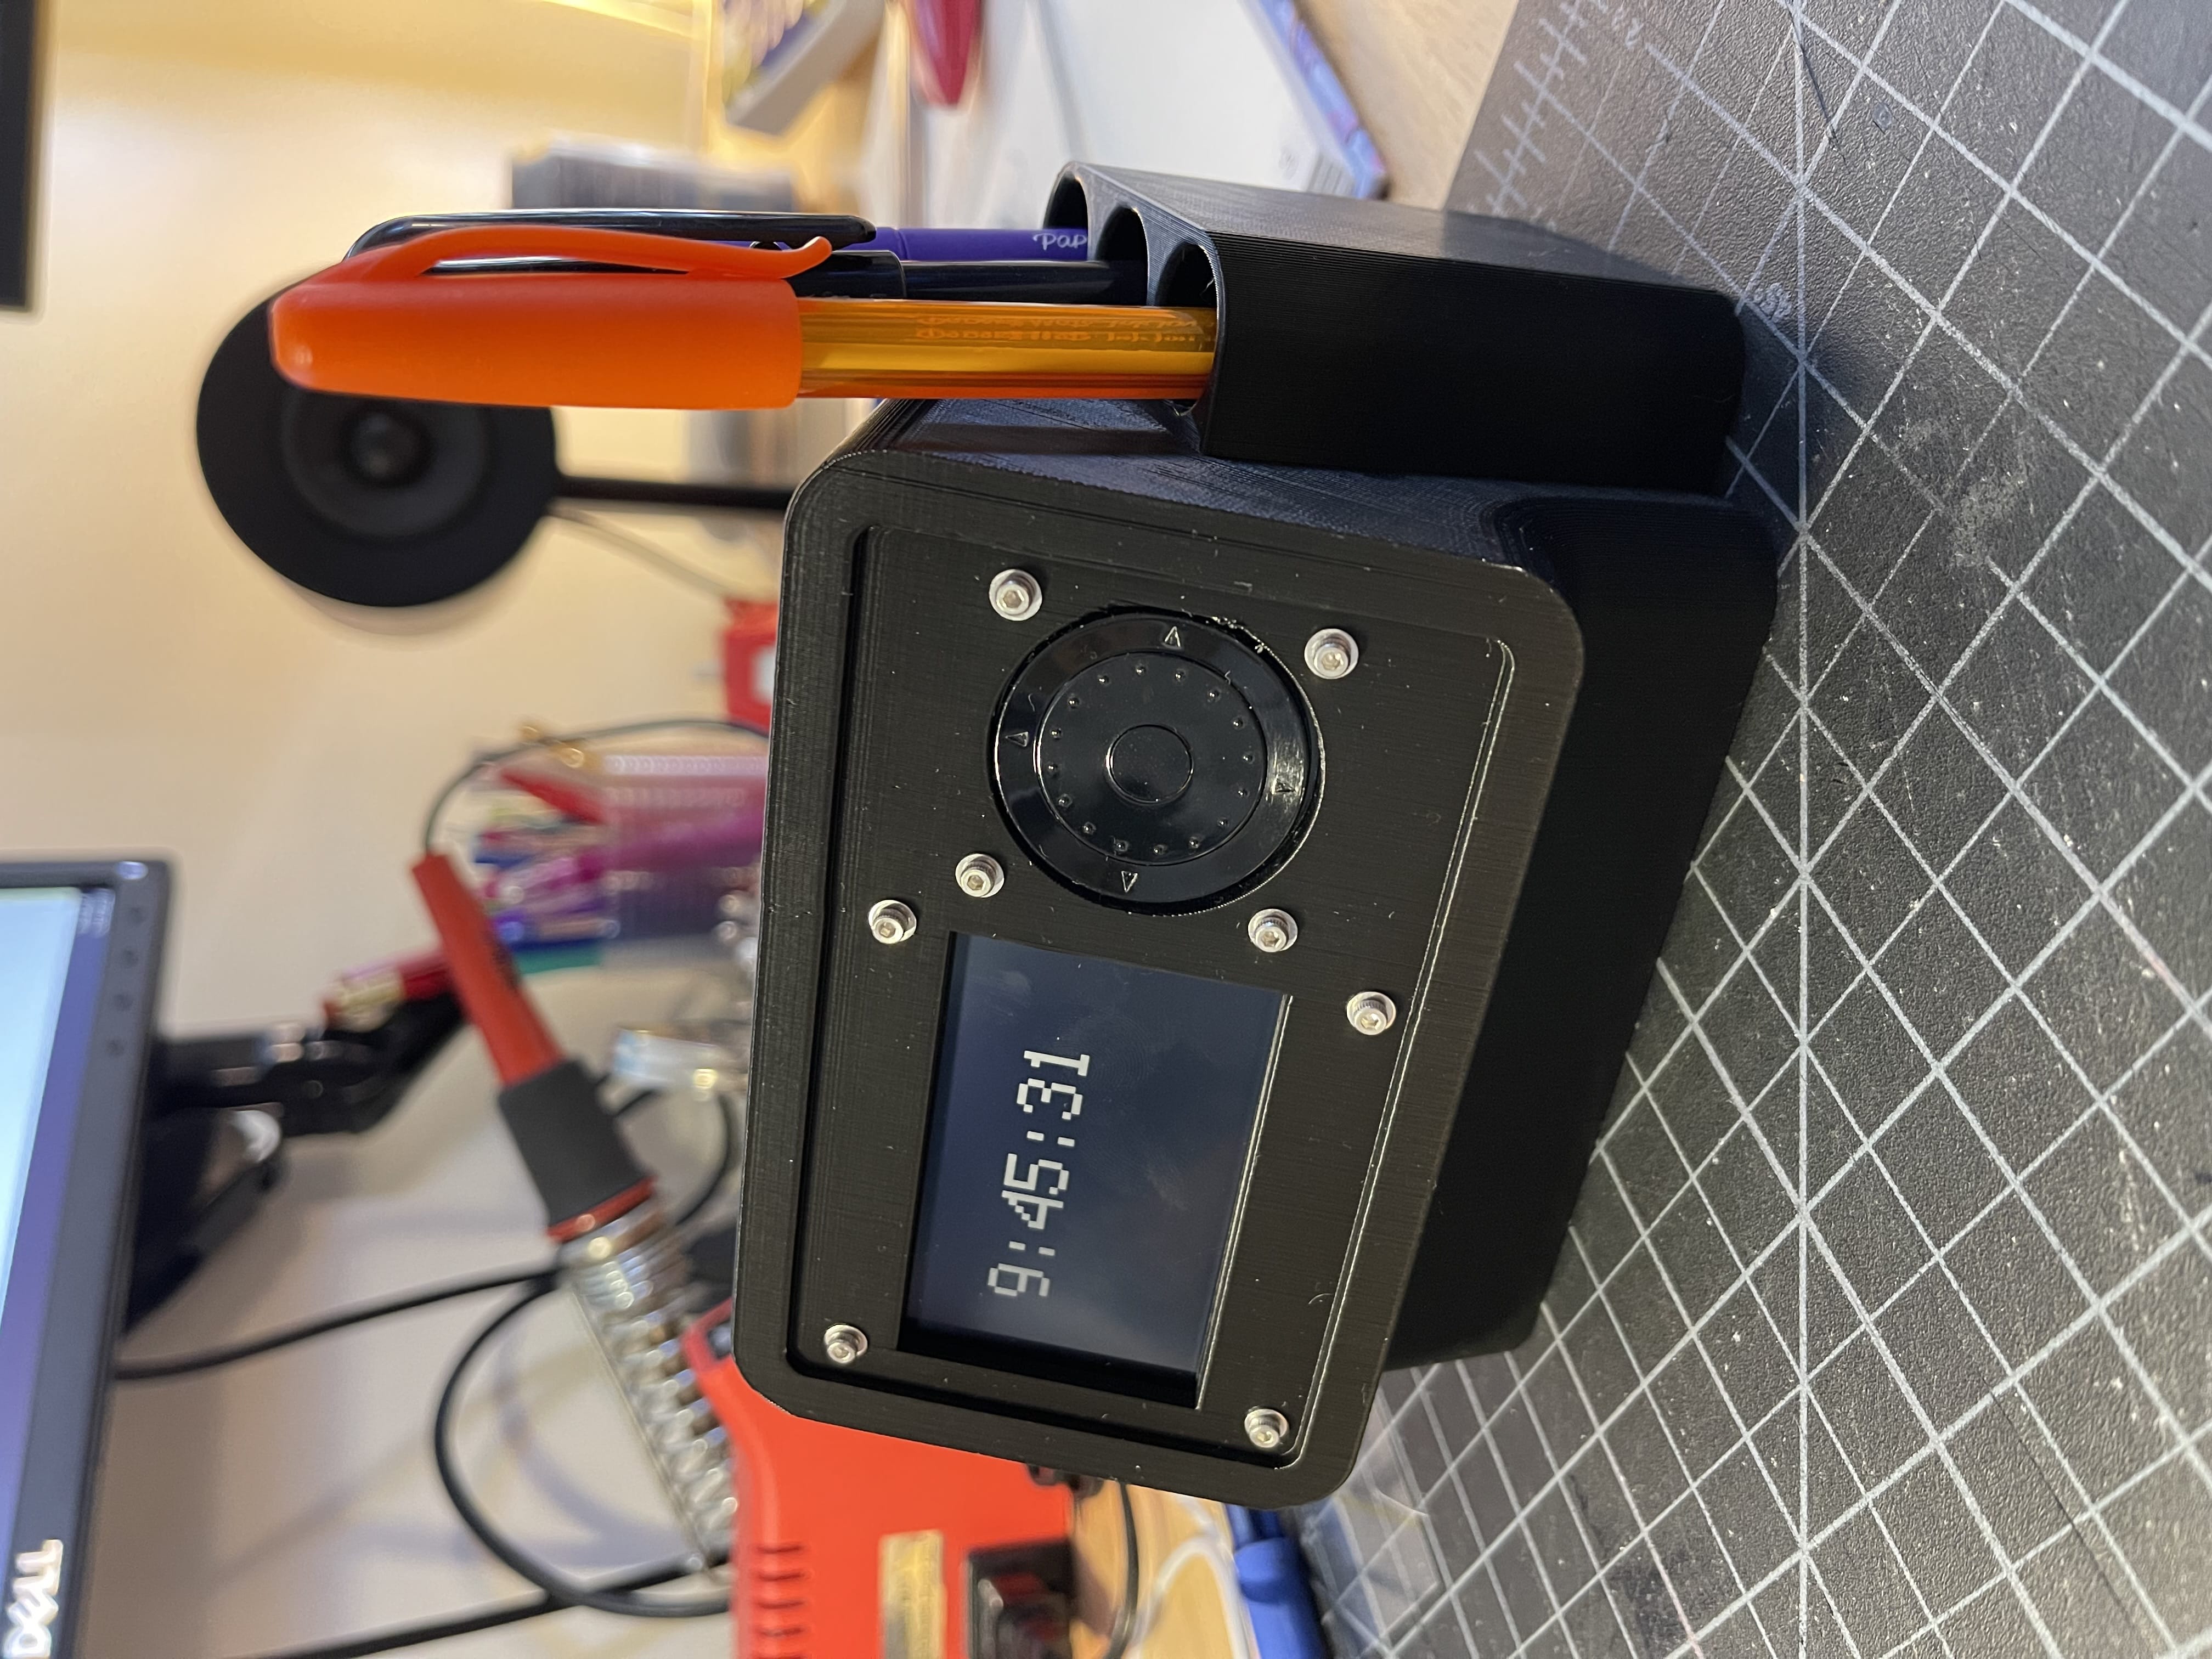
I sketched out a few ideas, but ultimately I liked the idea of orienting the screen sideways for an overall shorter, wider design. I added some pen slots on the side, and gave the whole form a bent-over angled shape kinda like an upright Braun DN 40 alarm clock.
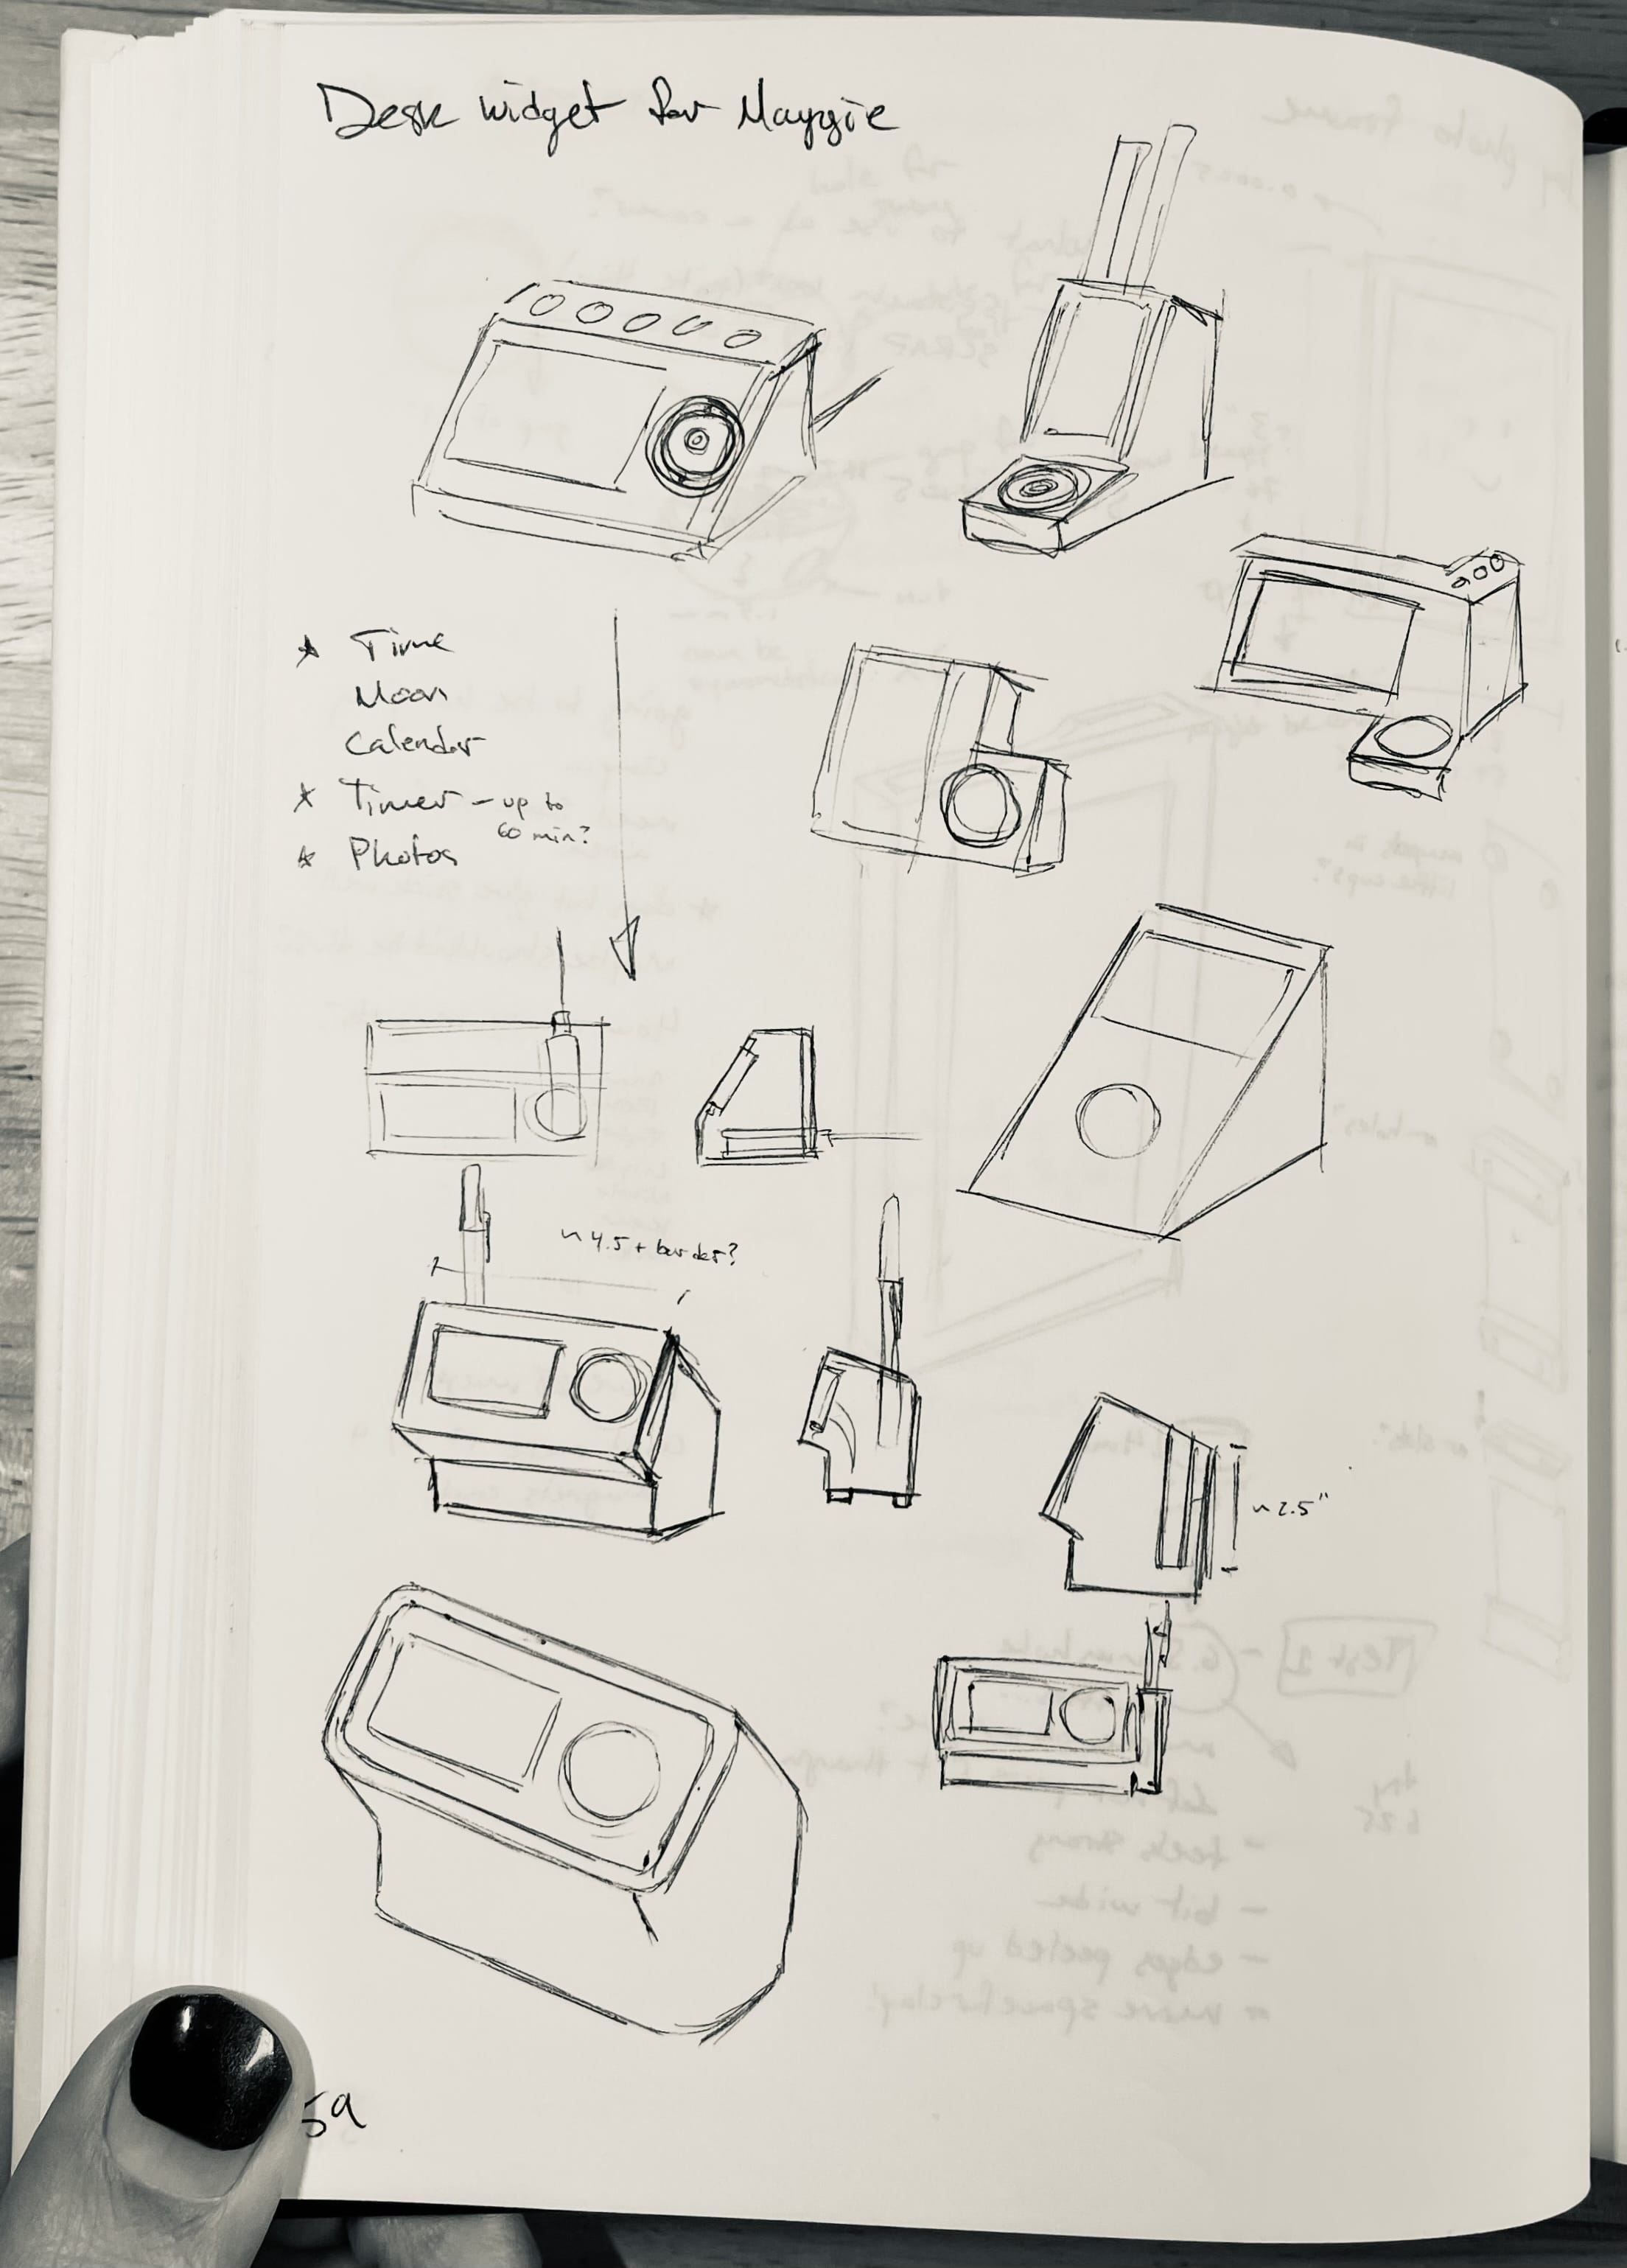
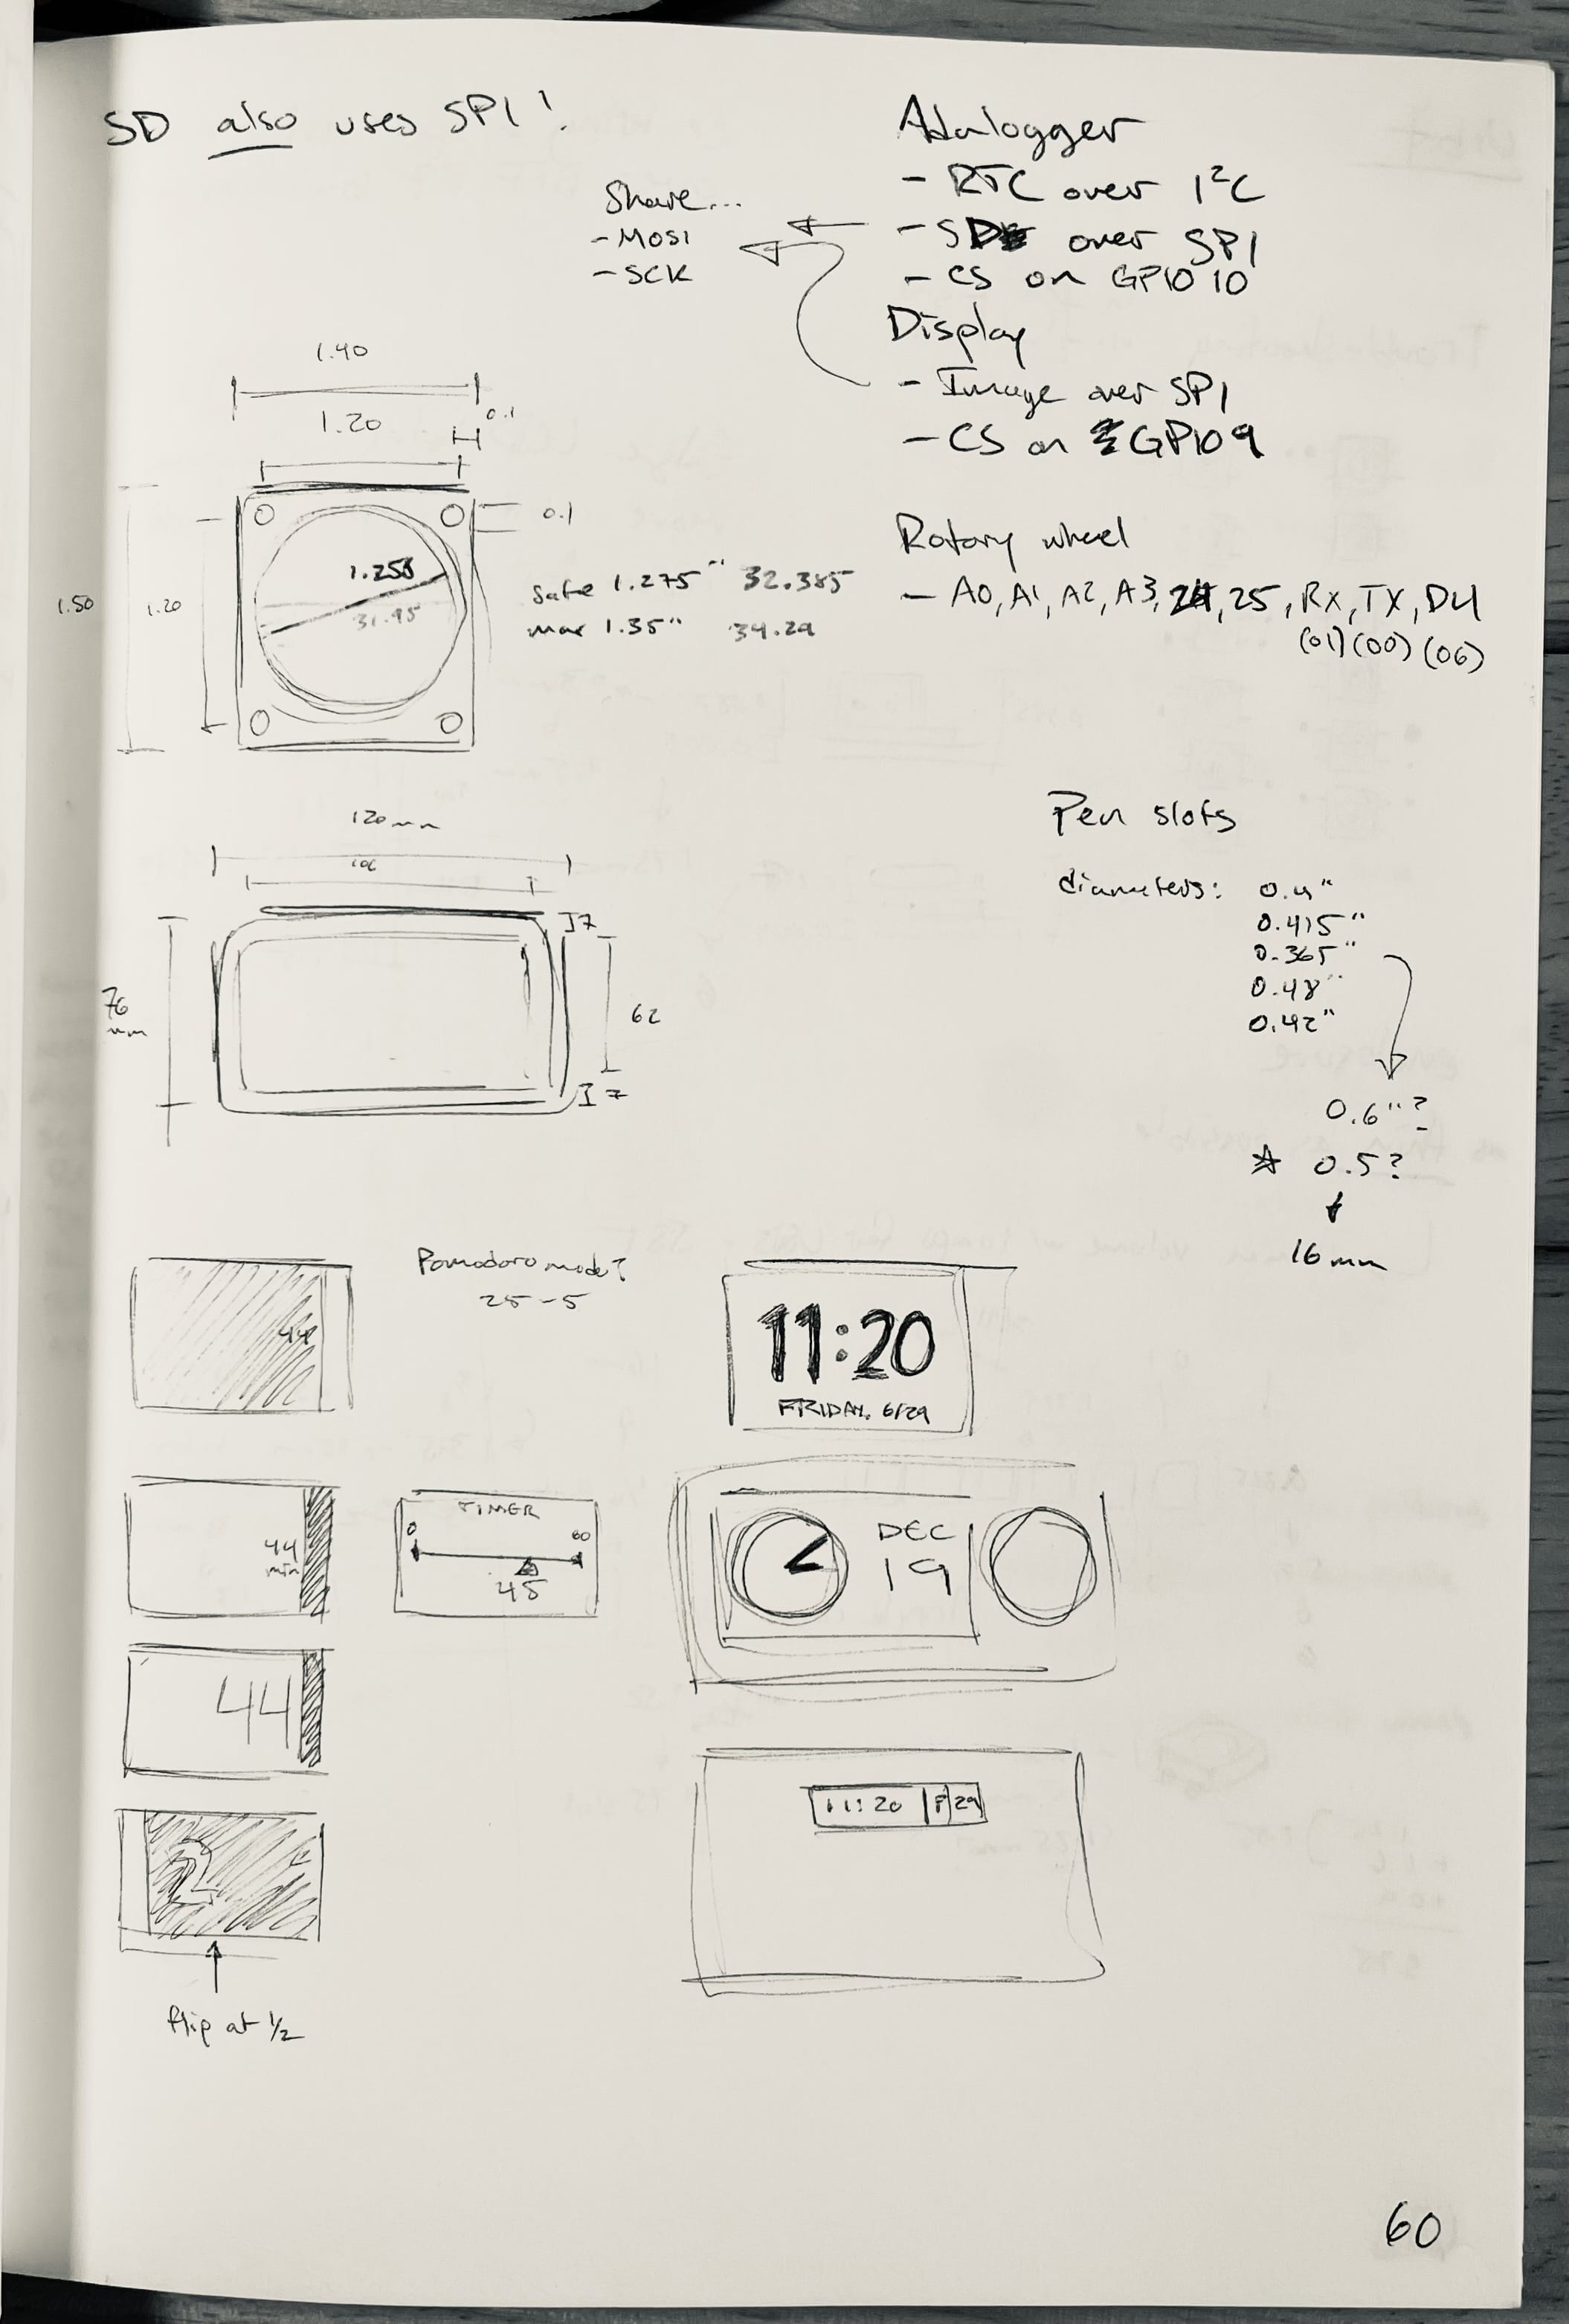
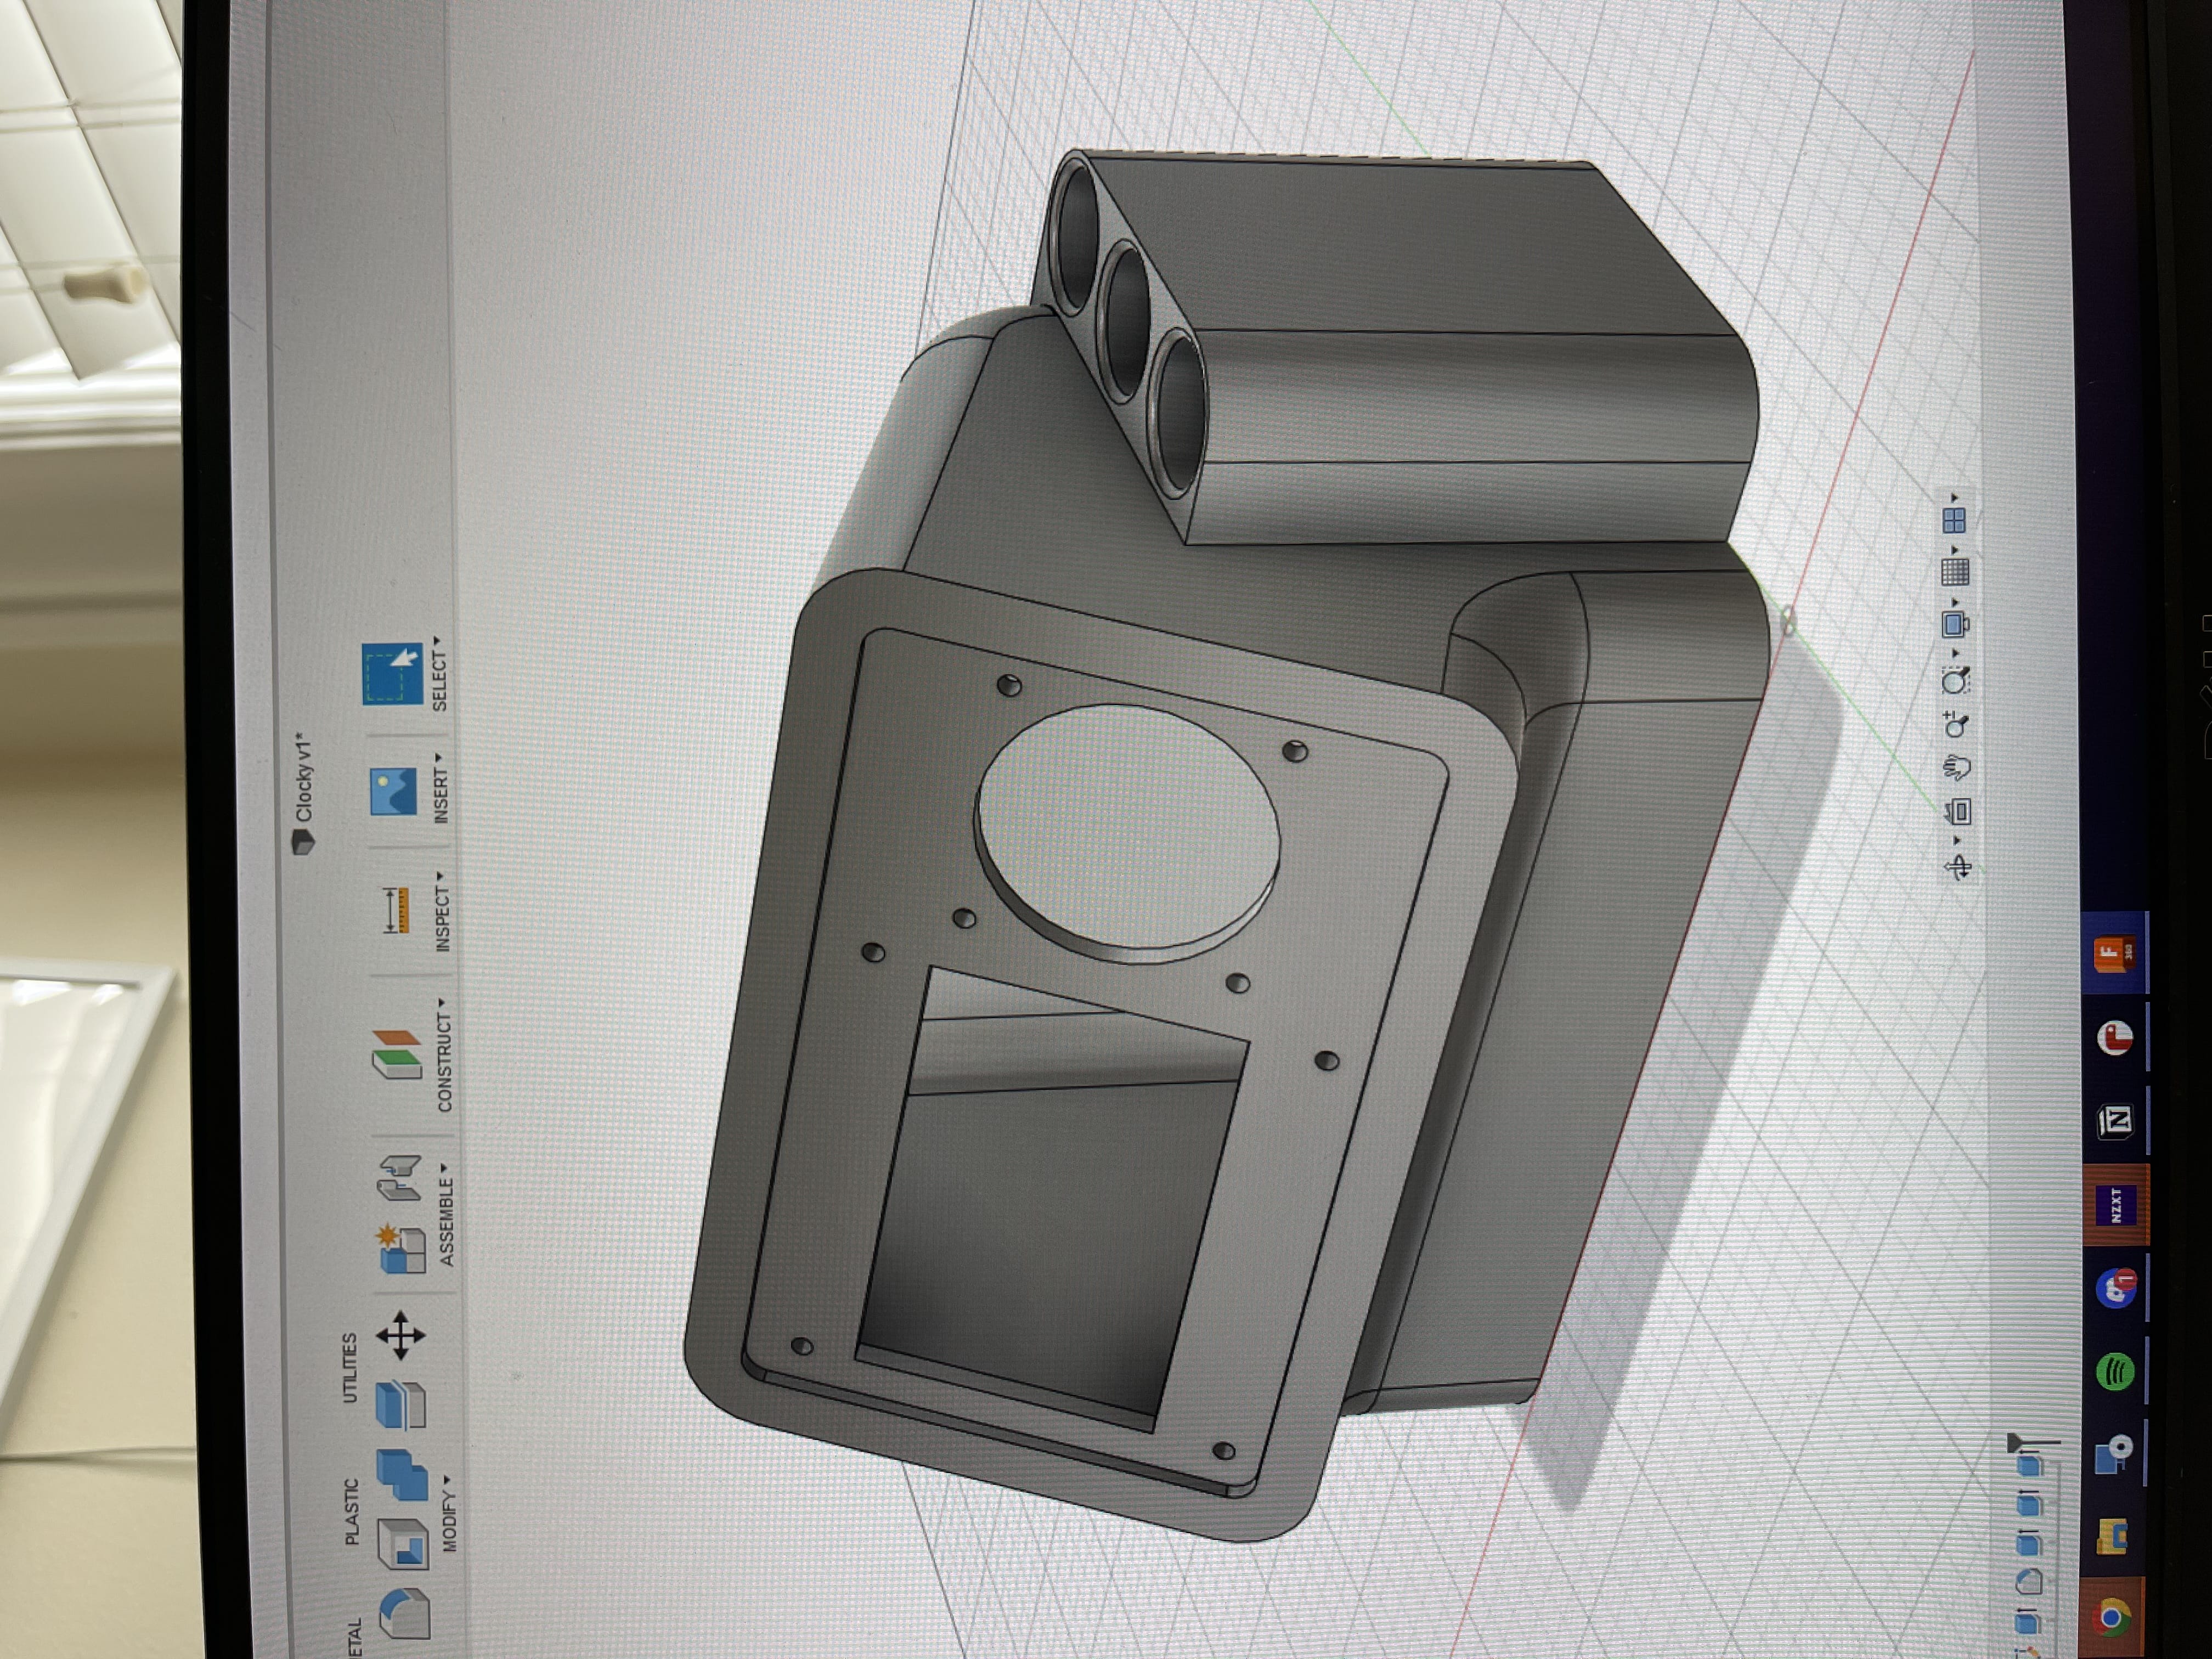
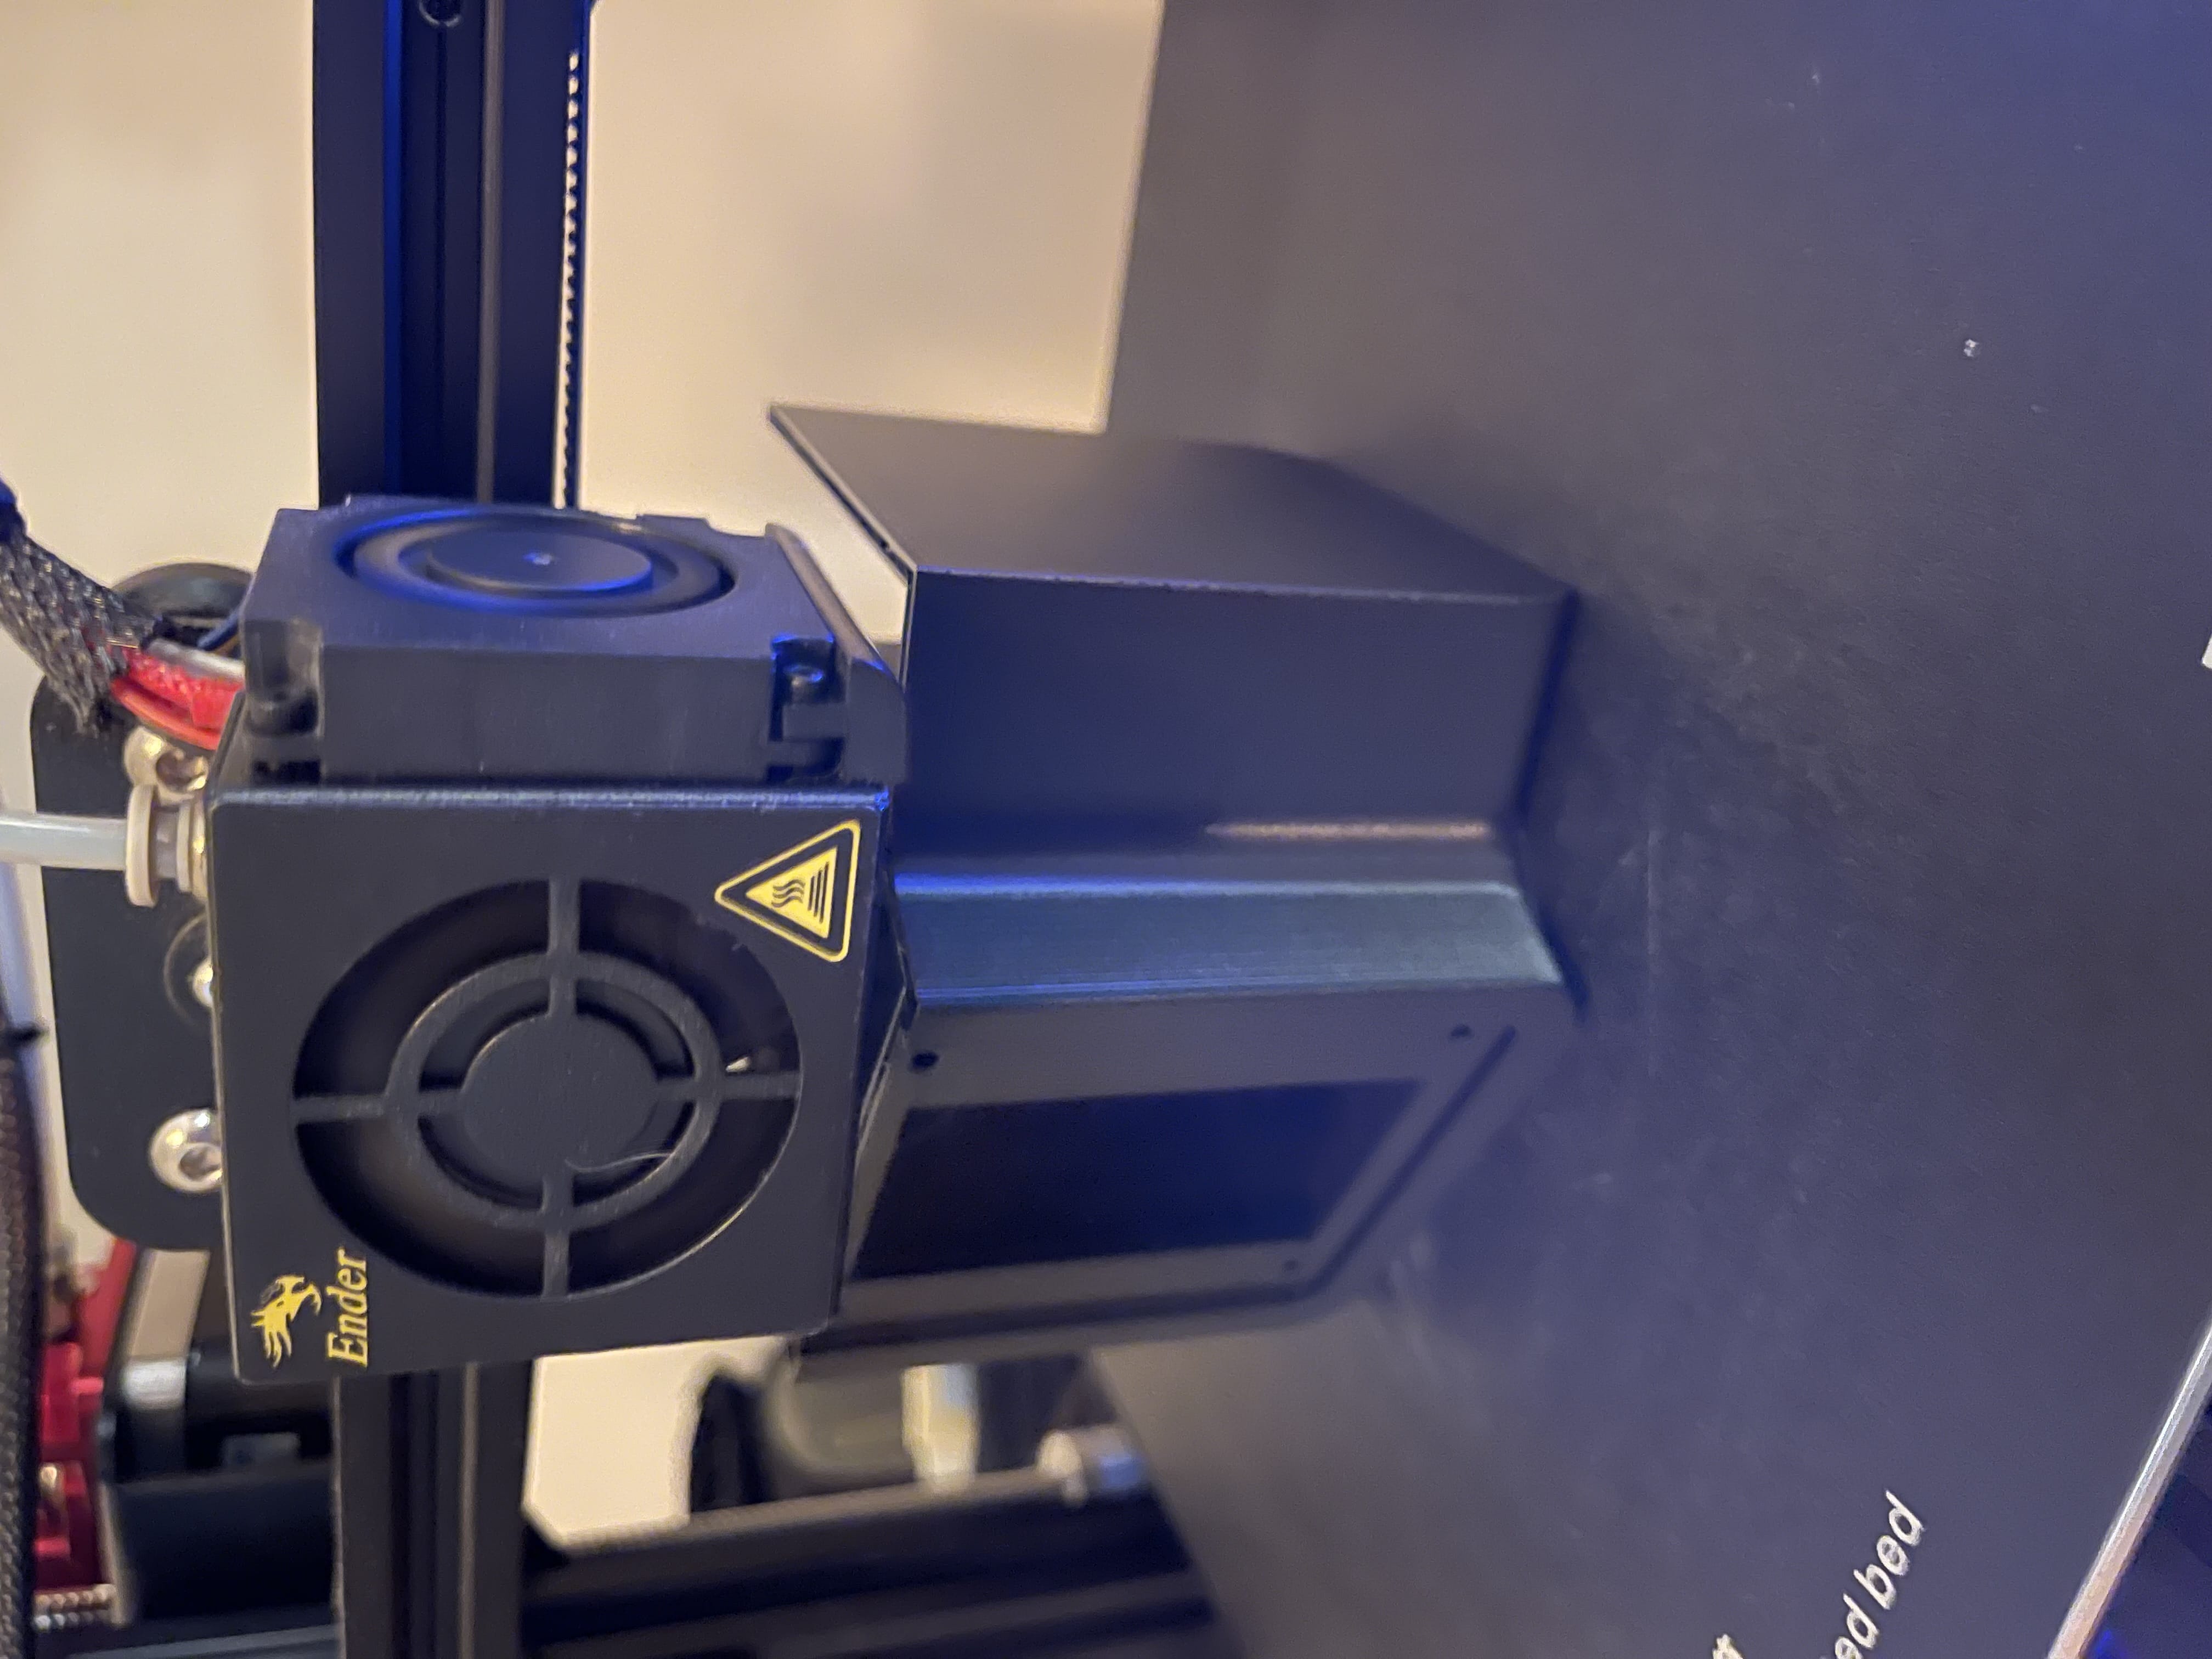
The modeling was fairly straightforward once I had all the parts measured — it's mostly just one big shape with a door in the back to insert the circuitry. I printed it on its side in one go!
Once the print was finished, I stuffed the electronics in and secured the screen and encoder to the front of the enclosure with bolts. I think I would have liked these to be sunk into the case — a lesson for next time!
Programming
Then came the task of building the UI. Adafruit's displayio library makes it easy to build simple arrangements of text and shapes and bitmaps, so I went through their tutorials around displaying images, and got my dithered photos to show up!
After that, I built a simple menu to switch between a couple different modes:
- Big time
- Analog time
- Photo with small hour/minute in the corner
Photos are the whole point though, I probably could have just skipped the click wheel and had an even smaller frame for just the screen!
I wish I had a few more photos of the other modes, but it's at the library now :)
In the wild
