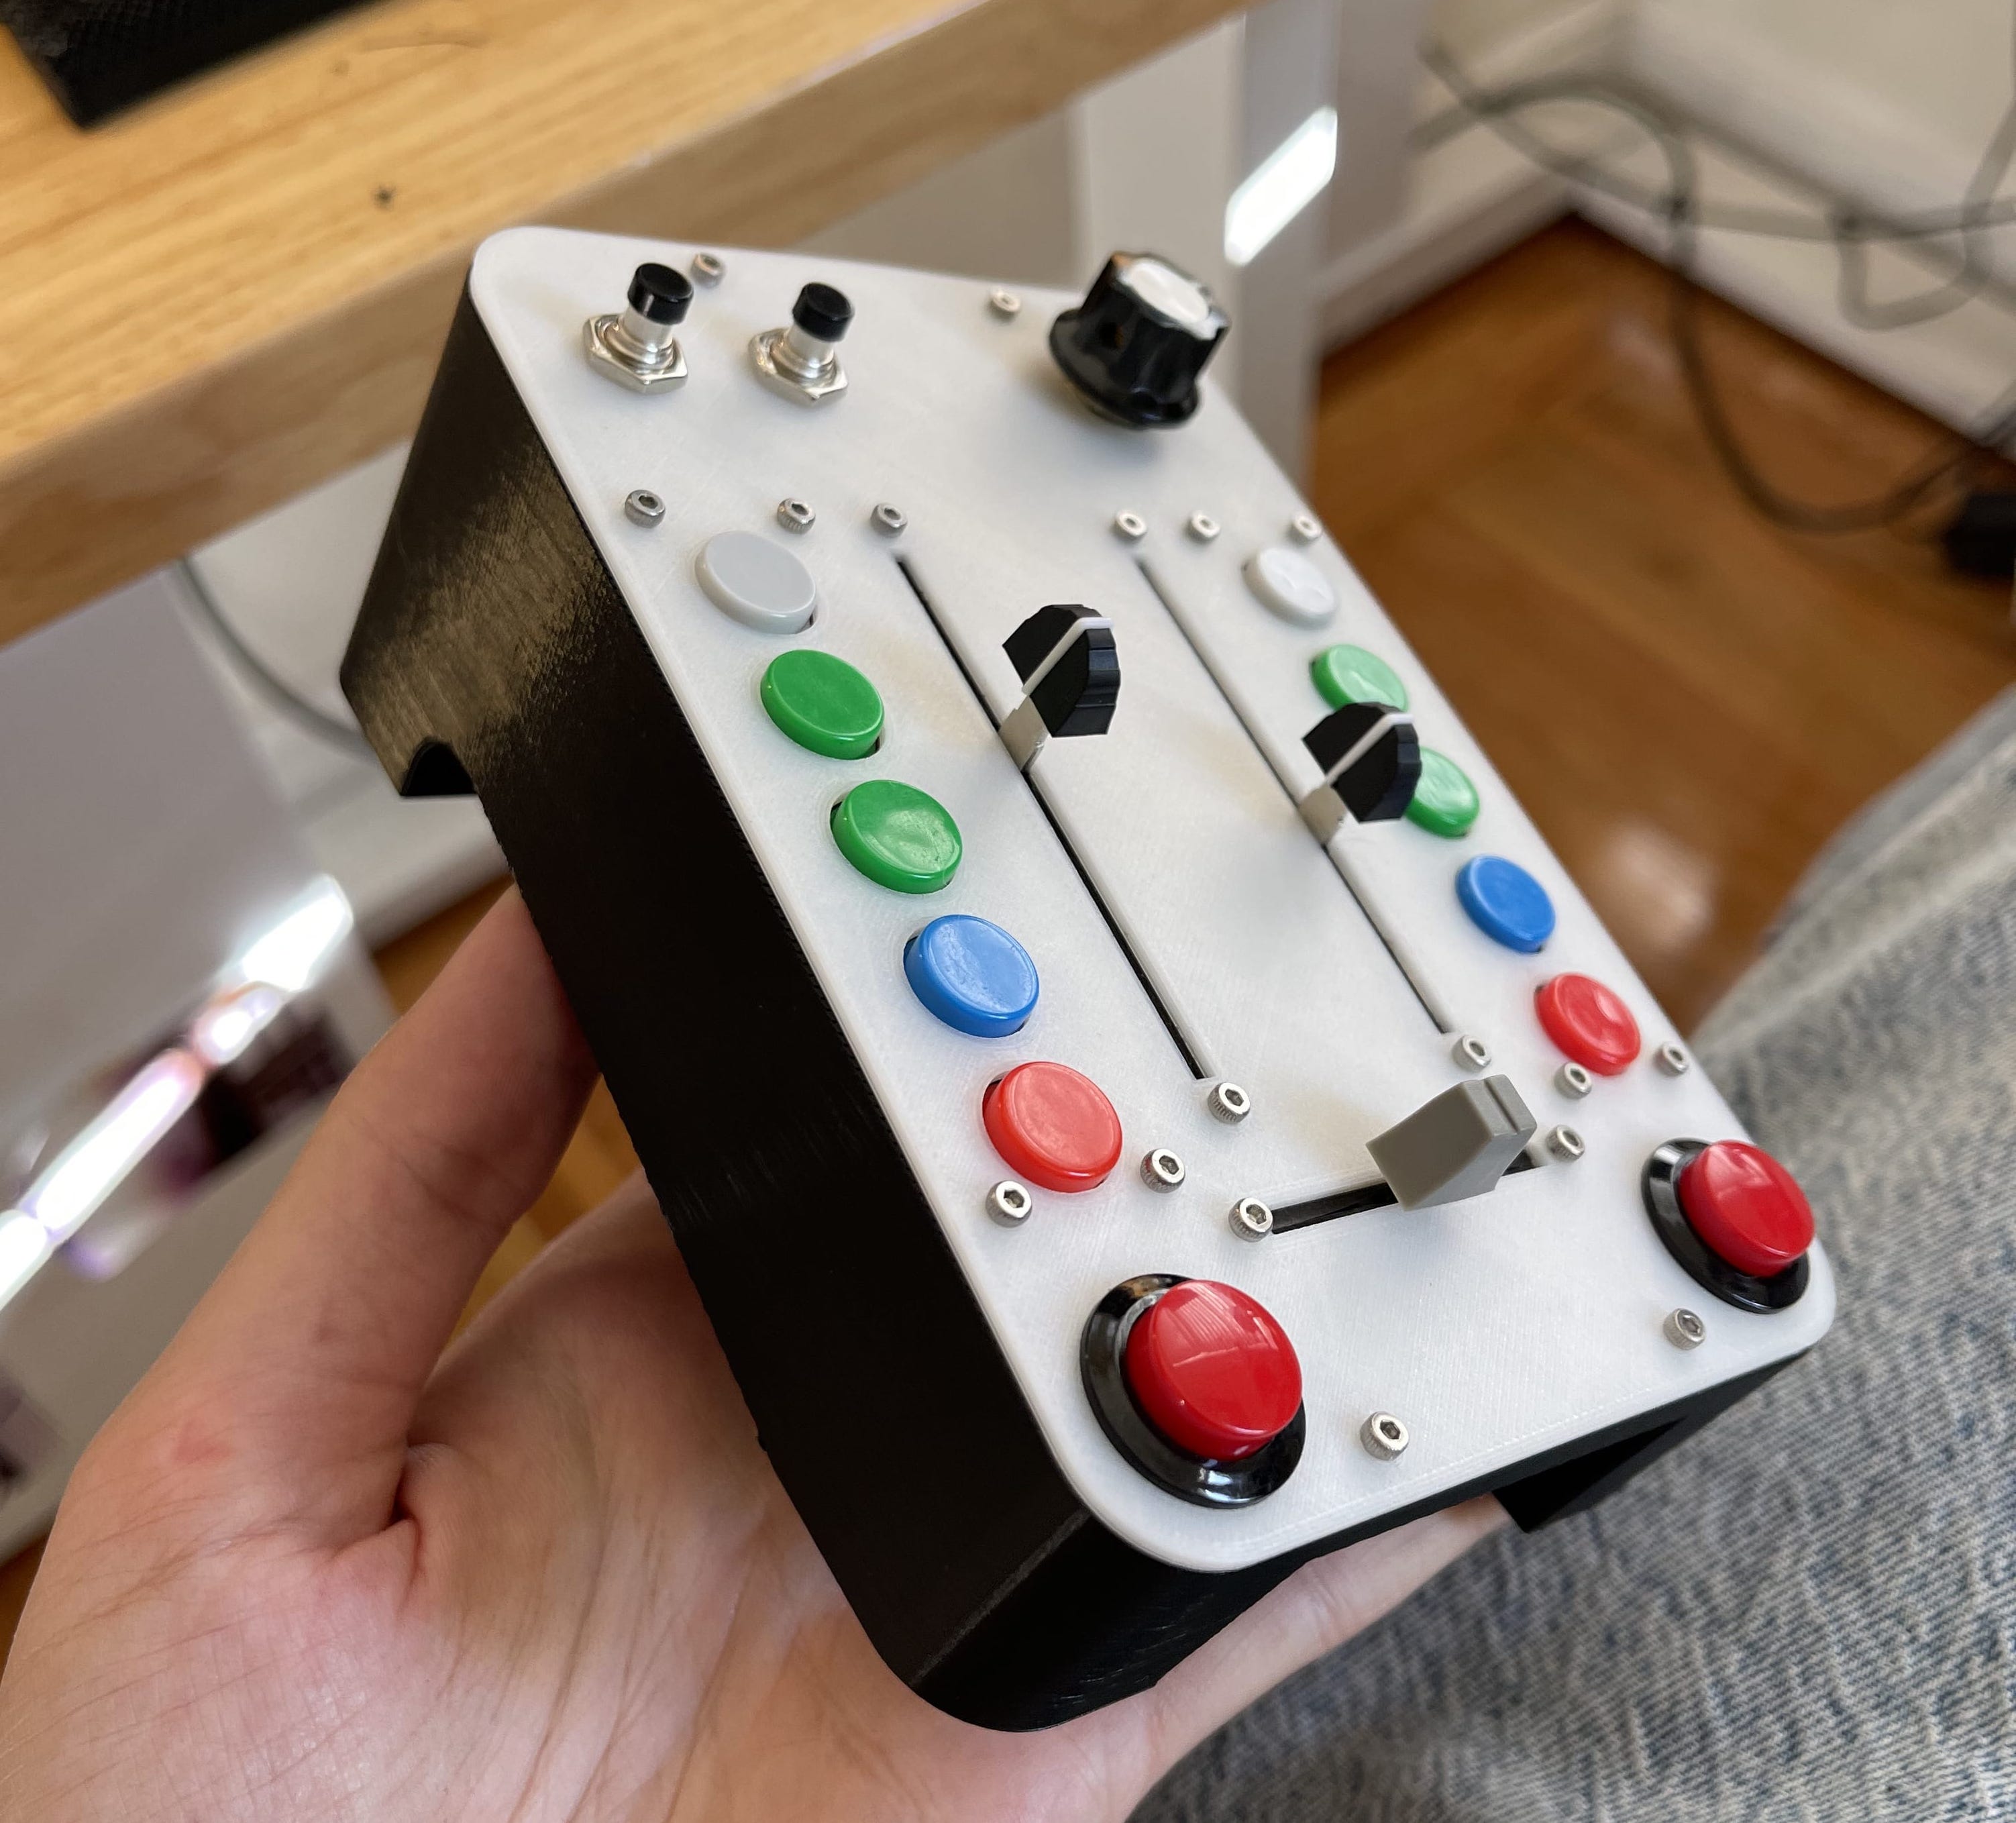
Pocket DJ controller
June 2022
My wife Maggie had a show called Hellmouth Radio on our friendly local internet radio station BFF.fm. She was using an app called Djay Pro to make playlists, and had to select, load, start, stop, crossfade, and adjust tracks while talking live on air. Djay has a nice interface, but sometimes it's nice to have a set of physical controls so there's less risk of a mis-click. So, I designed a mini DJ controller that controls all the basic functions of Djay using MIDI commands over USB!
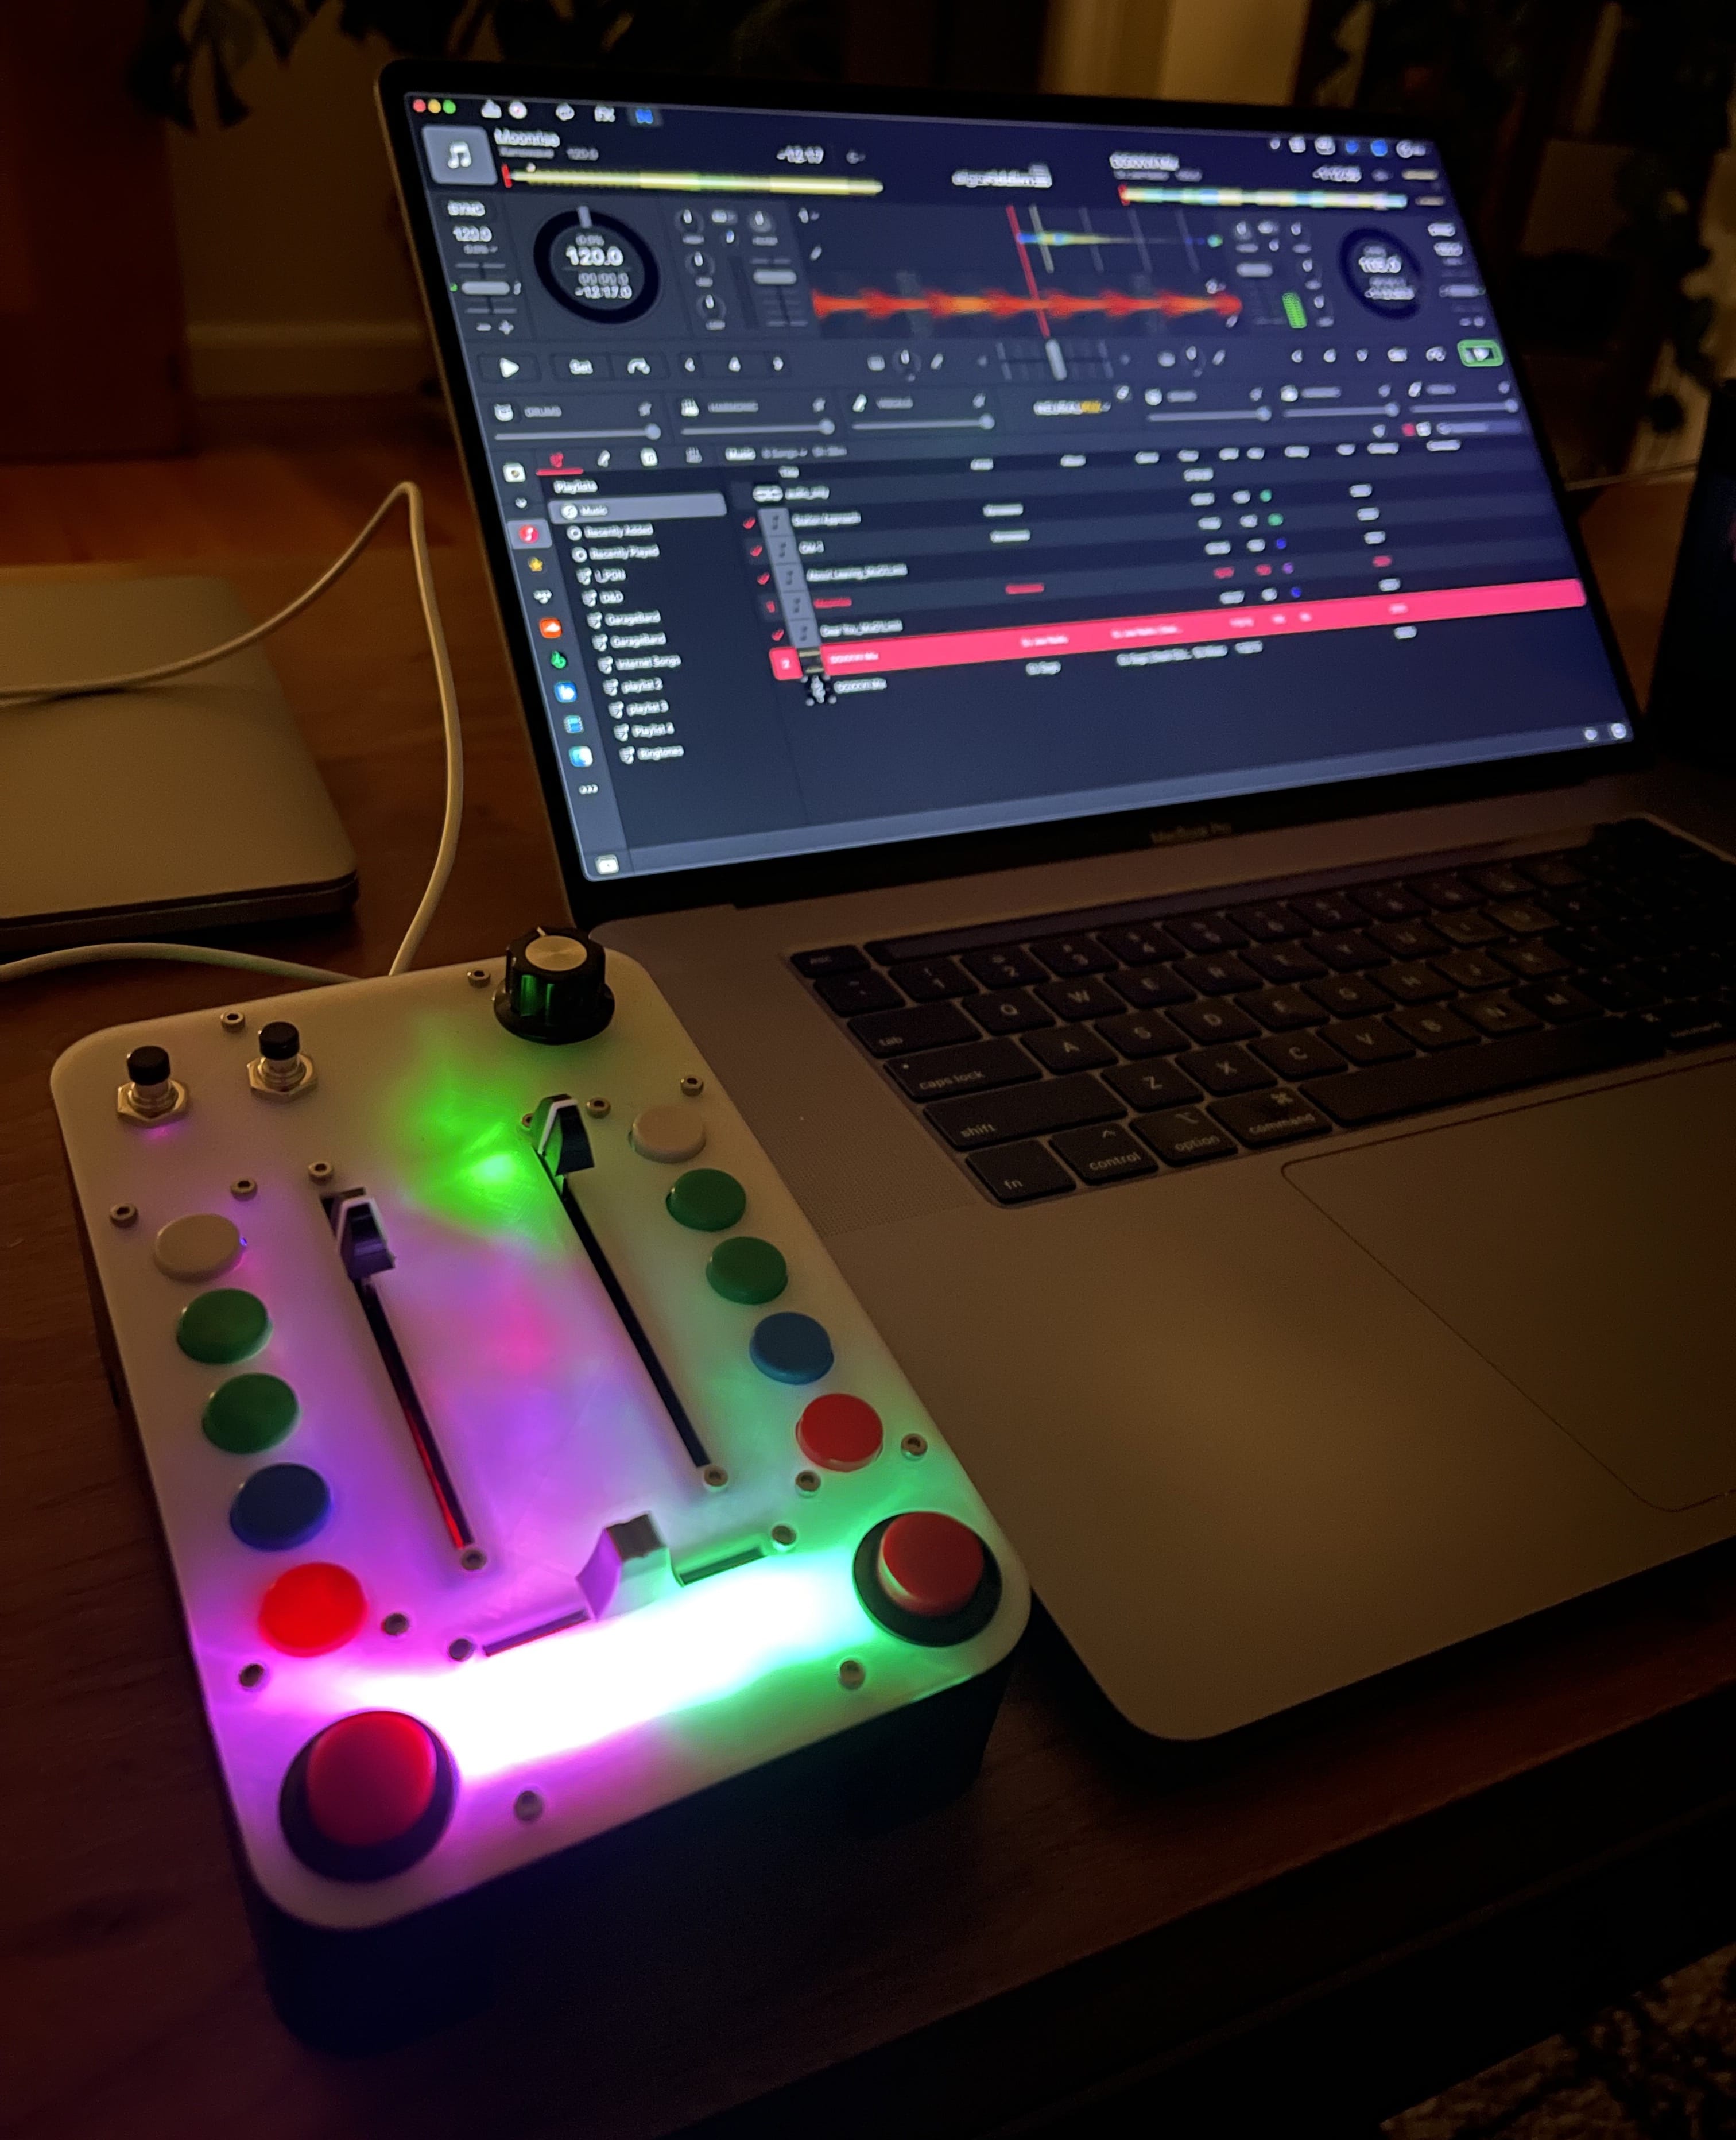
The knob at the top navigates your track list, and the two push buttons in the upper-left corner load tracks into the left and right decks. The "up faders" control track volume, and the crossfader mixes between them. The big red buttons start and stop playback, which is also reflected in the colors lights under the crossfader (green = playing, purple = cued, yellow = paused). The five buttons to either side do other things like jump back to the beginning of the song, enable loops, turn sync on/off, and more.
Circuits
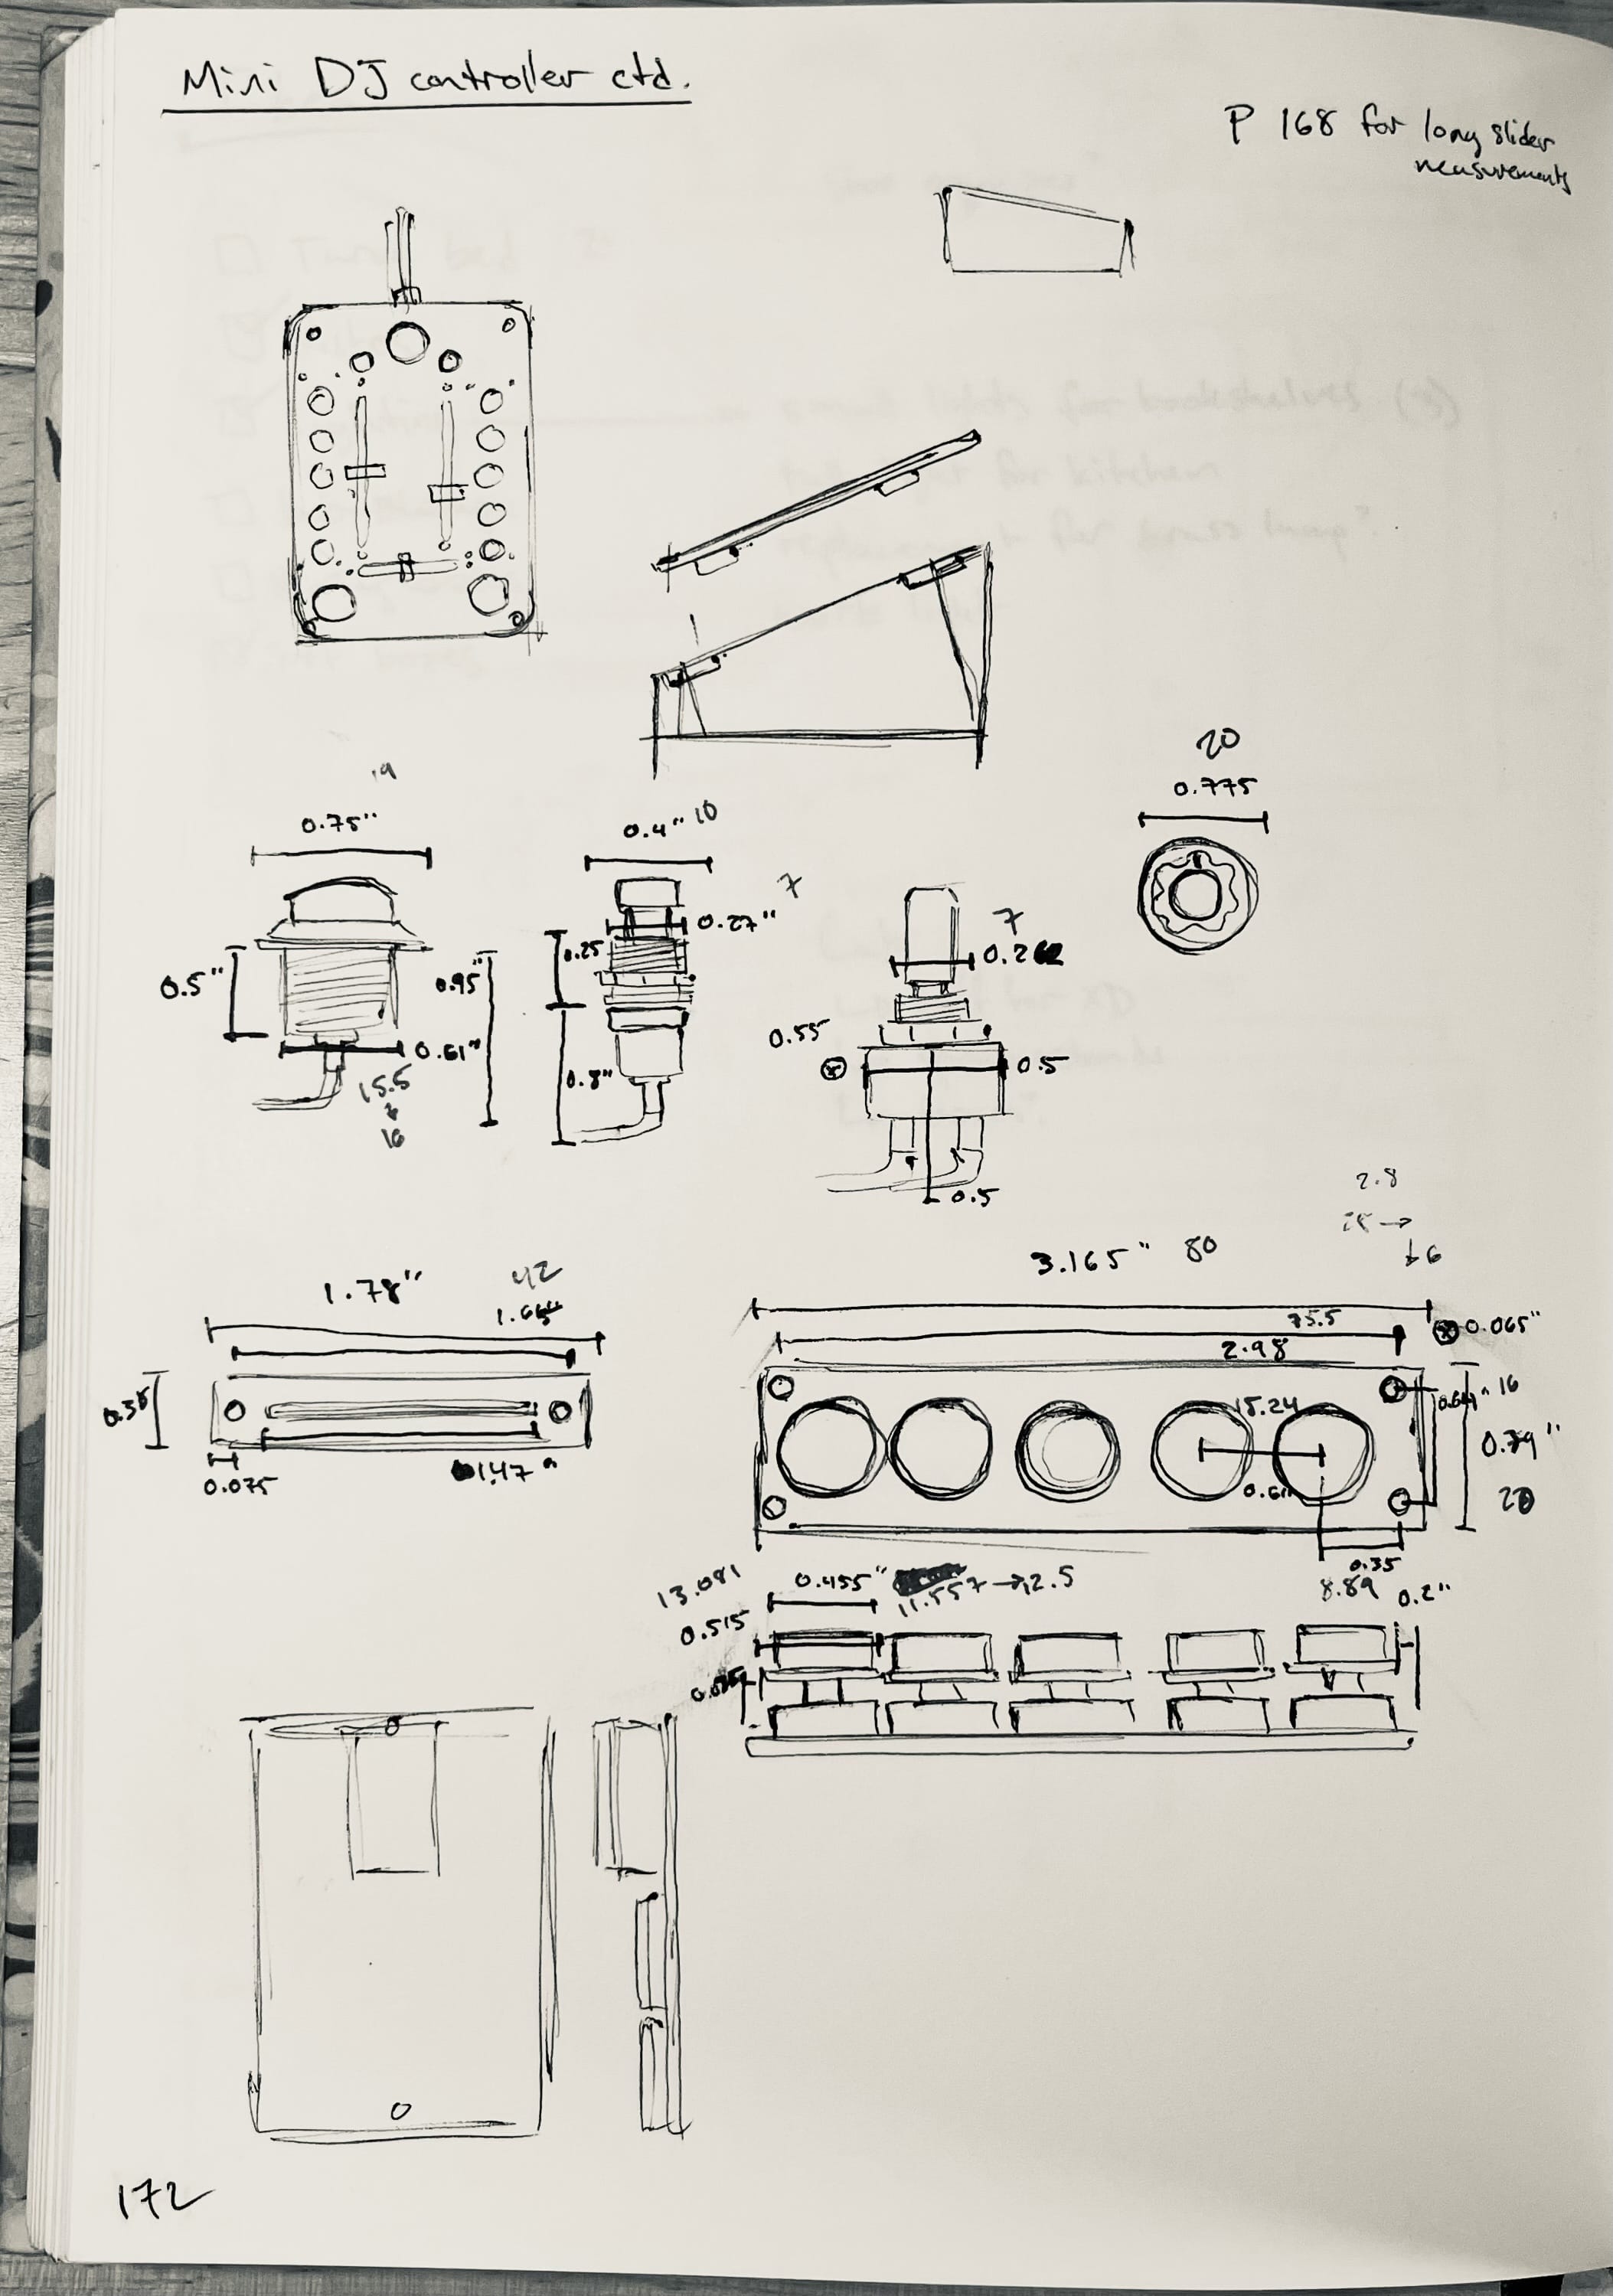
When I'm designing a device like this, I usually go through many iterations of the arrangement of the physical interface components. I have a lot of DJing experience myself, so I had some familiar patterns to draw on, but it took a while to find the right balance of conciseness, compactness, and flexibility.
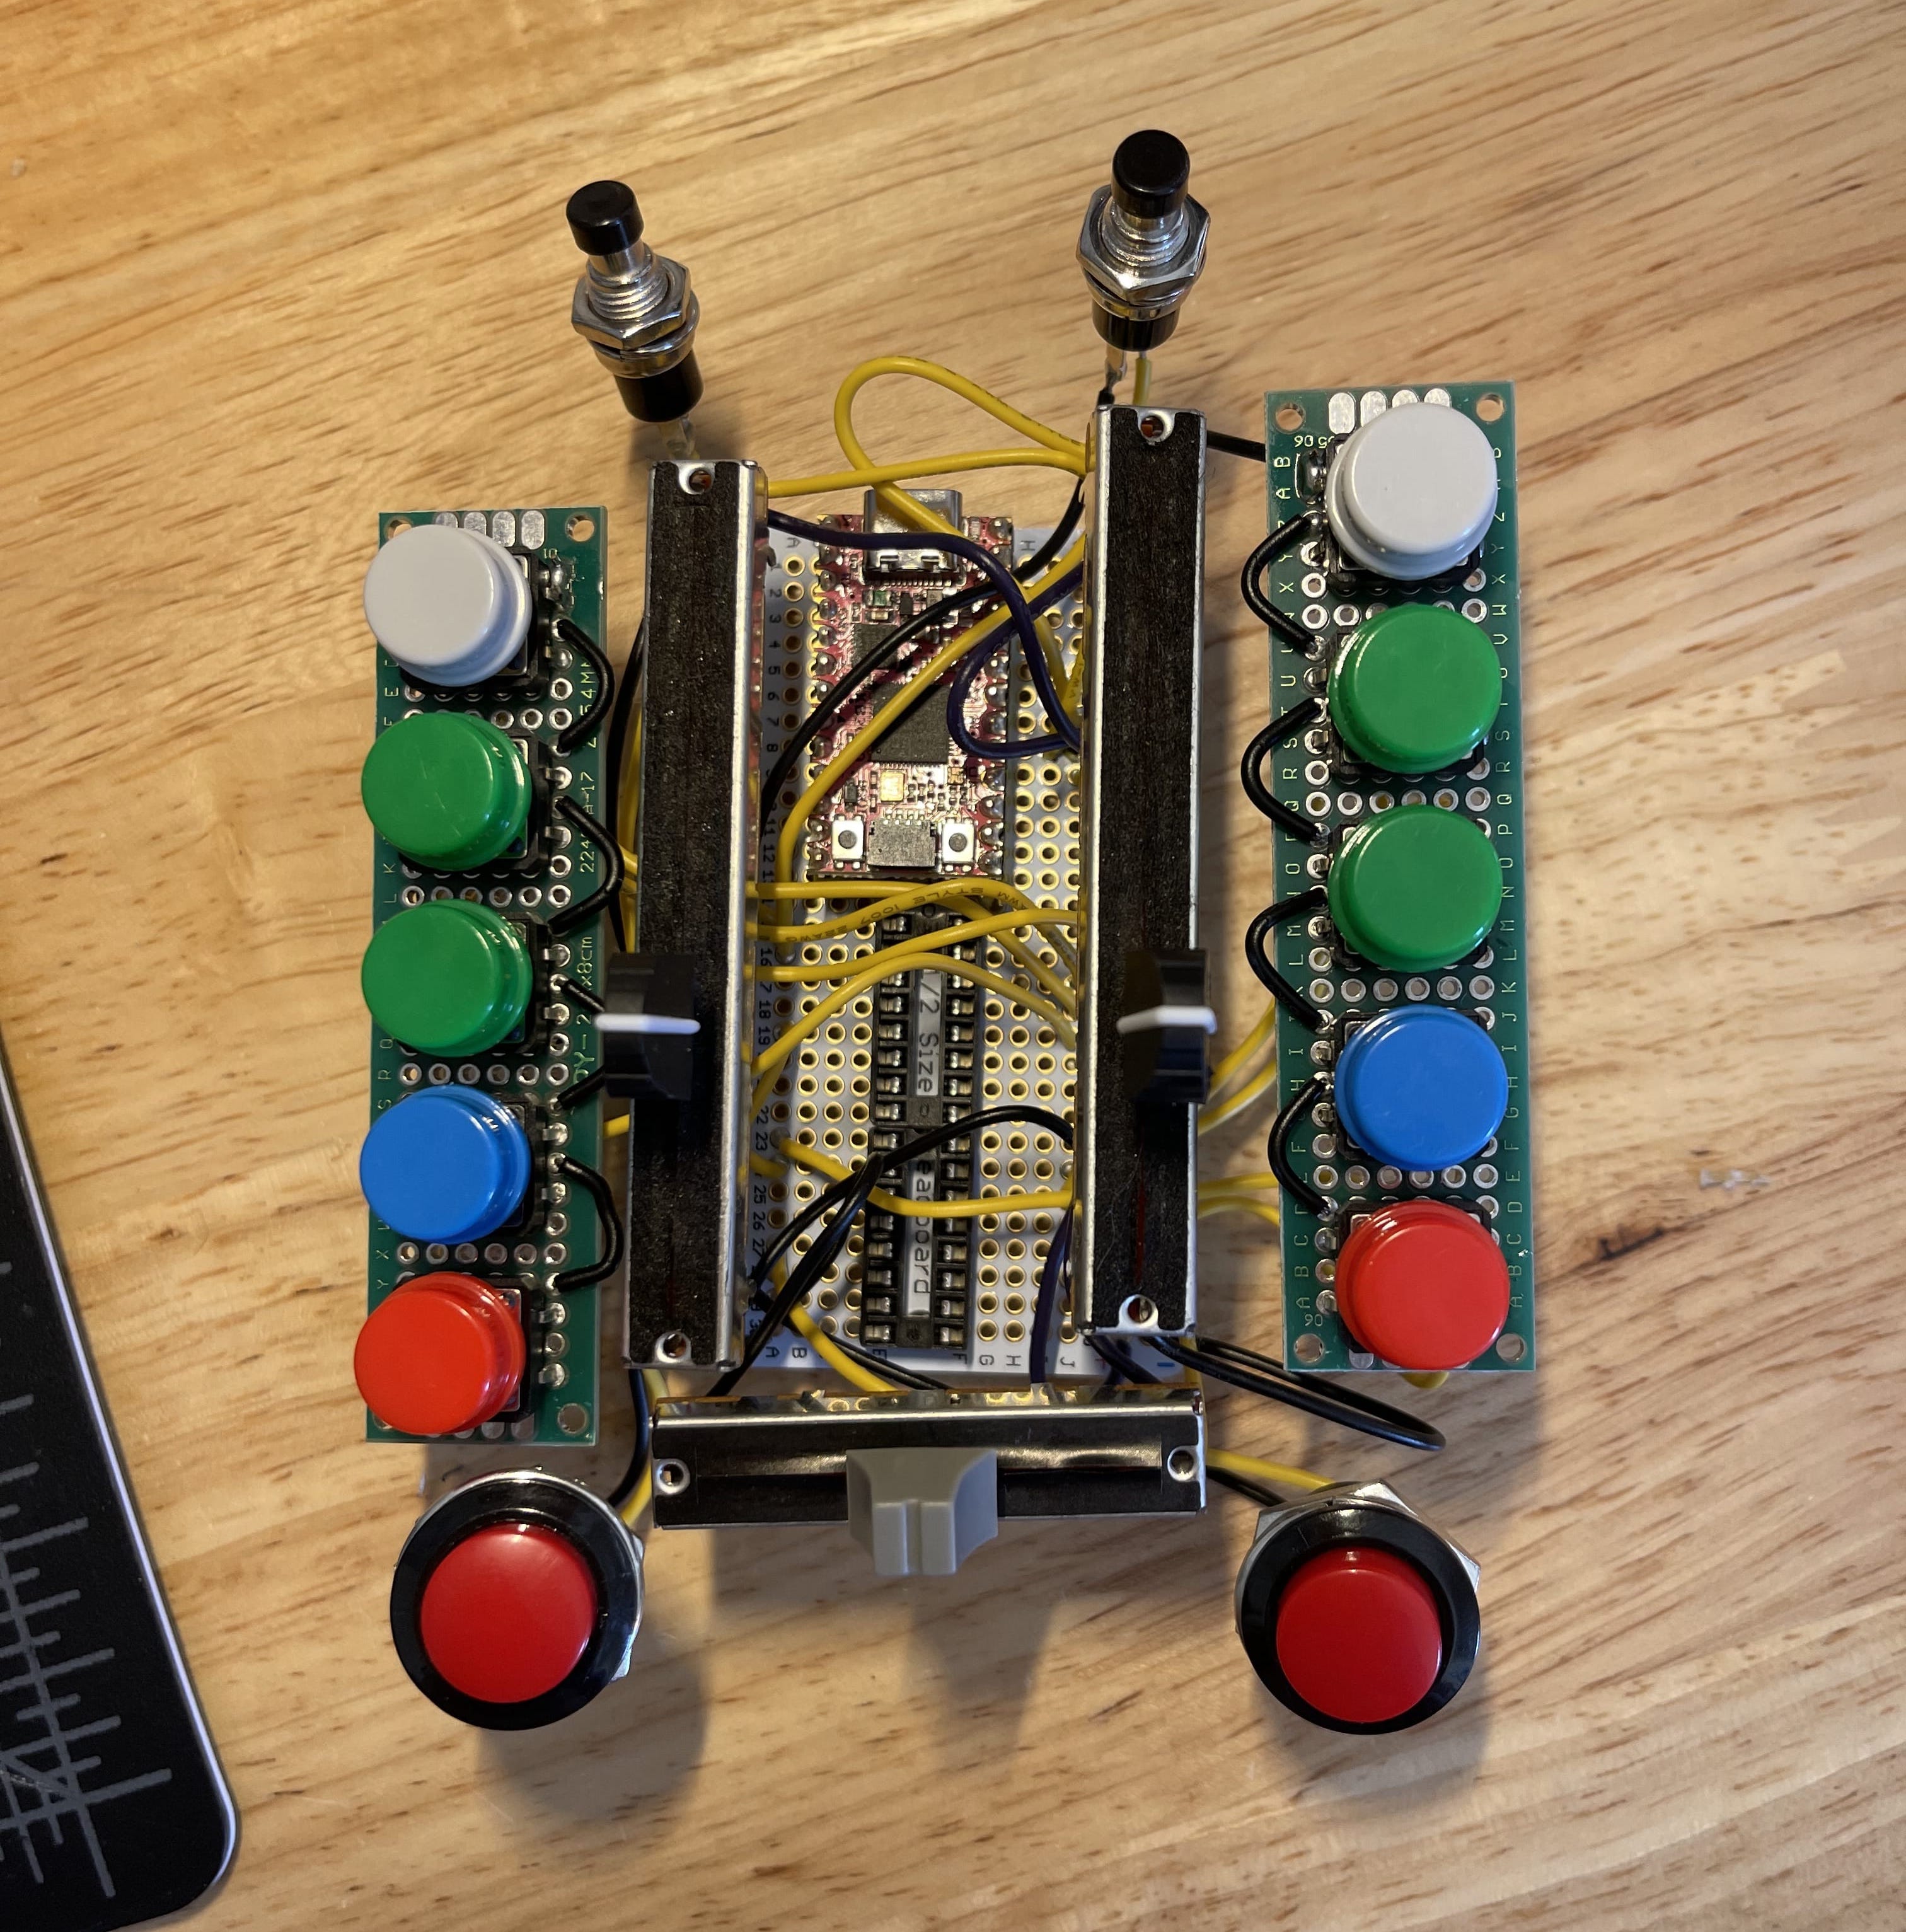
Here it is soldered up — it looks kinda tidy from the top, but it's a bit of a rats nest in reality. I try to err on the side of longer wires to reduce strain and make sure I can get all the panel-mount components where they need to go, but it does make it a little more crowded in there.
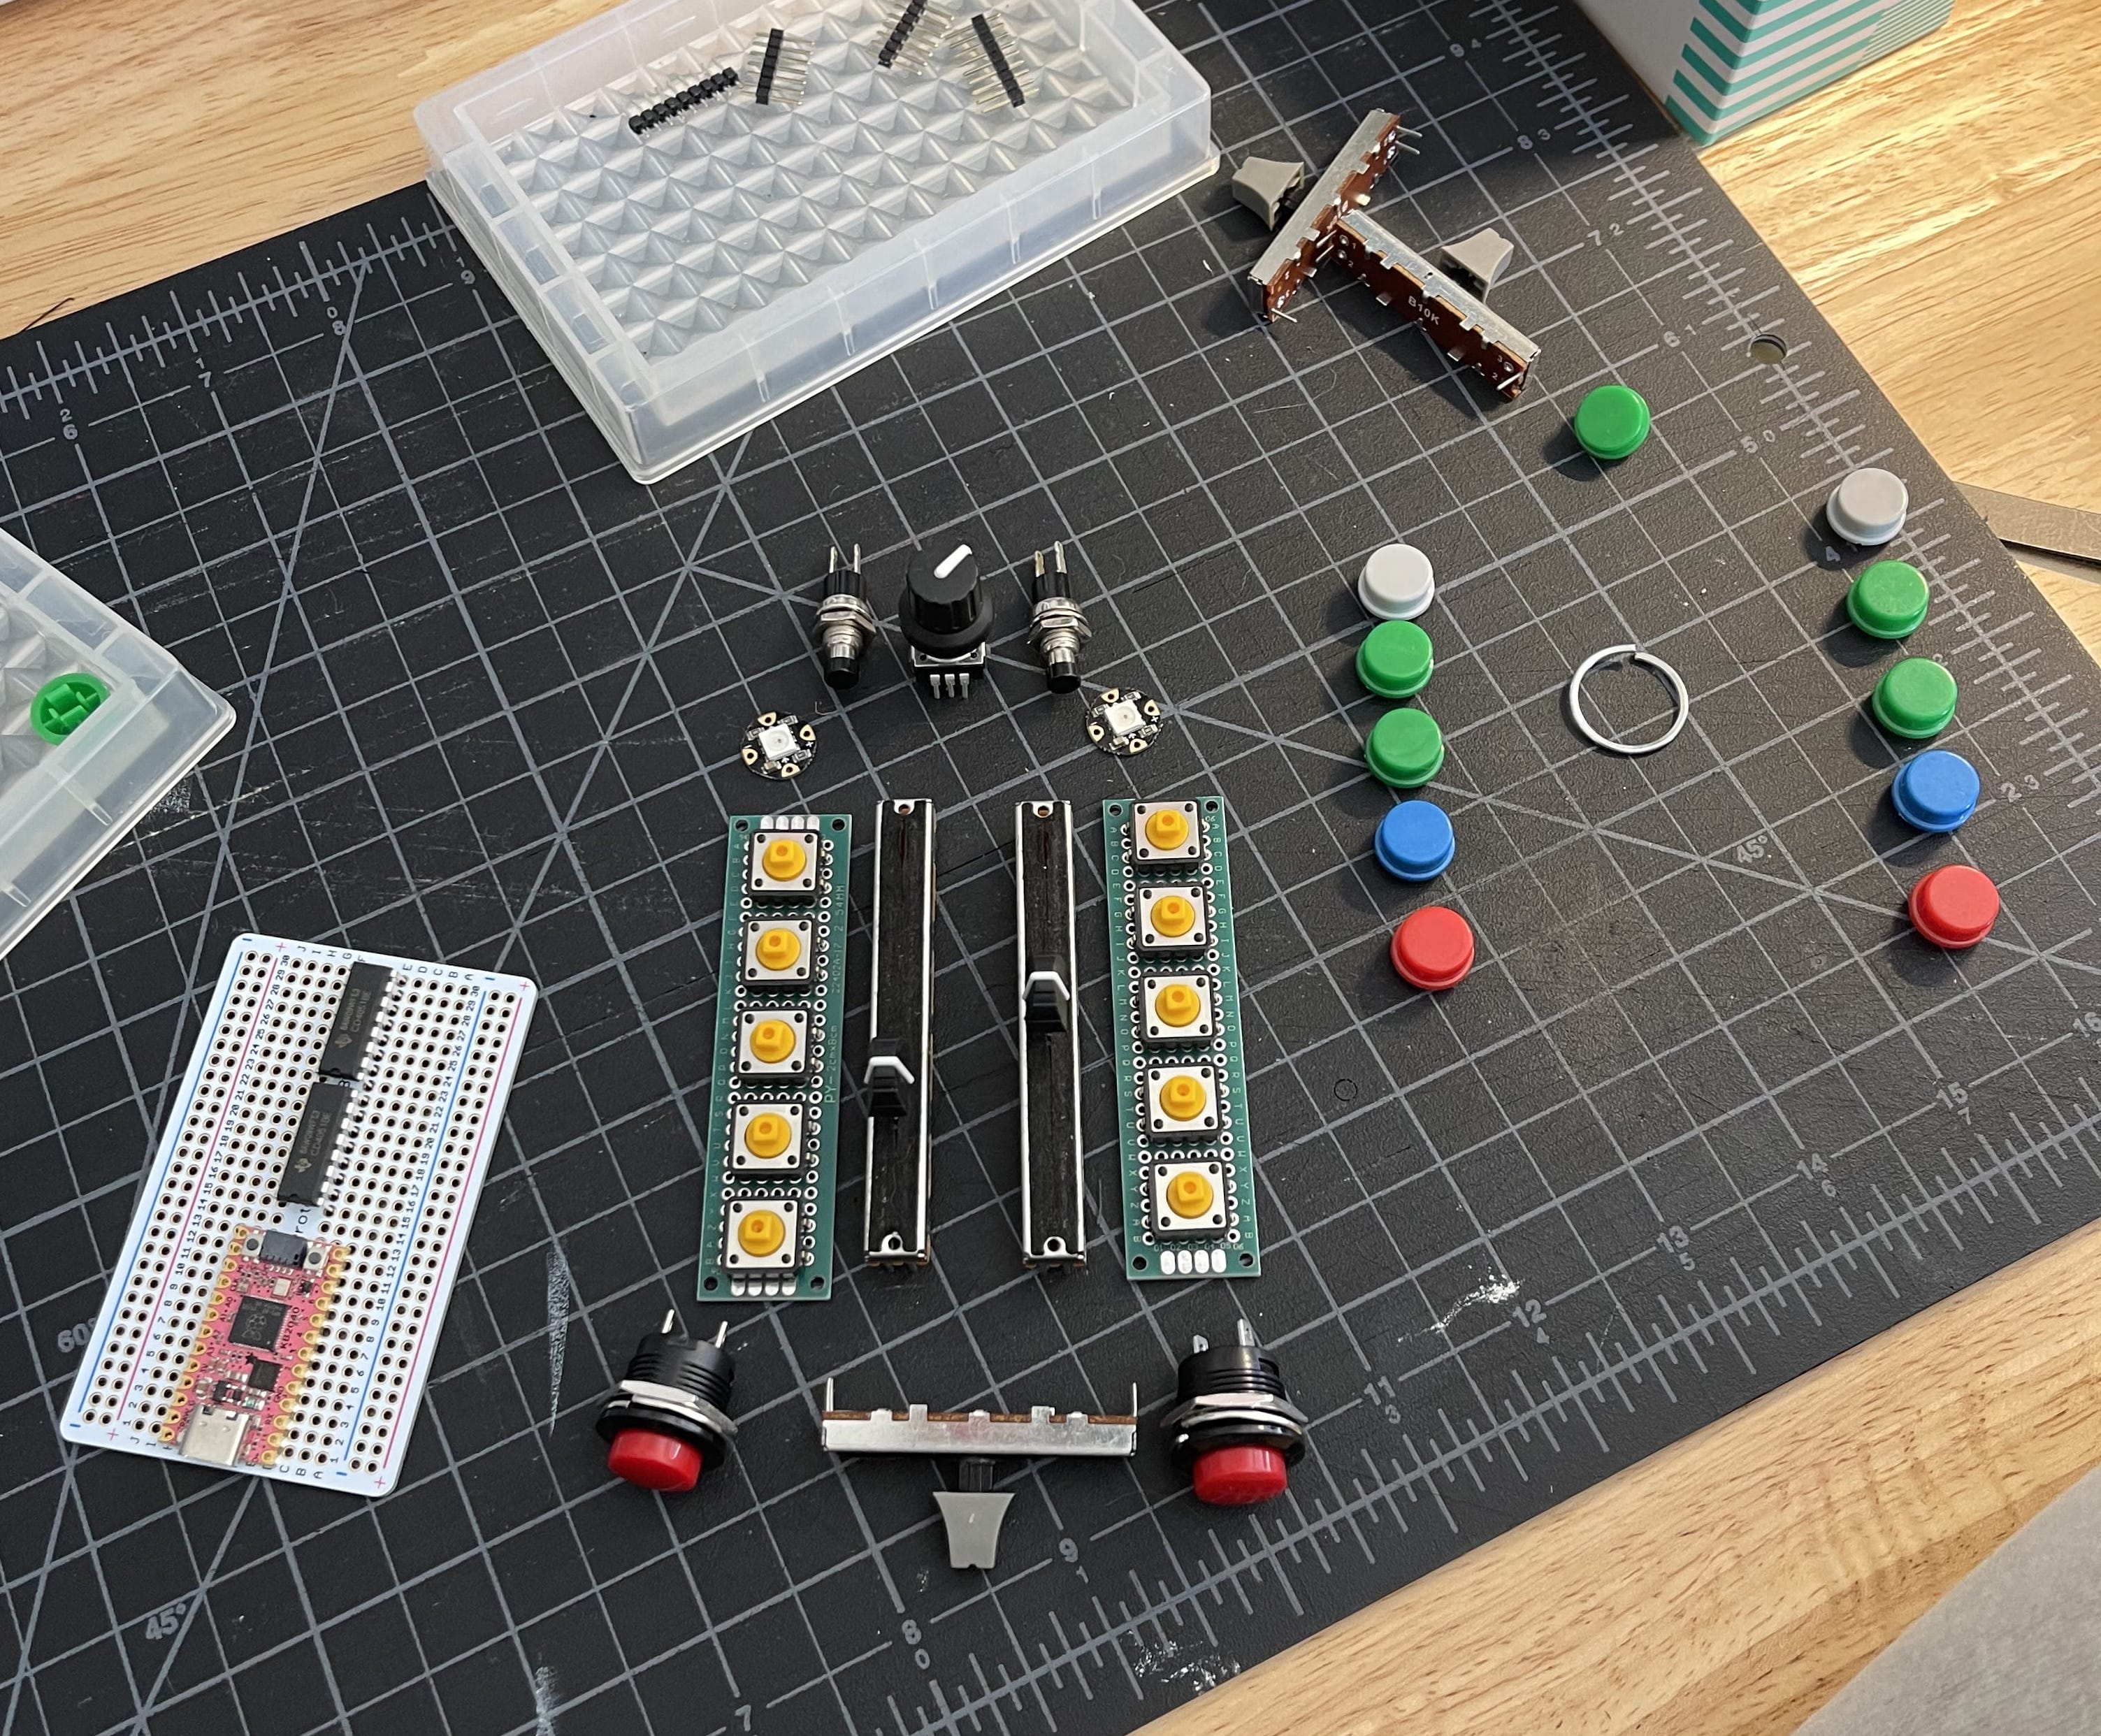
The microcontroller here is an Adafruit KB2040, which is designed for making keyboards and macropads. I think I programmed this in circuitpython, which was super easy and fun!
Enclosure
I wound up printing this in two parts: a solid bottom with a bolt-on top panel printed in white so the lights can shine through from behind. I hadn't yet learned about heat-set threaded inserts, so I designed channels into the bottom part of the enclosure so I can use bolts and nuts.
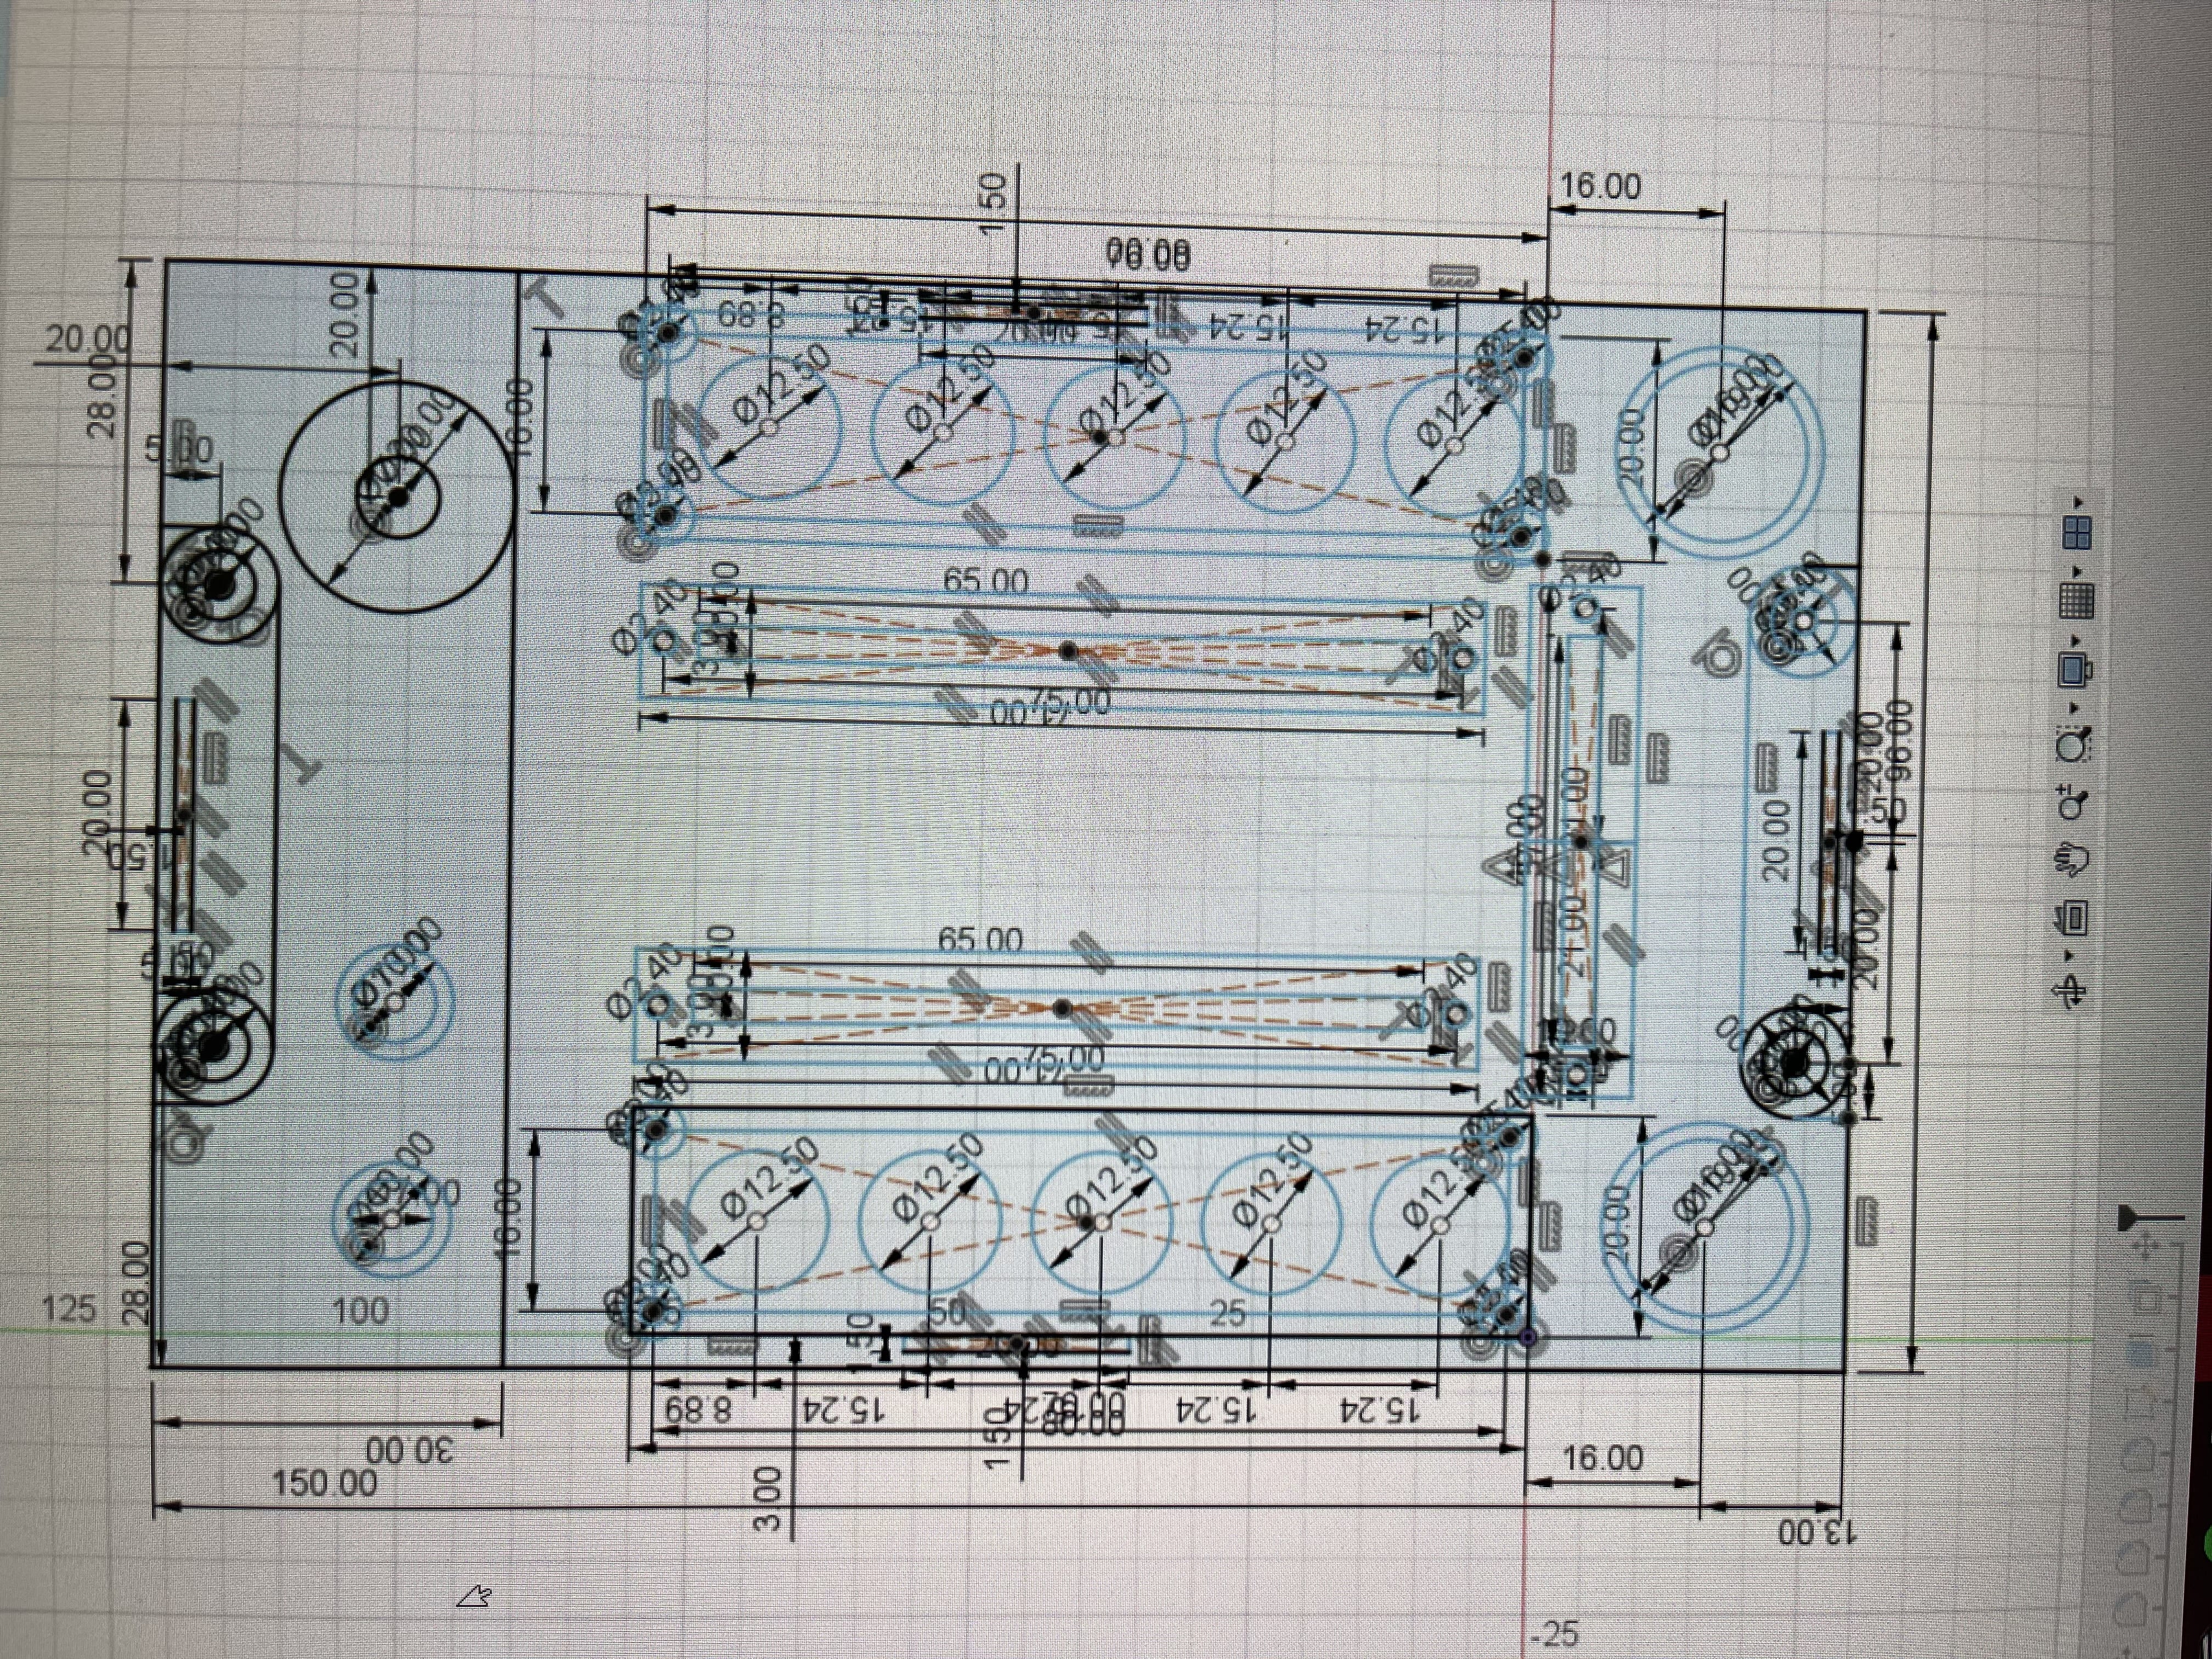
It took a few tries to print this, but it came out great in the end :)
