Orbit
December 2022
There are a wide variety of flow toys people use at live music events, and I was interested in a specific type called an orbit — most orbits have a couple of LEDs mounted on a disk that spins back and forth under tension from a pair of strings. You can then spin it around to make cool shapes.
Here are a few examples of commercial orbit toys:
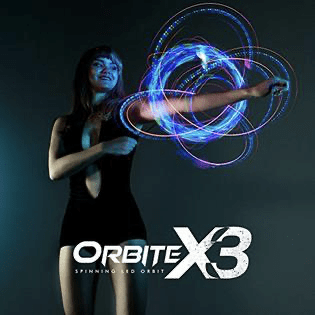
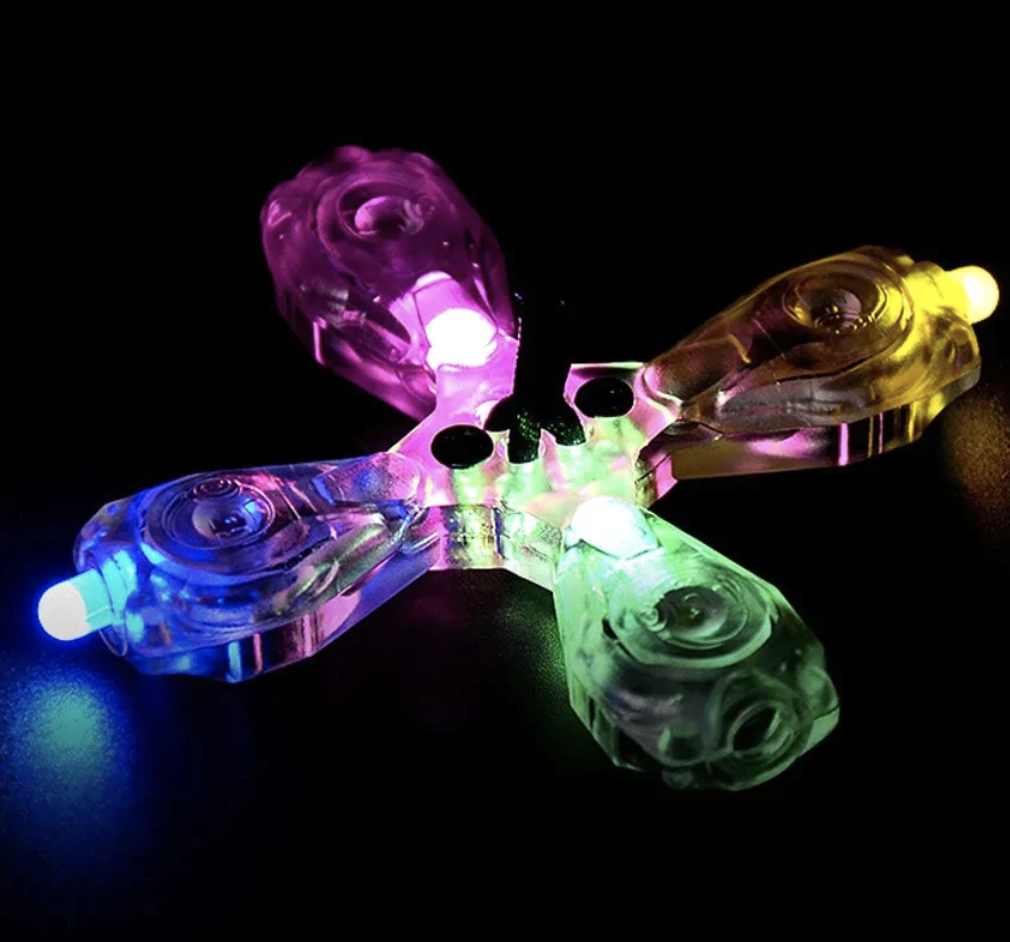
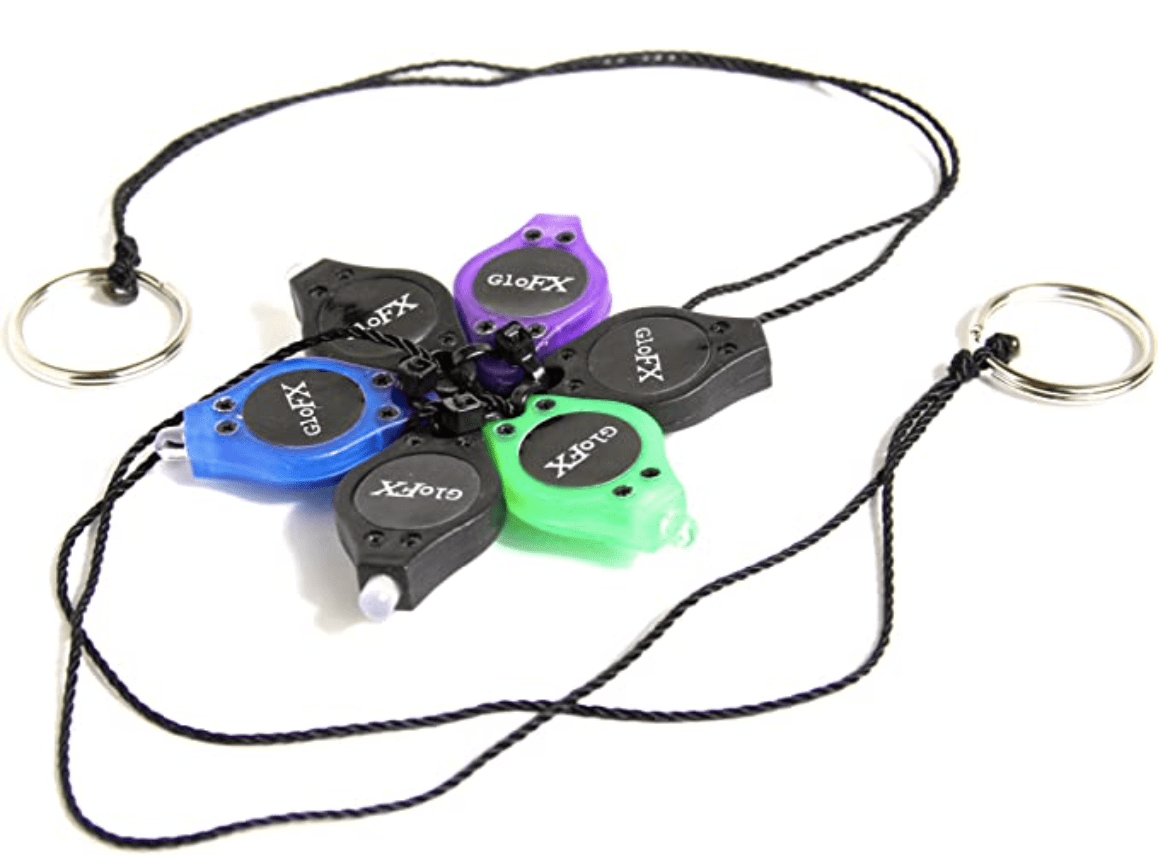
There are some fancier models but most of them are essentially (or literally) LED keychain flashlights. They have some fun patterns and light effects, but they’re generally not rechargeable or user-programmable. I figured I could use some parts I already had to make a custom one!
Version 1
I wanted to see if I could even just build one that worked at all, so I started simple.
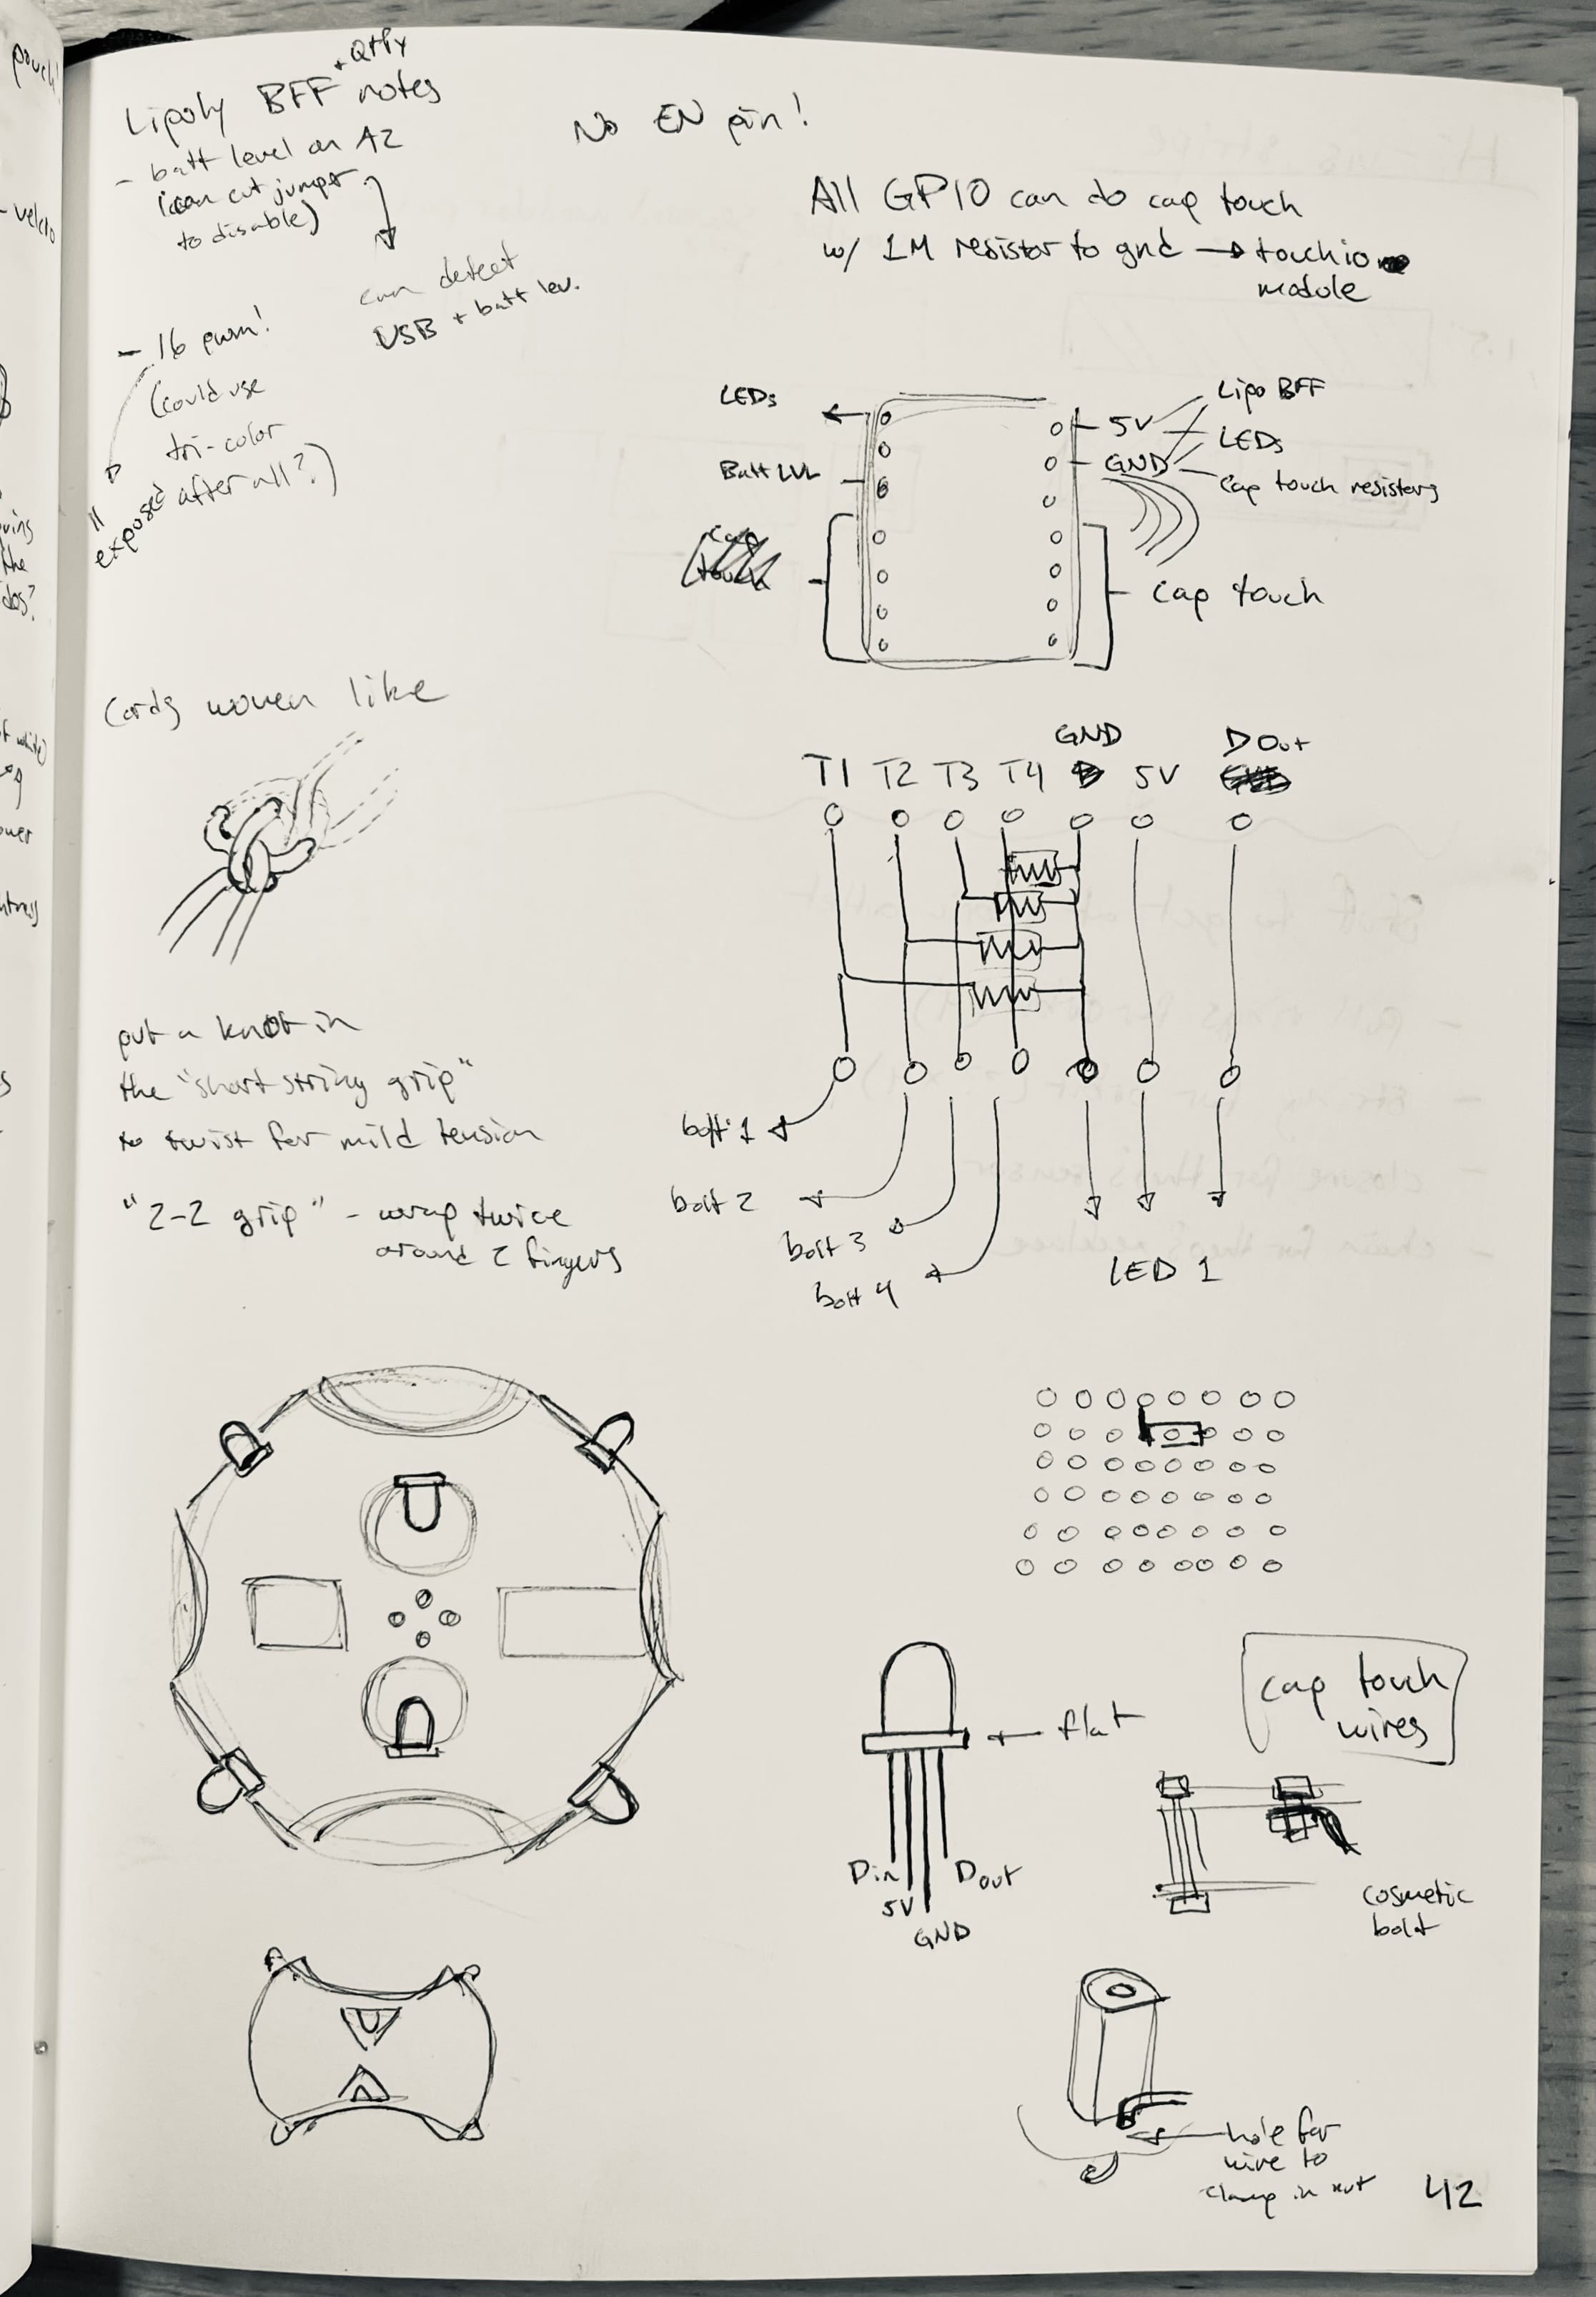
This version has six addressable RGB LEDs, a tiny microcontroller, and a little battery. The case isn’t super sophisticated but it was quick to model and worked well enough. Two of the LEDs point inwards so that when it rotates it creates two concentric circles of light. The LEDs also fade between colors and brightness levels to create fun mixed color effects as it moves.
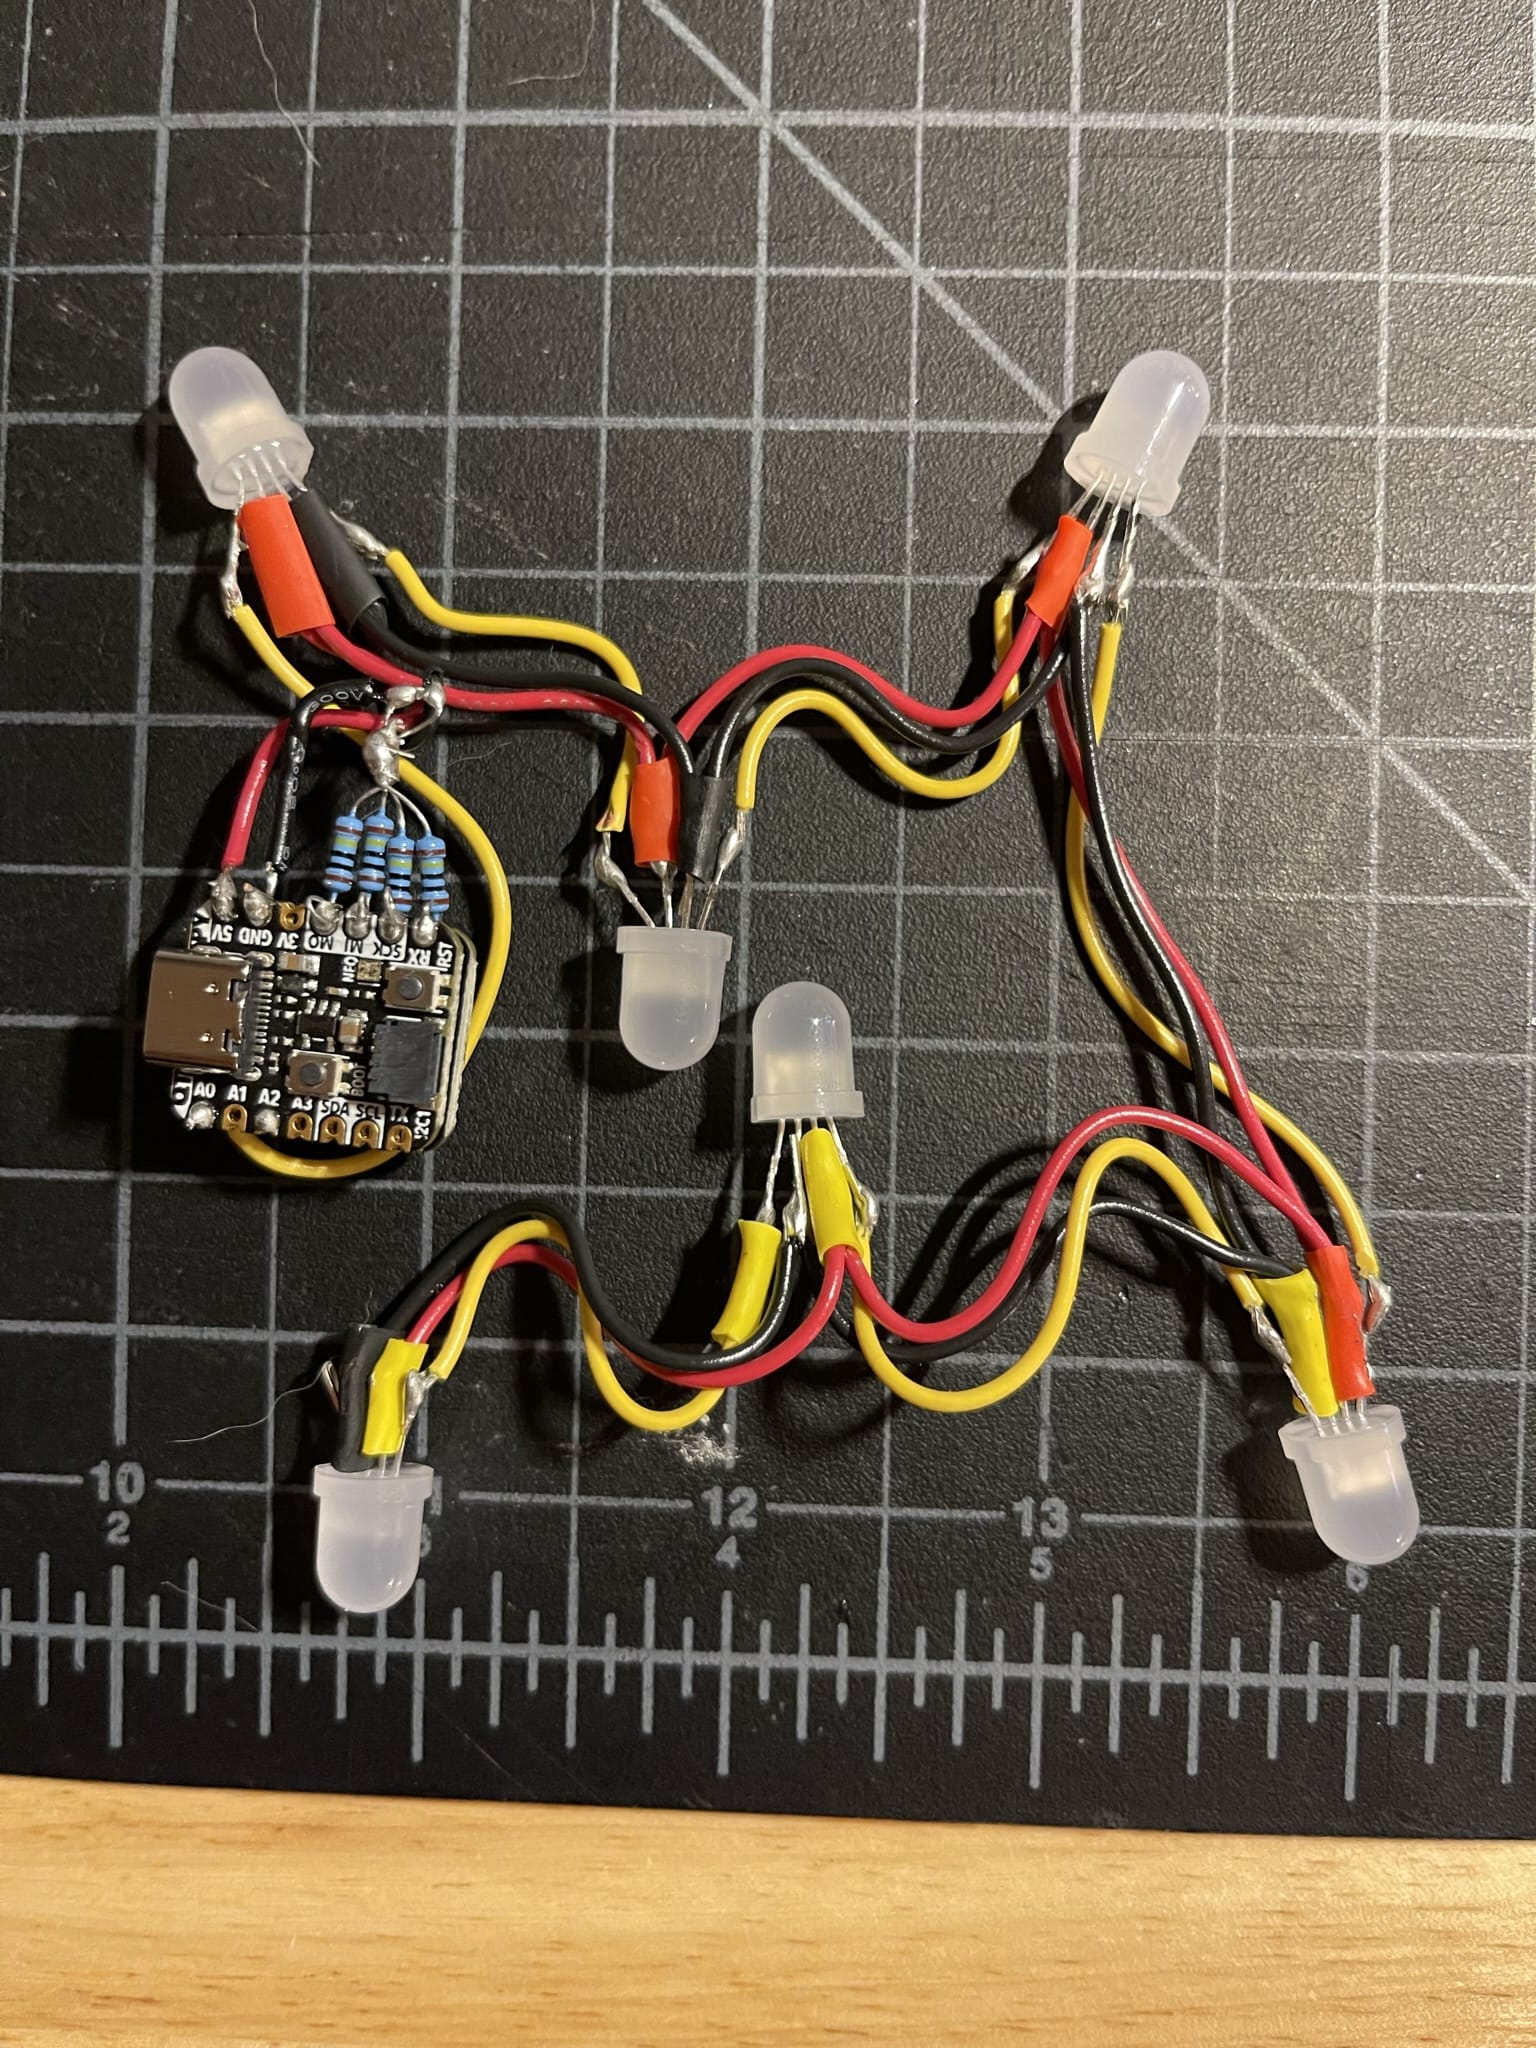
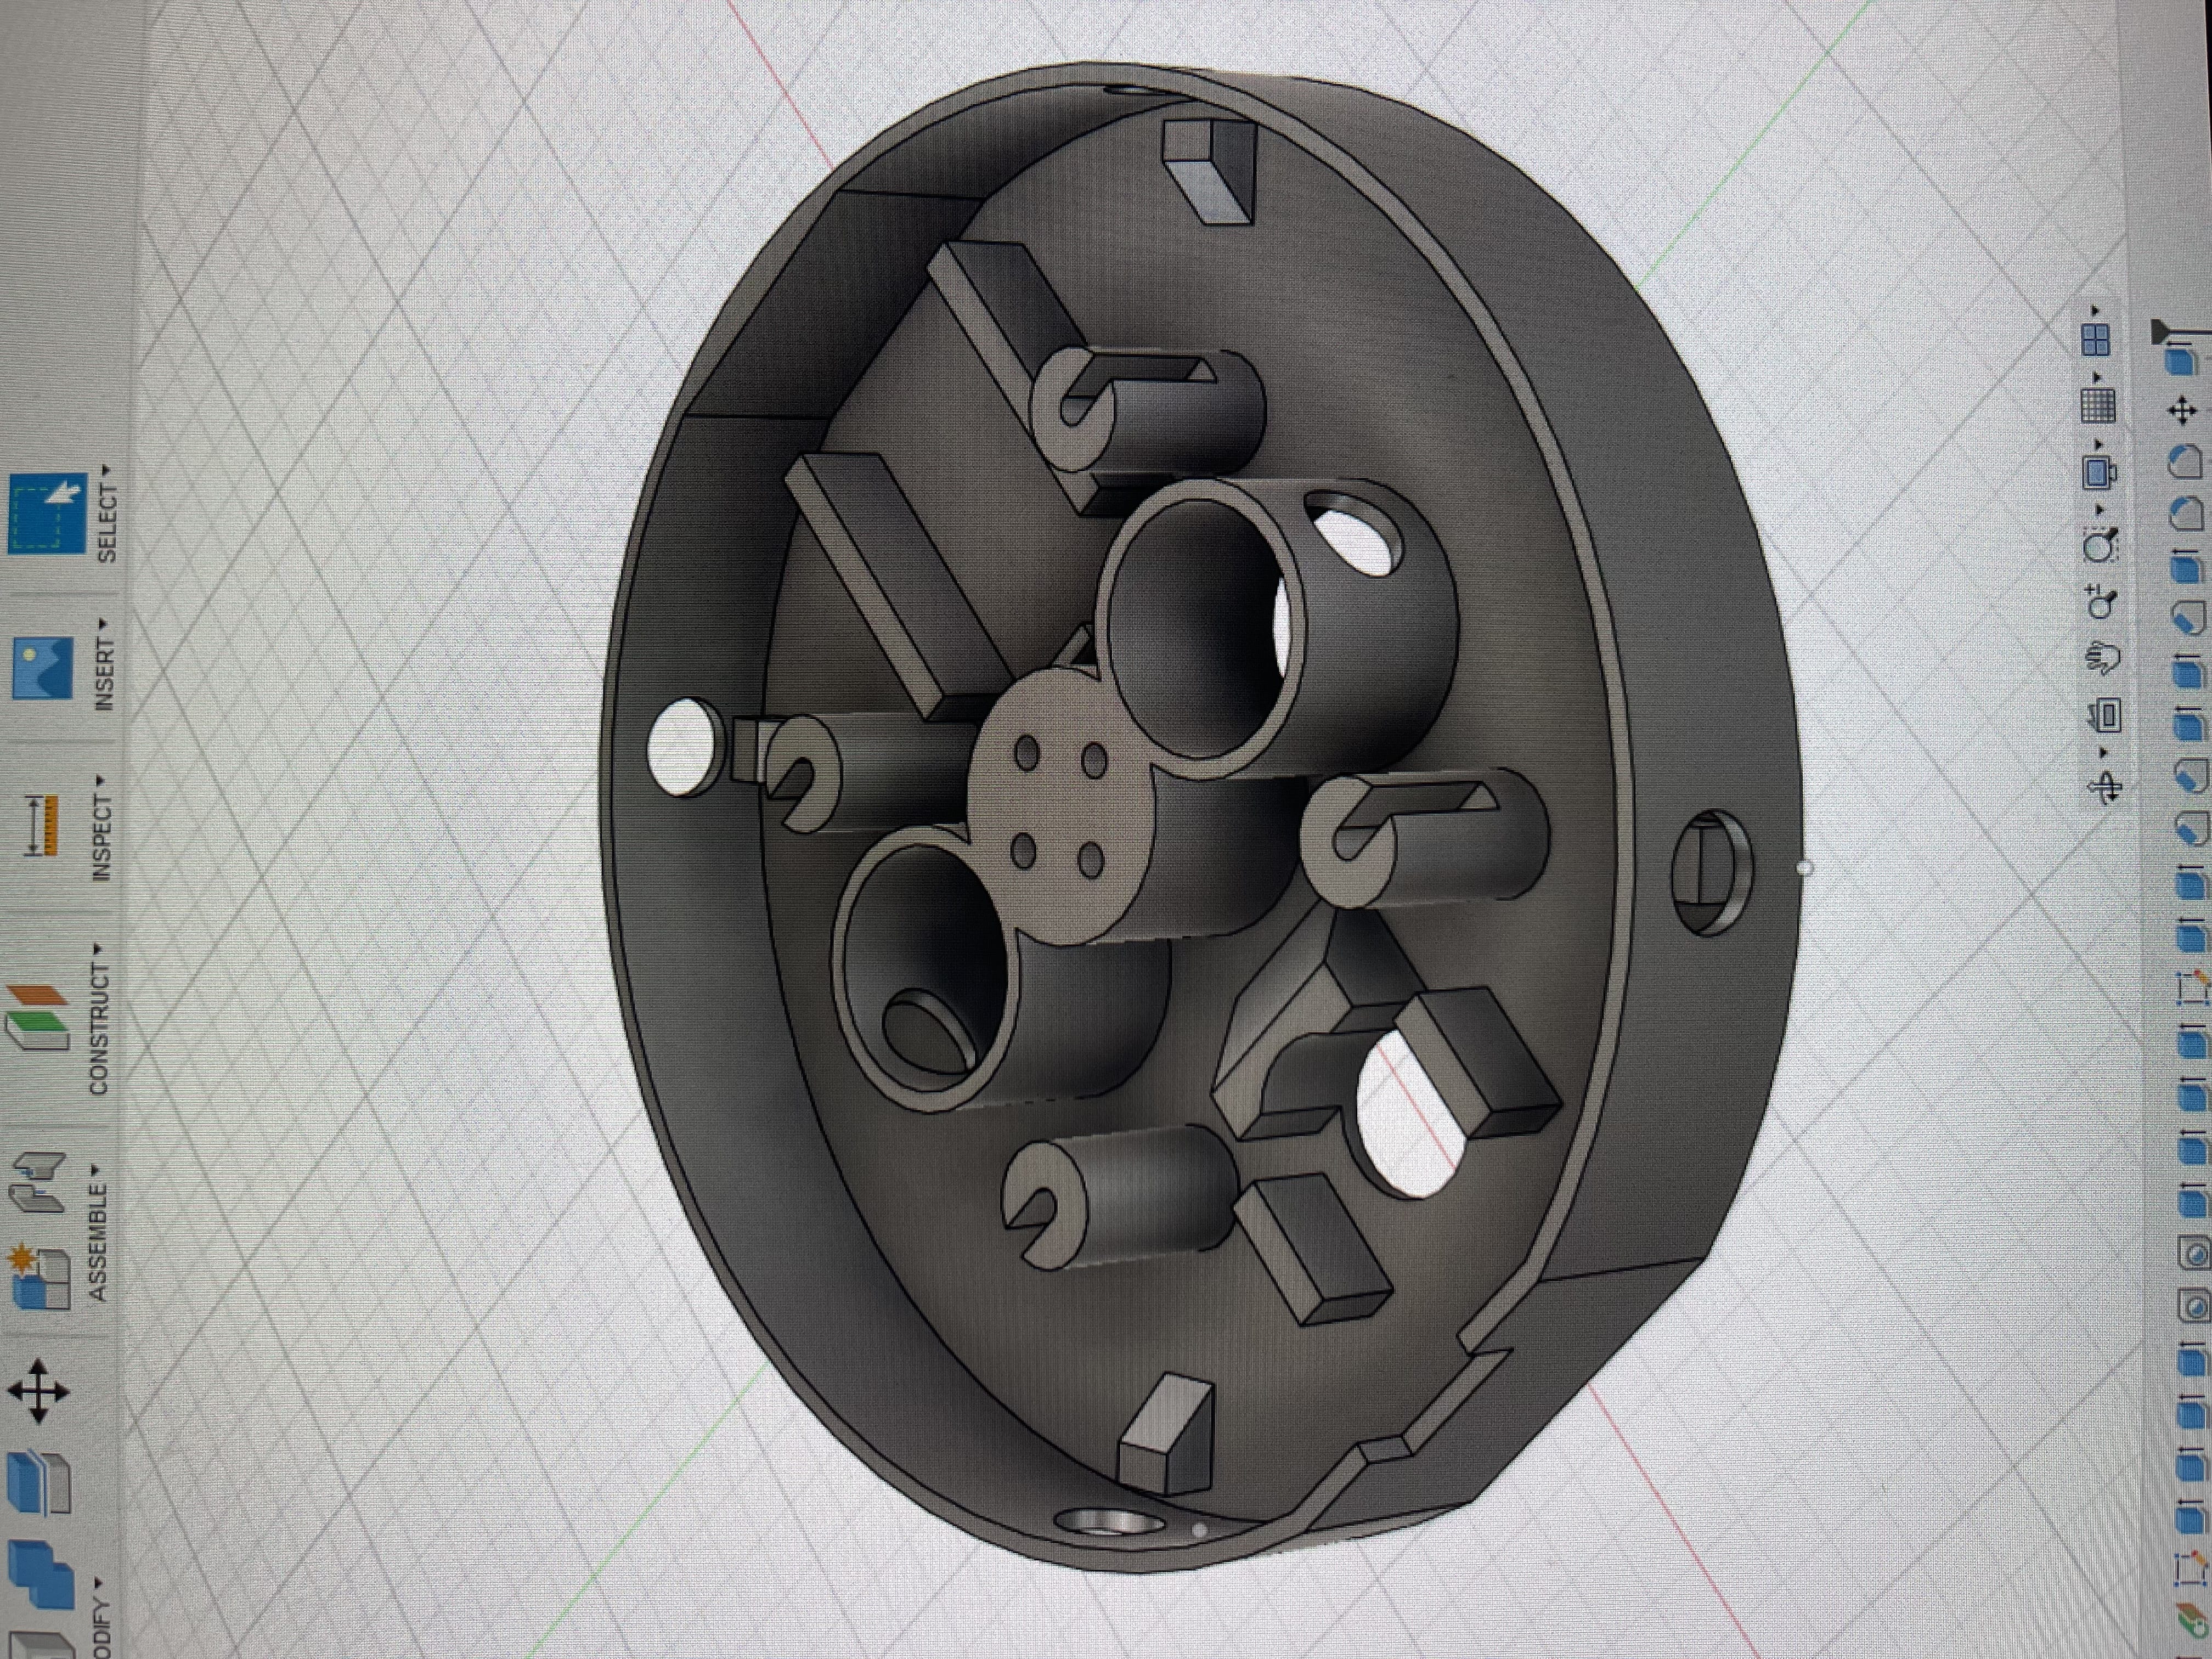
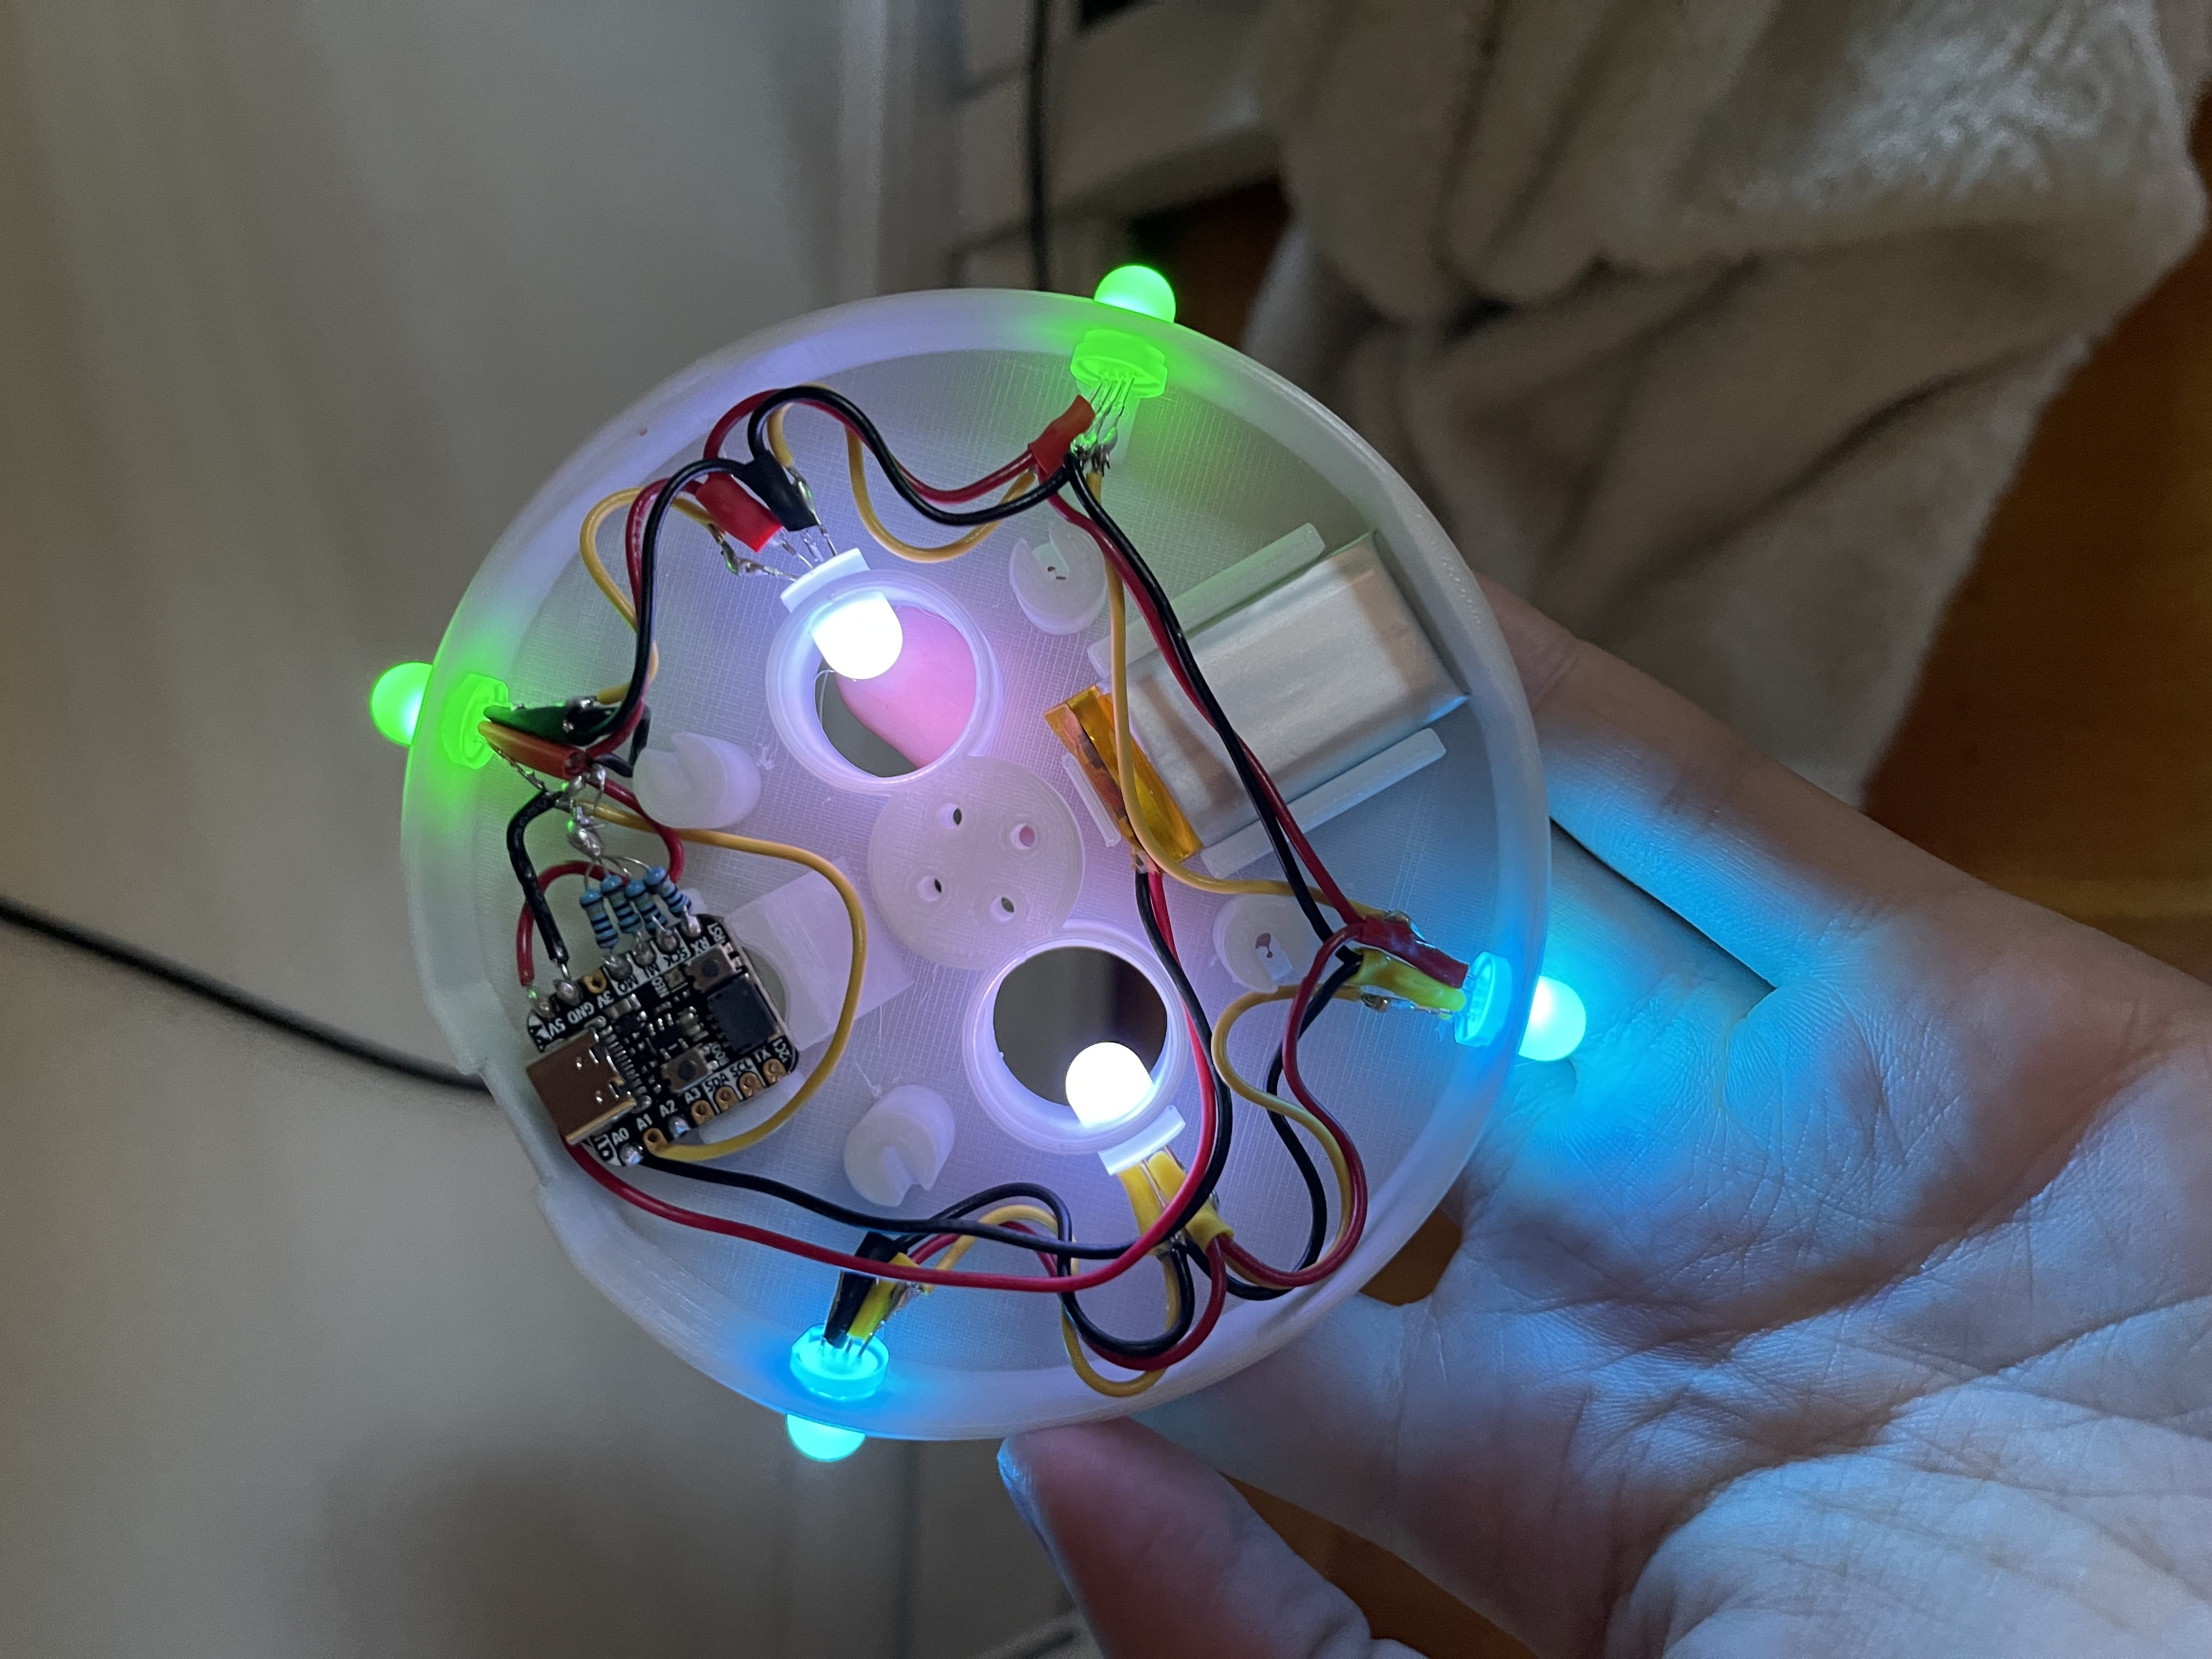
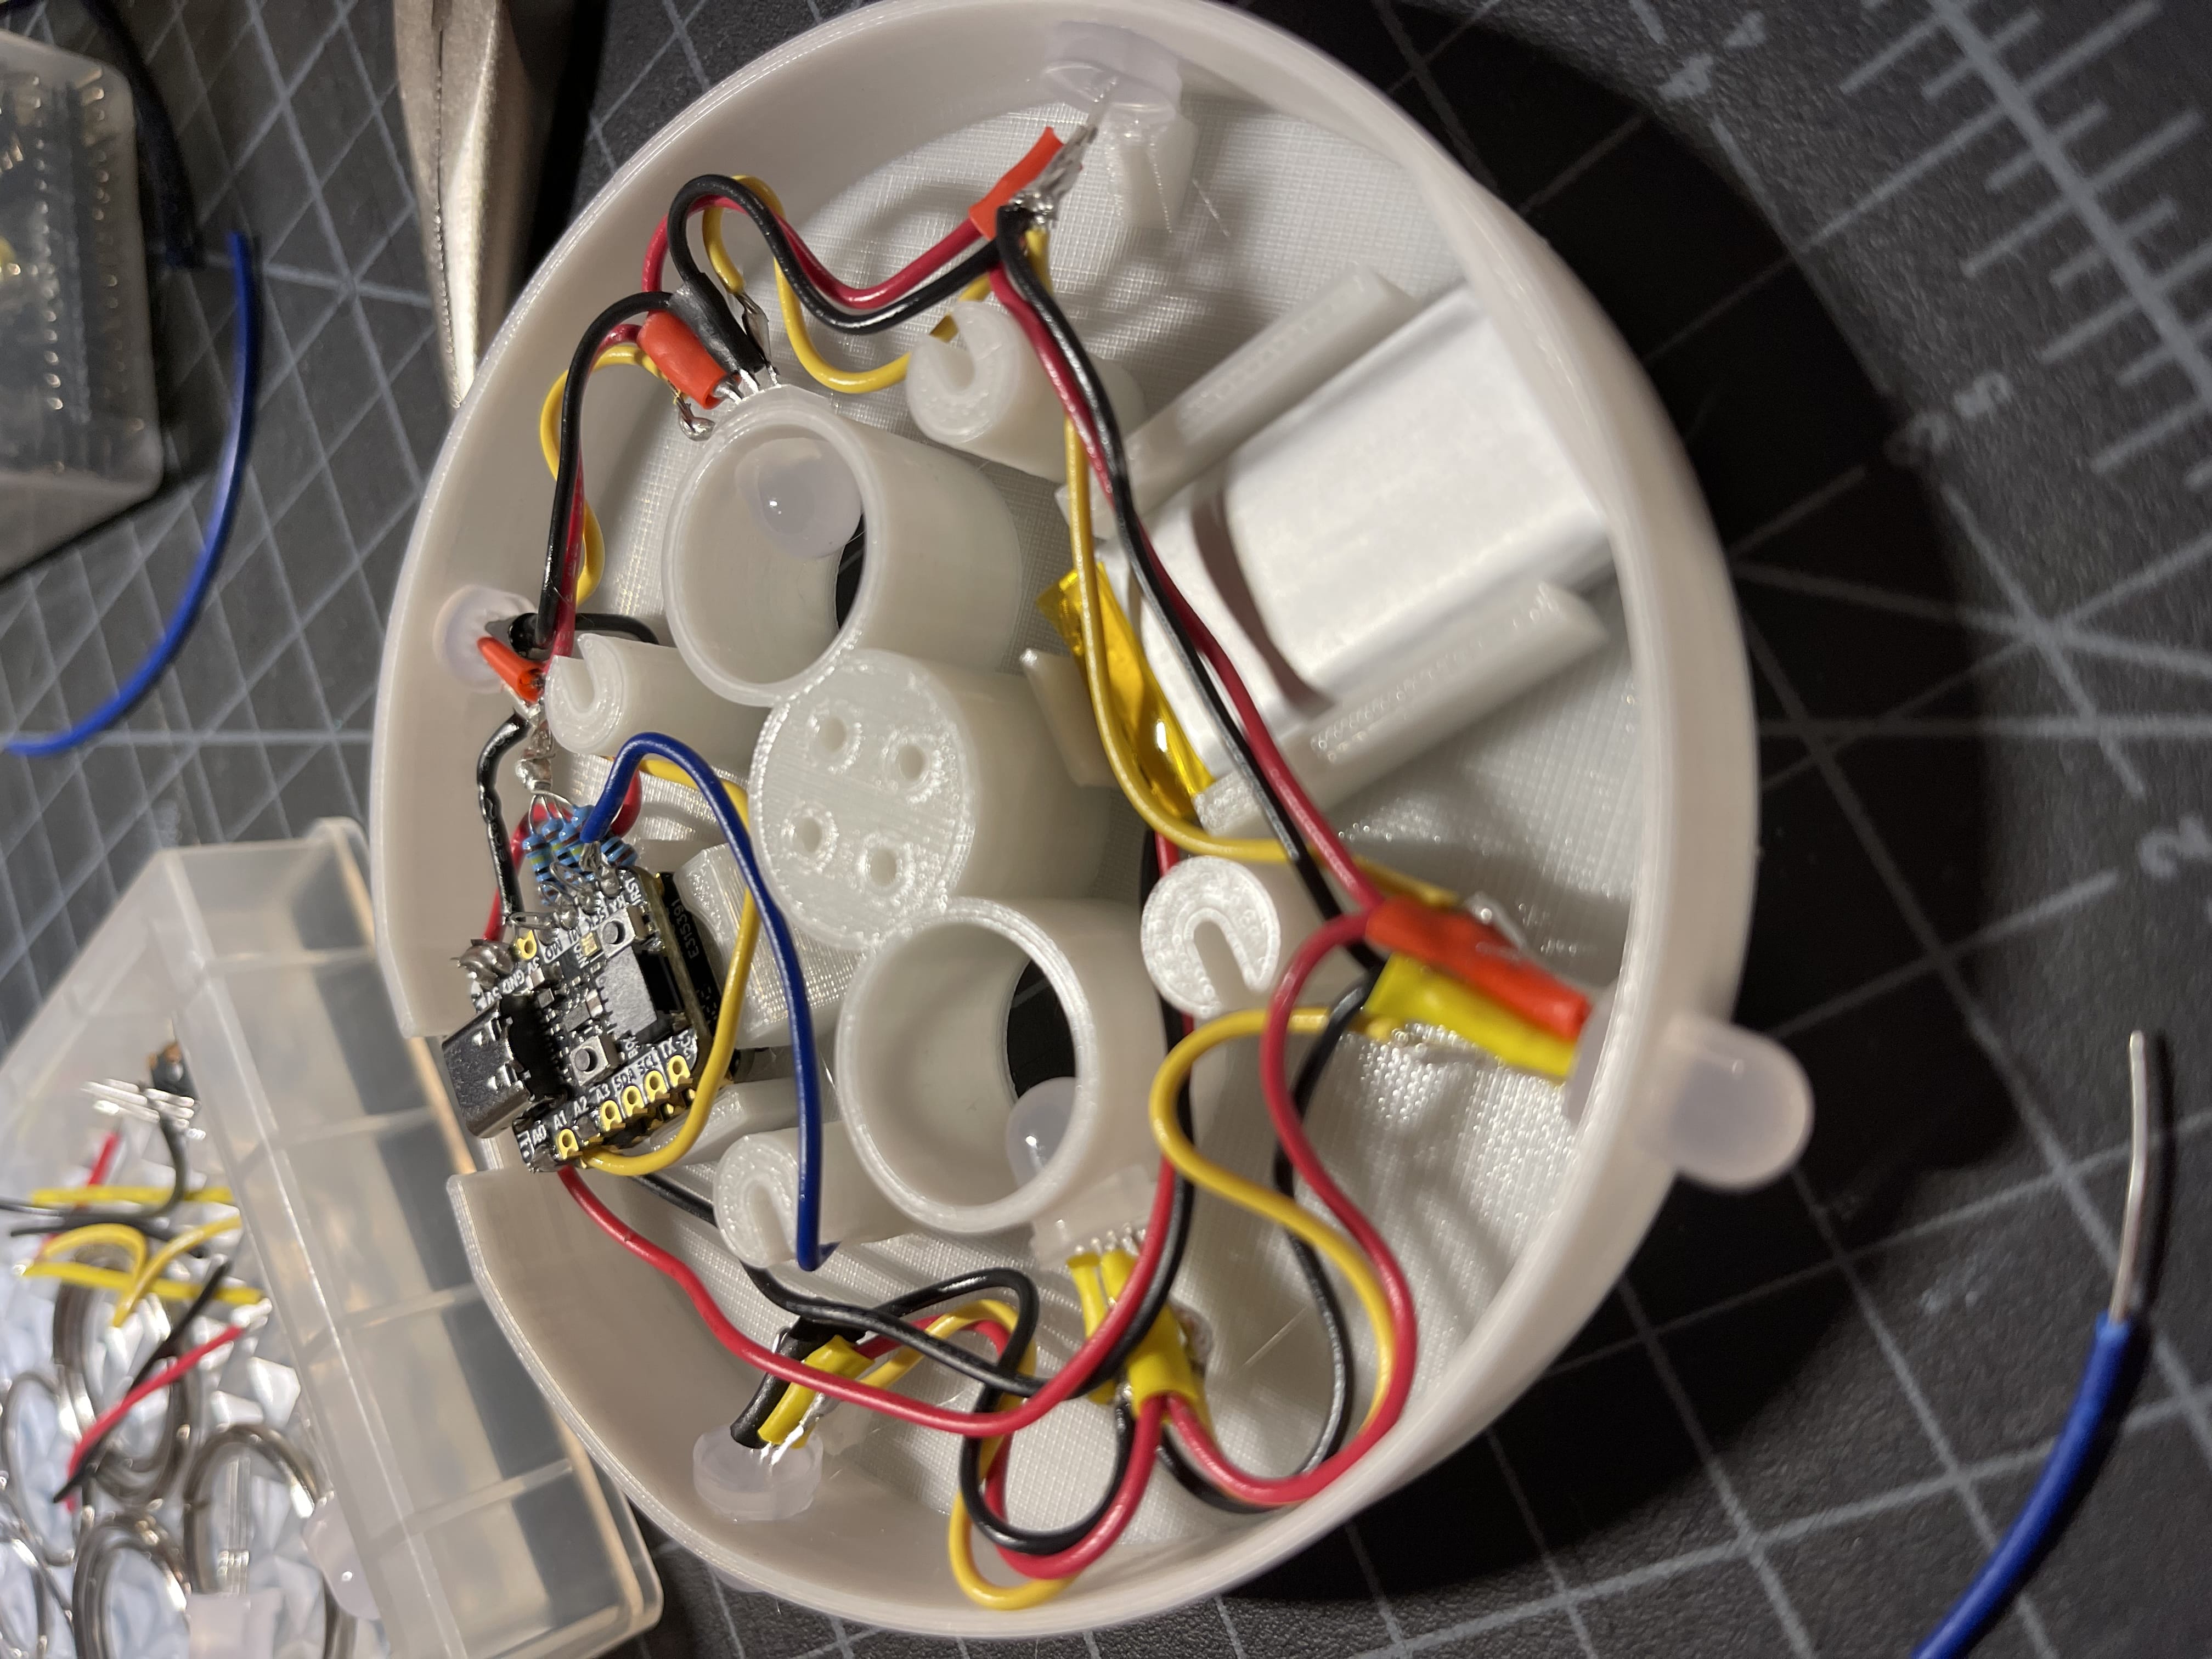
It was a bit of a pain to solder, but overall the construction came out sturdier than I was expecting! Those four posts have slots so that a bolt can fit through as well as a wire with a long bare part (which you can see in the bottom left of the photo), that wraps around the bolt. That connects back to the microcontroller to make the bolts capacitive touch sensitive so you can control the LEDs (without using actual buttons).
It actually came out pretty sick! It’s a crowd pleaser too :)
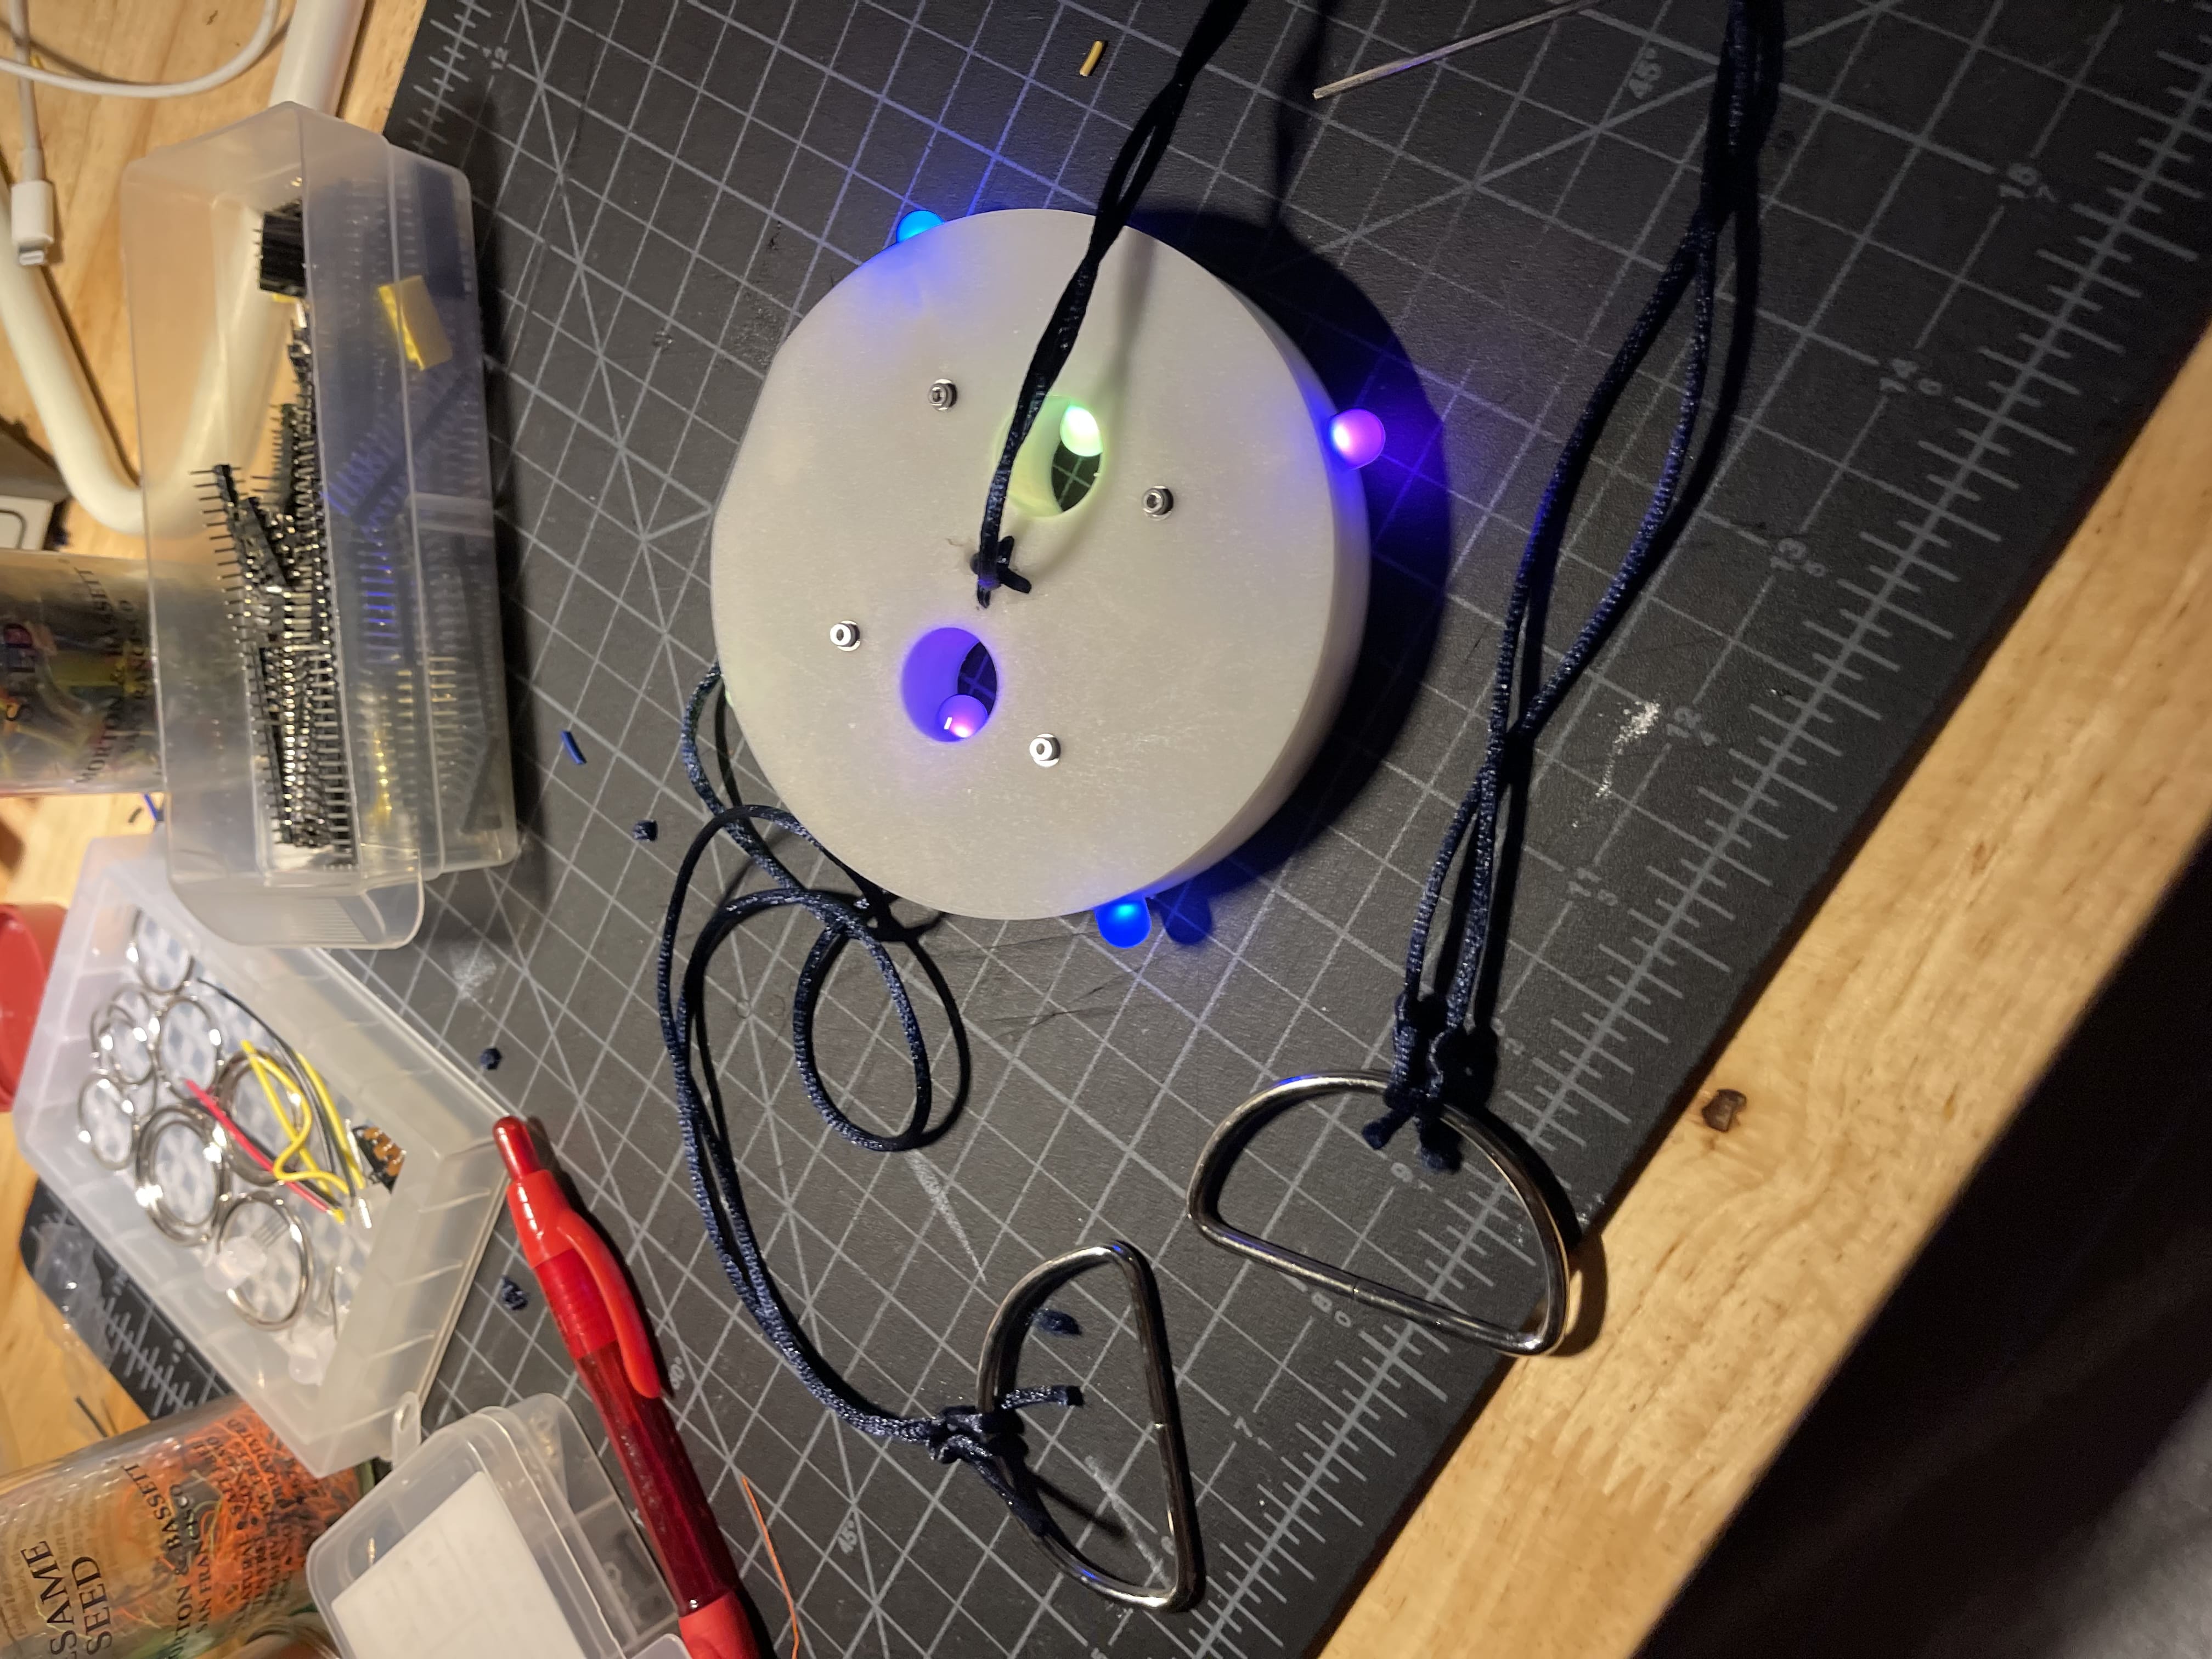
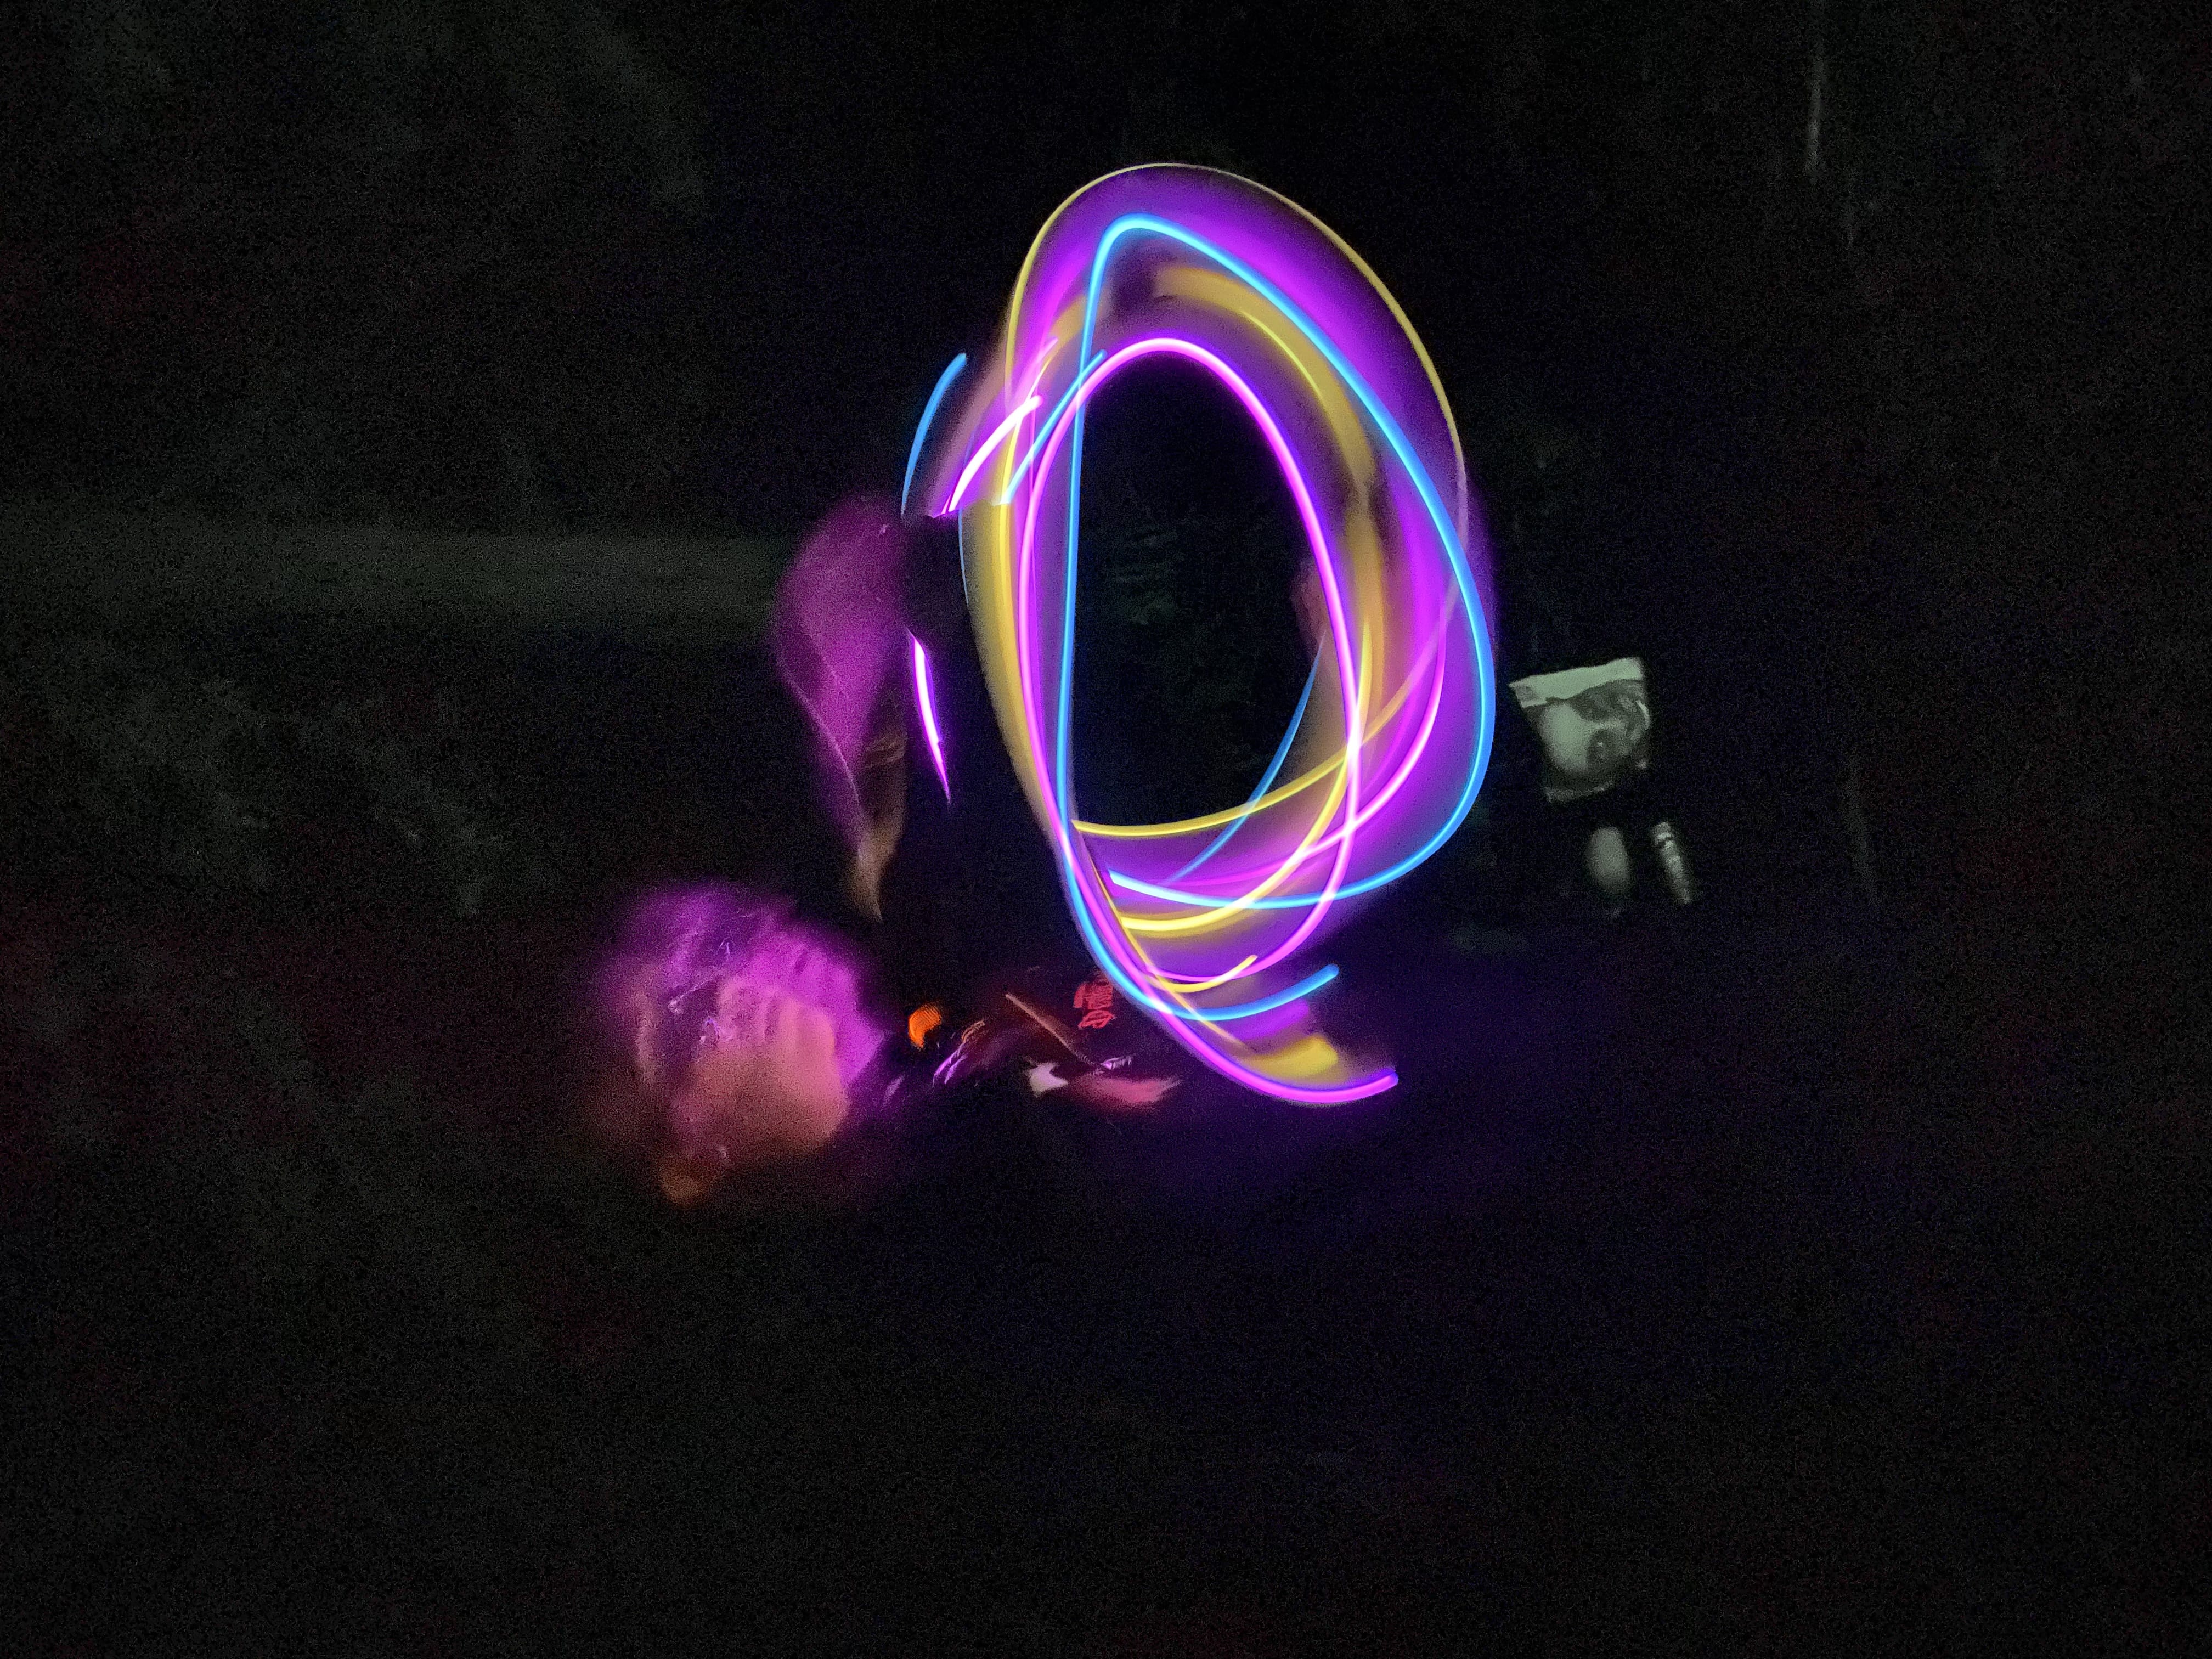
Version 2
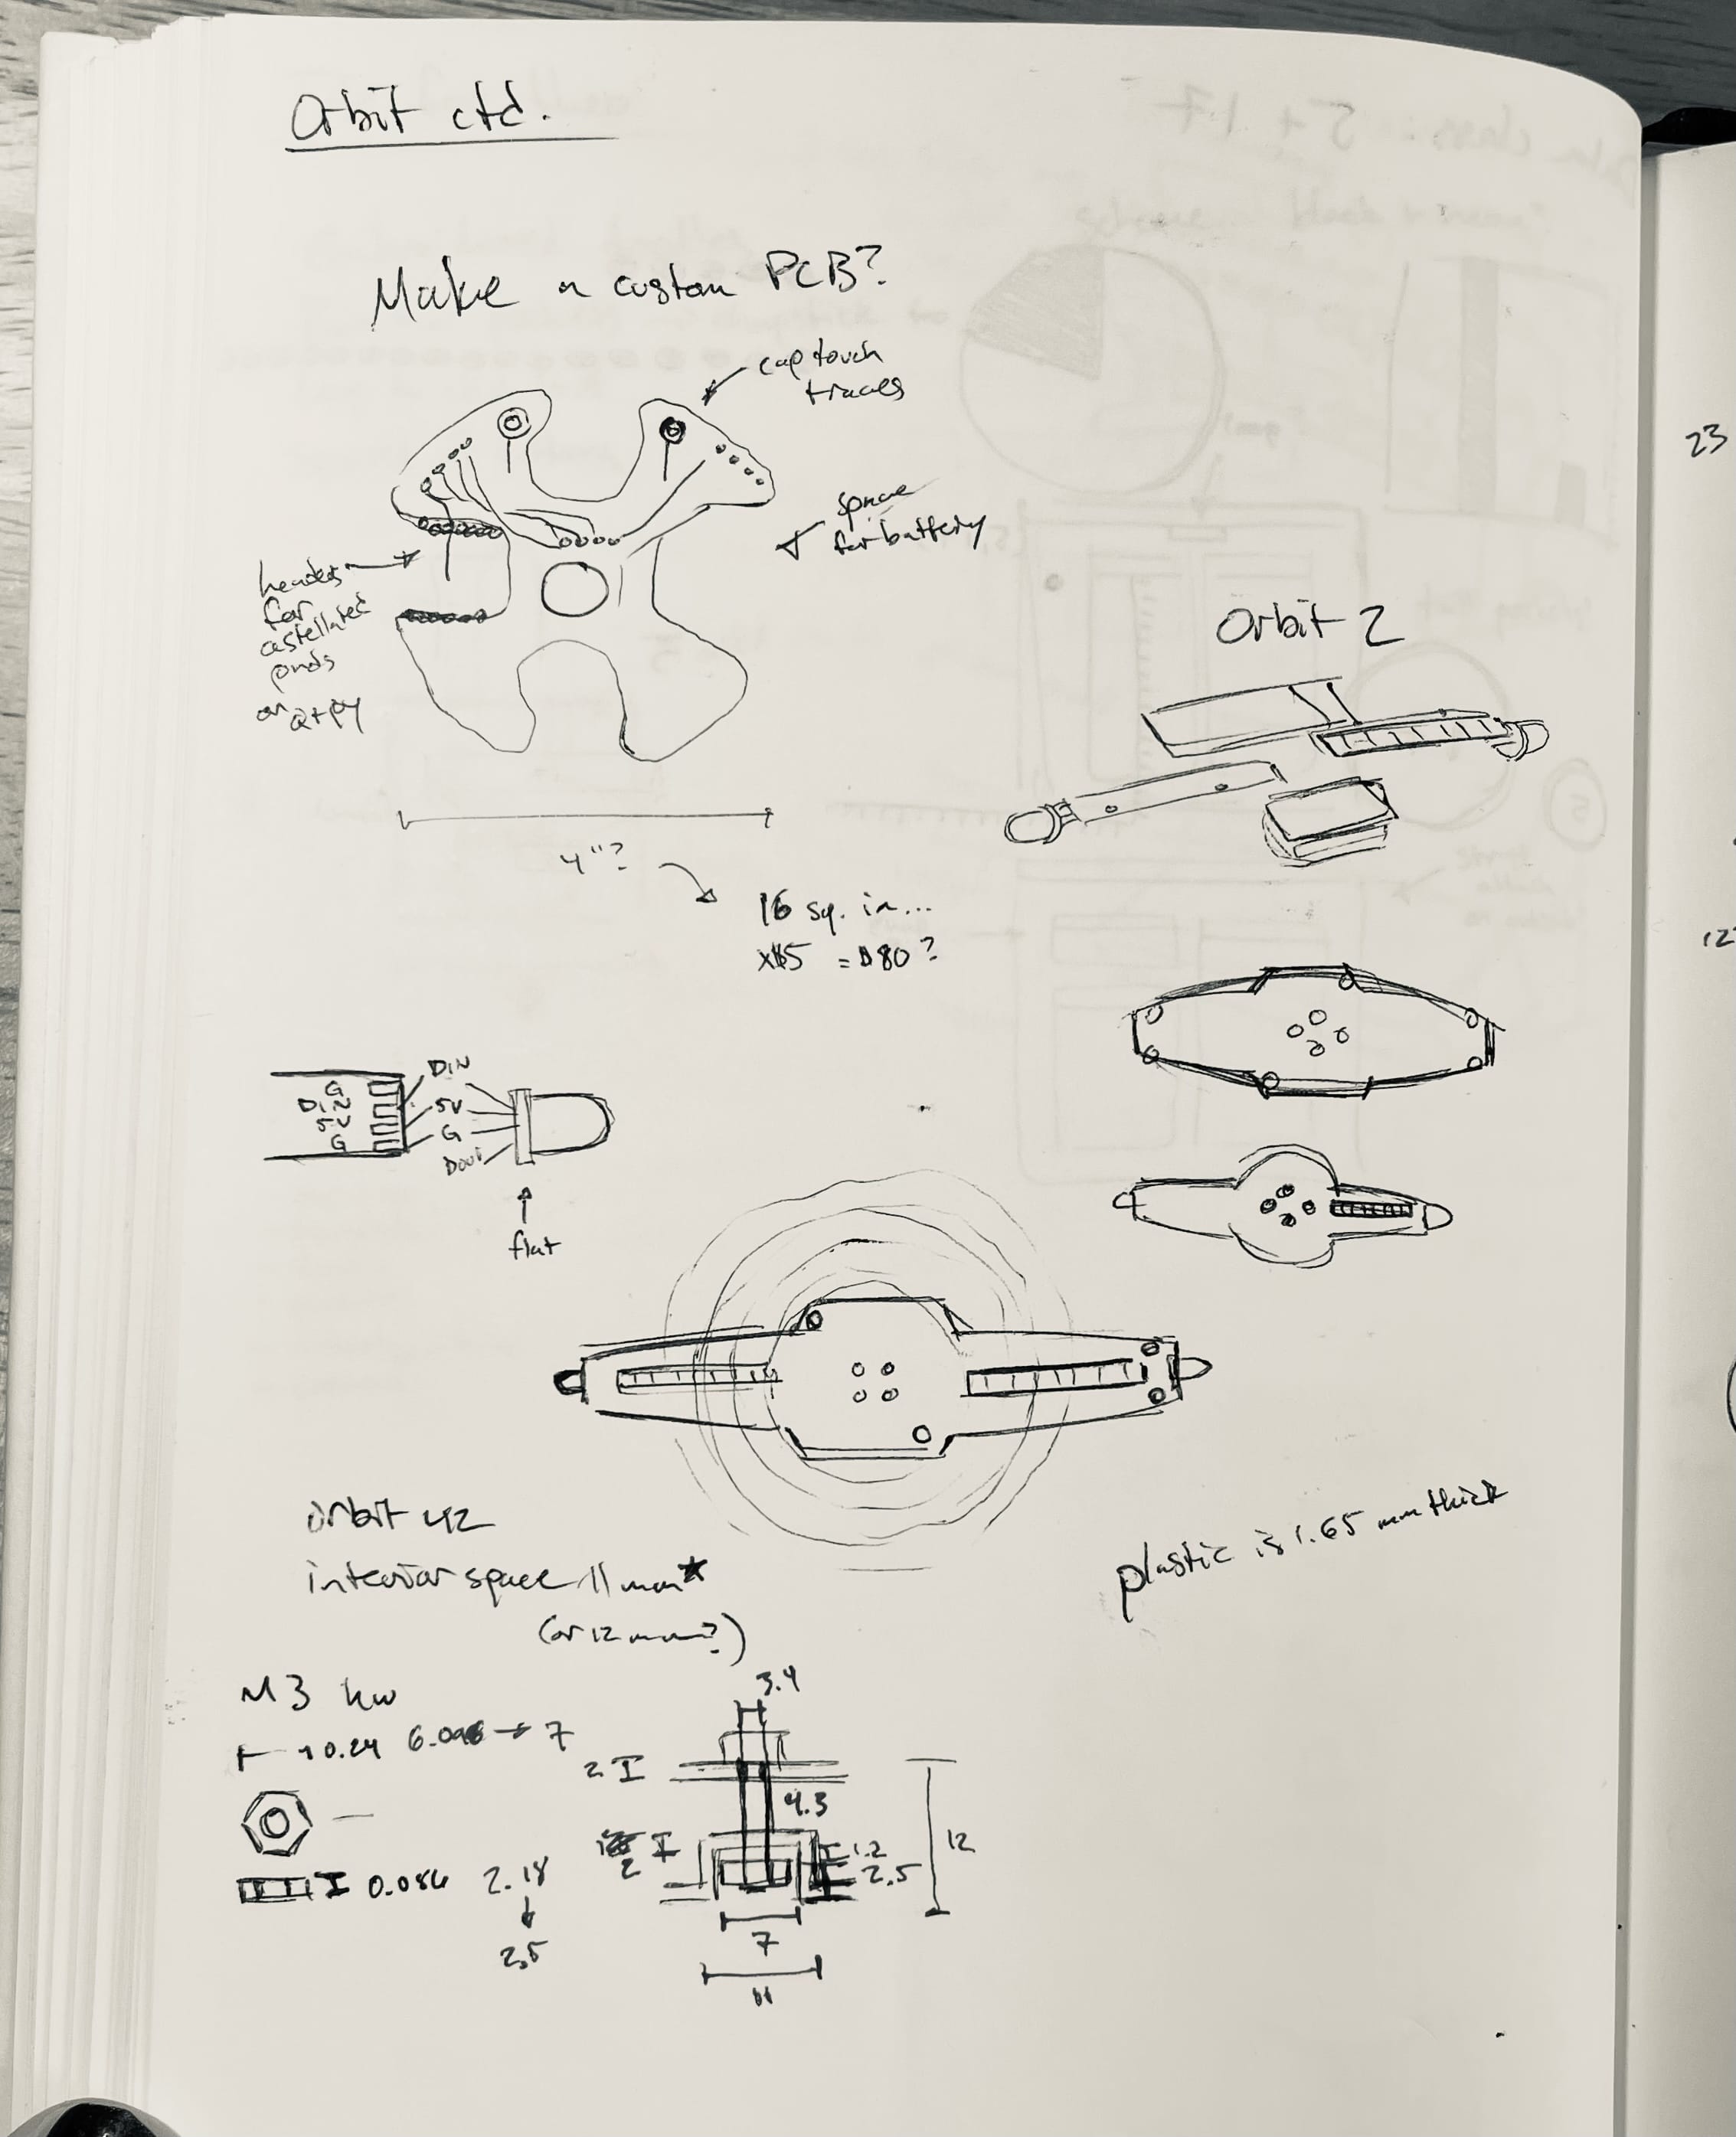
Ultimately this version turned out to be pretty unstable rotation-wise, but the view from the side was even better than I expected…
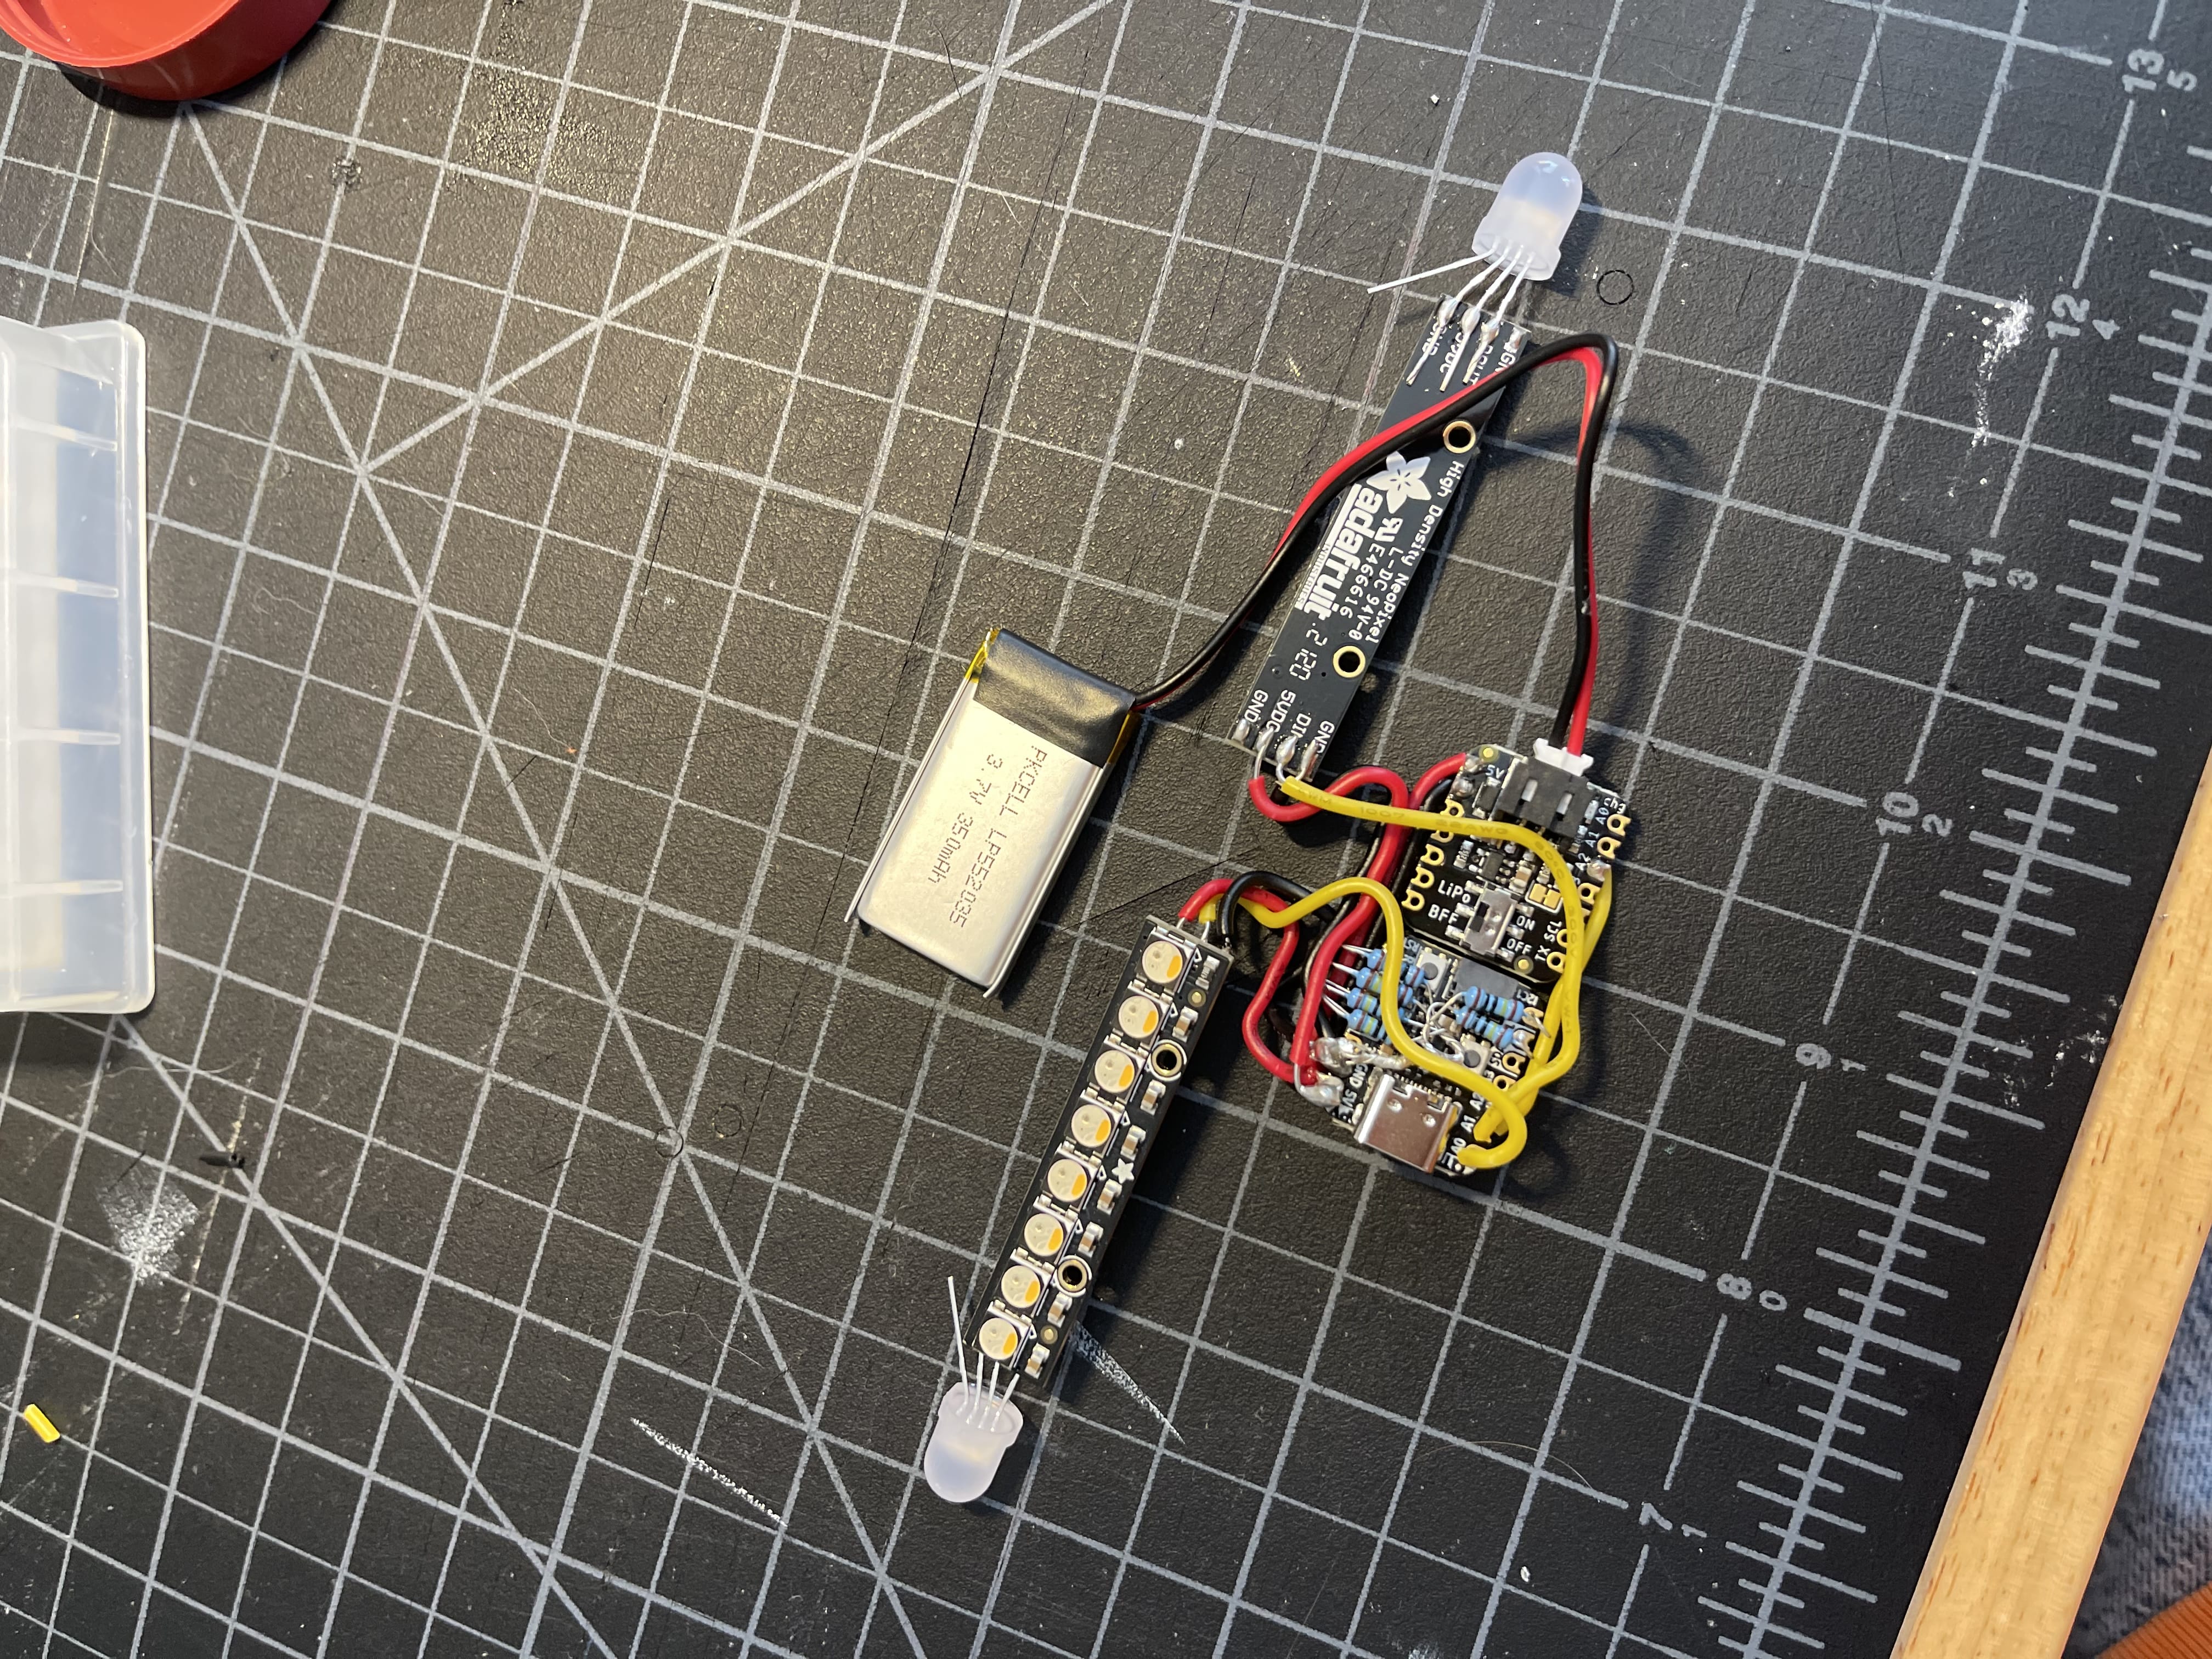
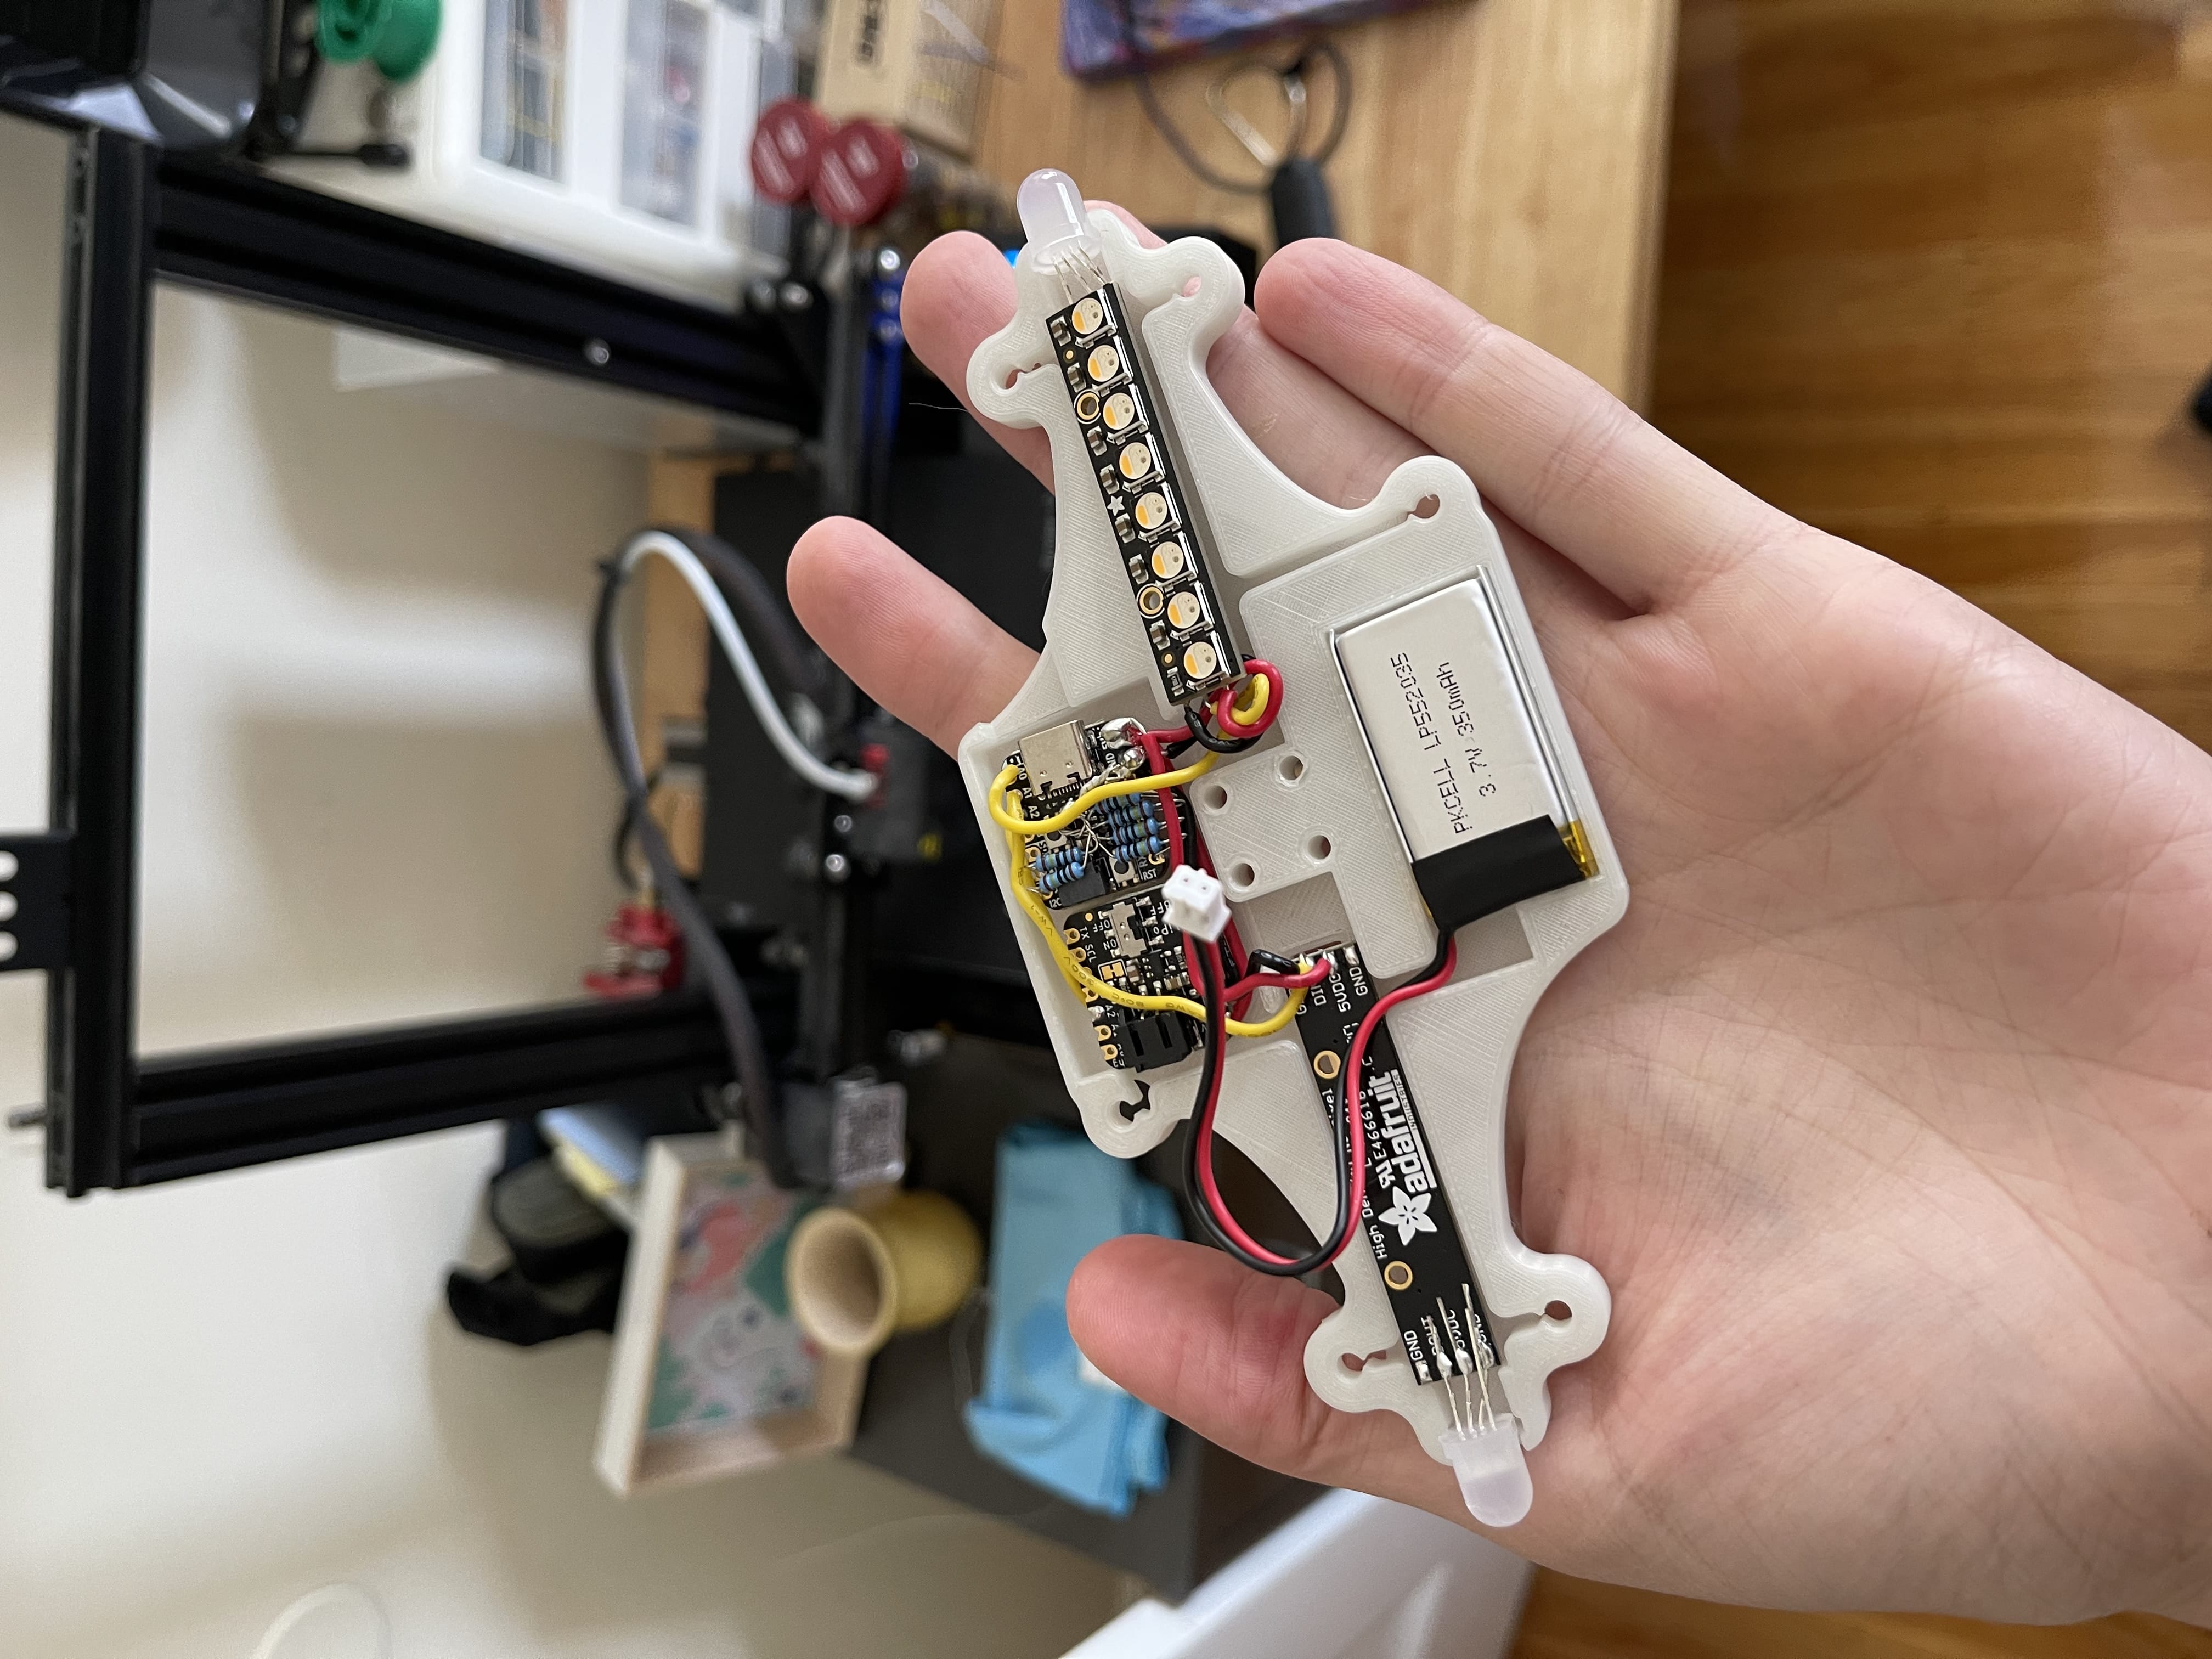
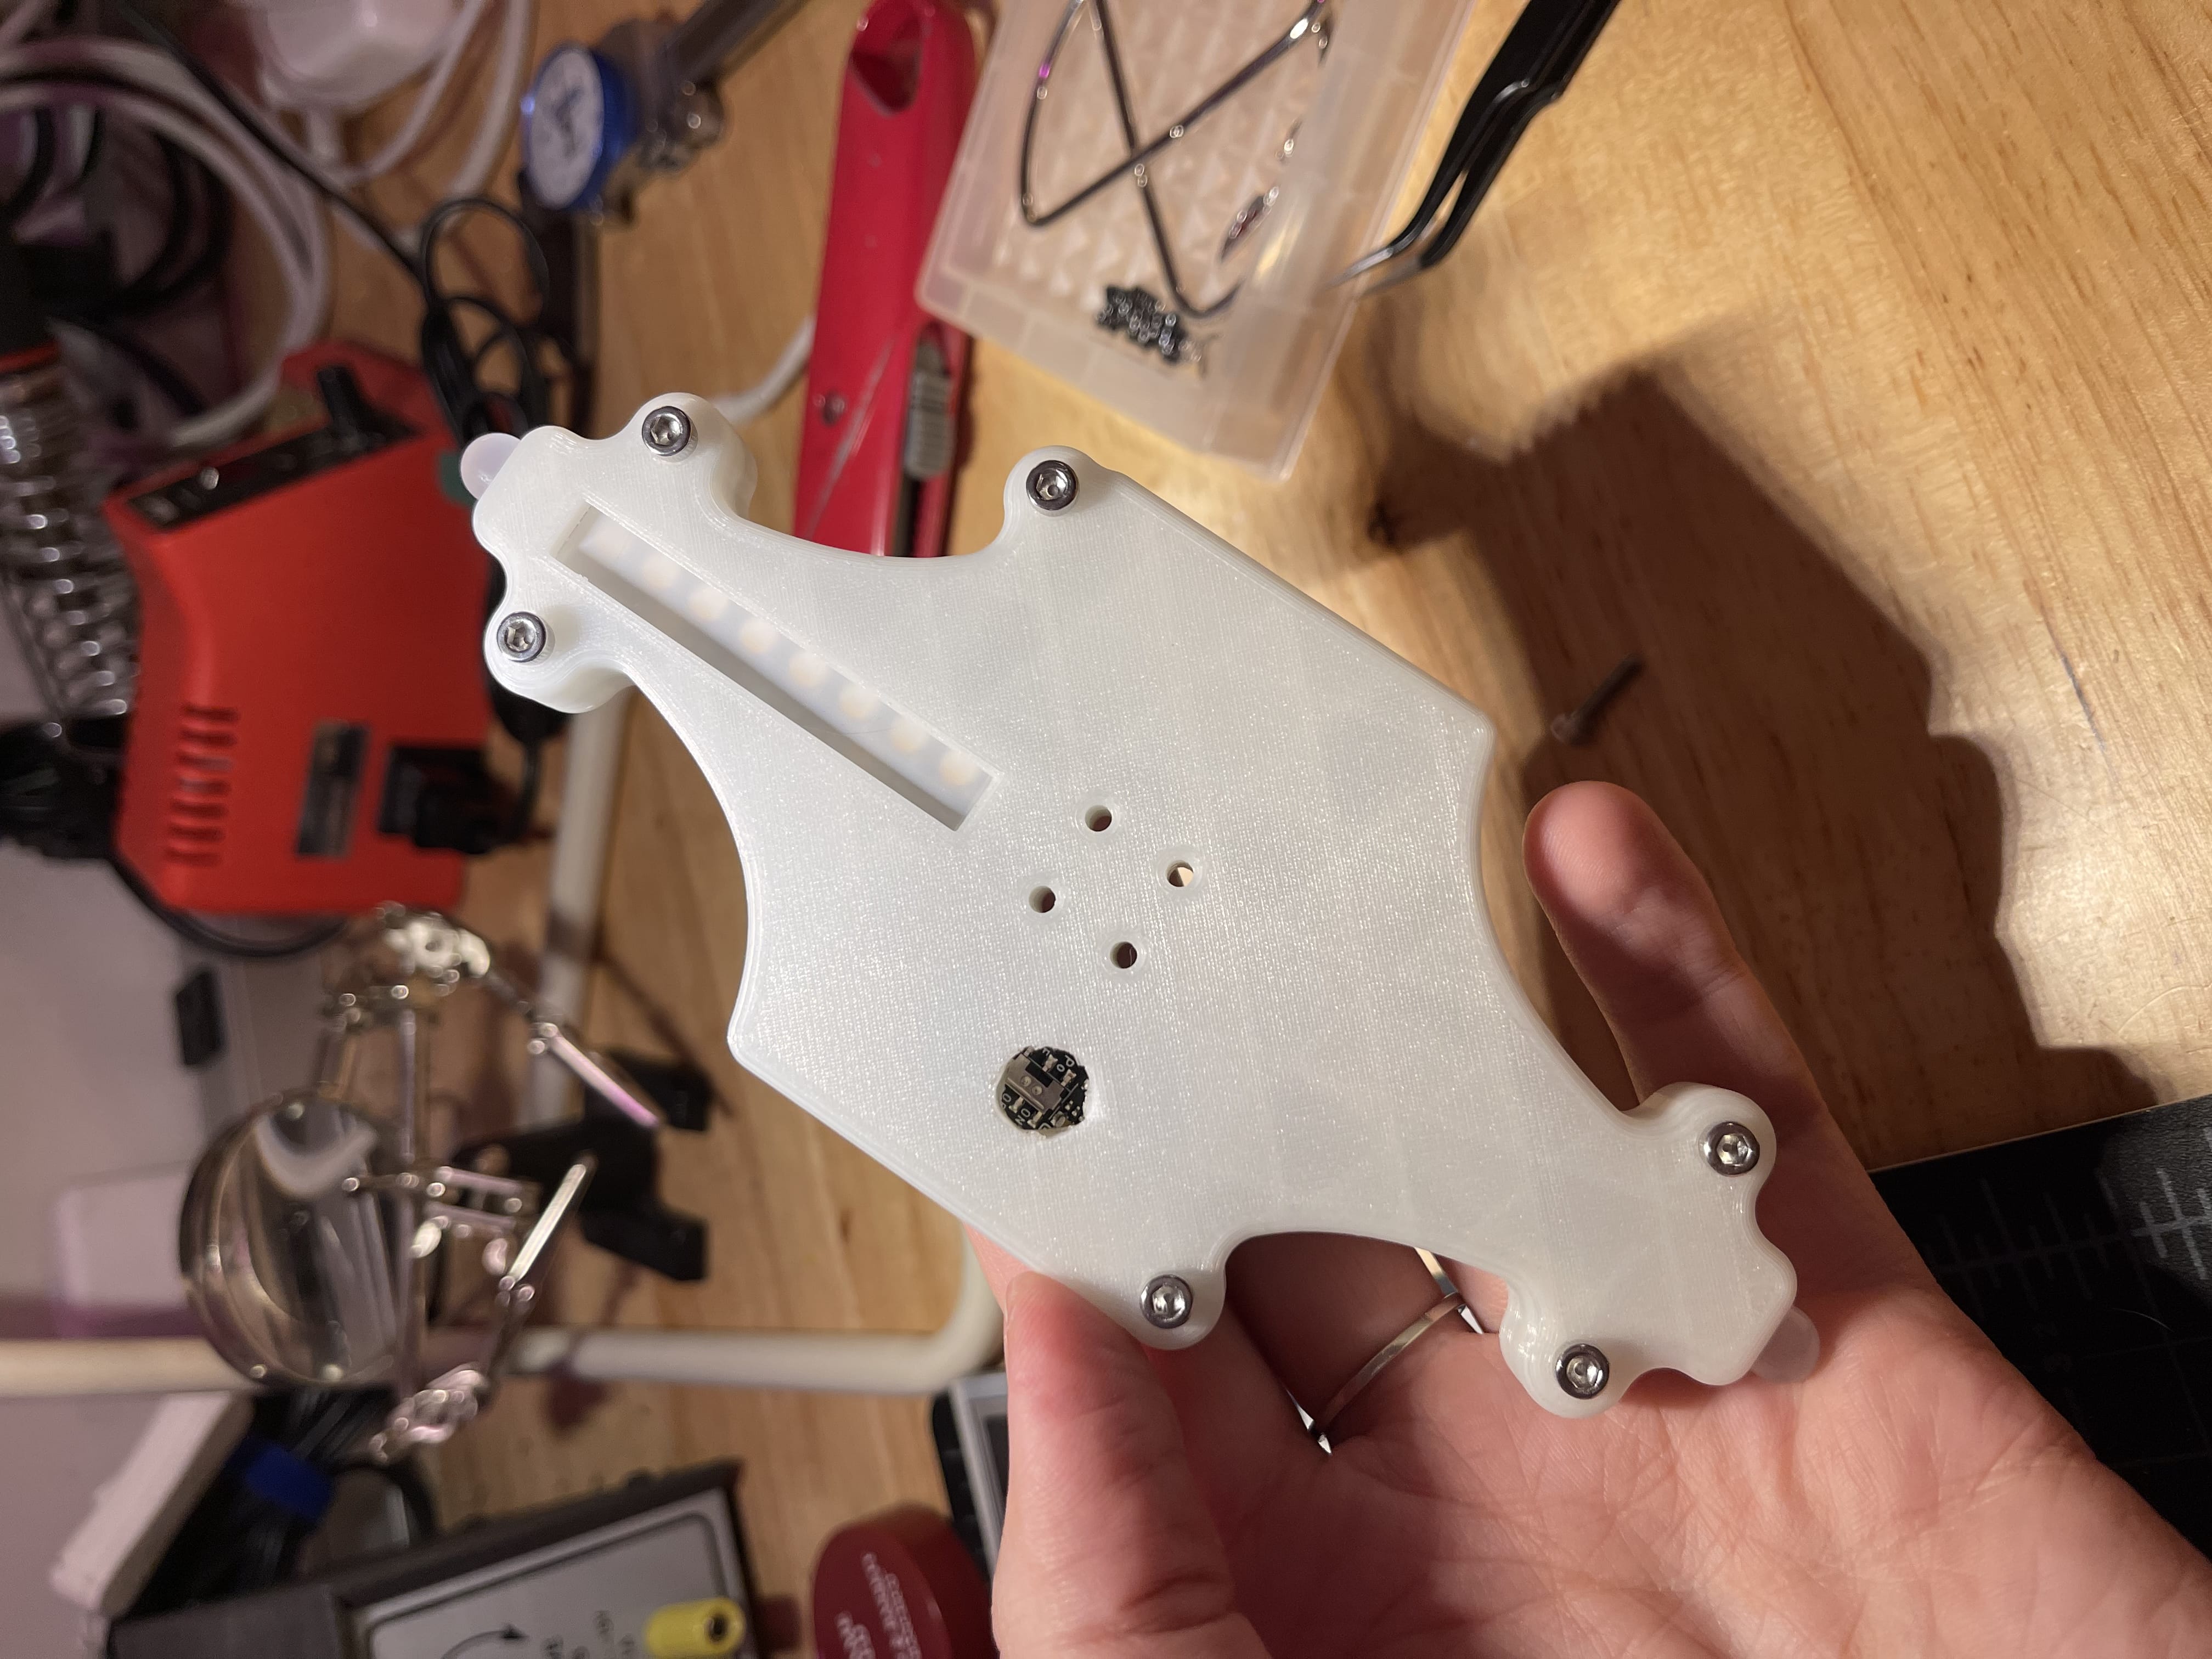
Version 3
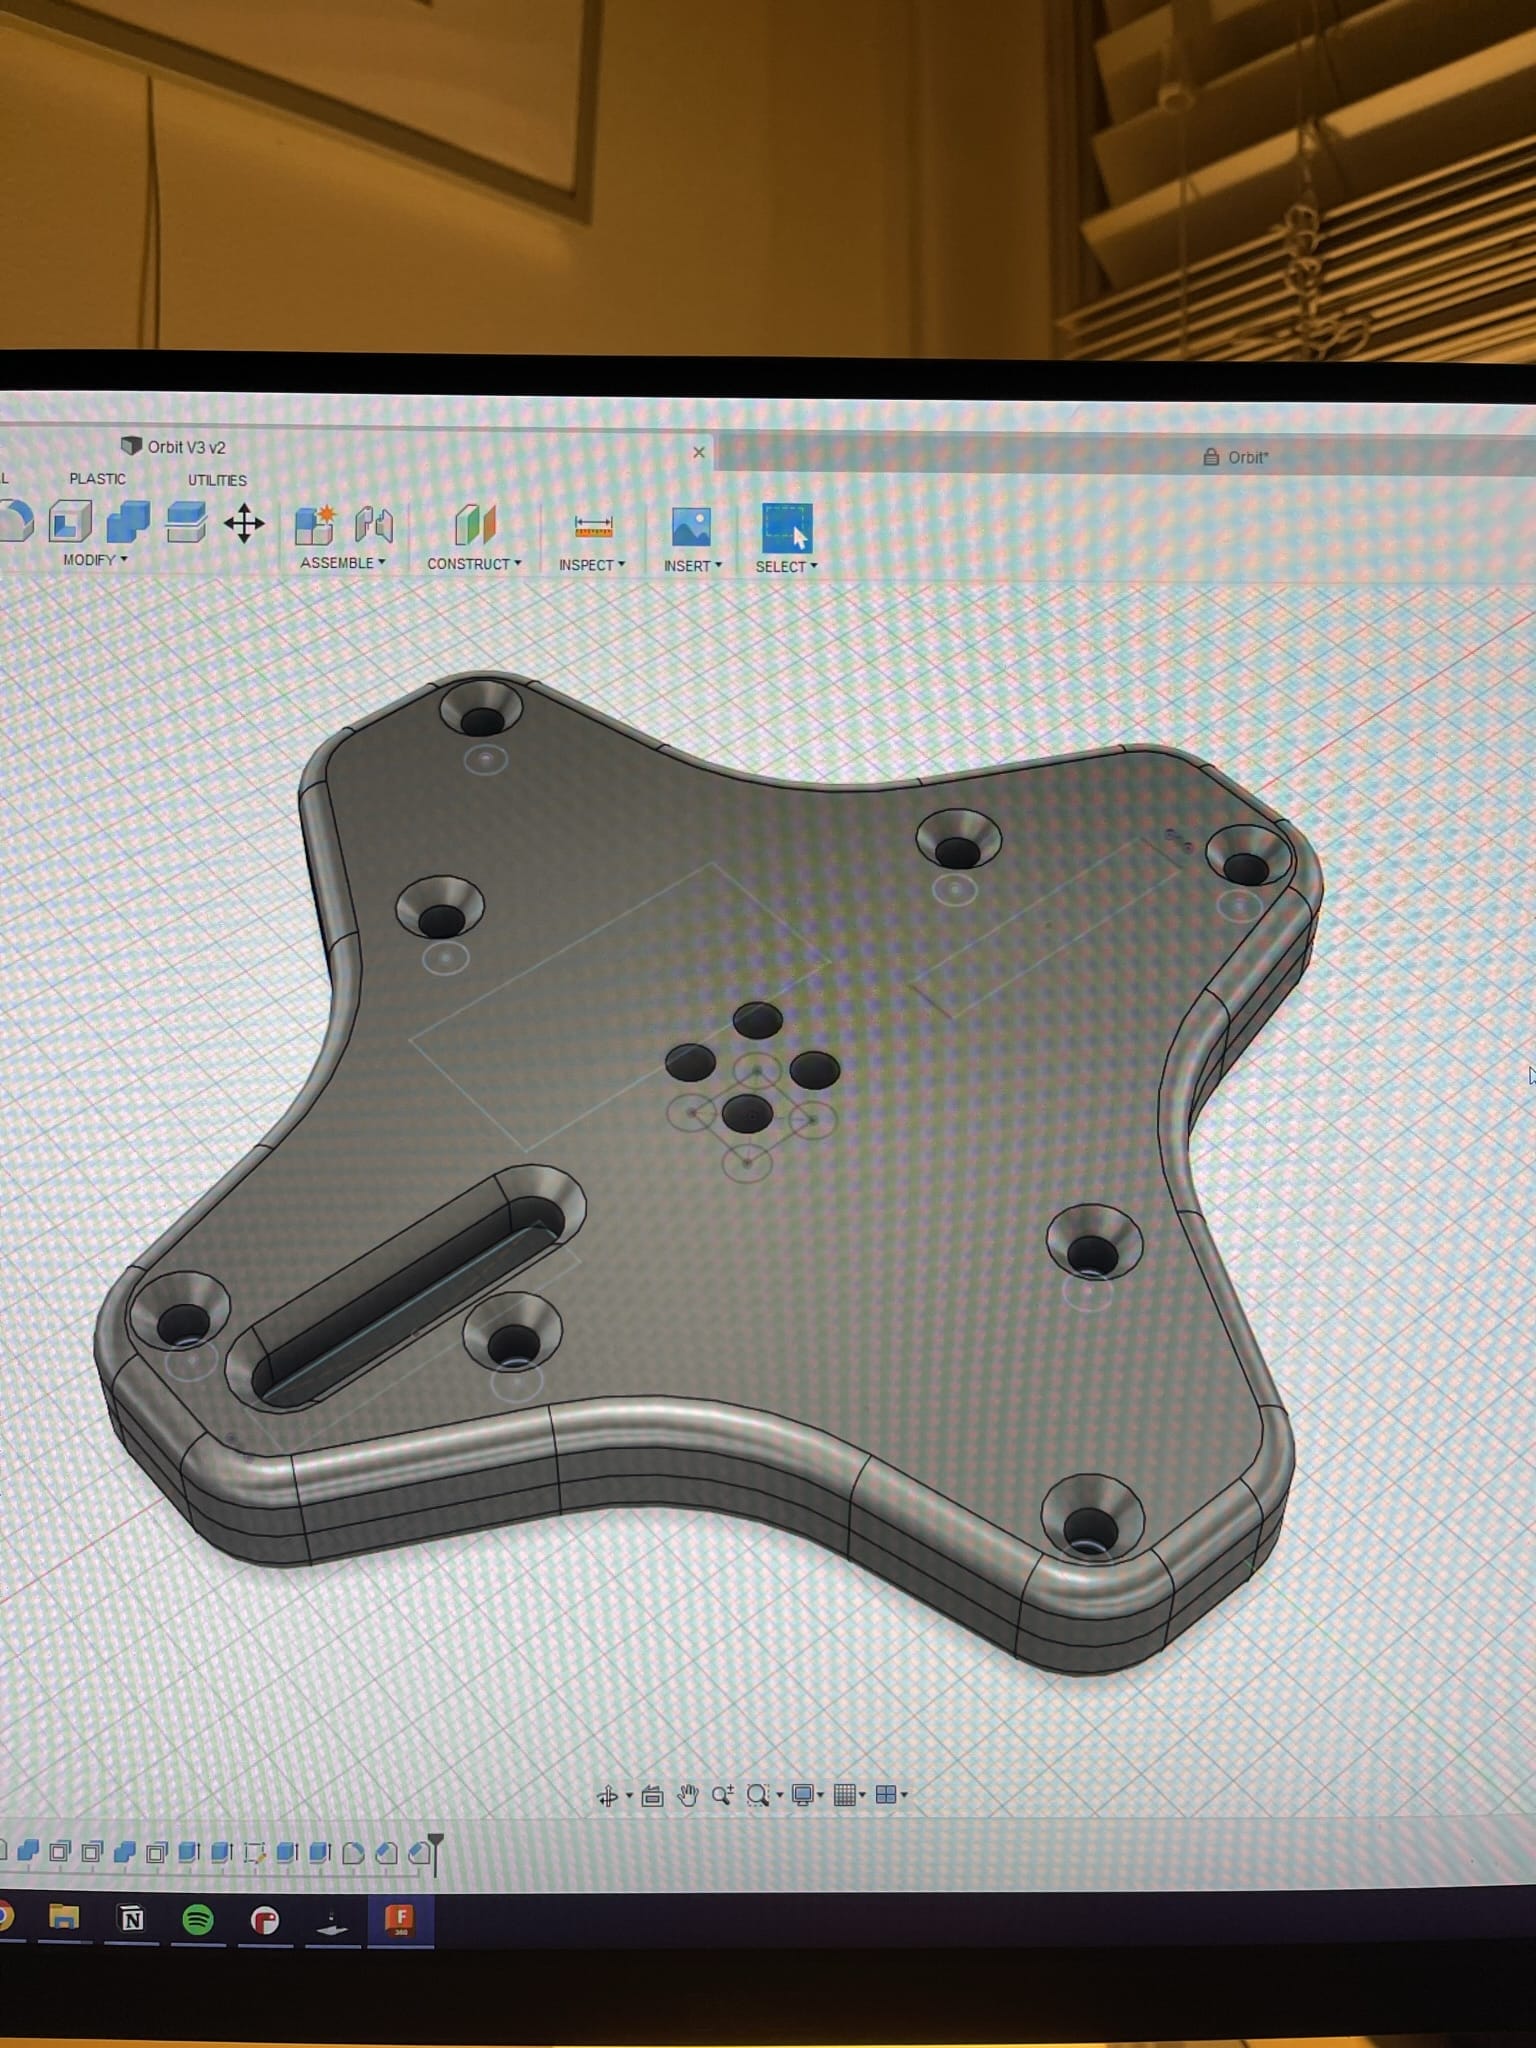
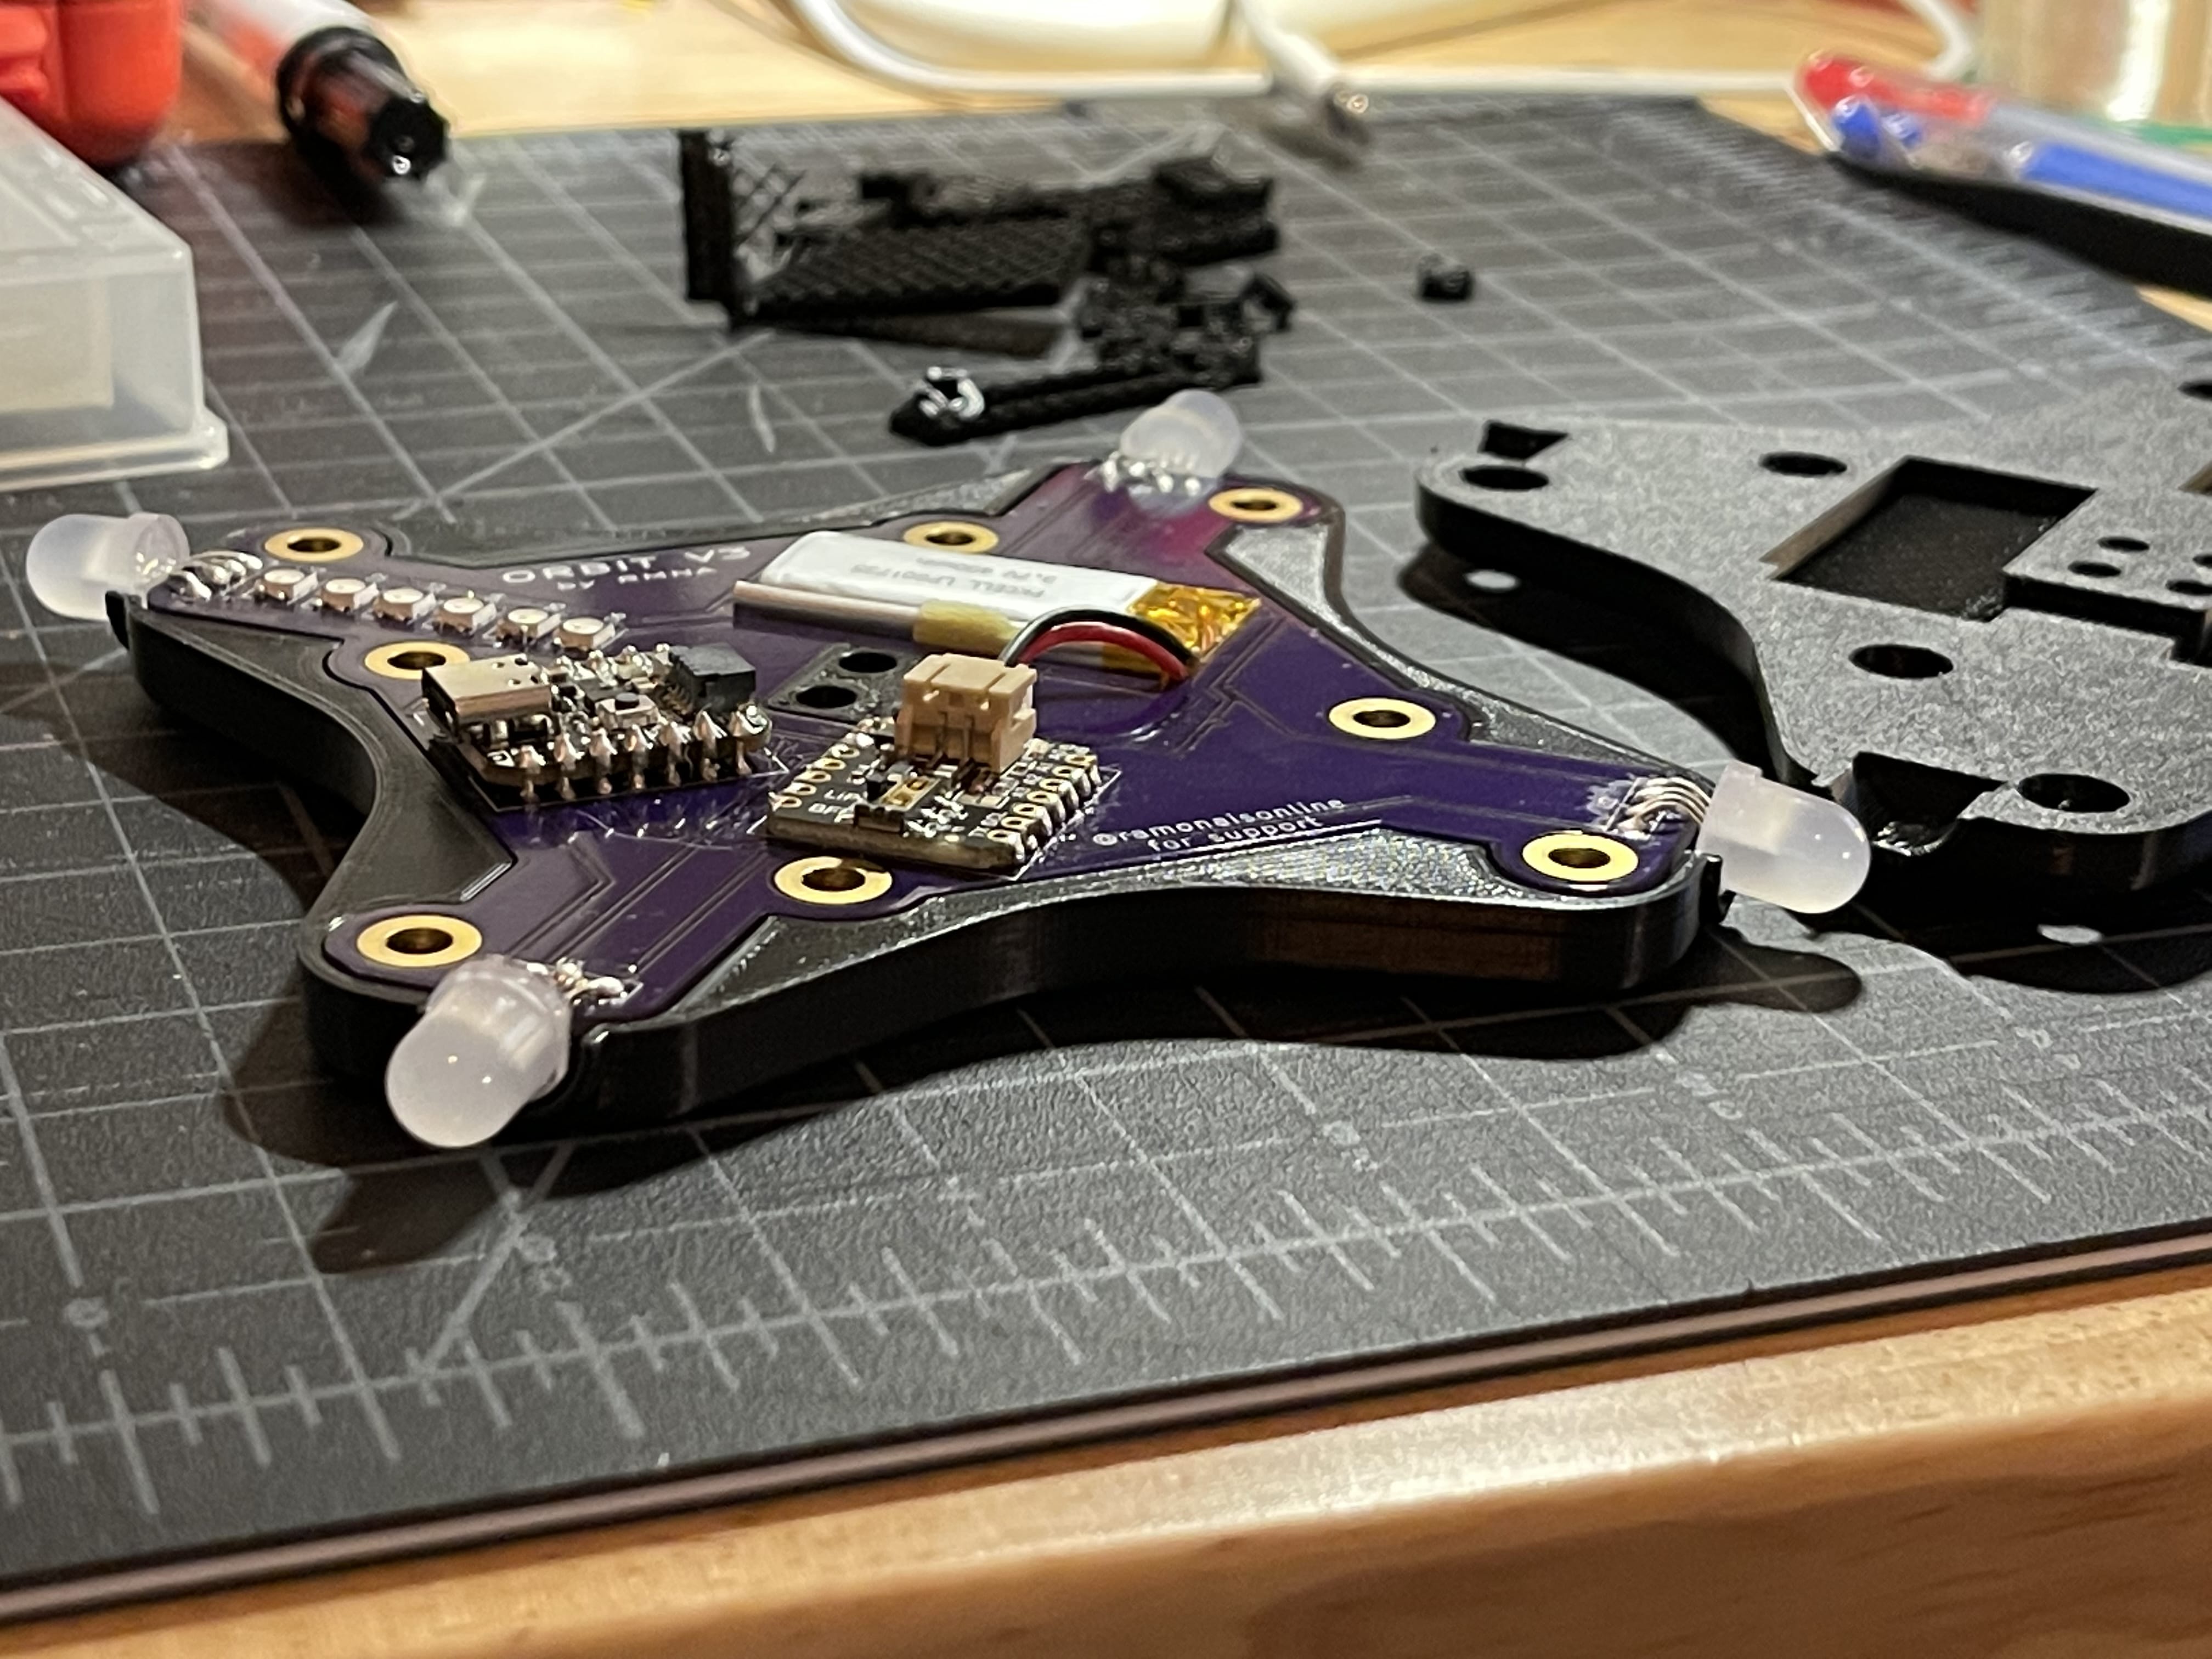
By this point I had a pretty good idea of what I wanted in my ideal orbit, so I set about designing a custom circuit board so that I could make a few for my friends! I settled on a roughly square design with four edge LEDs and mini strips of six LEDs on both the front and back.
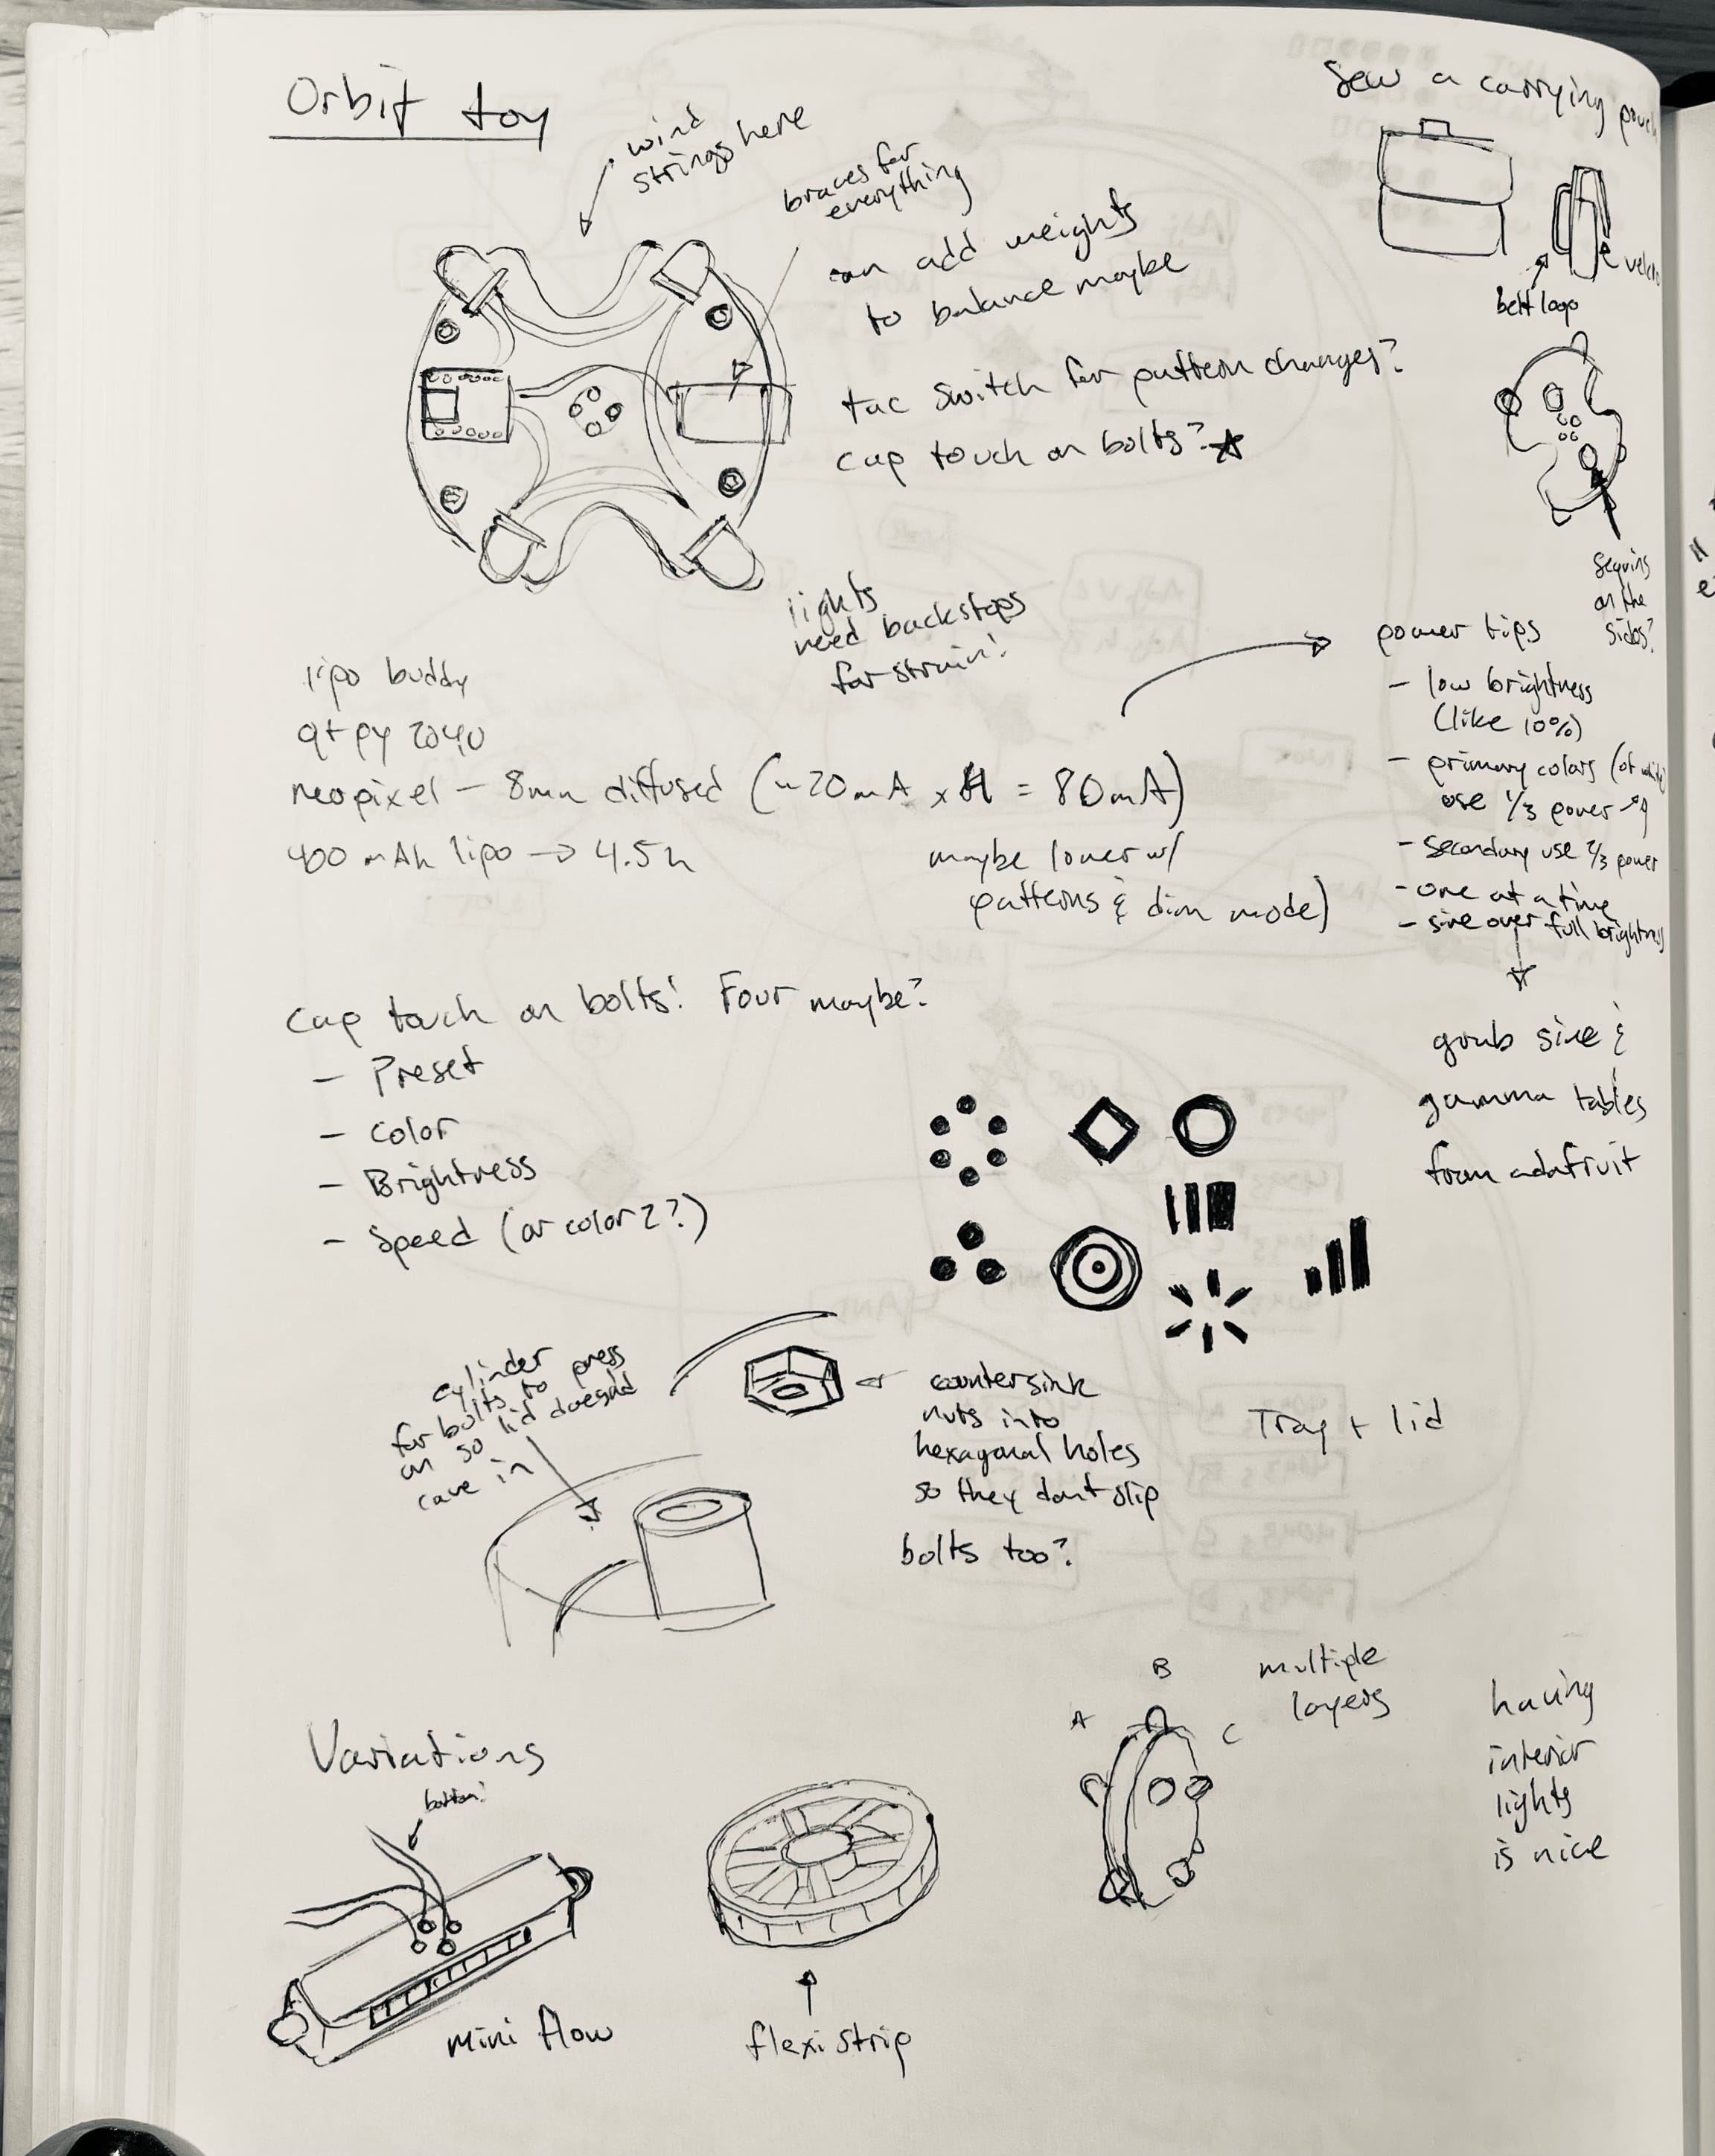
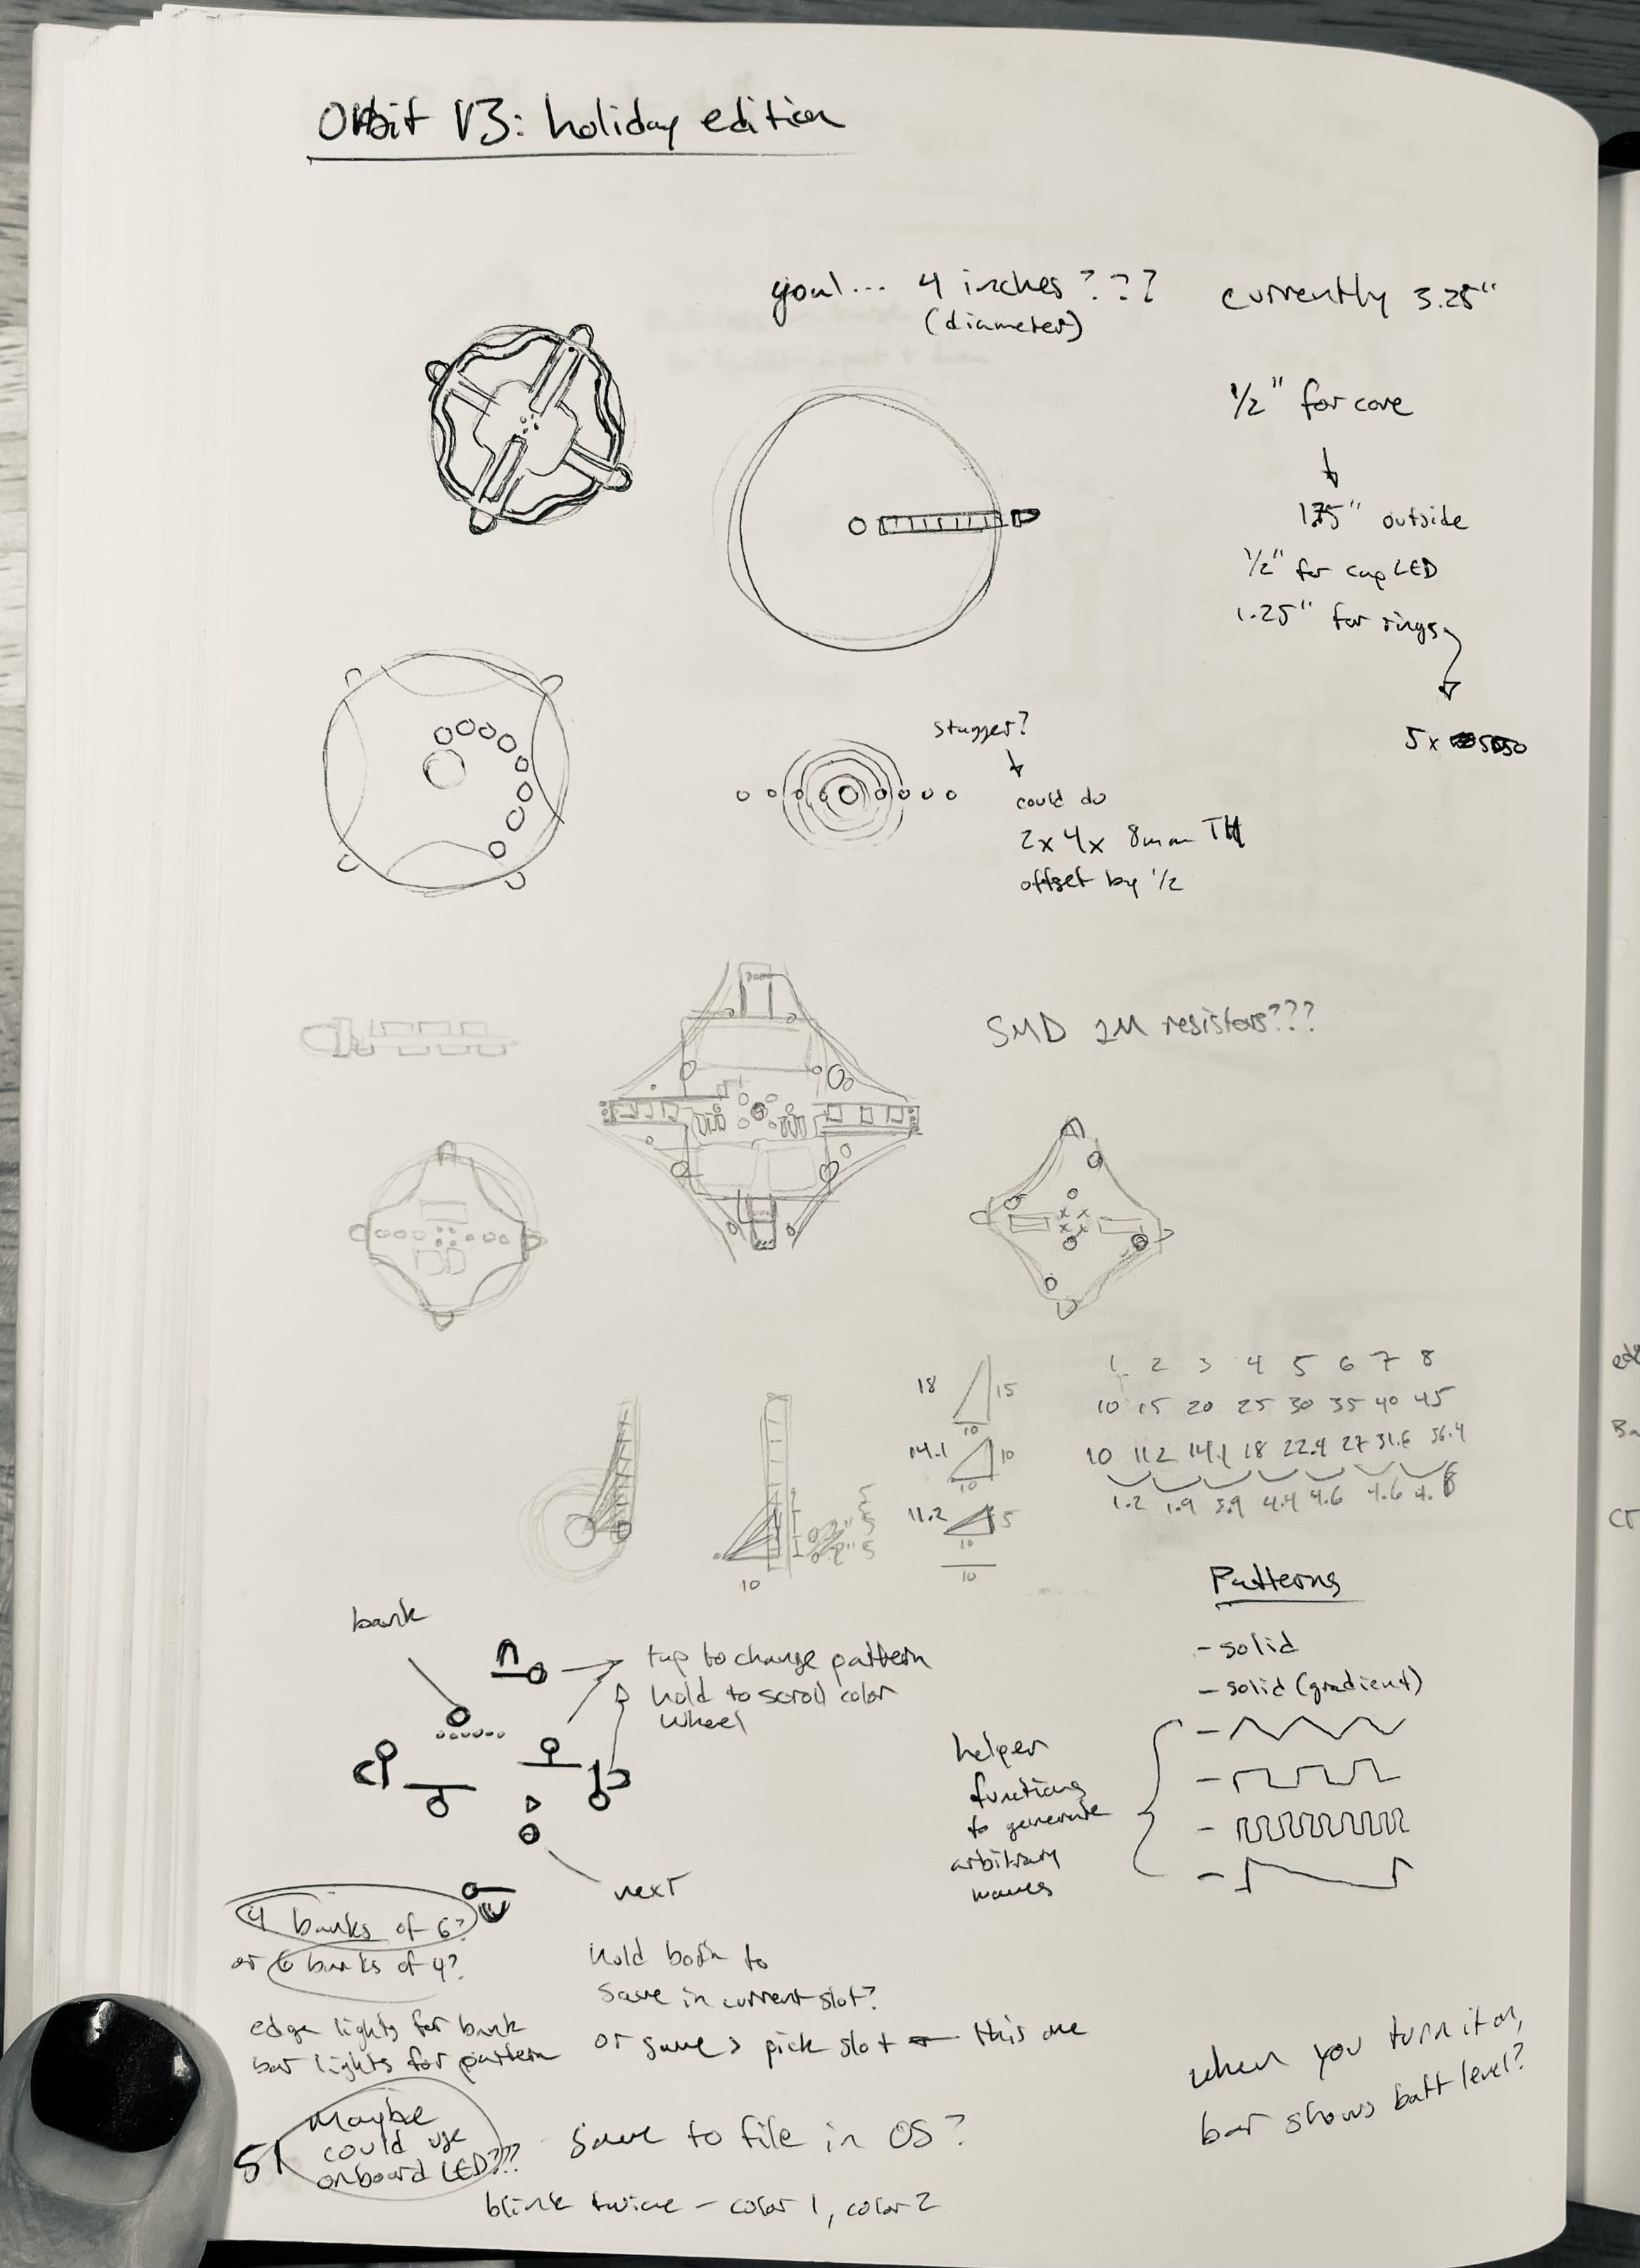
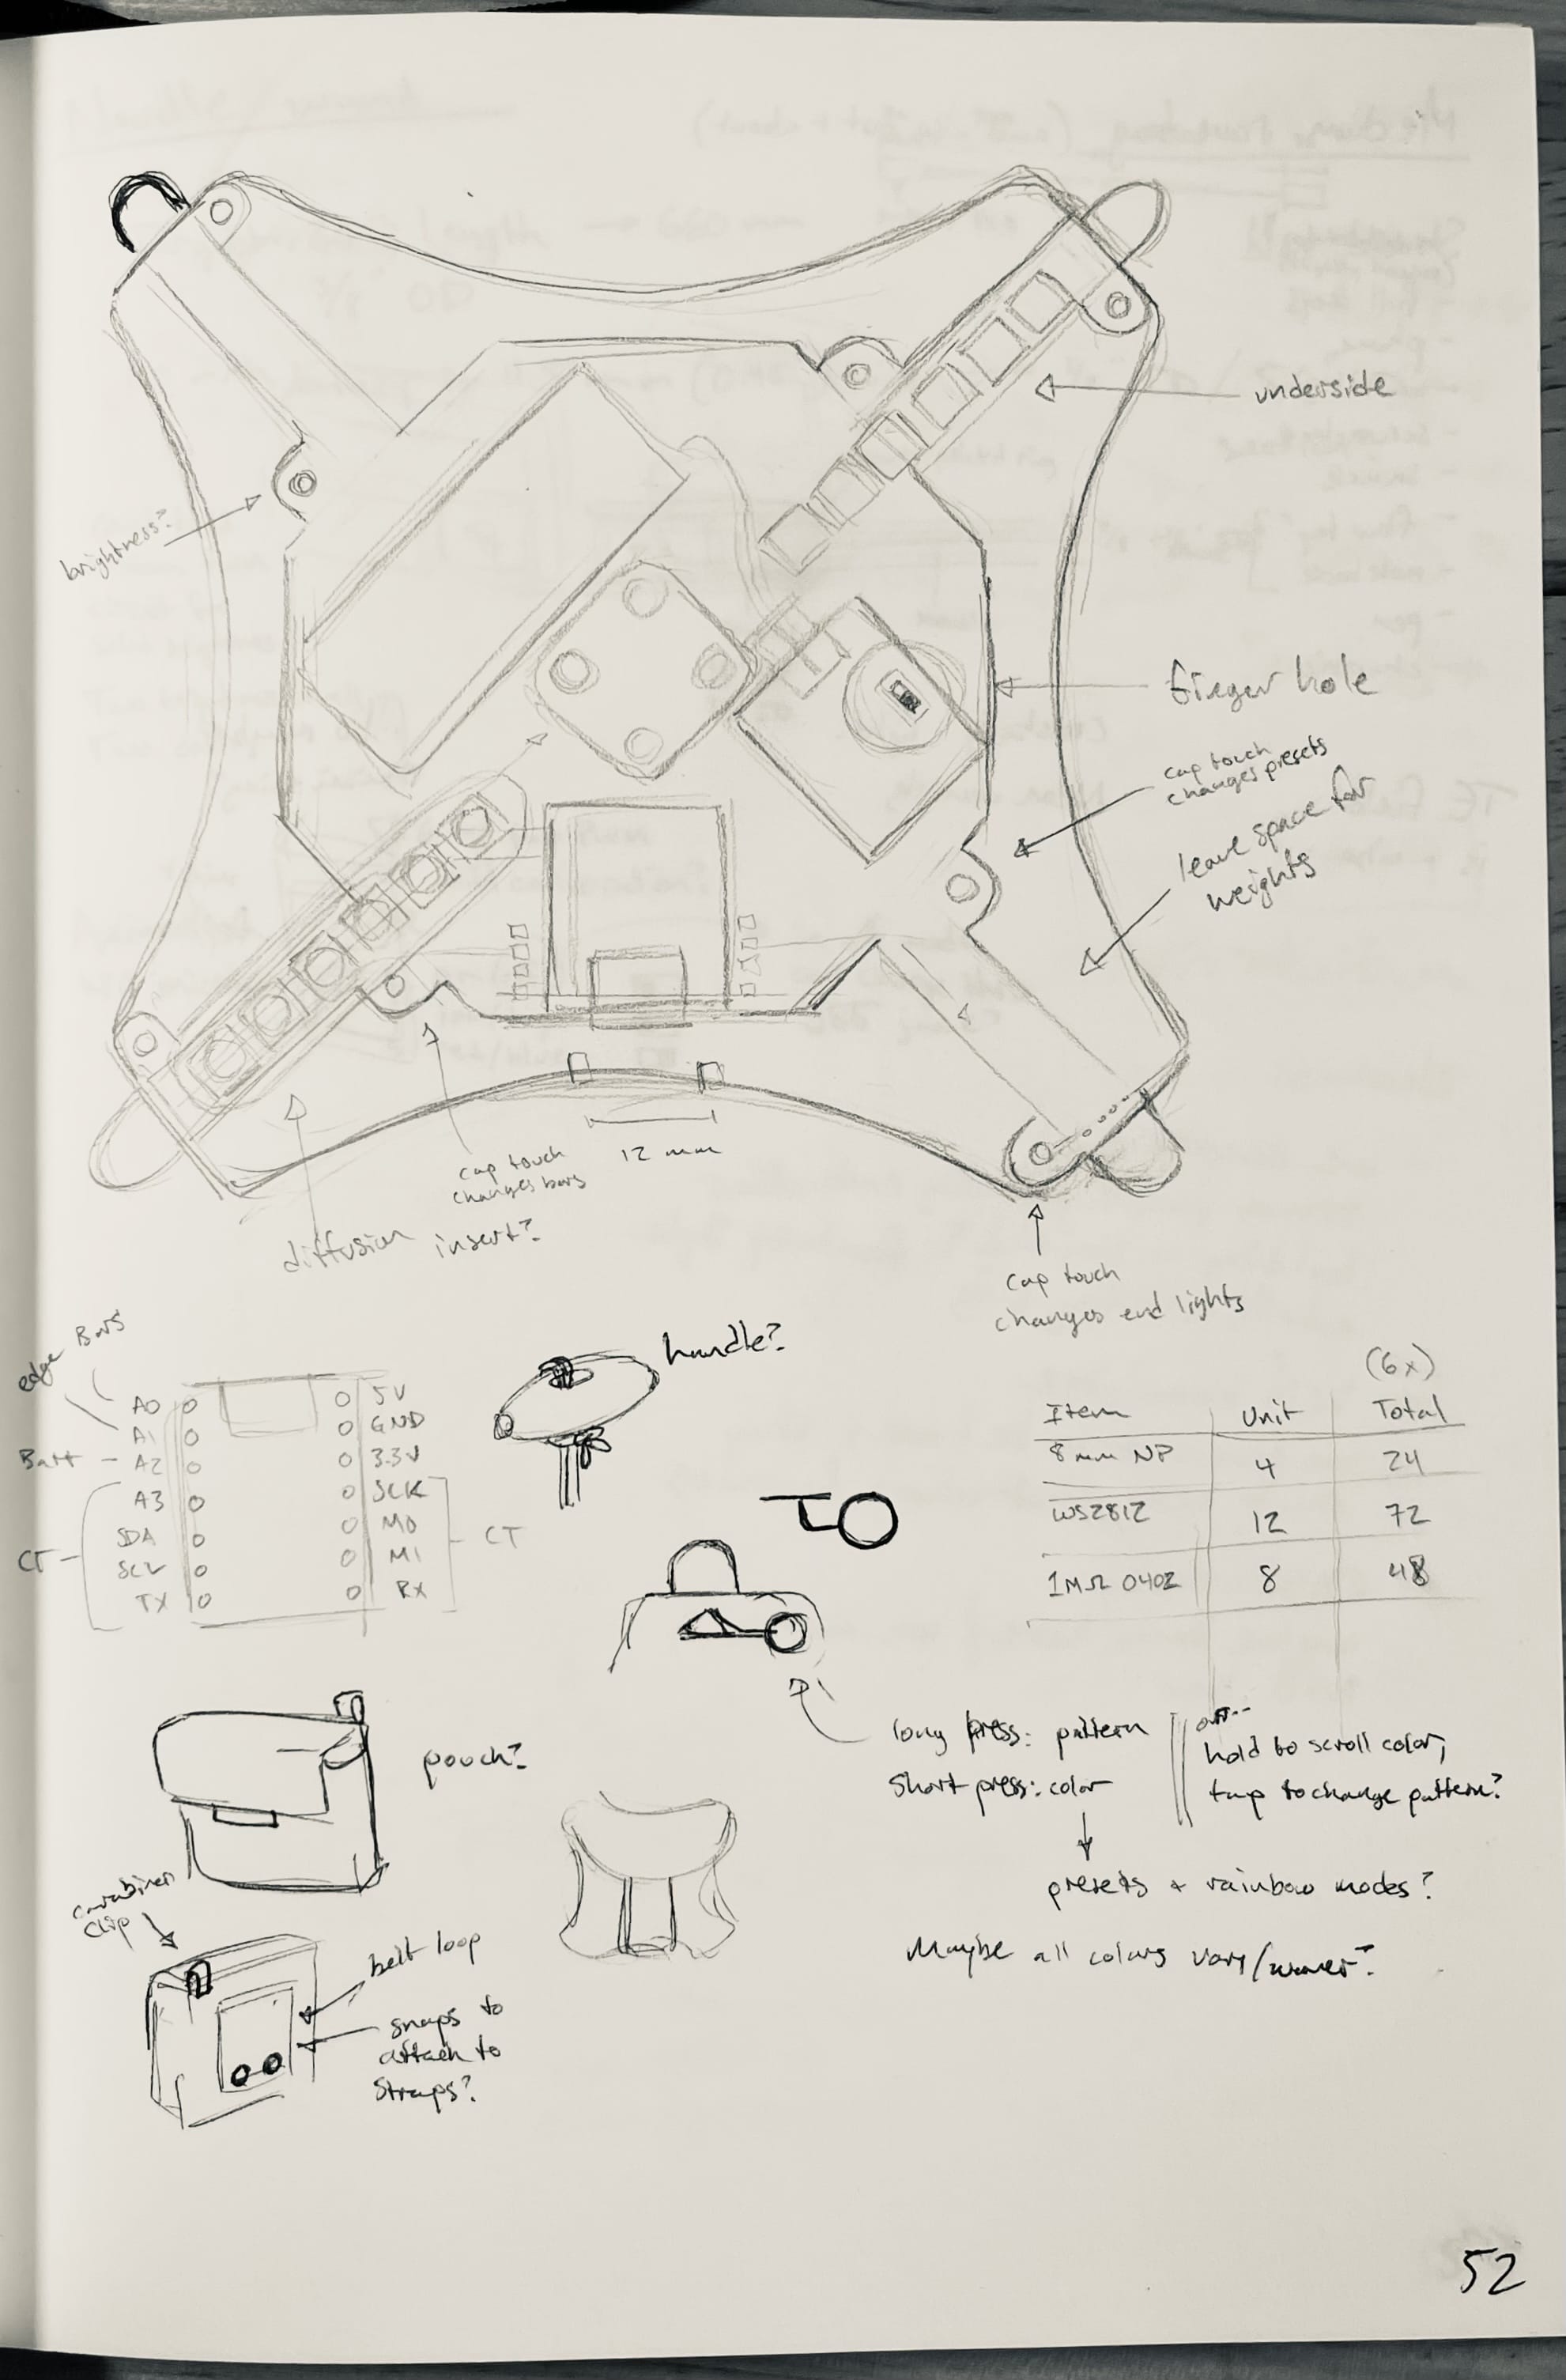
I did a lot of sketching to figure out how I wanted to arrange the components to get it as close to balanced as possible.
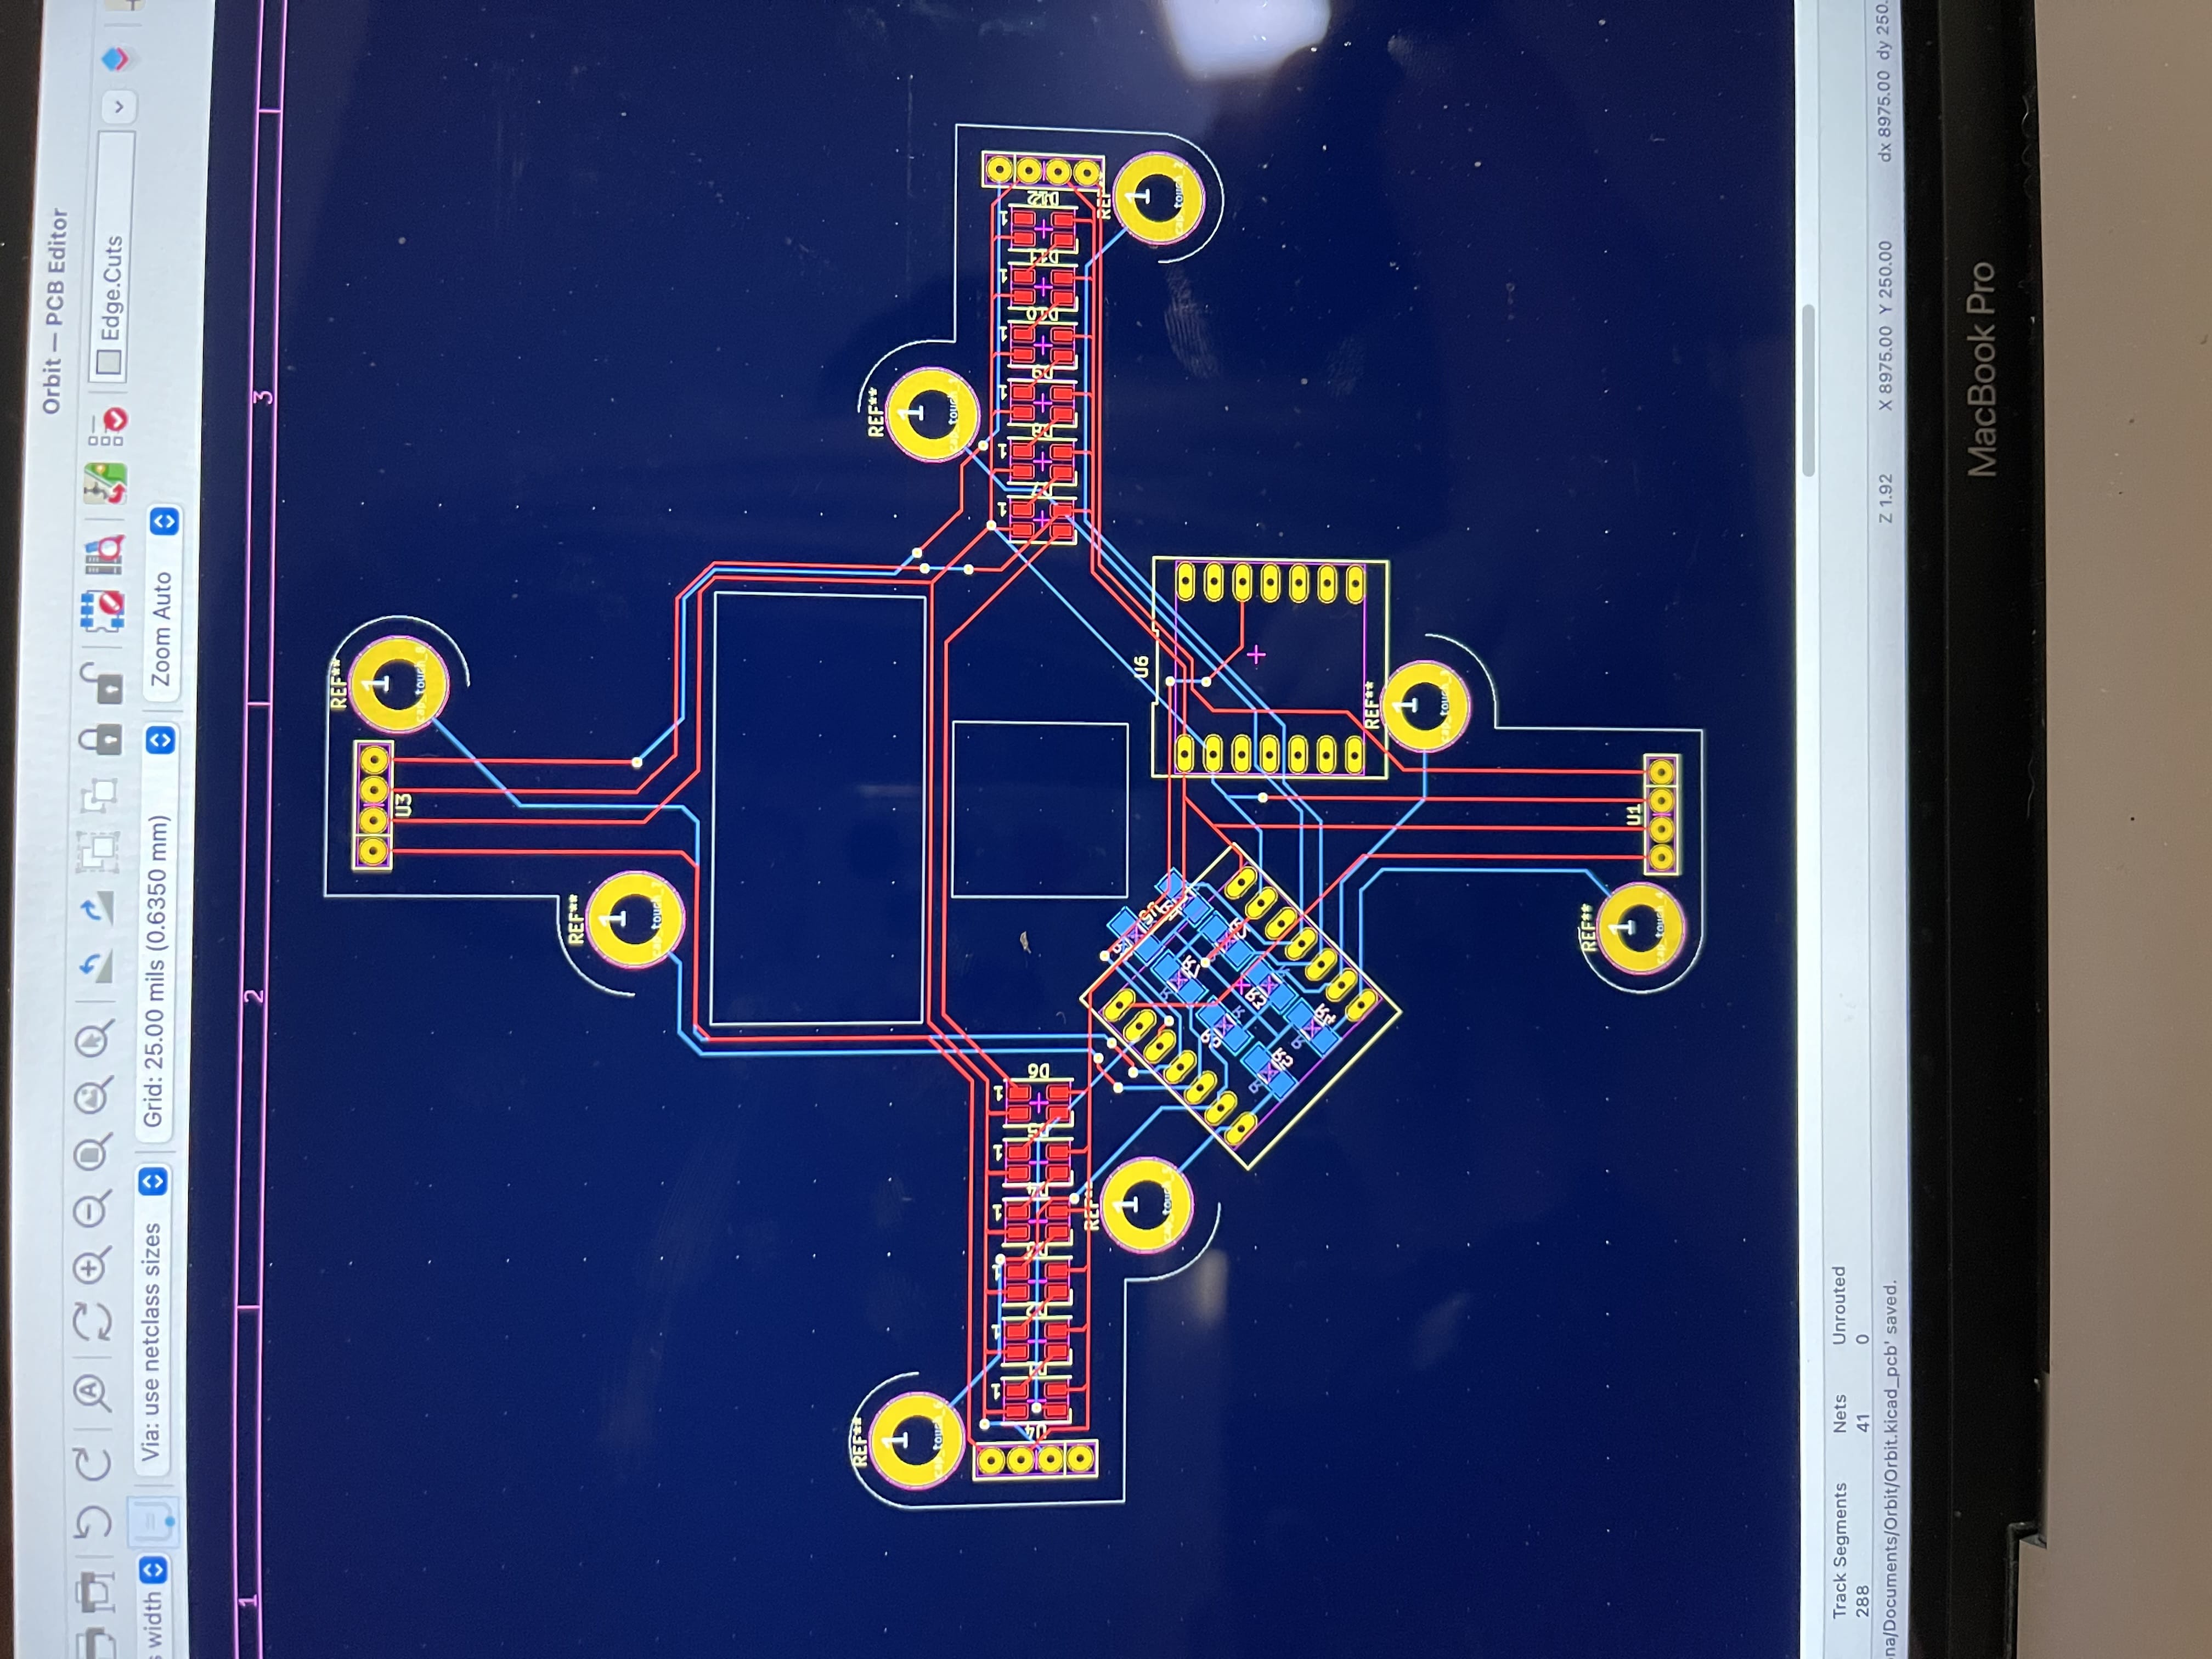
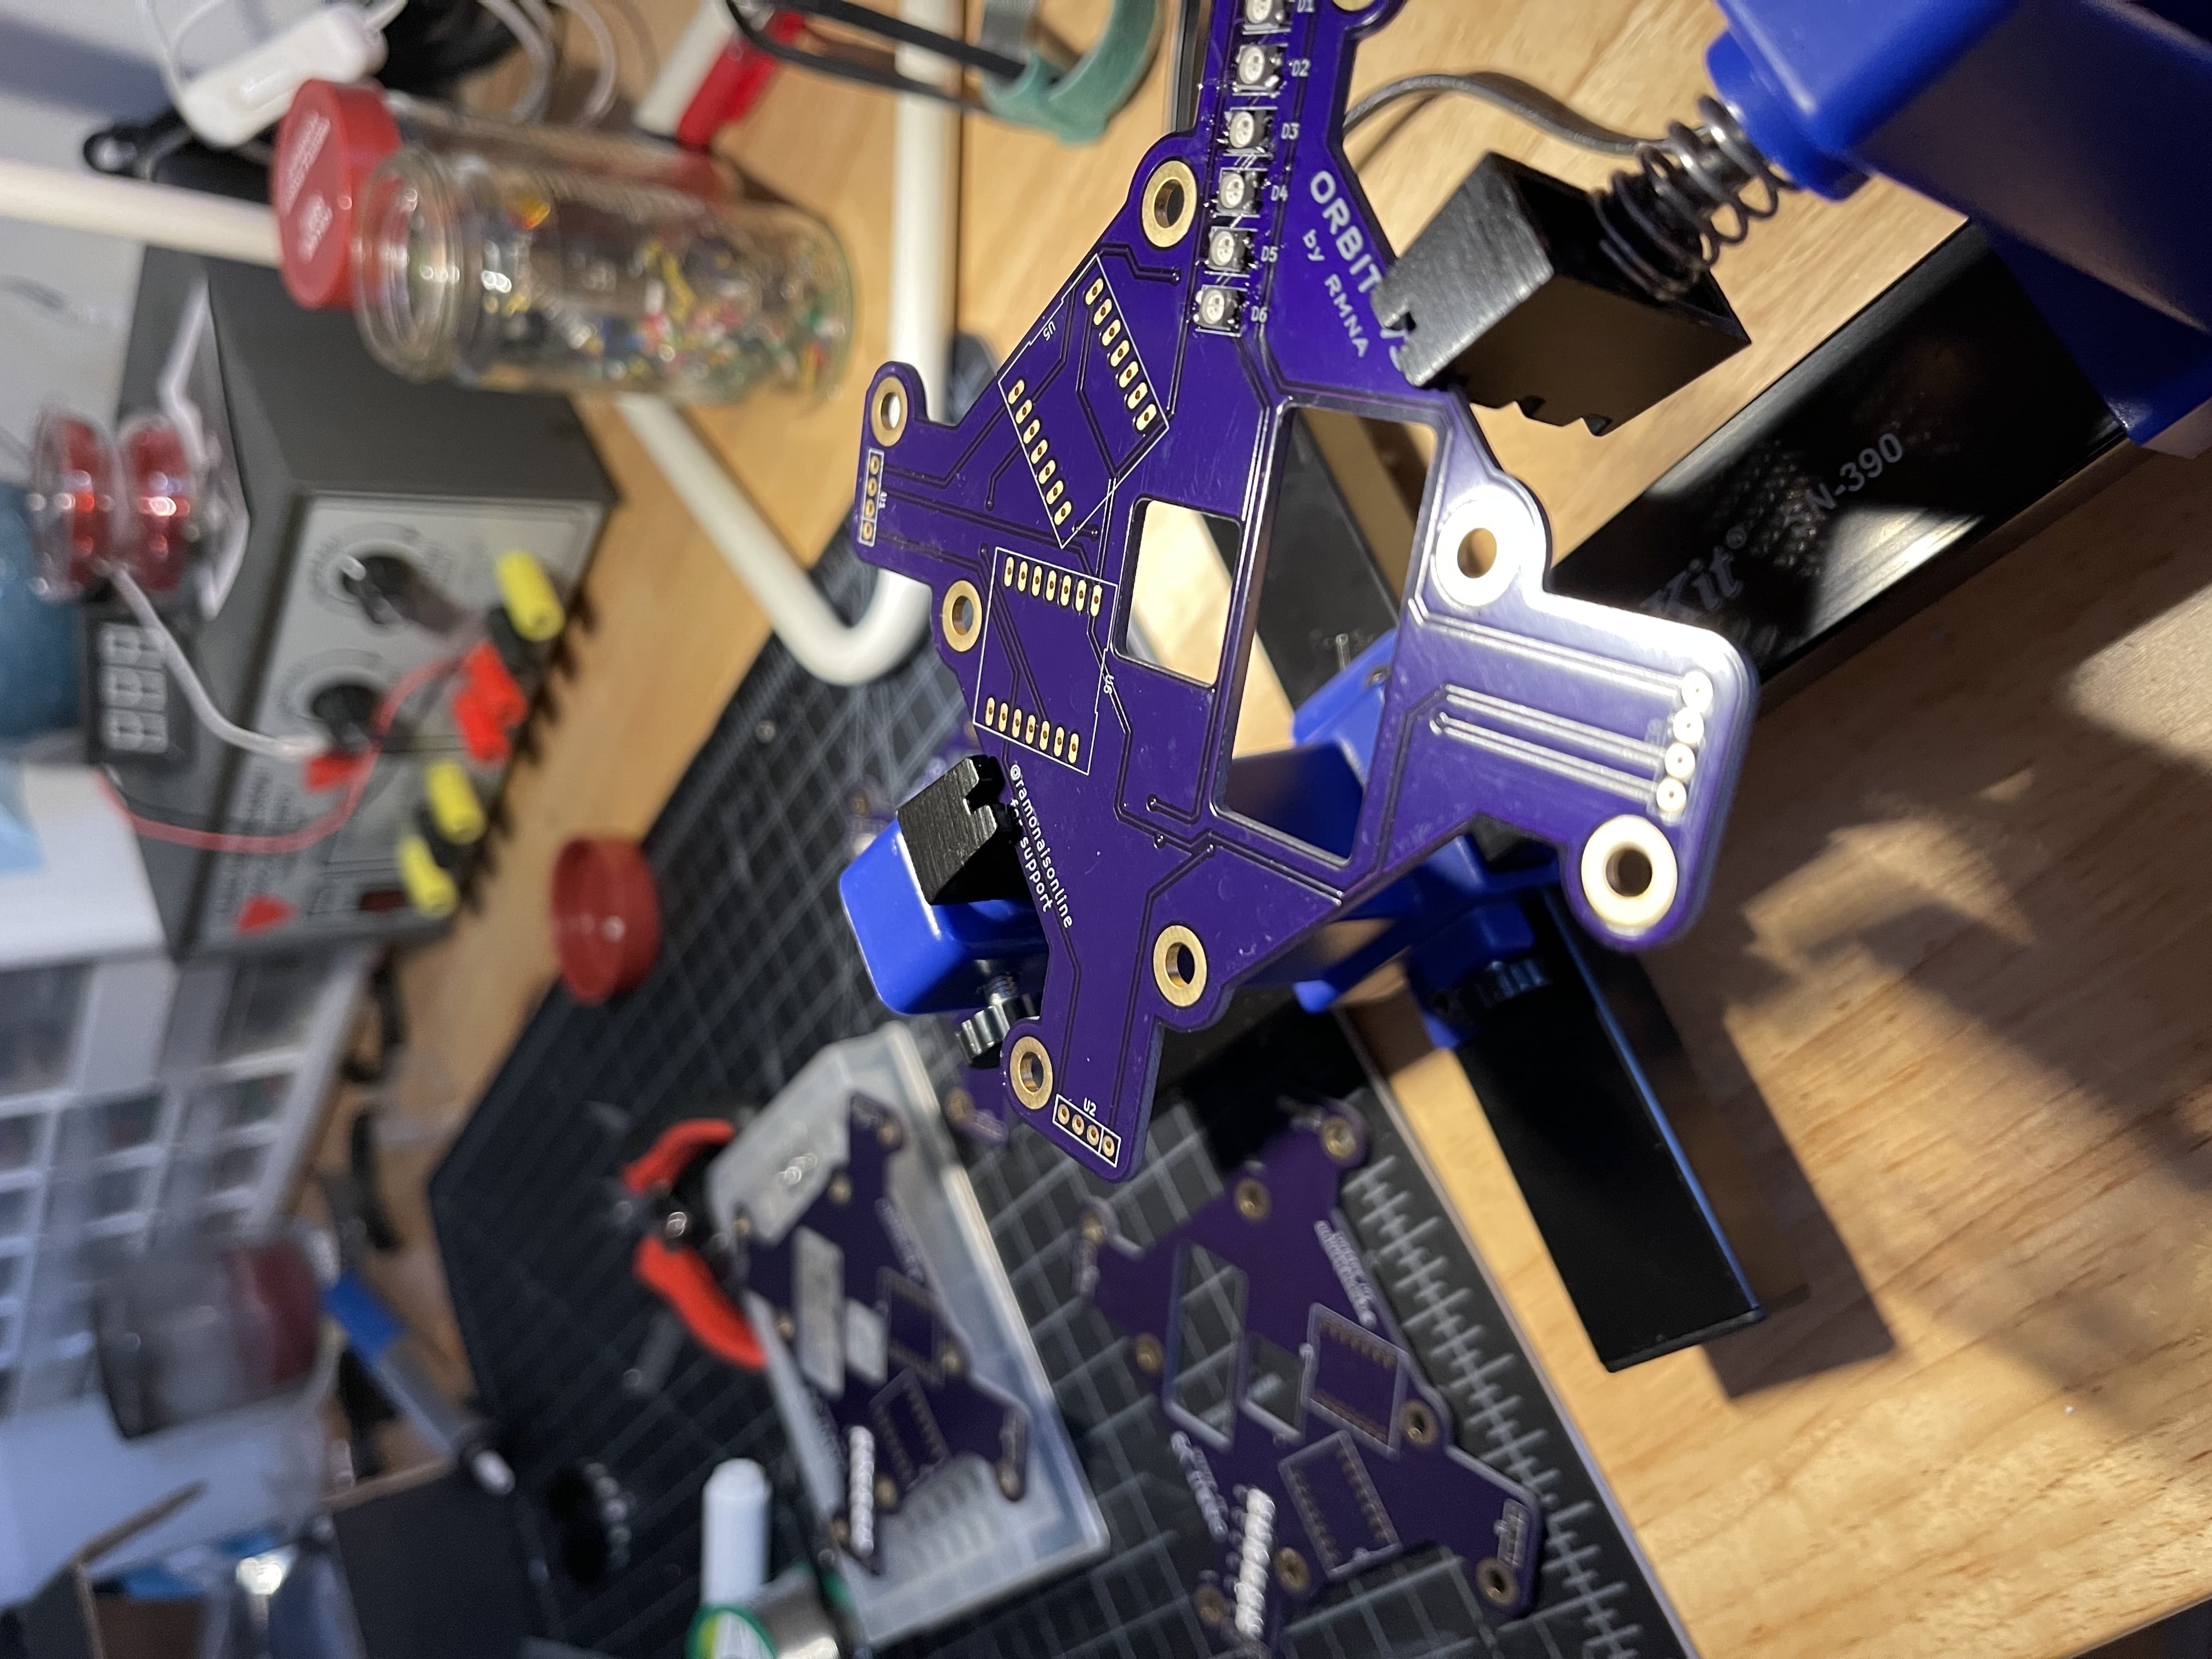
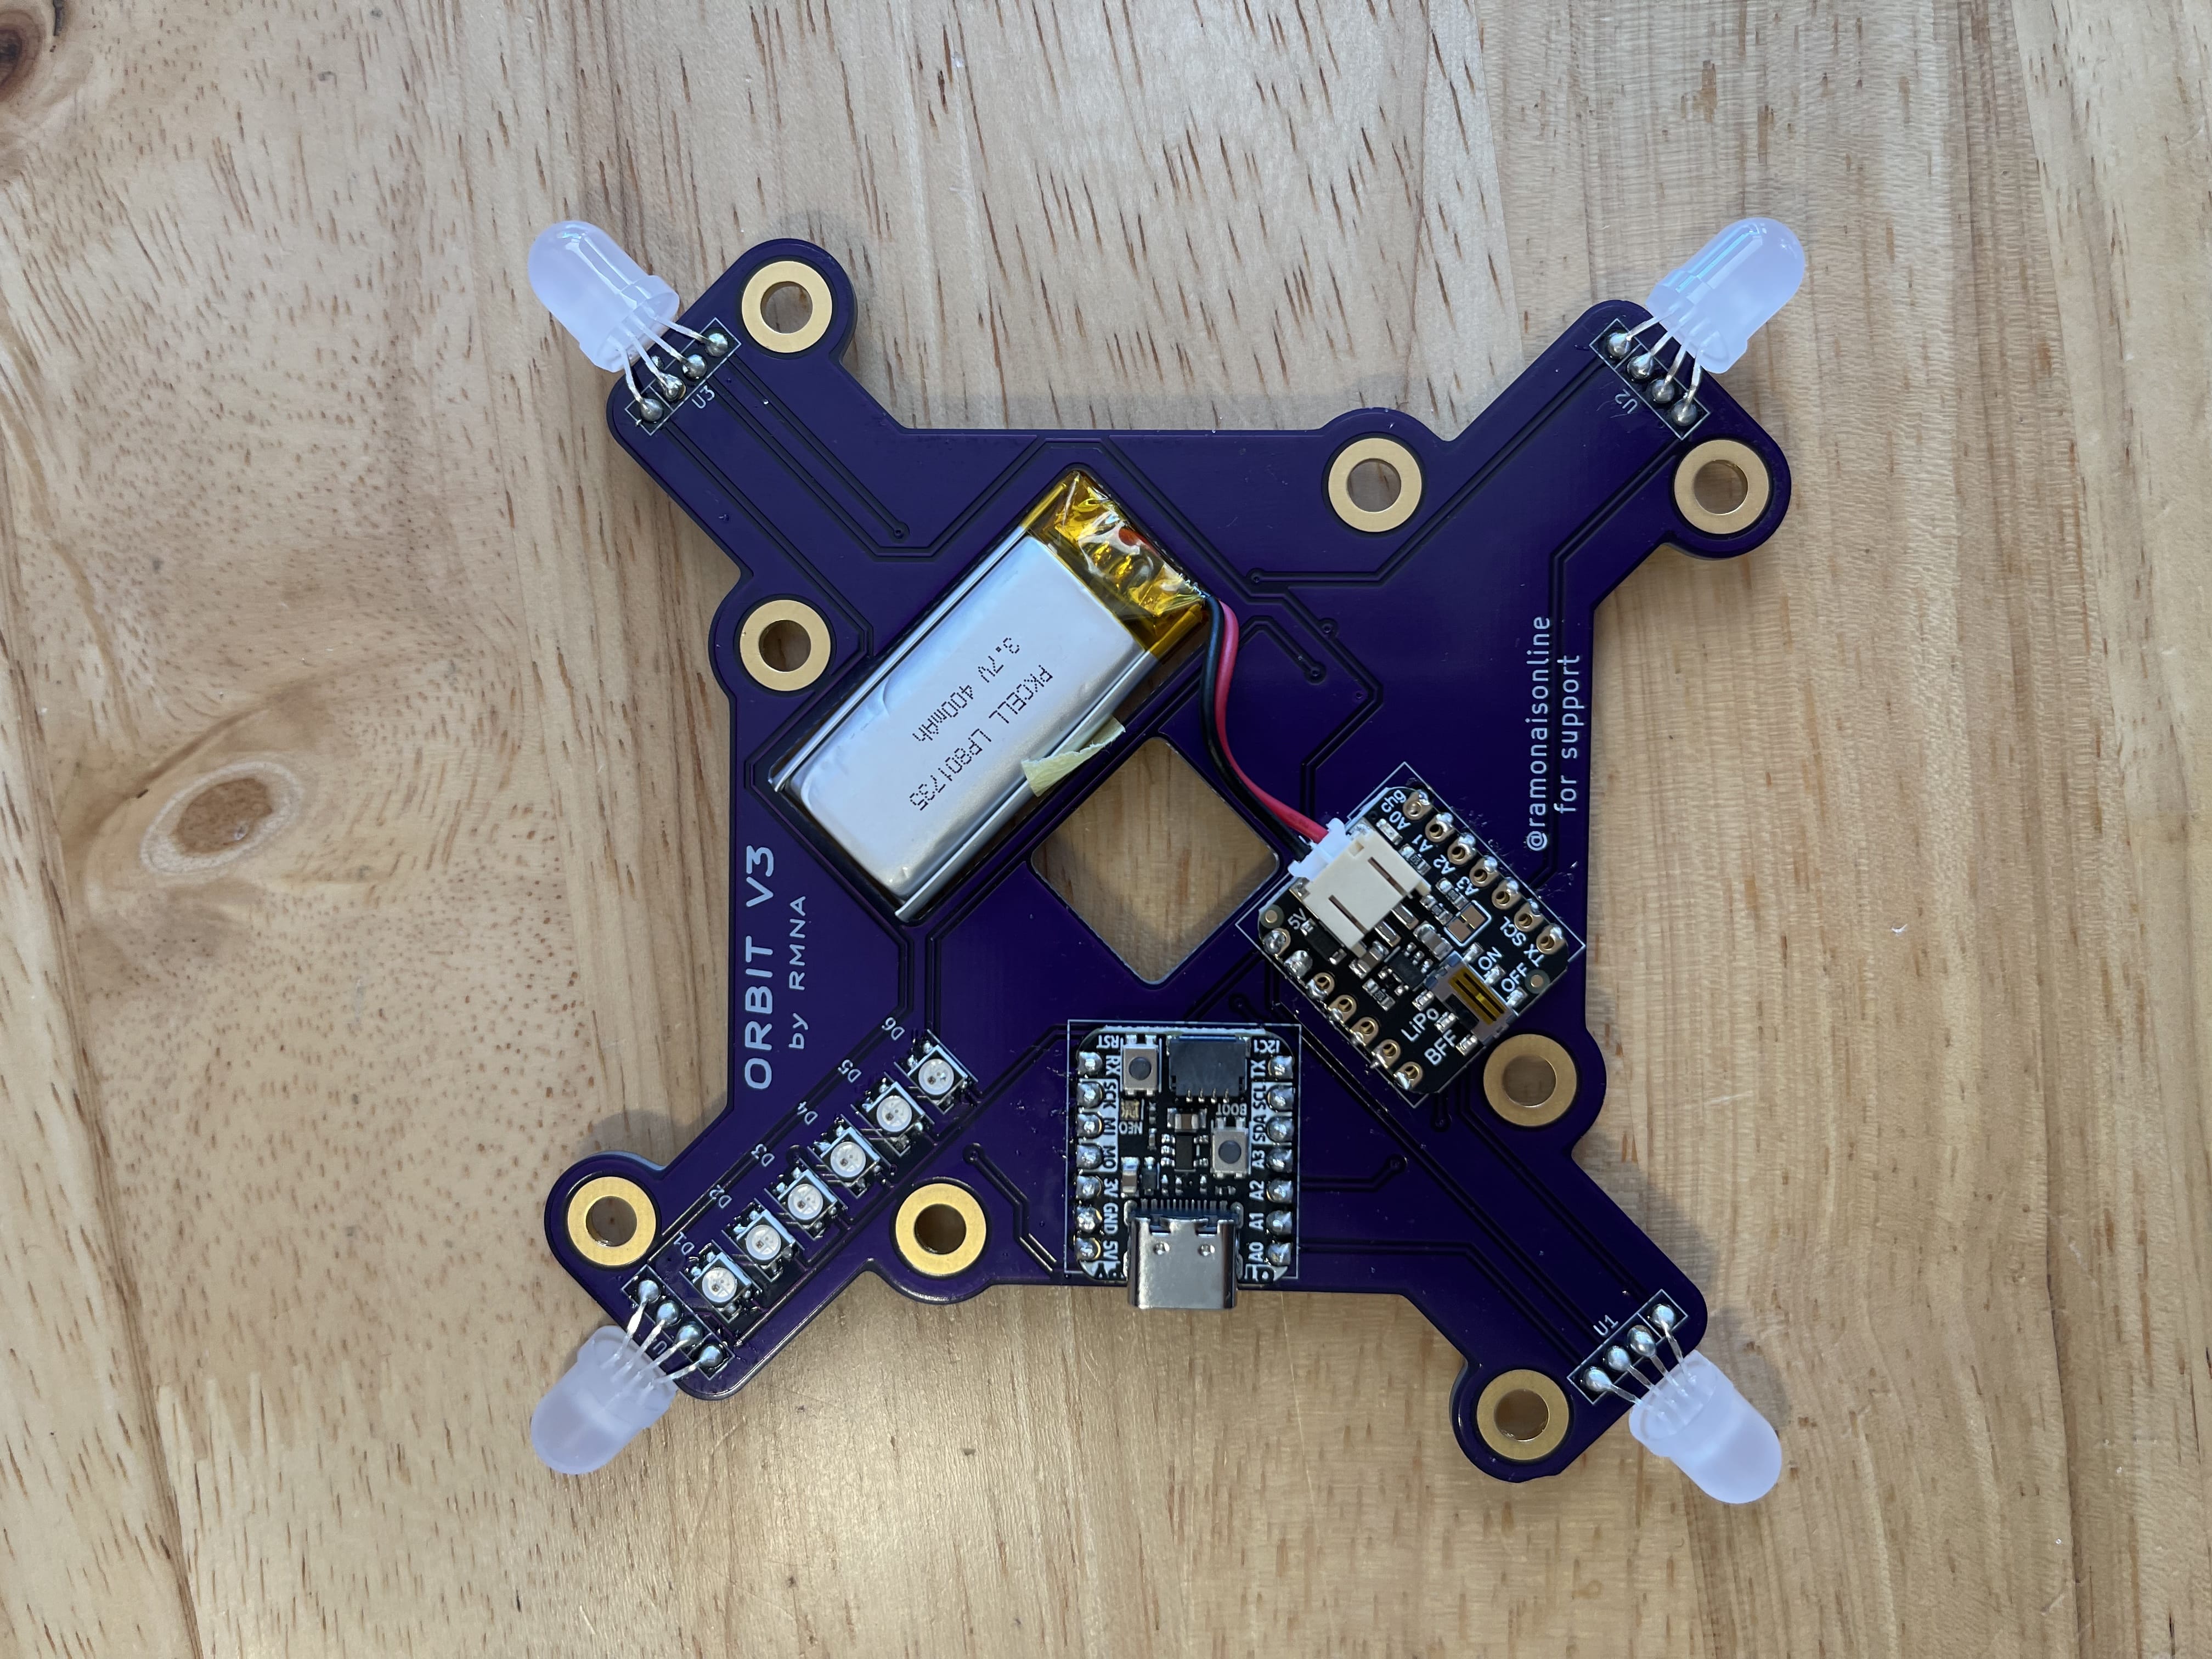
The enclosure for this project was one of the trickiest I’ve worked on so far, but almost everything fit perfectly. The exception was that JST connector for the battery — I guess I mis-measured a bit because it was hitting the lid of the case and I had to modify my model a bit. But the board itself snapped into the bottom just perfectly!
Assembly
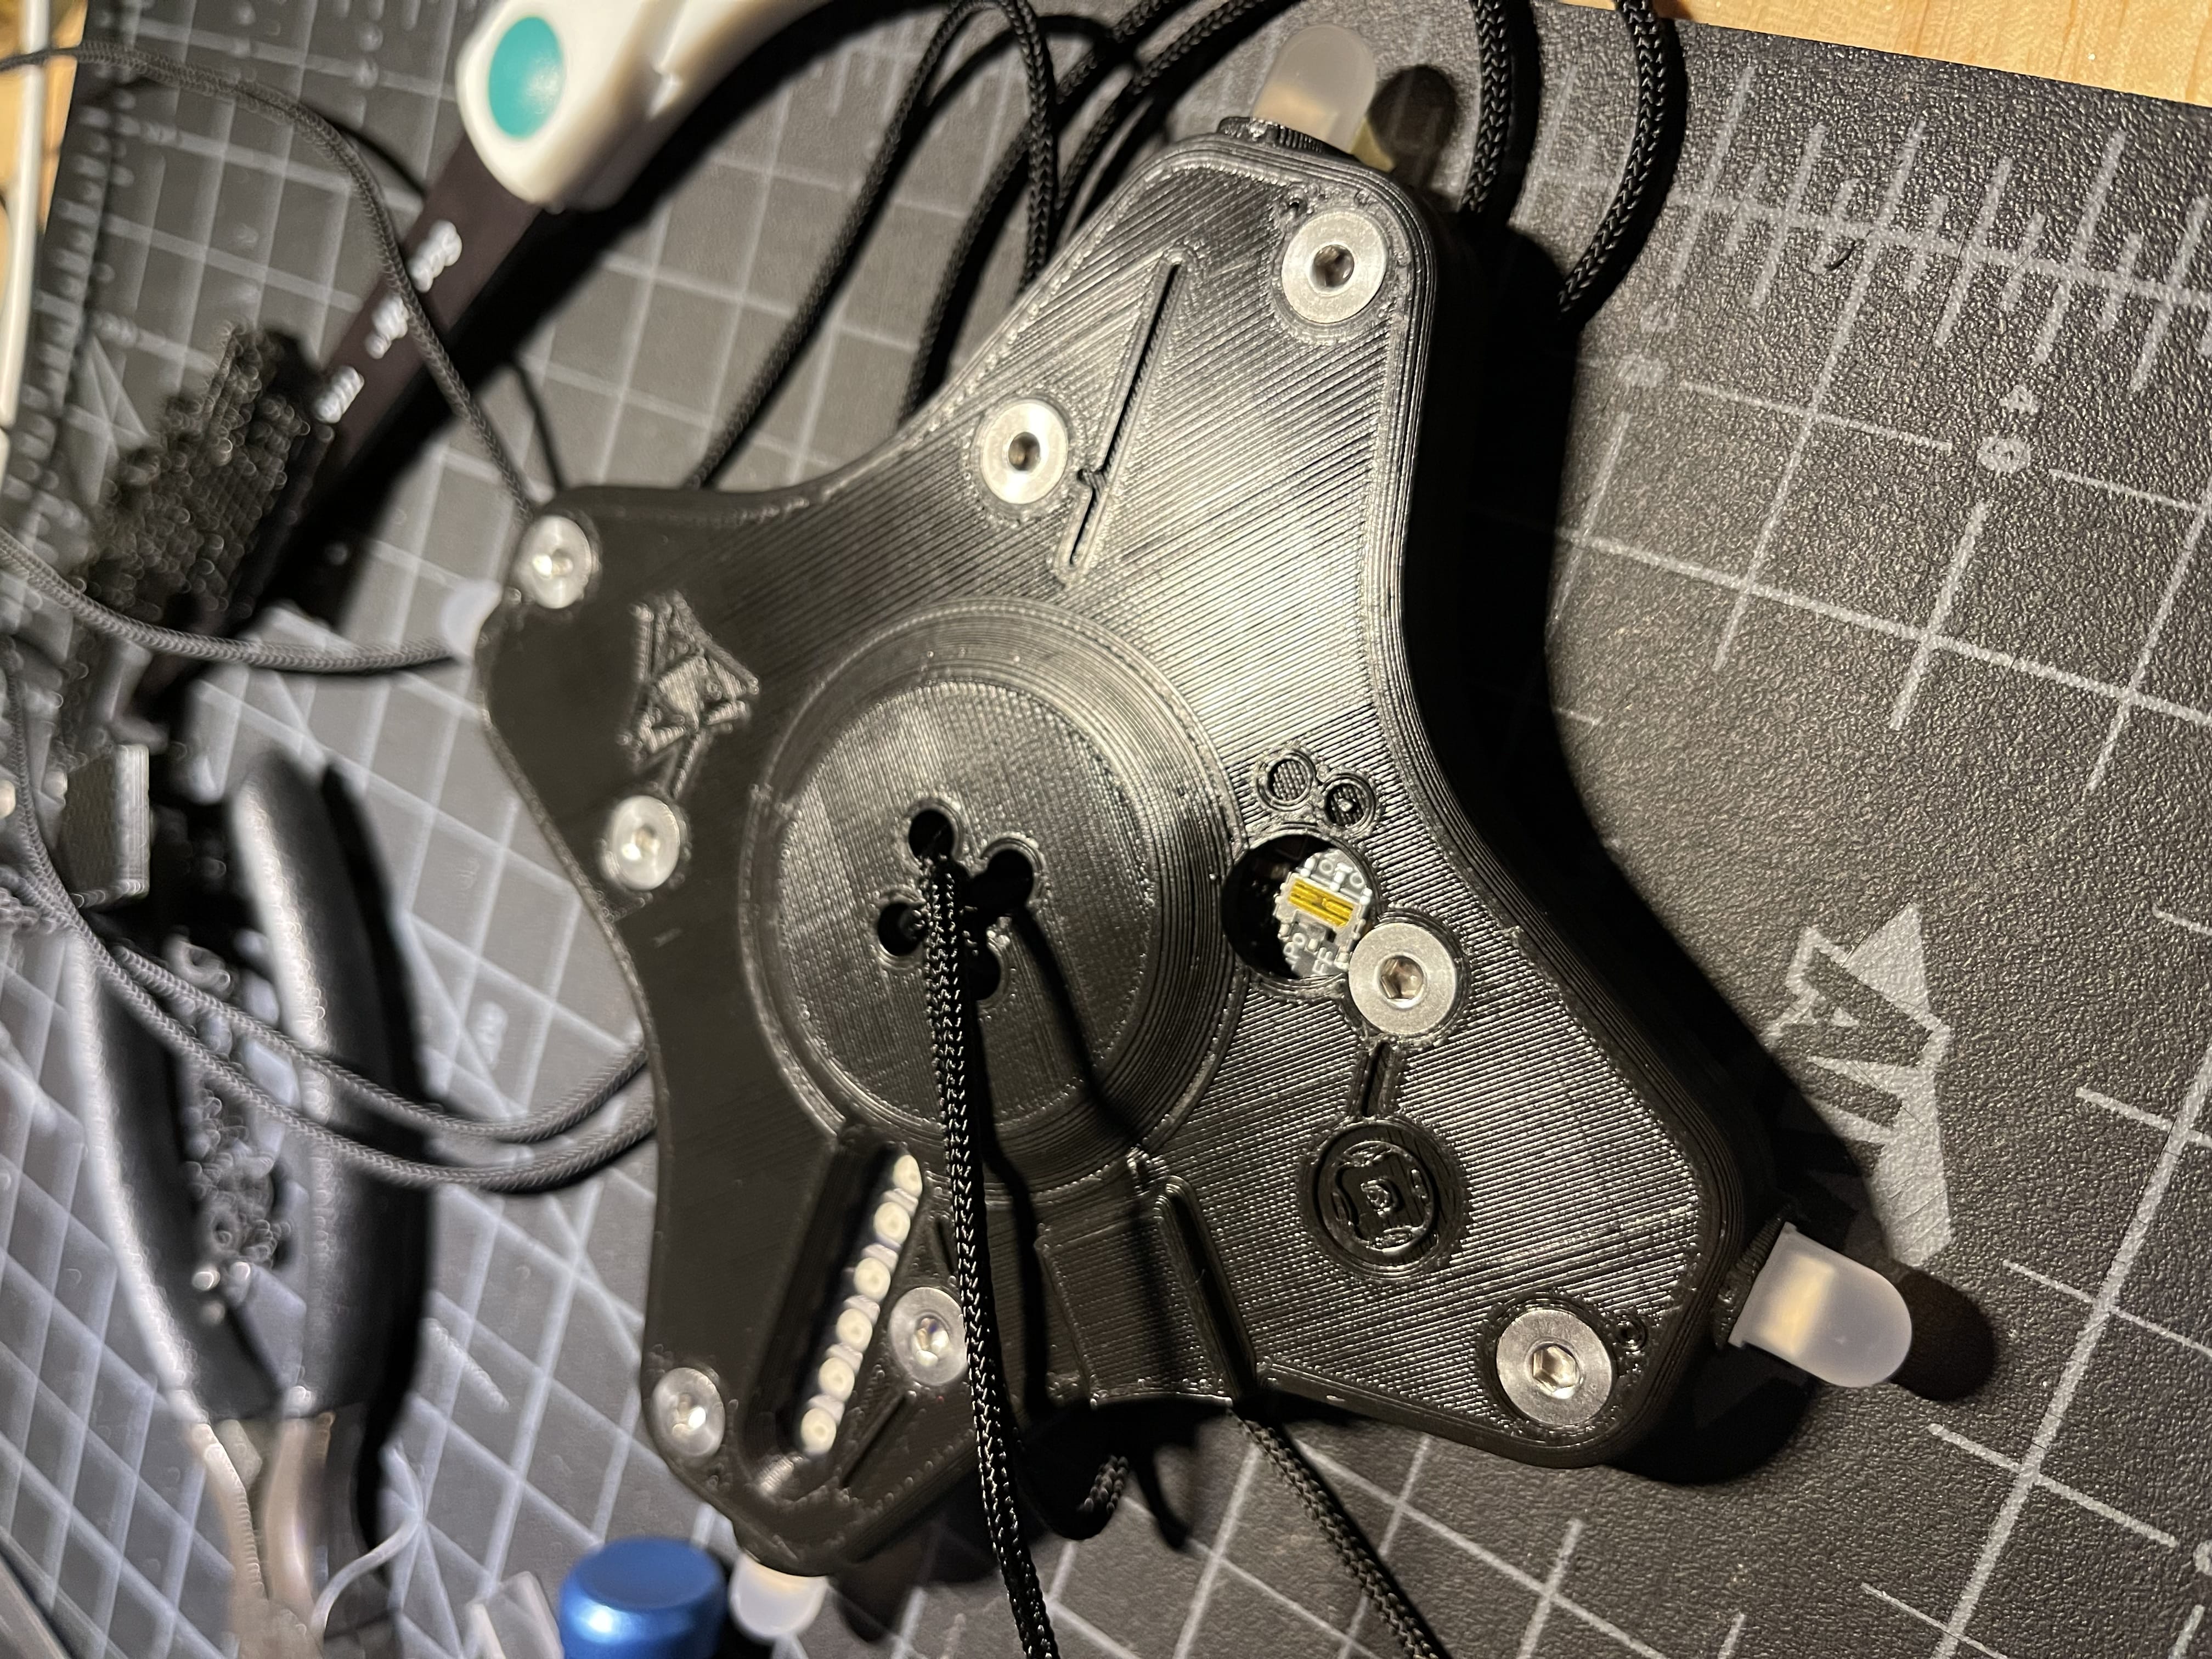
Here's a video of me assembling a V3 orbit! Those are countersunk M4 bolts that connect to the capacitive touch pads on the circuit board by way of some bent-open split rings that act kinda like springs. The angled head allows it to have a wide touch area for the capacitive touch interface, while still having a good hold on a relatively slim enclosure. I loved the effect of these!
In practice, they did loosen up a bit, and the split-ring-spring idea kinda worked but could be more reliable.
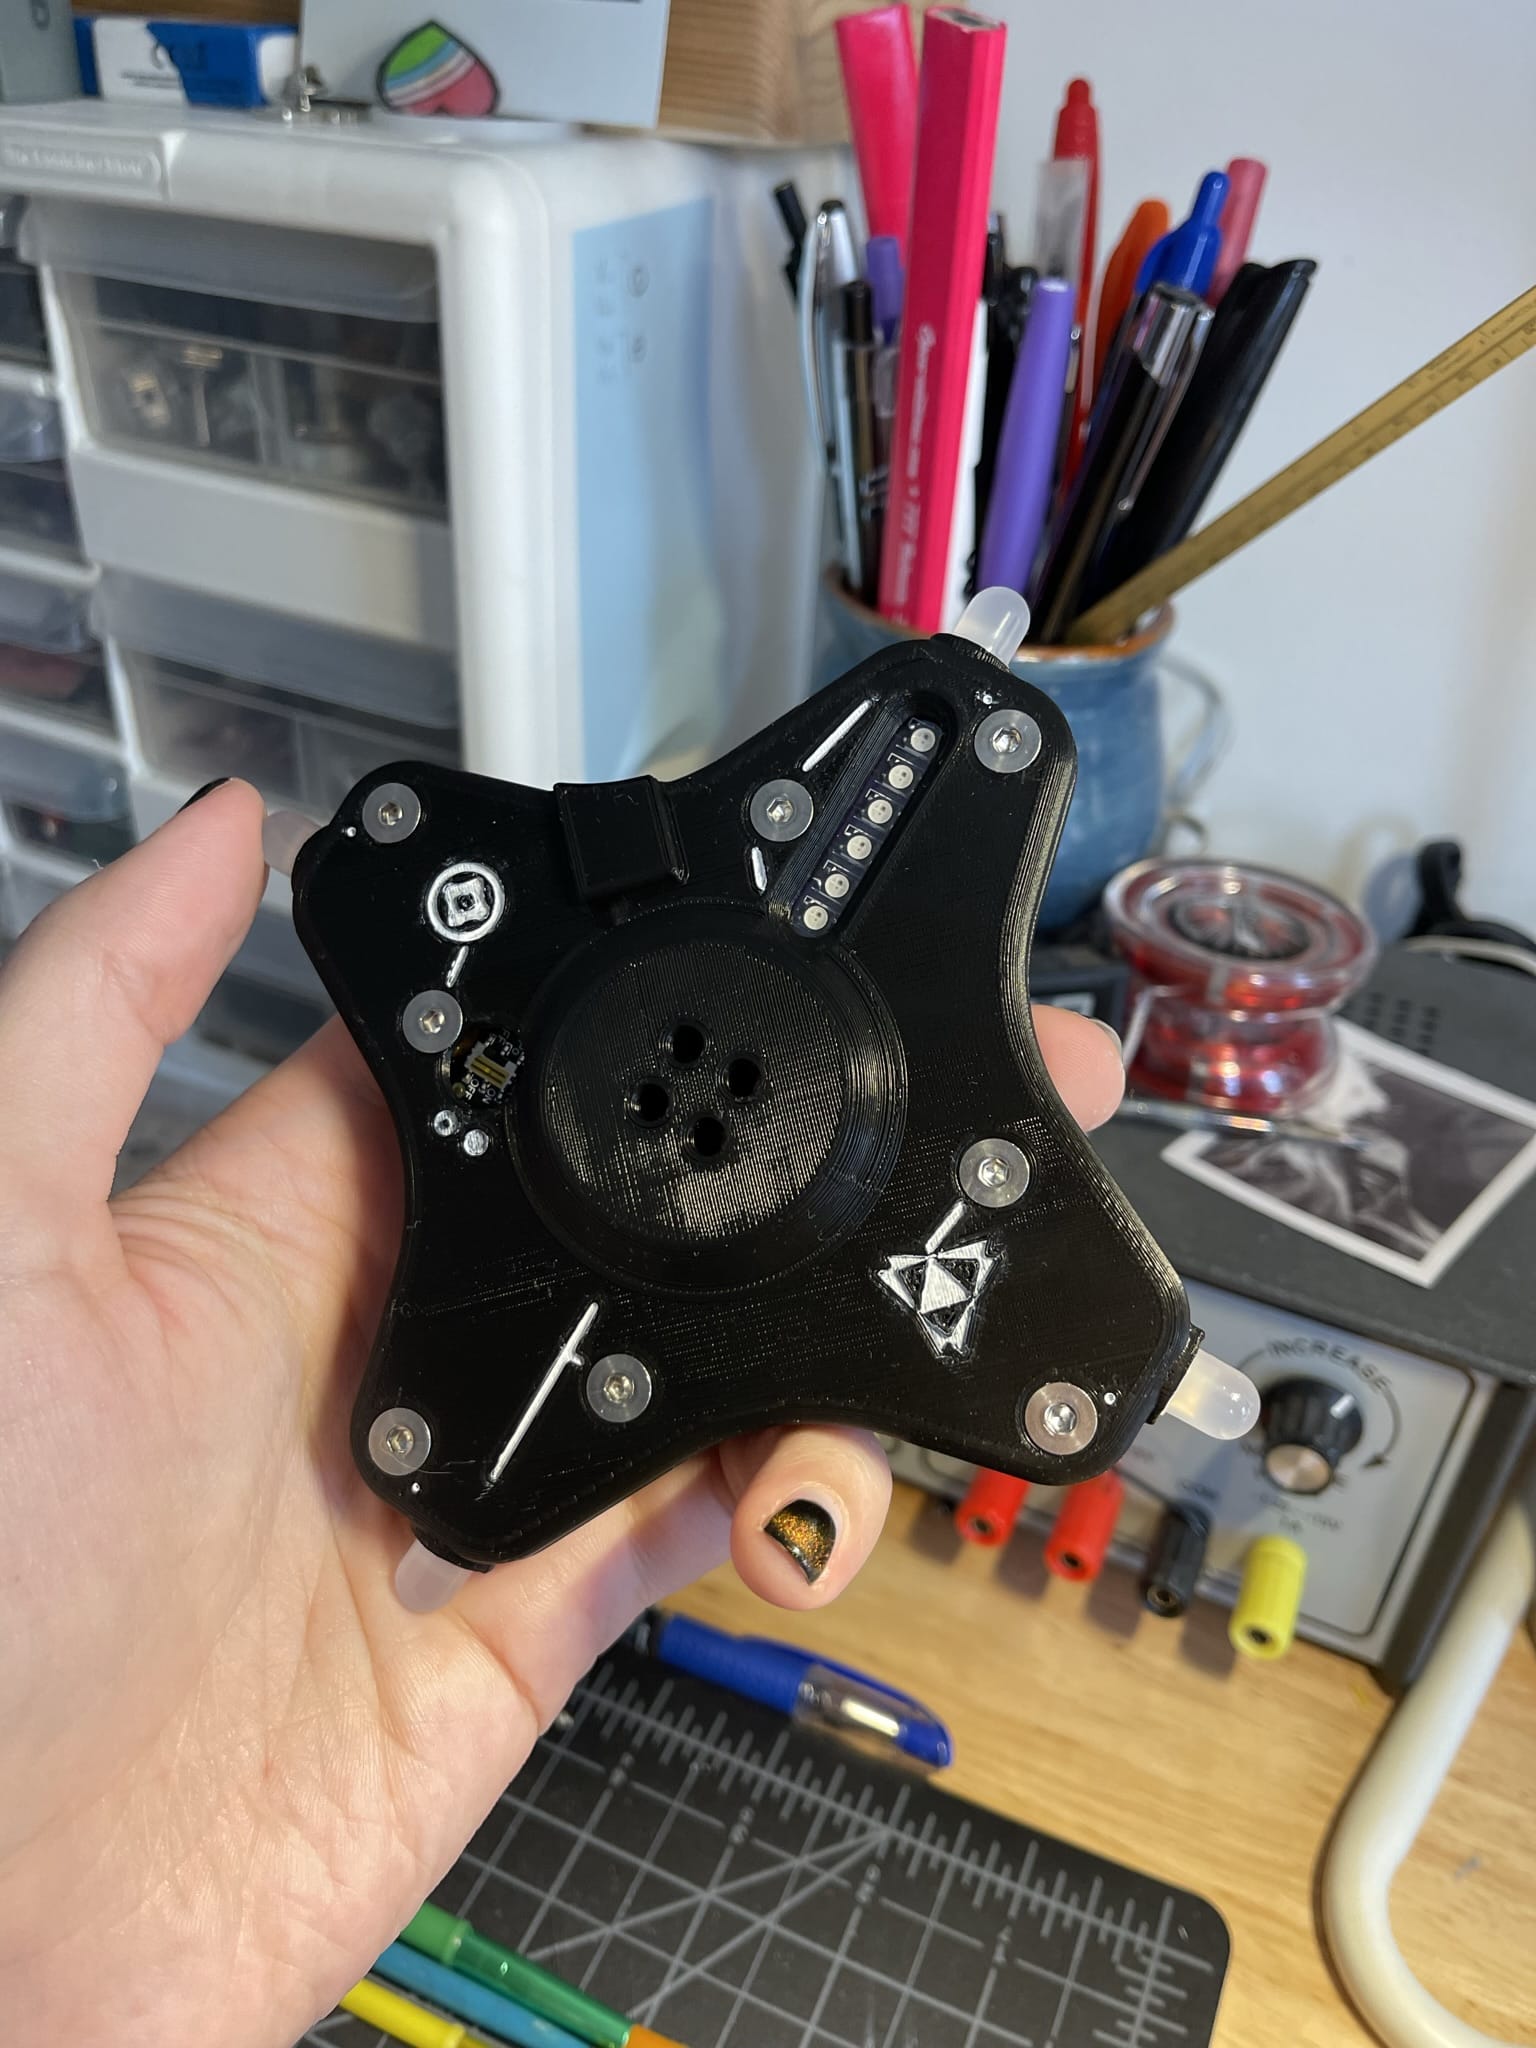
This version also has touch-sensitive bolts instead of buttons, and I created some inset symbols that I painted to show what bolt controls which light. This model also has multiple patterns and a lock feature so you don’t accidentally change settings when handling it.
Interface
There are four LEDs on the edge of the orbit that create a ring when spinning (and swirling trails when moving in larger circles). Then there's a strip of six tiny LEDs on each side, that make broad filled areas. Using the capacitive touch pads you can set the color of each of these six lights independently. There are two other capacitive touch buttons exposed: one switches to different lighting effects (fading softly, wobbling in hue, blinking at different rates), and the other locks the controls so you don't accidentally change settings you like while handling it.
Demo
Here's a video of a friend using the orbit at a club night!
Some day I'll make a recording of all the different modes you can toggle through and the different lighting effects!
Ultimately, I love the way this came out, though it is quite large and heavy compared to other commercially available orbits. I'd like to try making another one that doesn't have any electronics in it but still has fun and customizable color effects — maybe with glow in the dark pigment and hand-mounted UV LEDs :)