Status choker
After building the cyberdemon choker, I wanted to experiment more with this format, but explore a programmable display. The Adafruit Feather microcontrollers have accessory boards called FeatherWings, and there's a ton of them! Including this one with a 14-segment alphanumeric display driver that can control four digits.
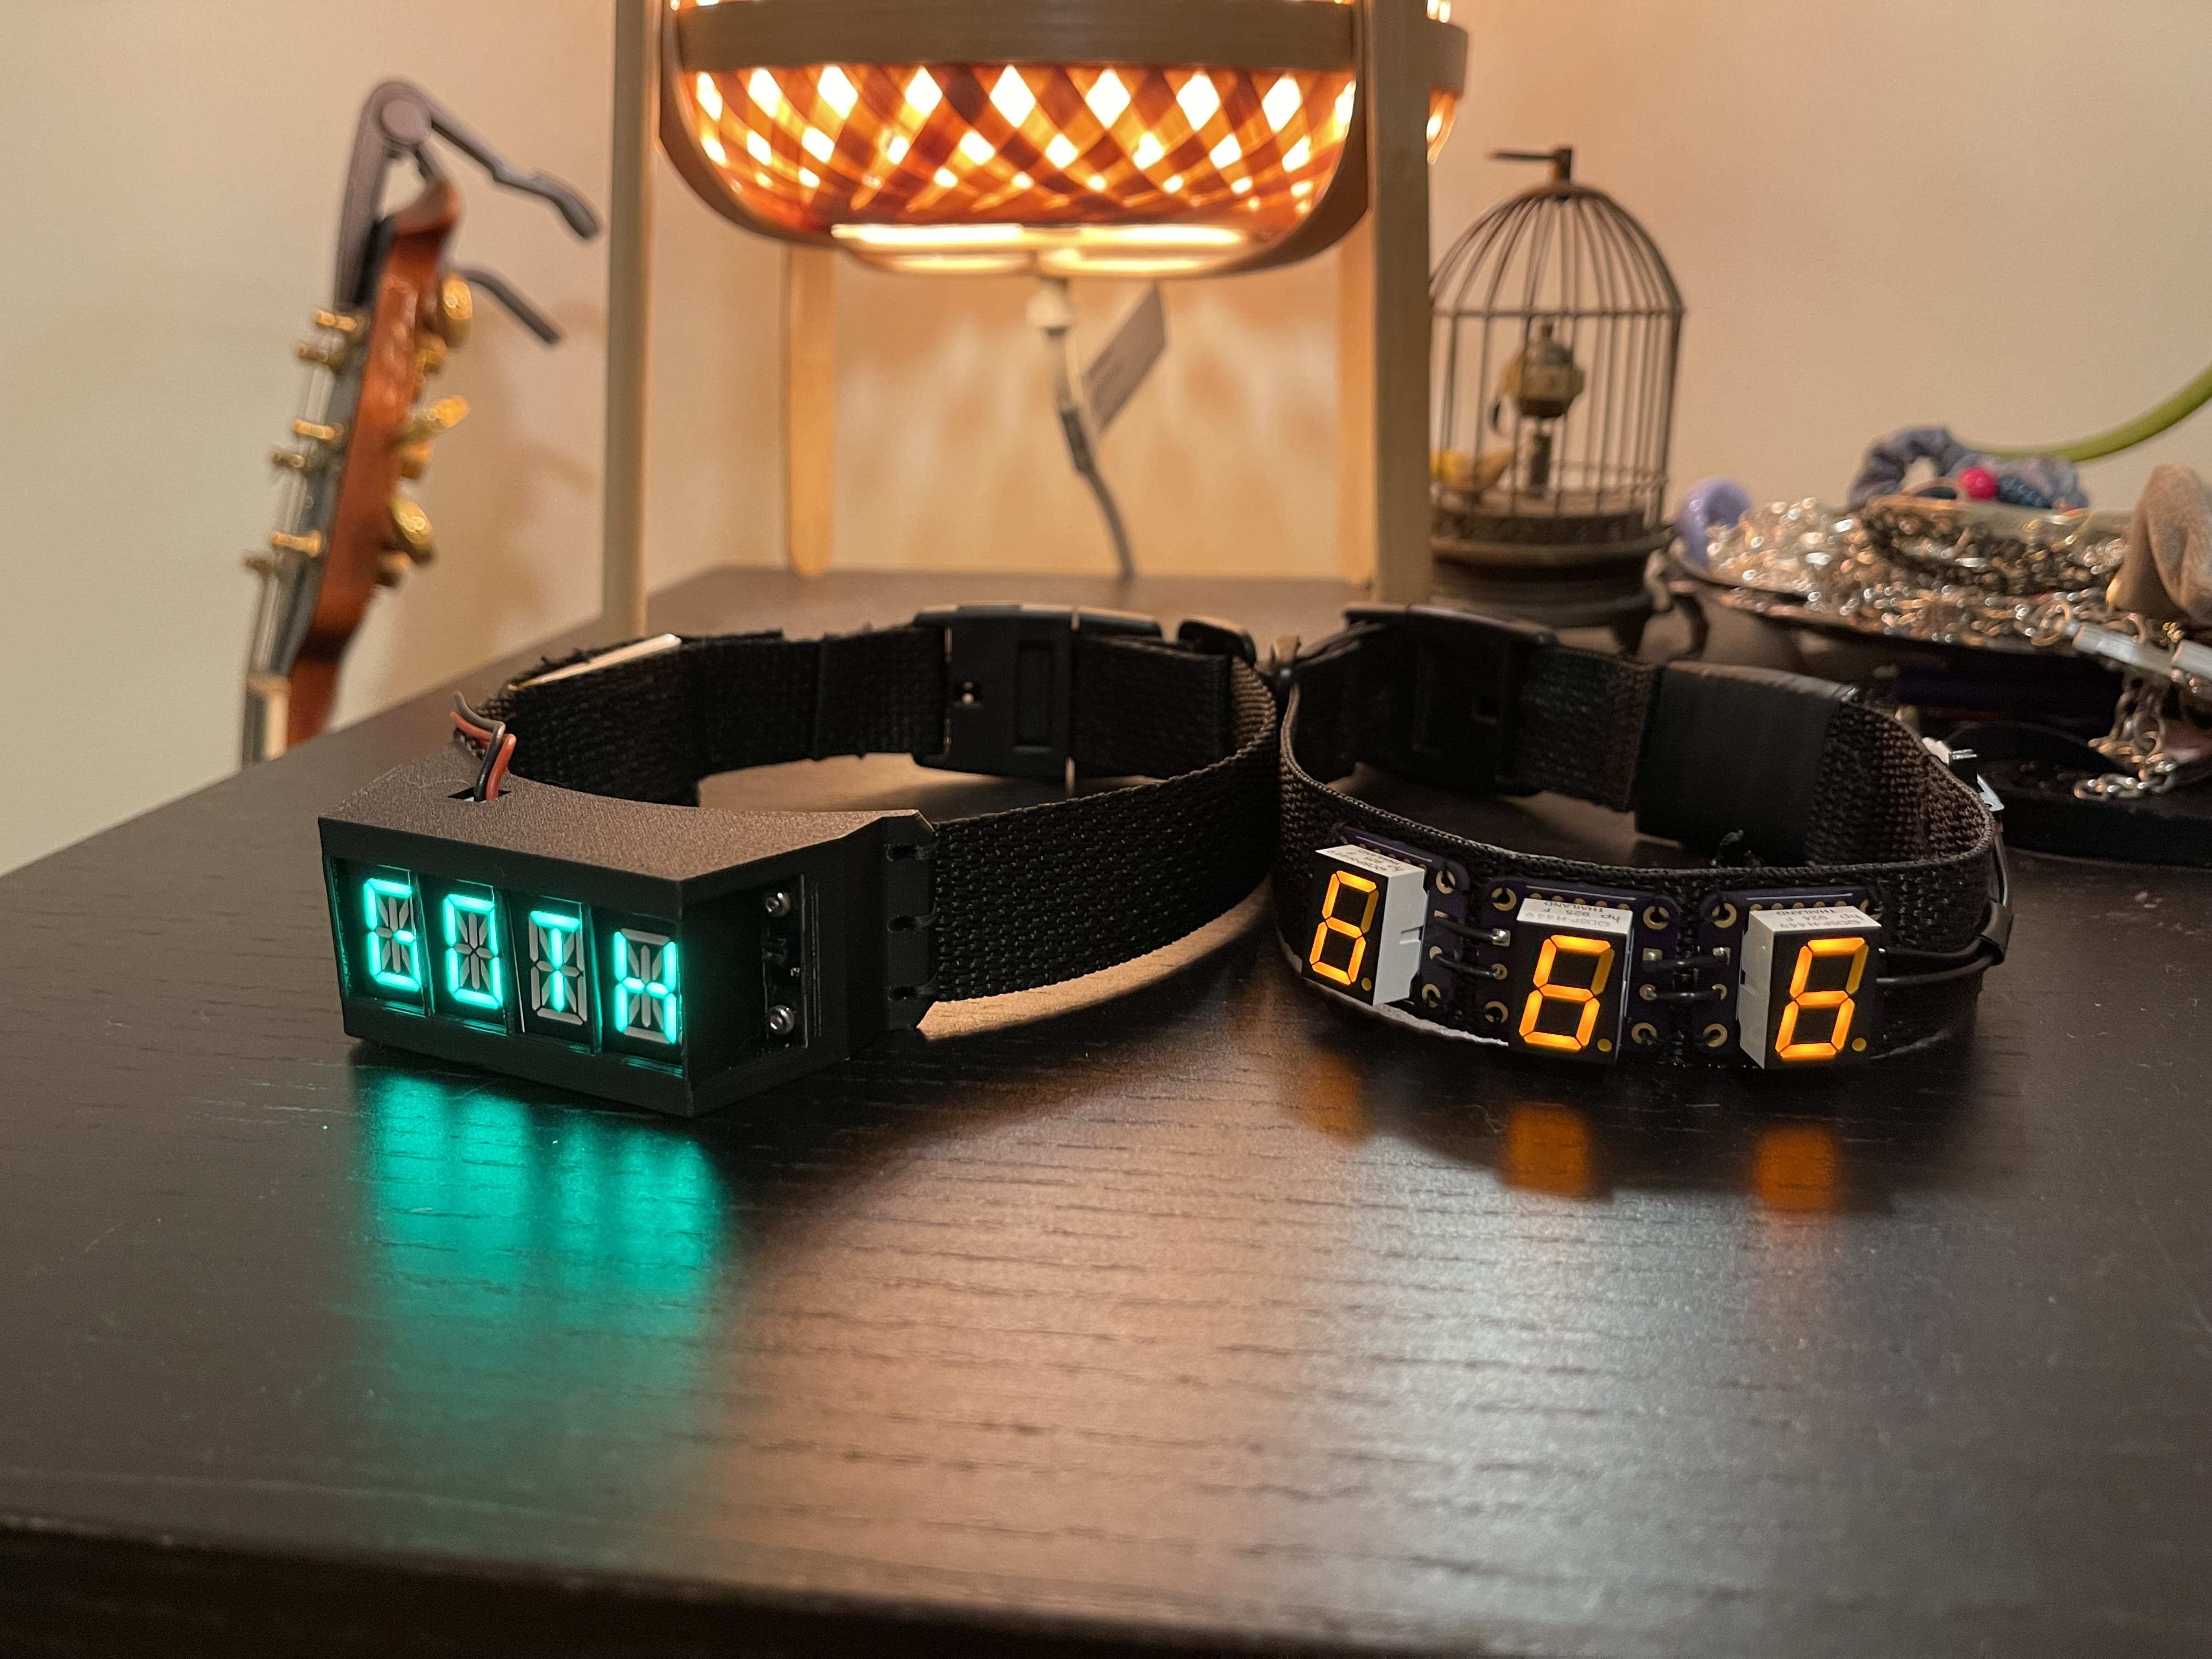
Over the course of many iterations, I designed a new choker with an integrated microcontroller that lets you program in your own messages and text effects, so you can share status updates at the club.
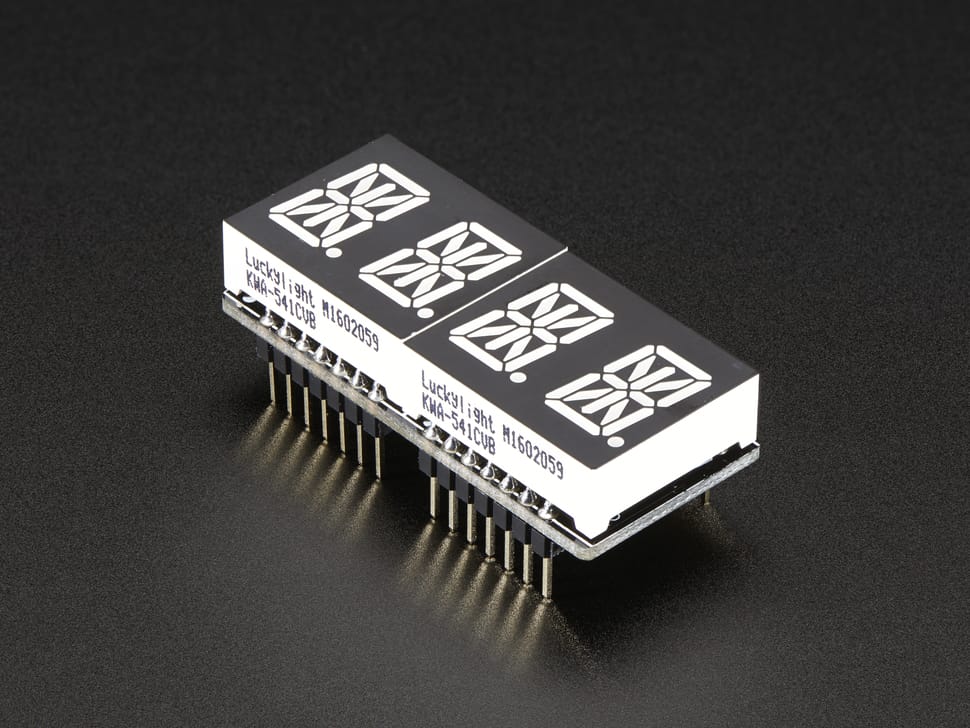
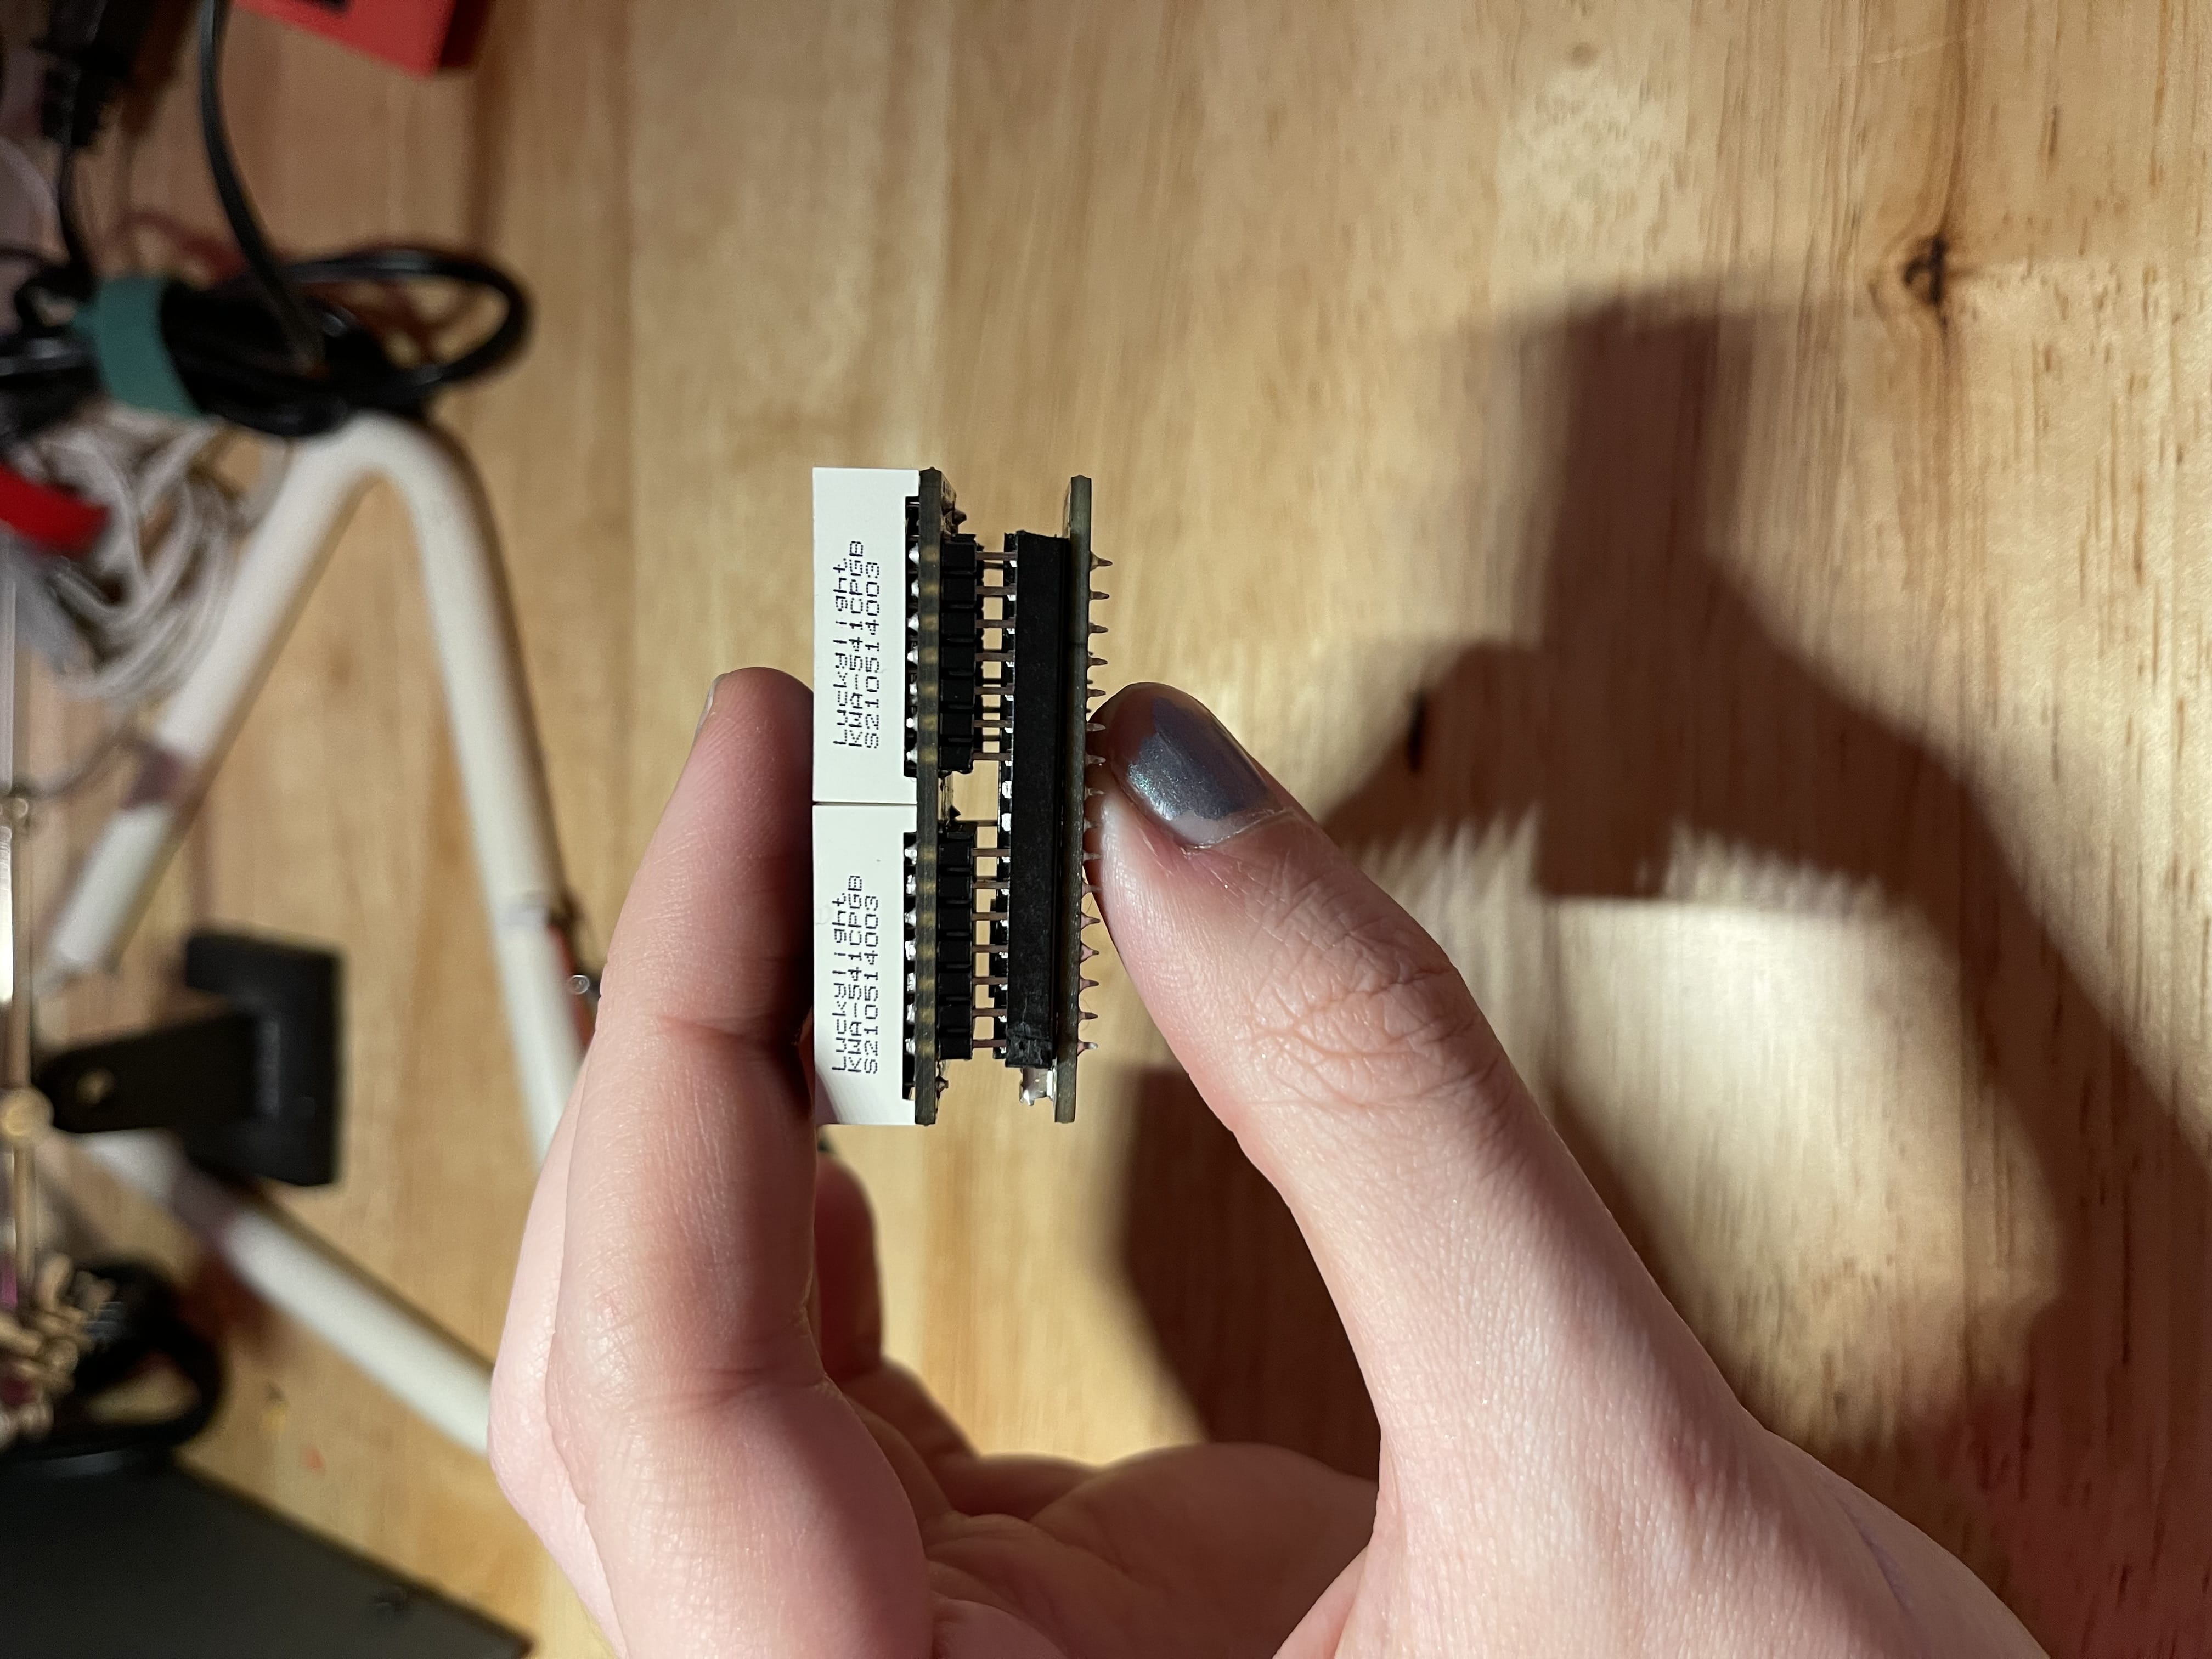
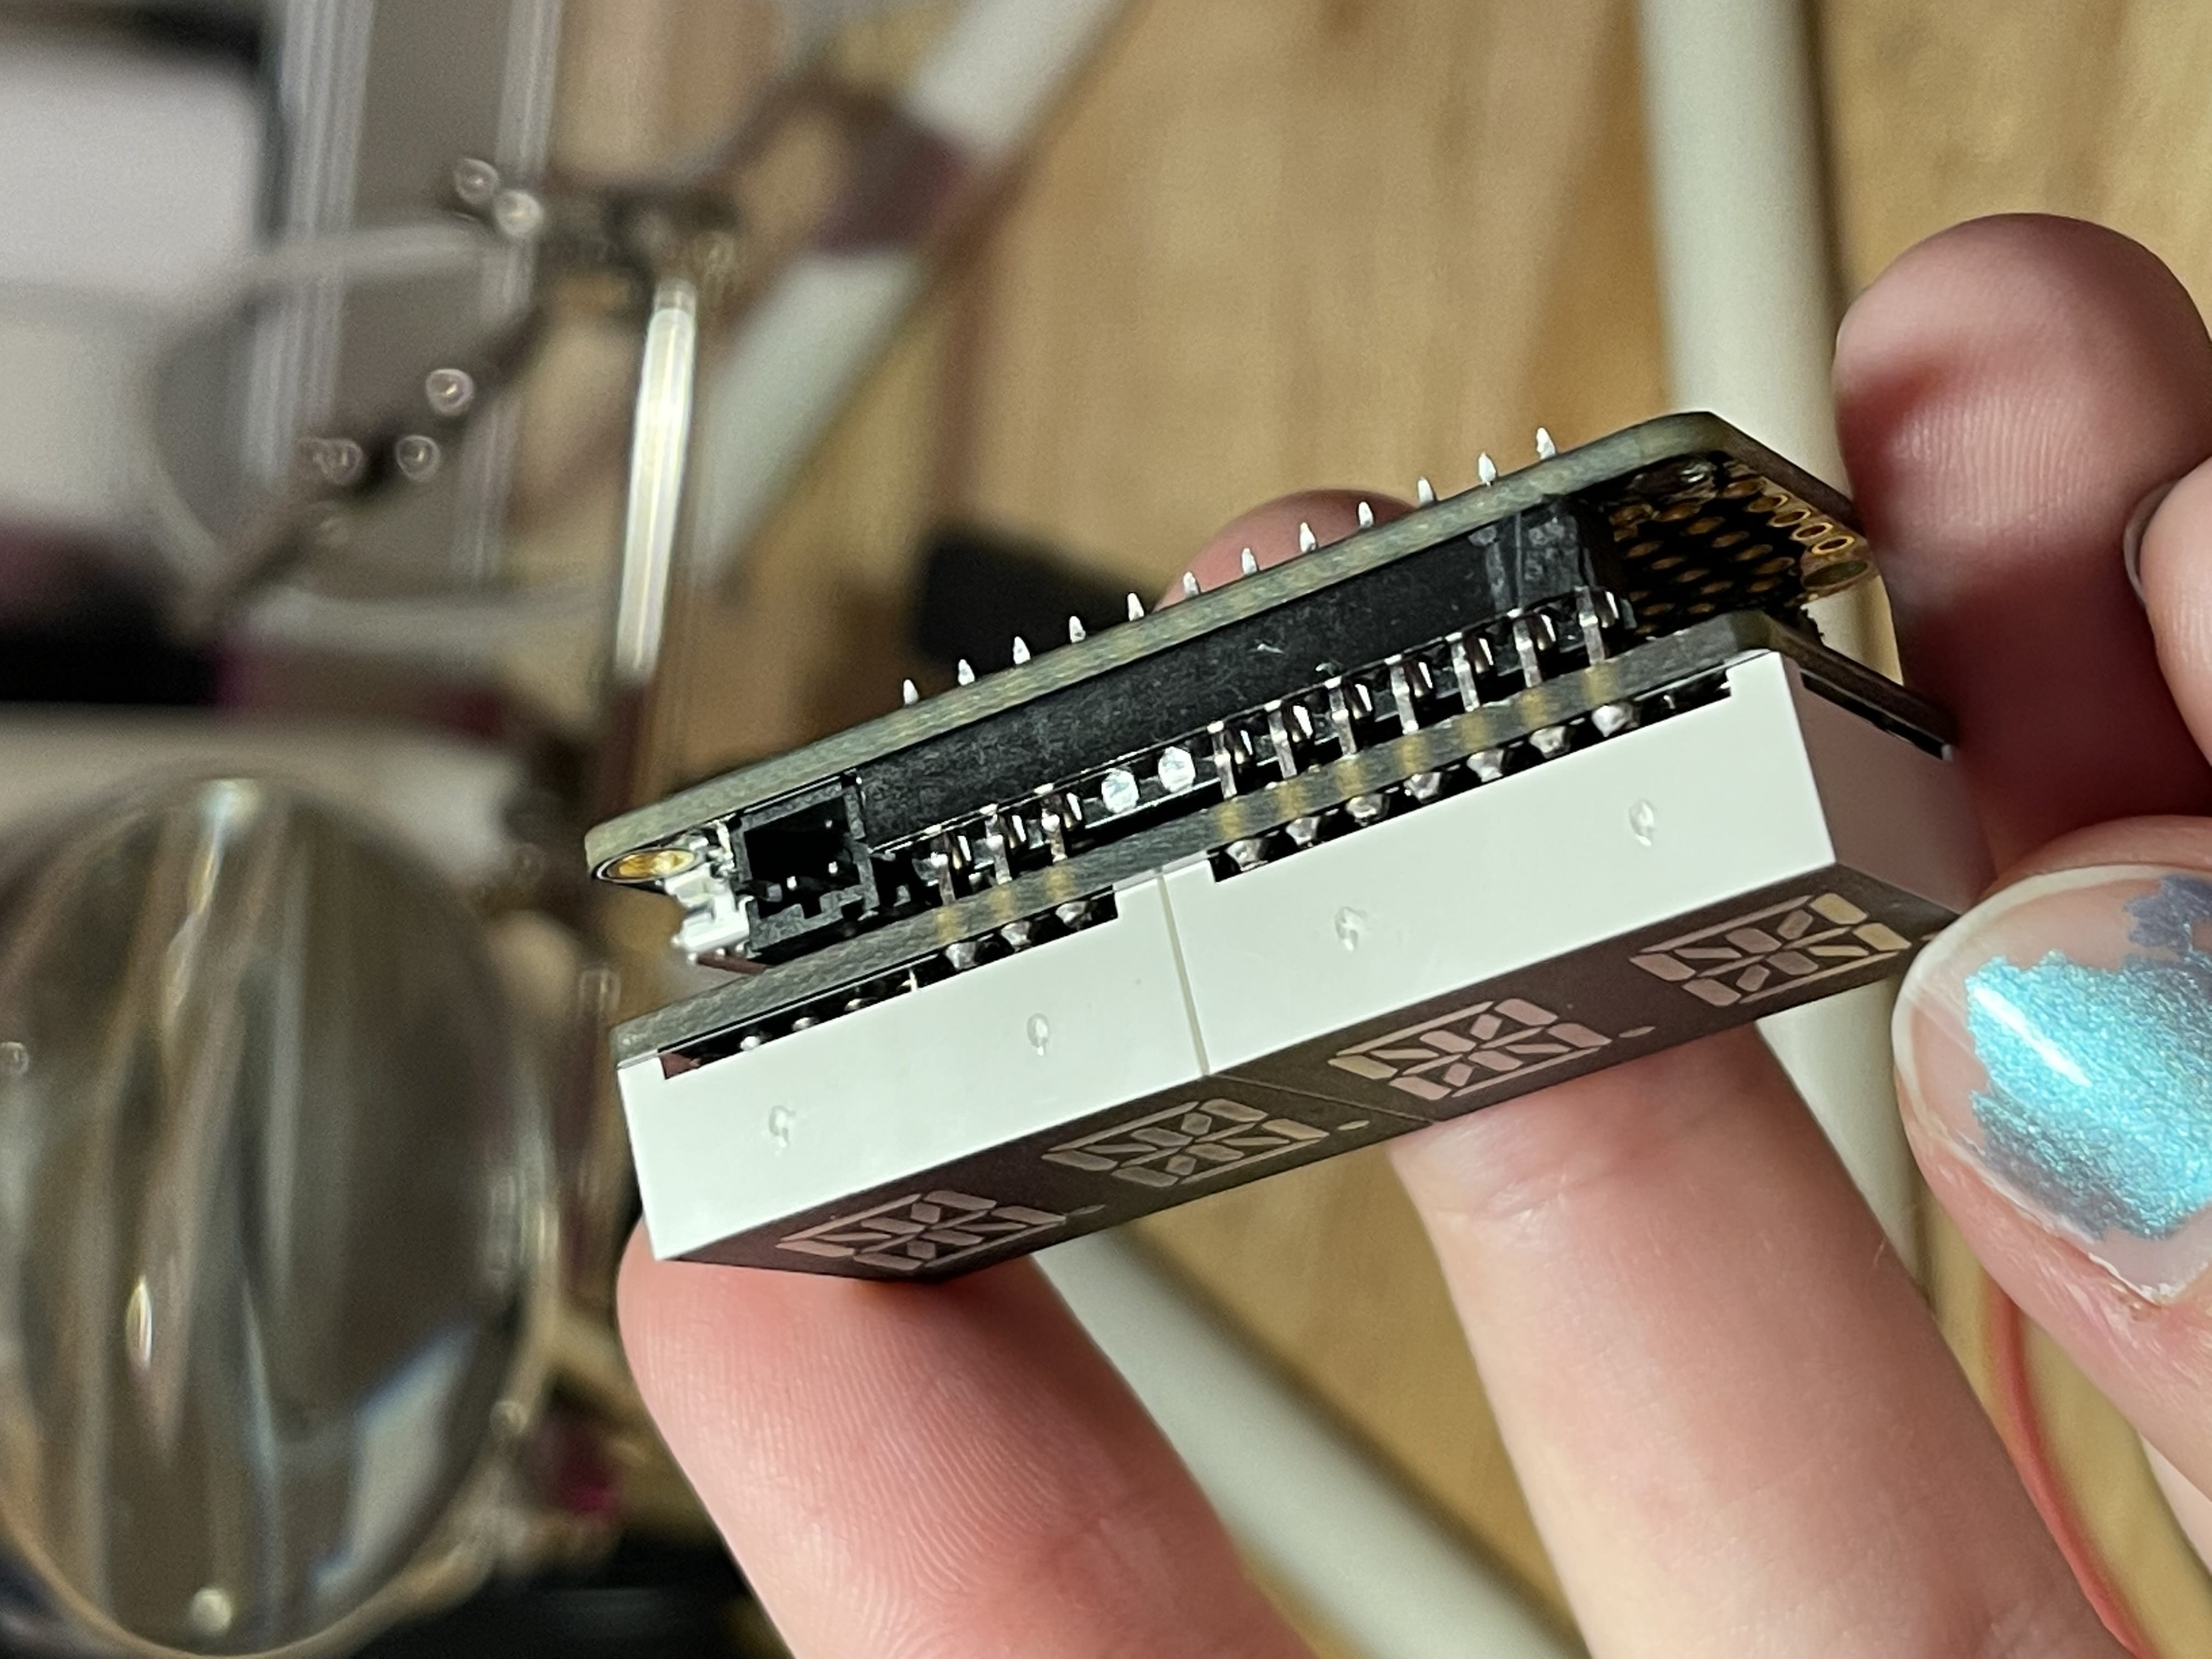
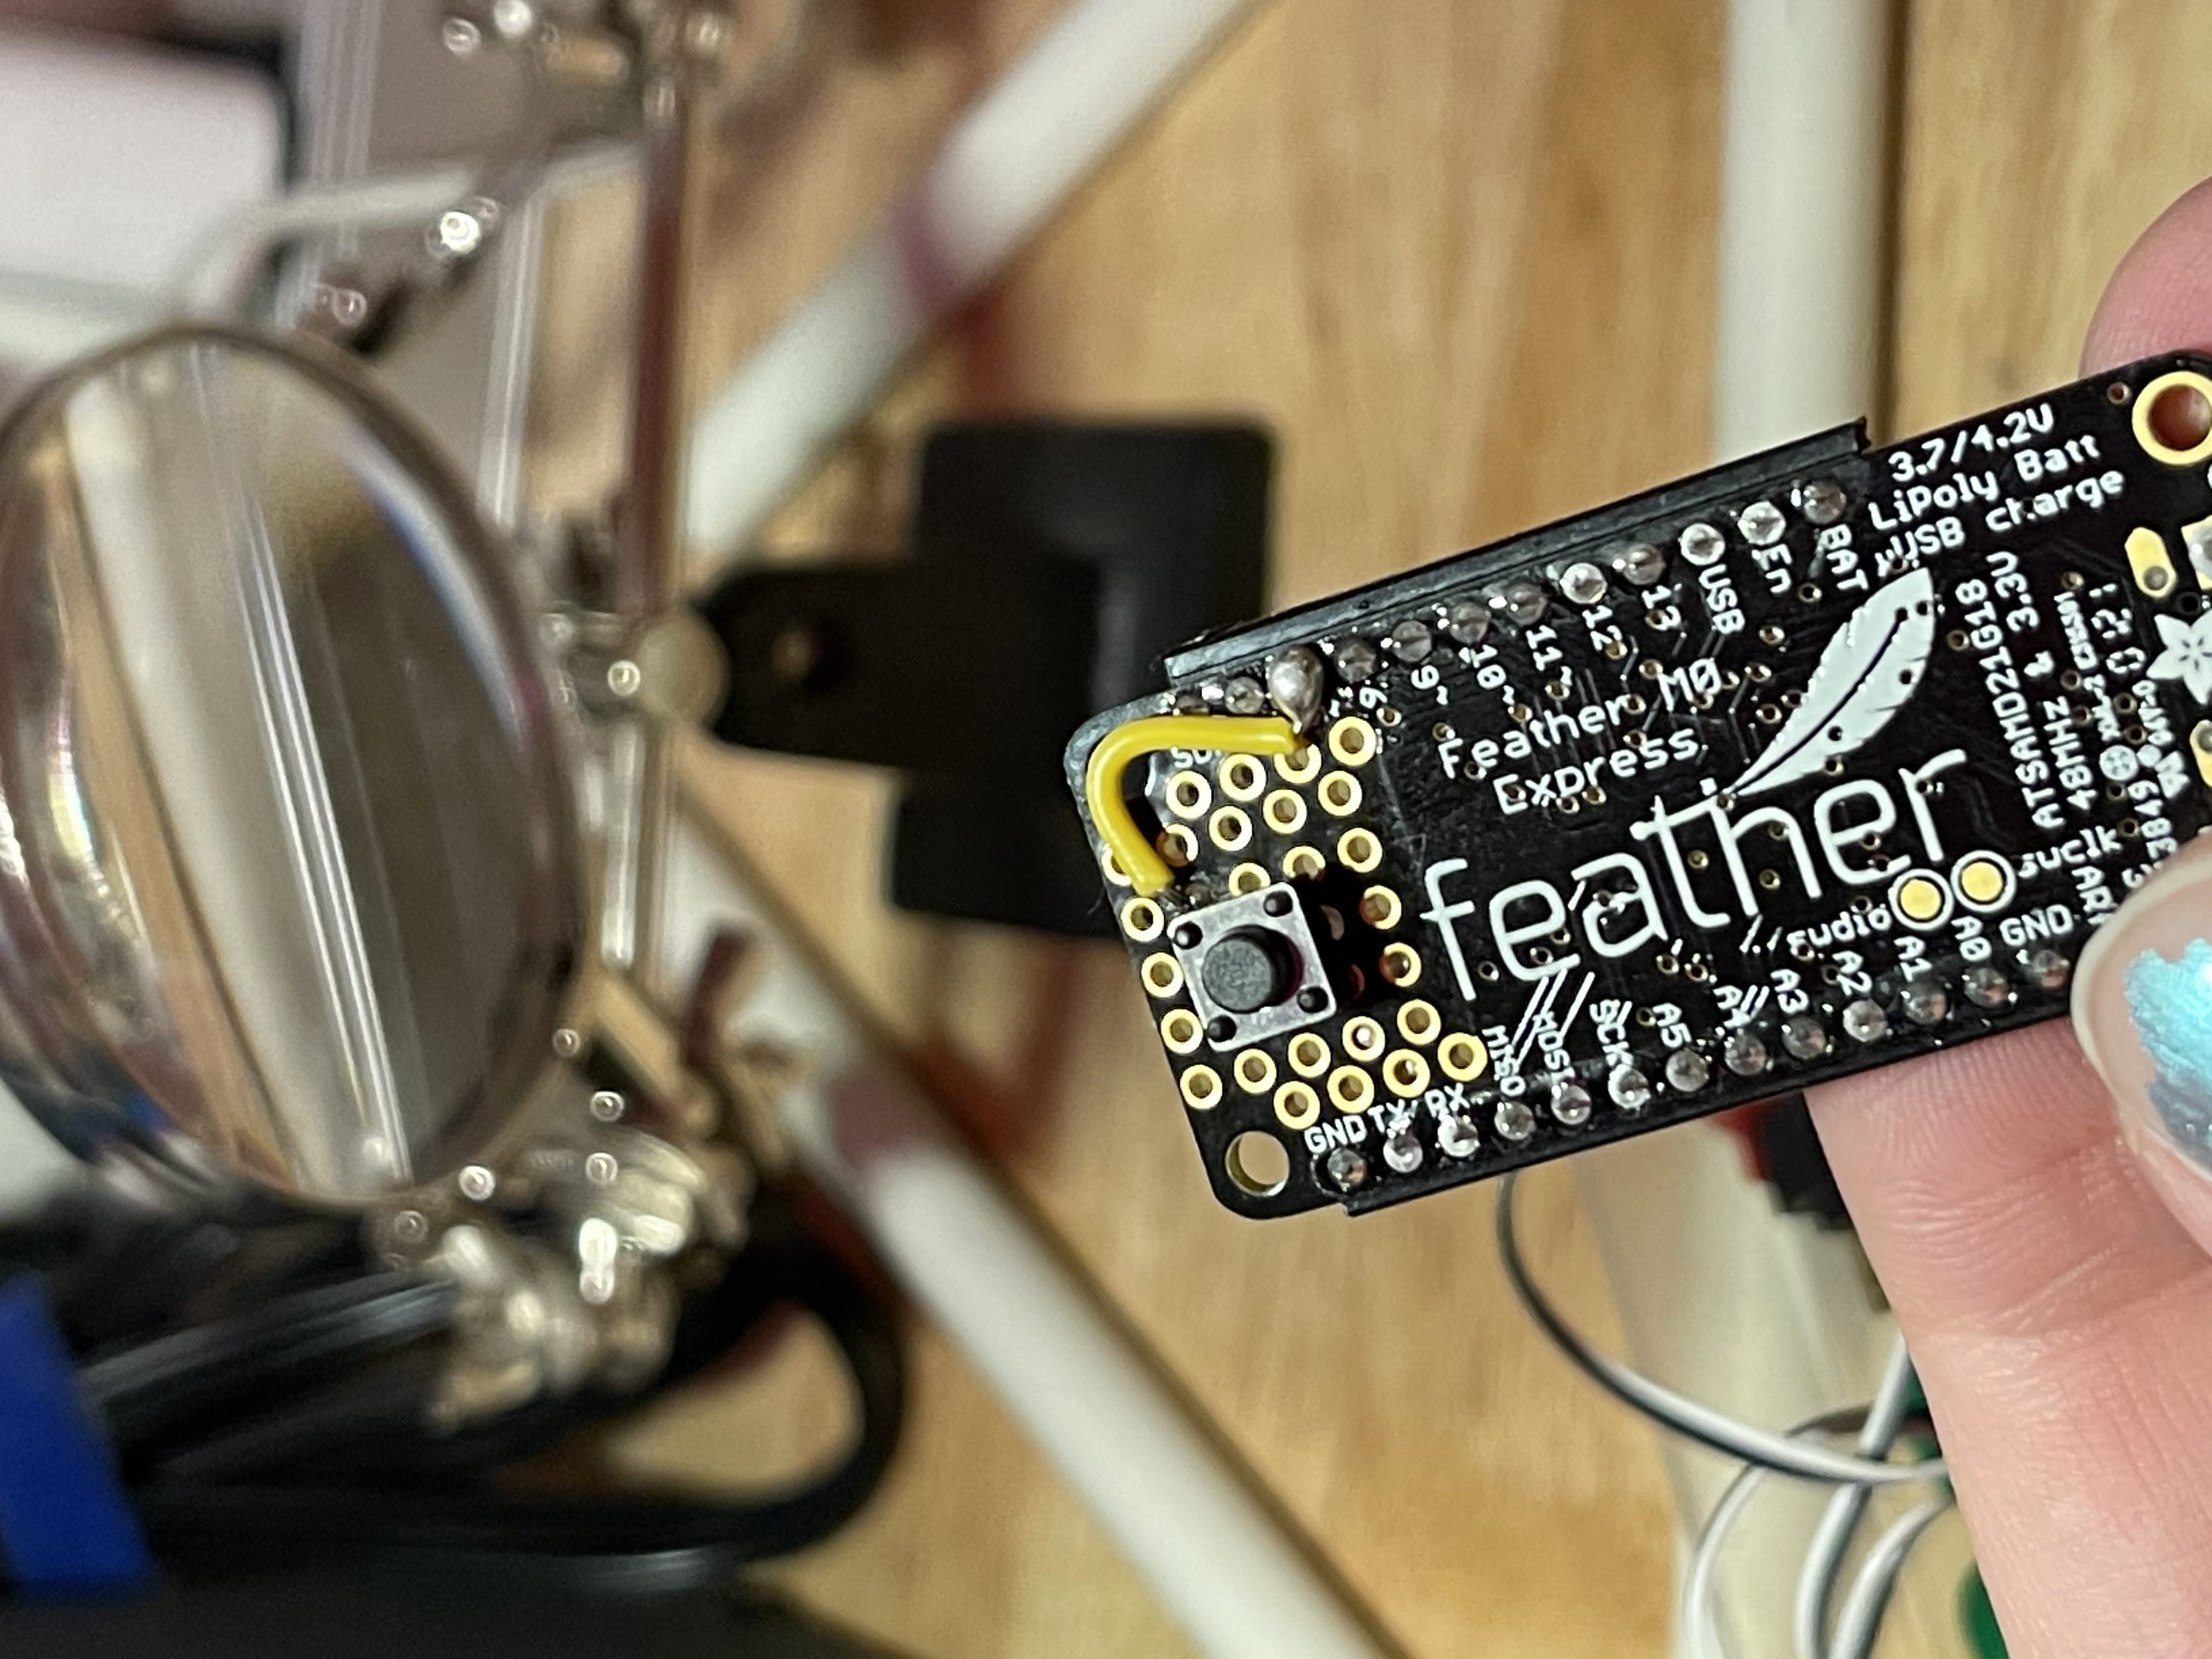
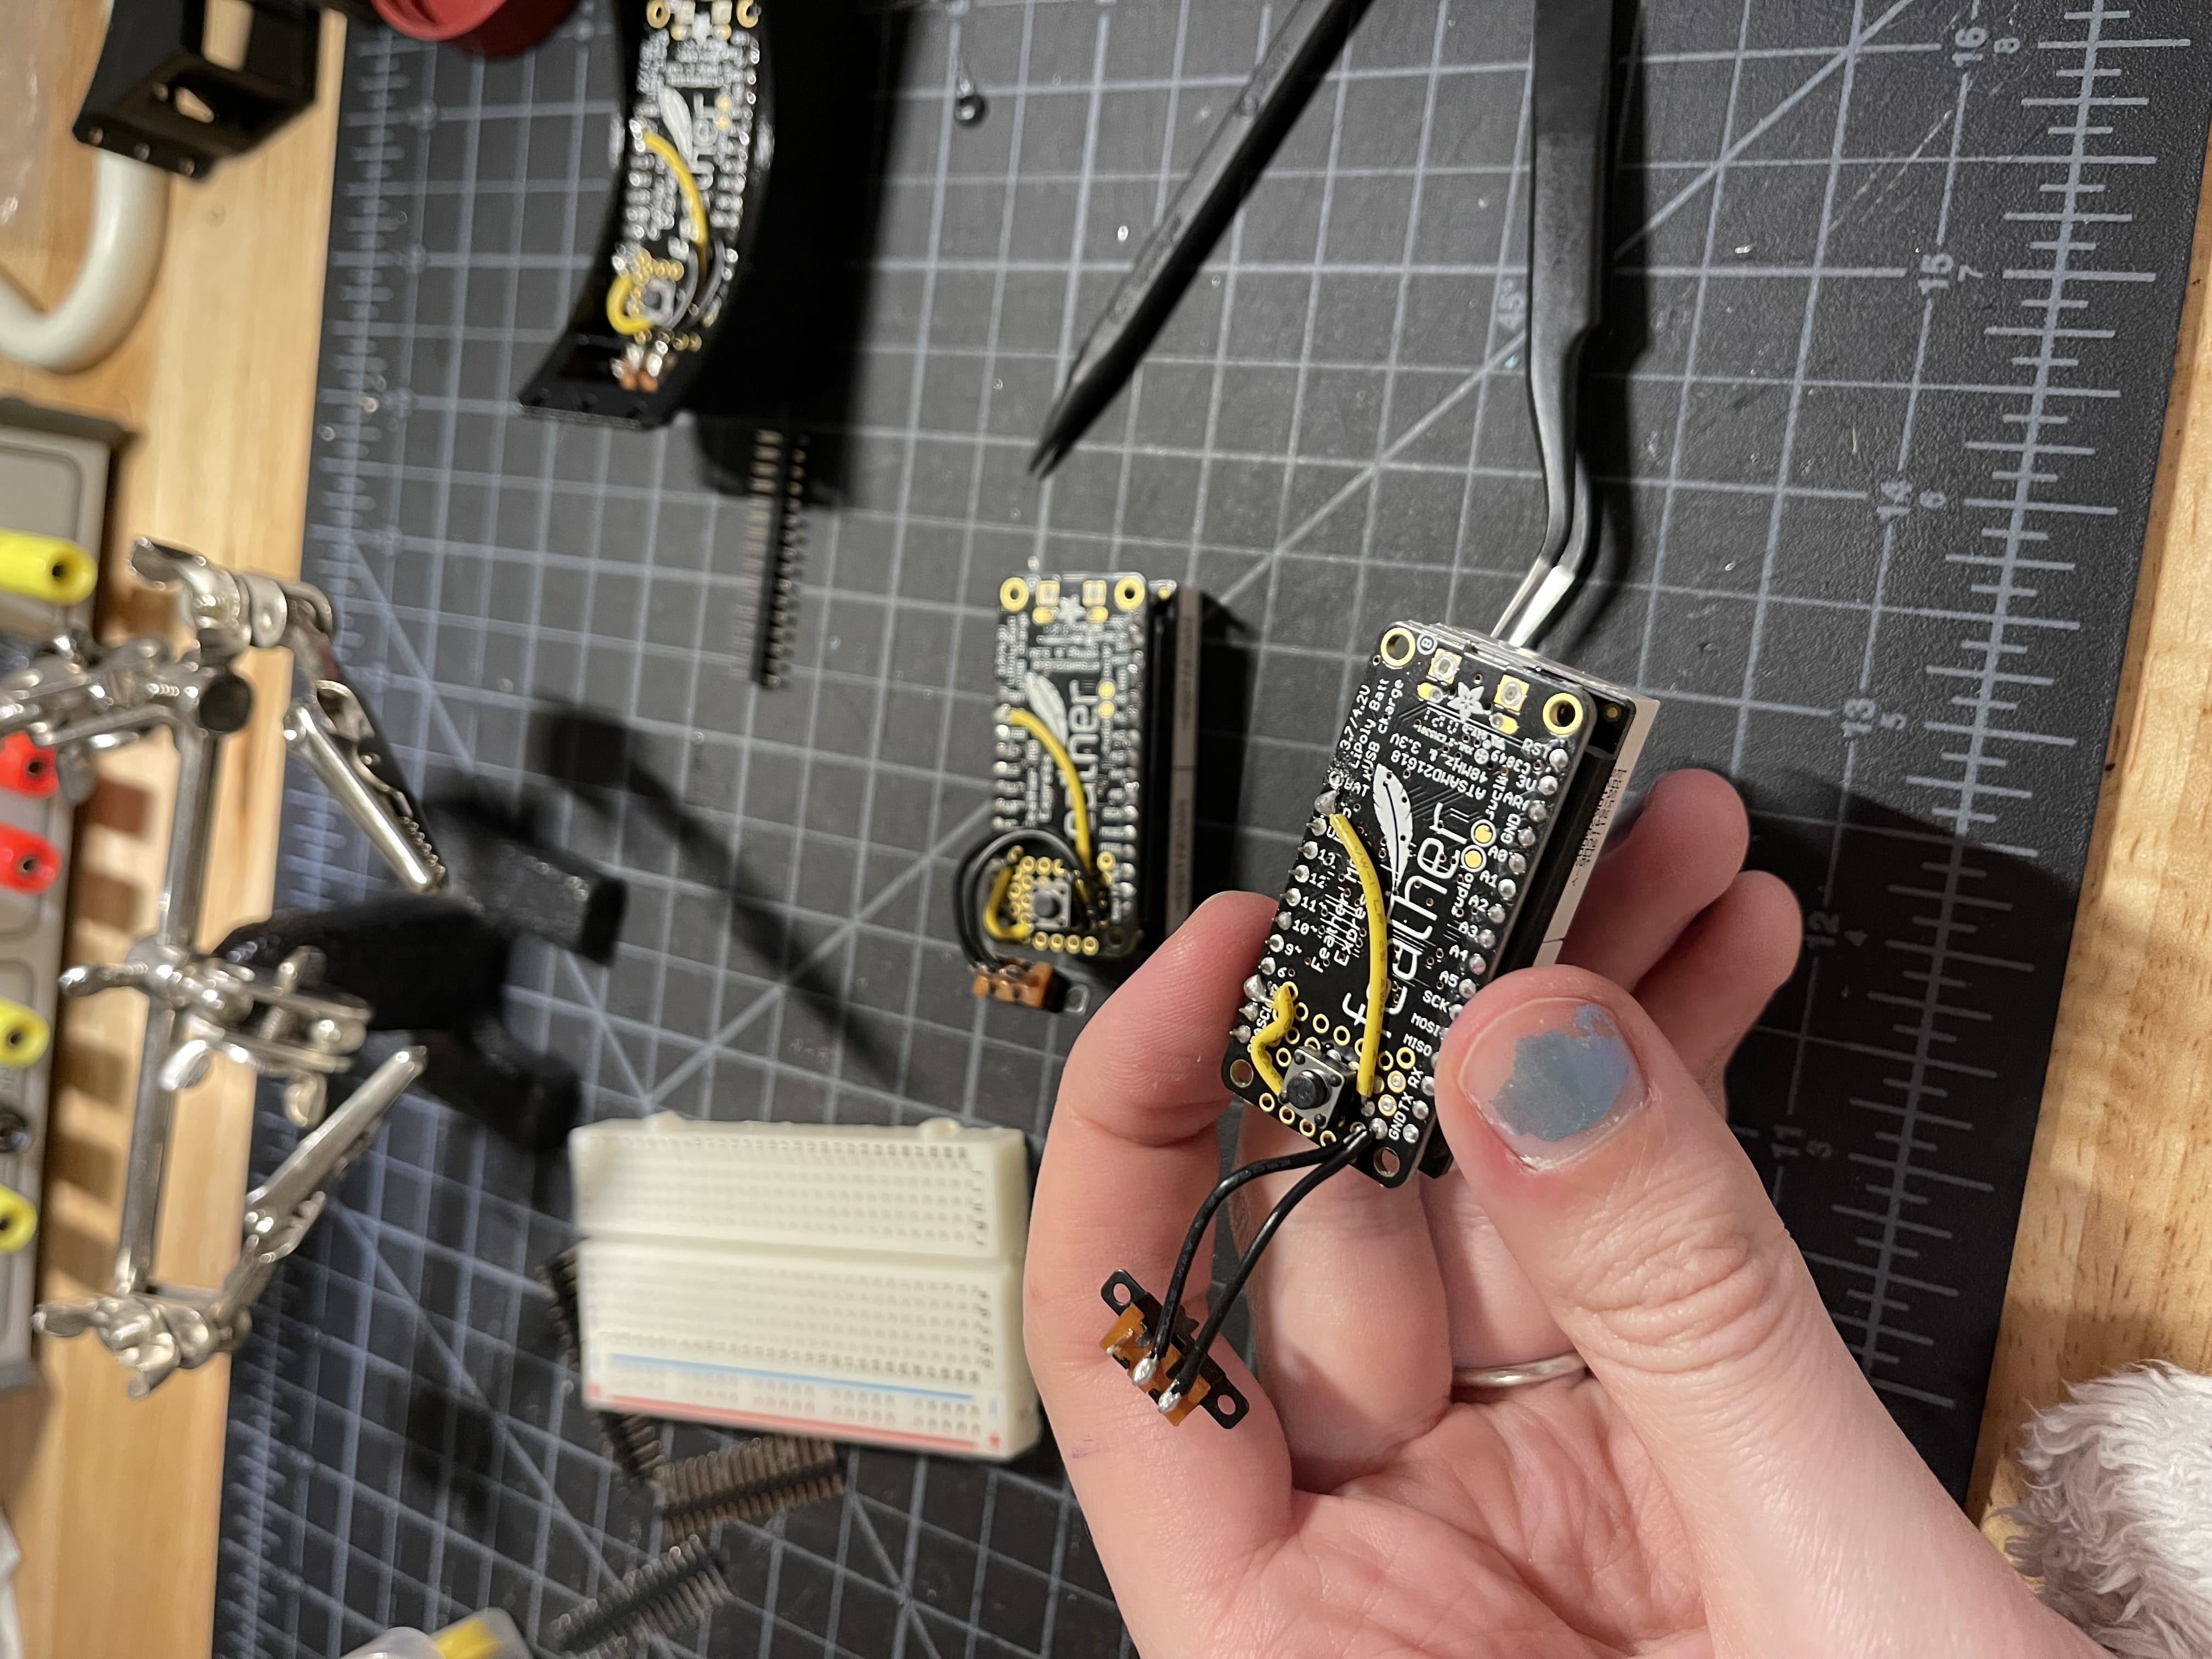
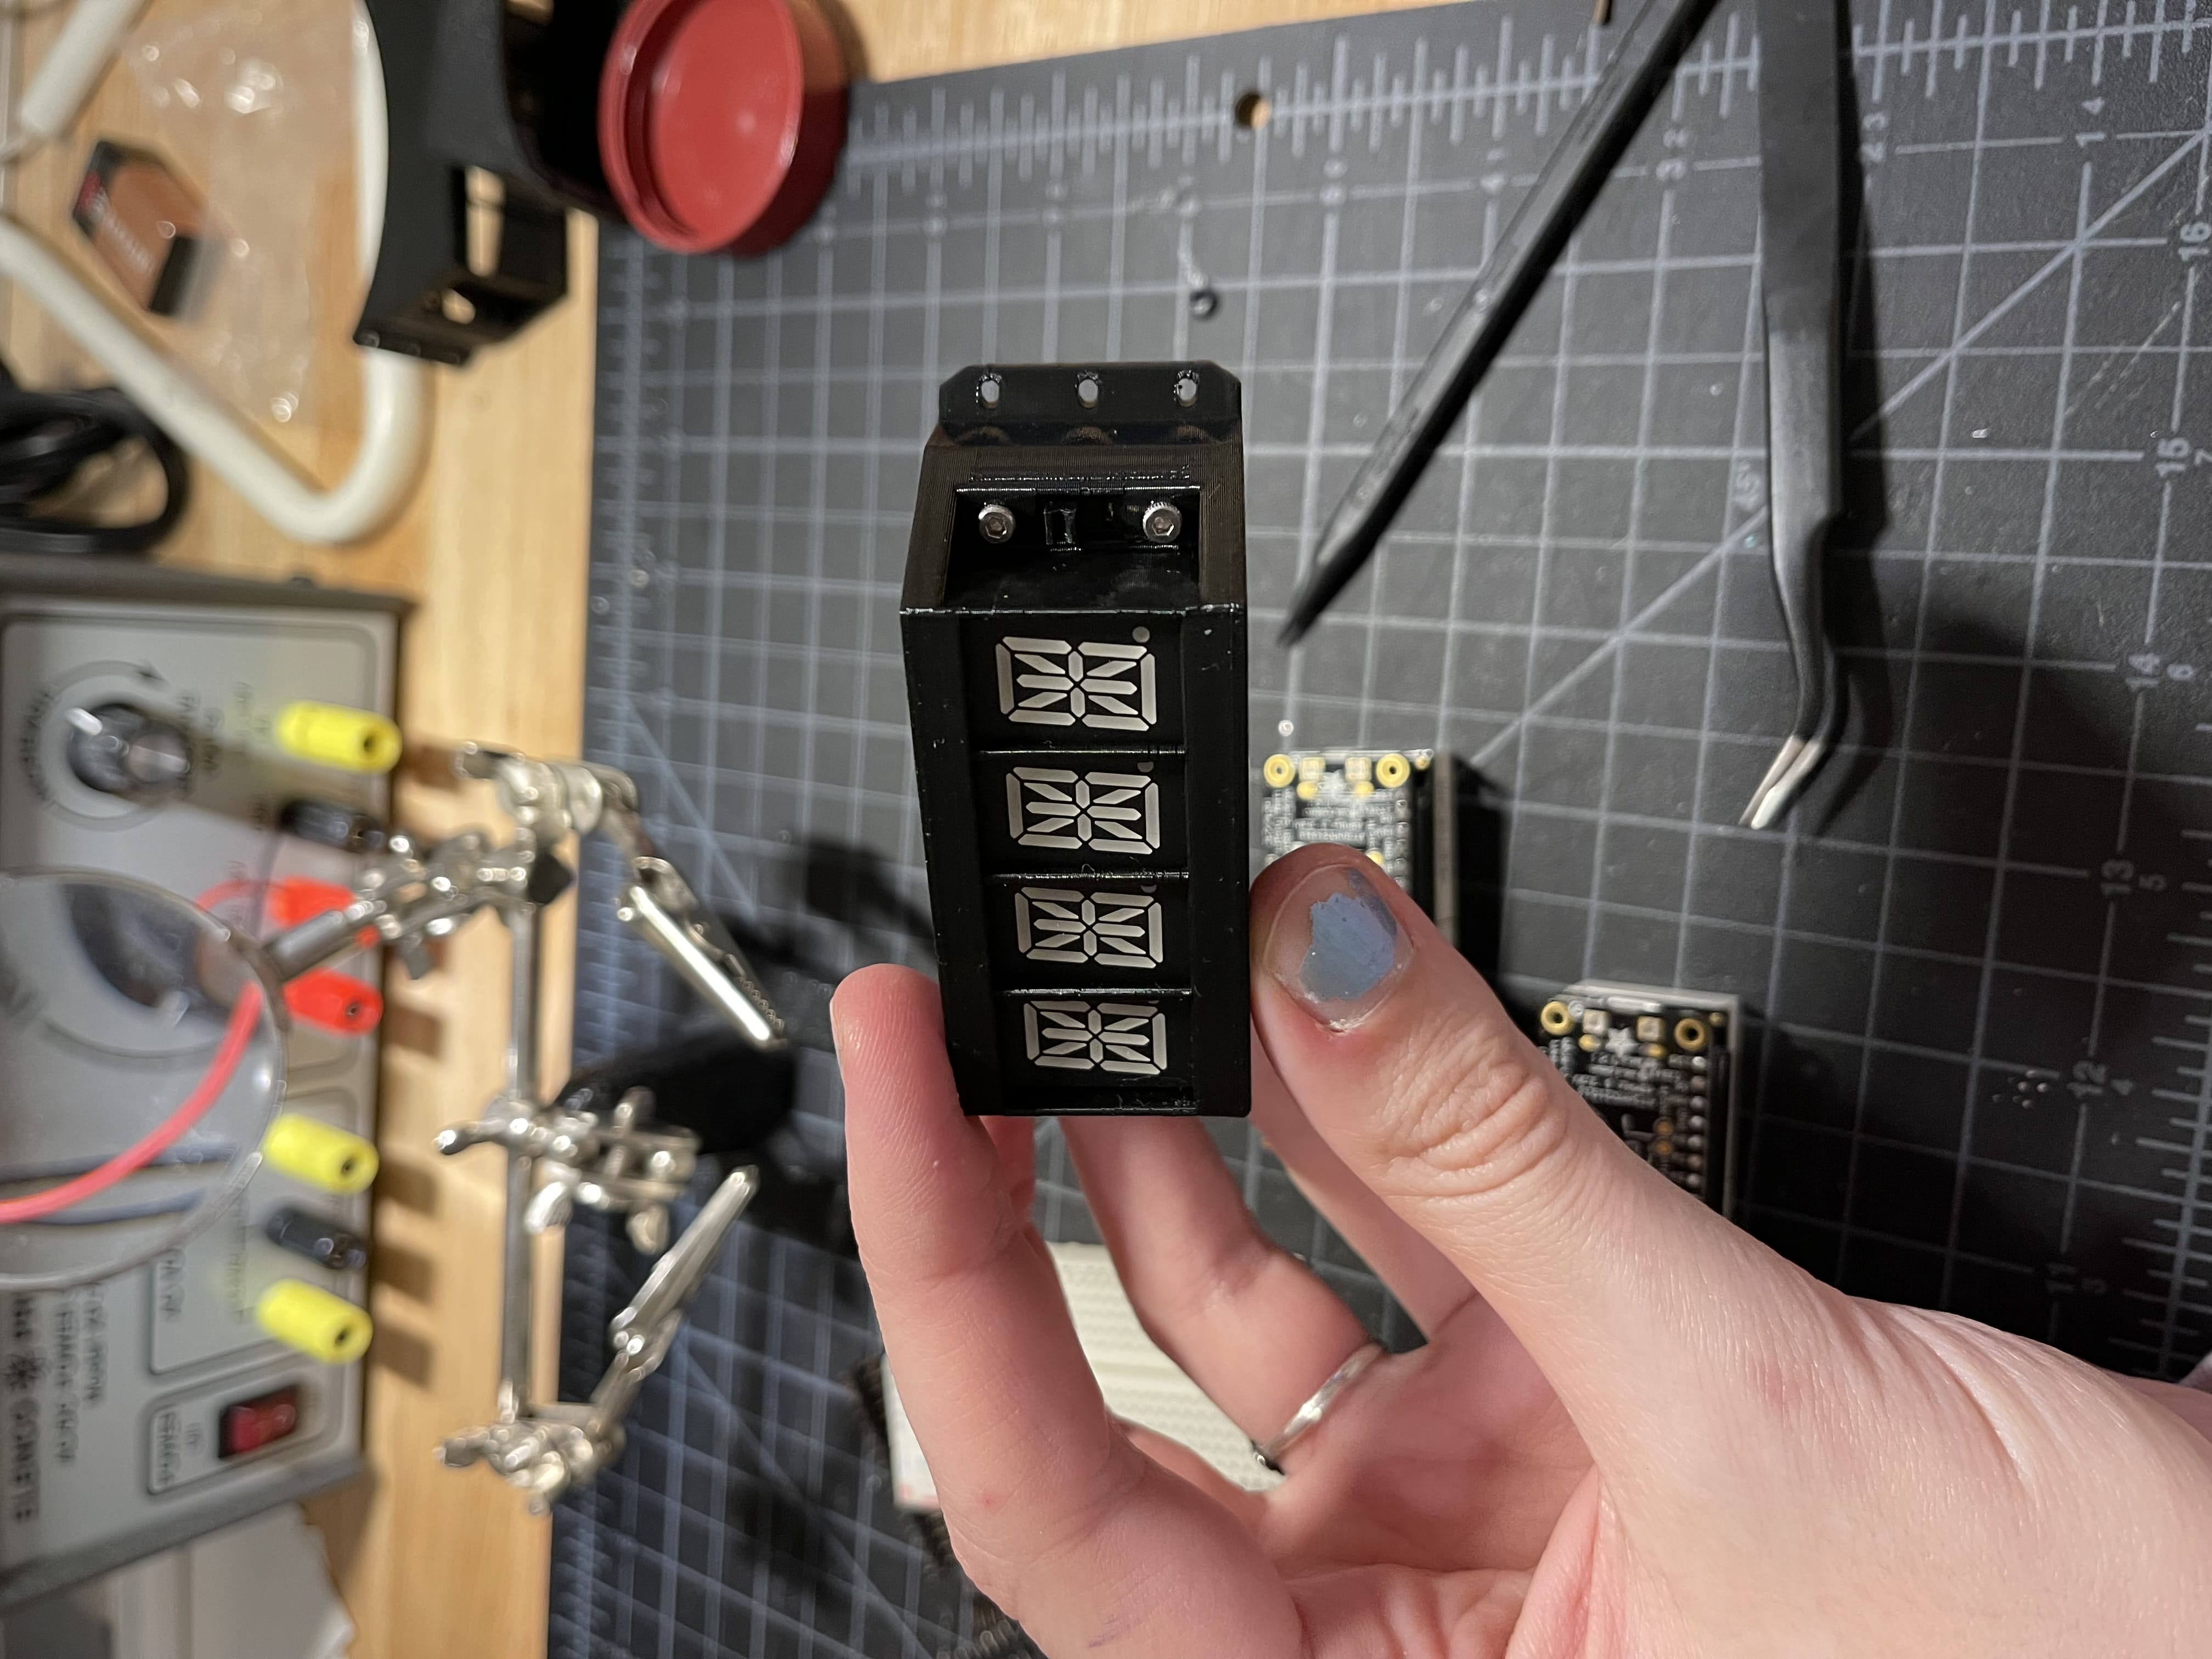
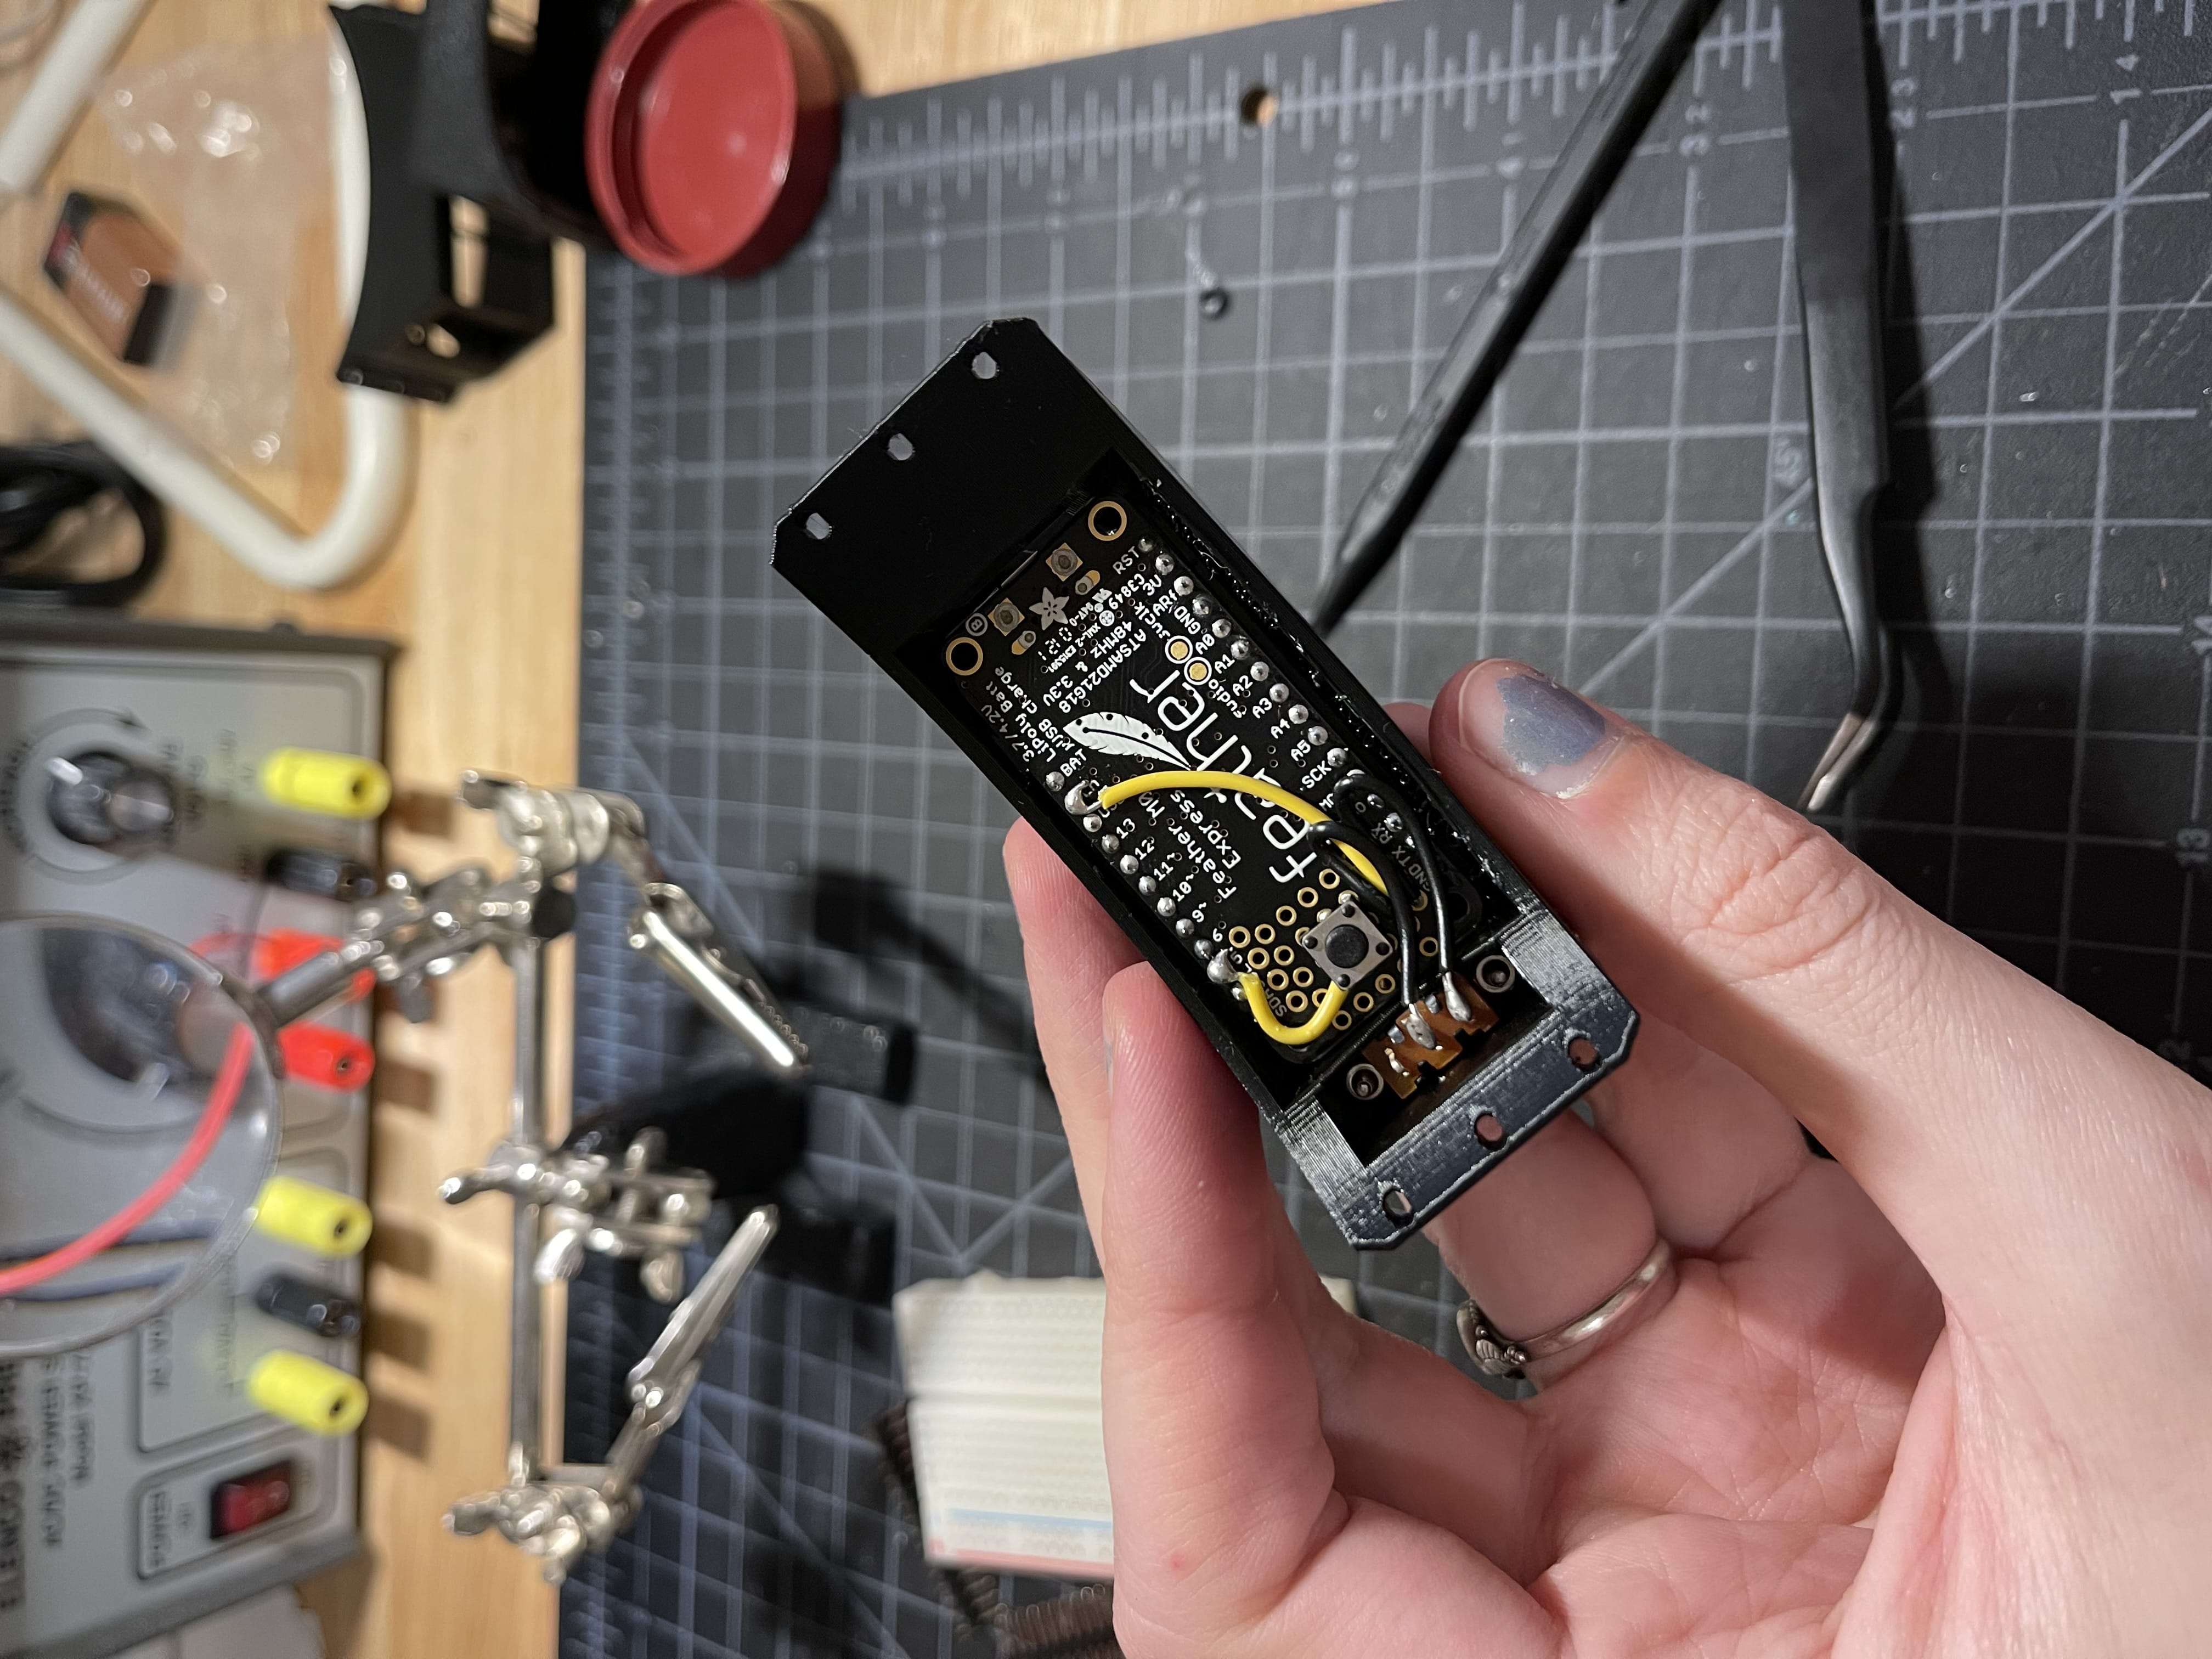
FeatherWings are designed to connect directly to Feather boards, like the M0 express I was using here. However, size really matters for a wearable! Using a typical set of headers and pins would have left extra space between the two layers, which would make it stick out from the neck in a cumbersome way. To make the full module as slim as possible I cut the sides off of an IC socket (which is a little shorter than standard headers), and I trimmed down the pins on the FeatherWing. This was quite tedious but helped a lot!
If I were going to make a more professional manufactured version I would want to combine the microcontroller / drivers / displays all on the same board, but for early versions I thought it would be better to start with modular off-the-shelf components.
And this modularity also means that it's easy to disassemble in the future if I wanted to repurpose the parts for some other project! I like to say that in addition to Reduce, Reuse, Recycle, we should also Repair, Repurpose, Reimagine!
Anyway — the Feather M0 Express also has a small area for prototyping circuits, and I managed to squeeze in a button to switch between different pre-programmed messages. I also added a power switch that just connects the Enable pin to GND to shut the microcontroller off. And now we're ready to test!
First tests
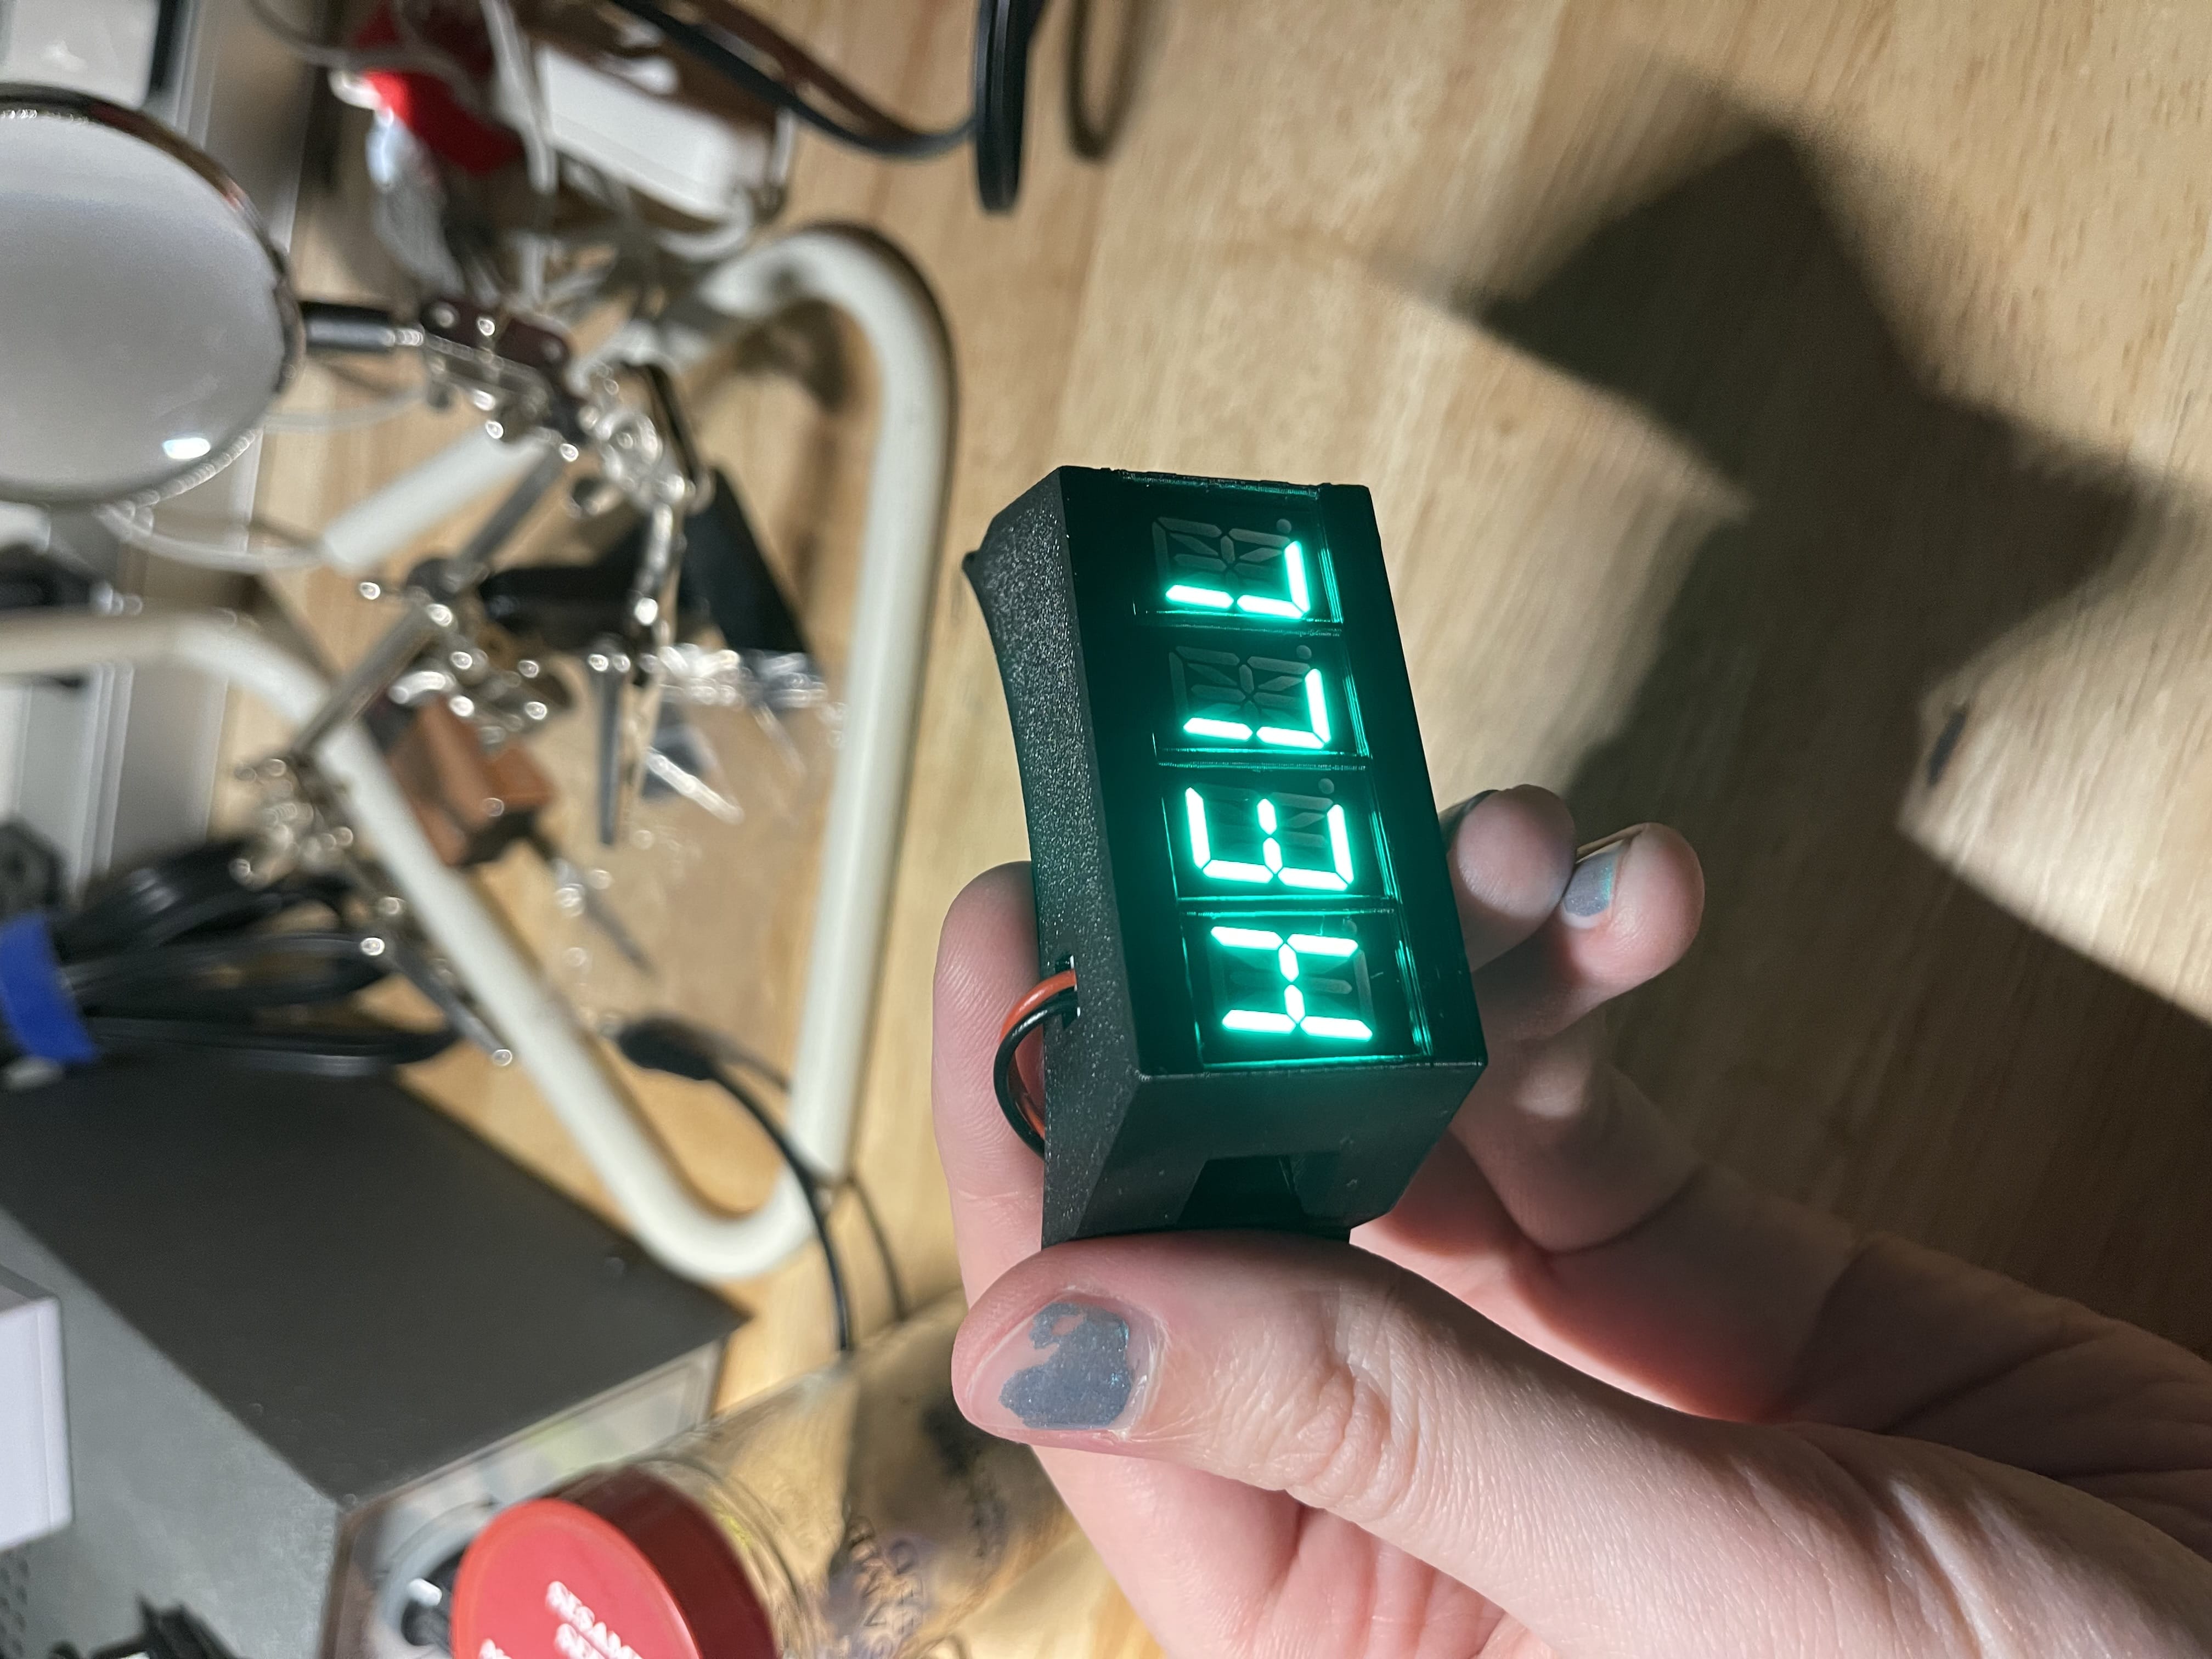
First I just wanted to see if I could show text easily on these displays. Turns out it's super simple — Adafruit has some great tutorials that made it easy. I chose boards that support CircuitPython because I wanted people to be able to program their own messages into the chokers easily. When you plug in a CircuitPython board via USB, it shows up as a USB drive with a file called code.py on it, which is the source code for the program it runs! So to customize the text, all you have to do is edit a few strings in that file. In contrast to a typical Arduino board, where you have to compile the code first, this makes it way easier for people new to programming to get going.
Enclosure
With the basic code working, I wanted to move on to the rest of the choker part. I made a 3d-printed enclosure to protect the circuits and provide some mounting holes I could use to sew it onto the neck strap.
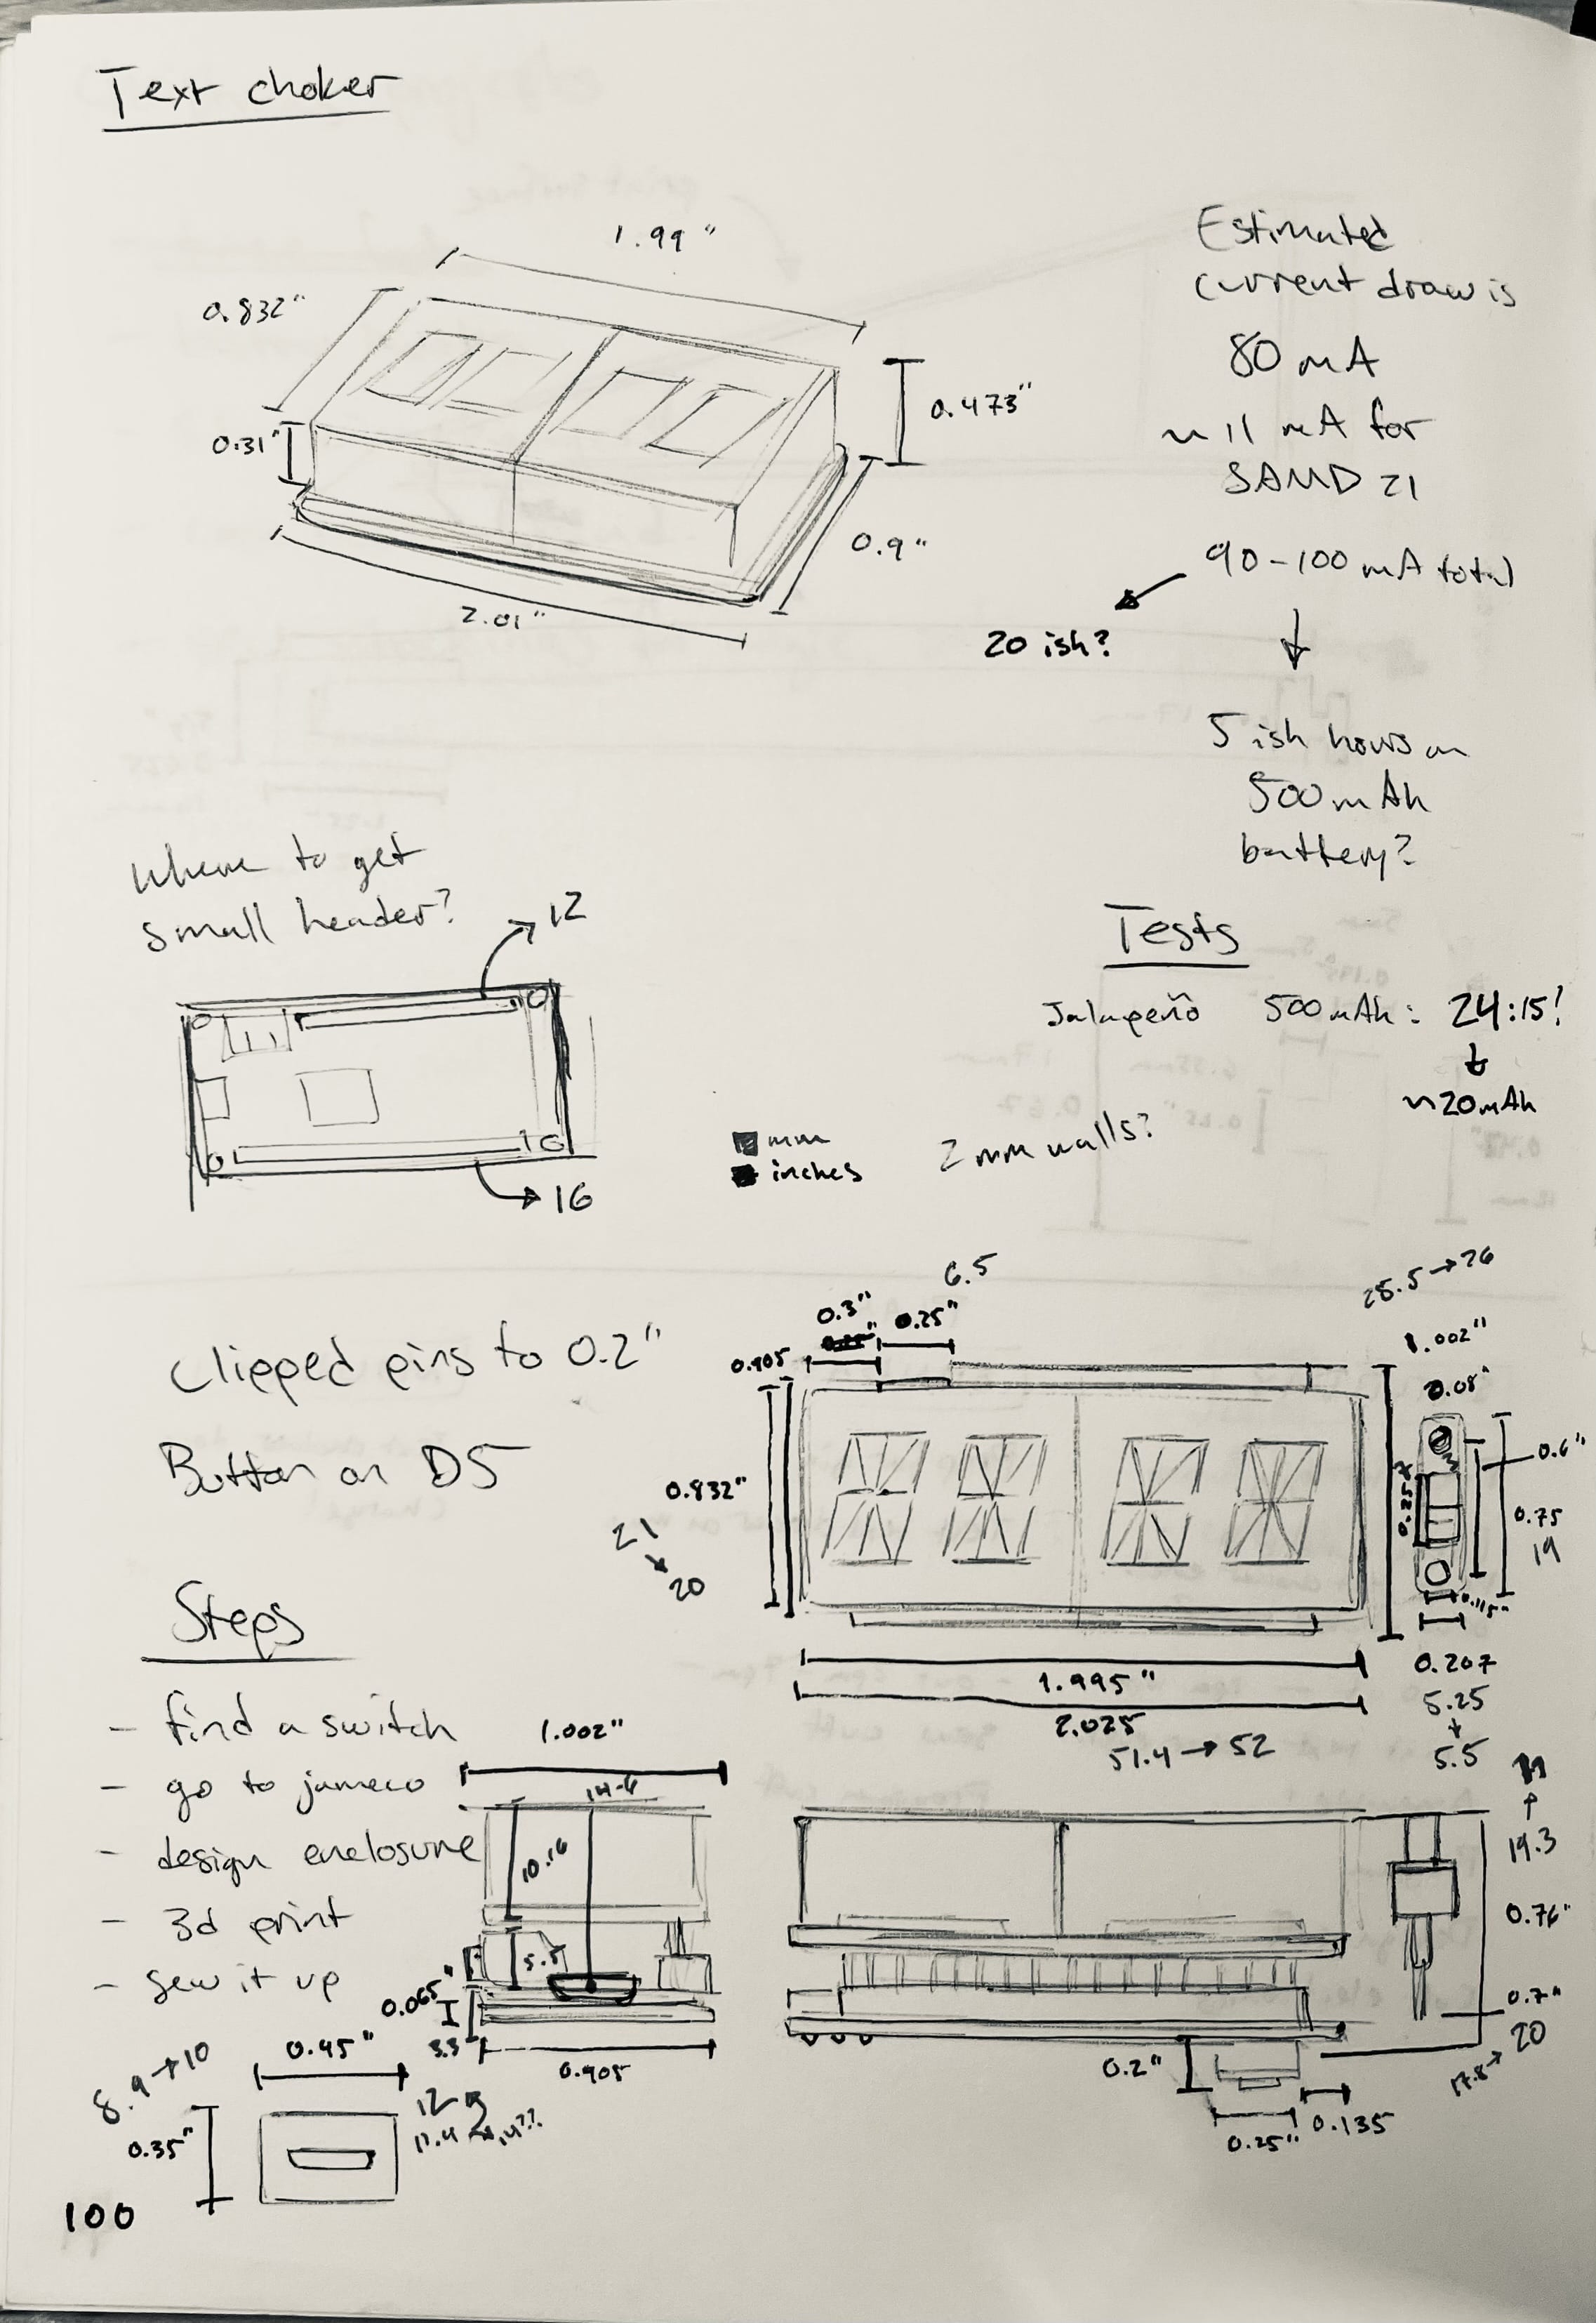
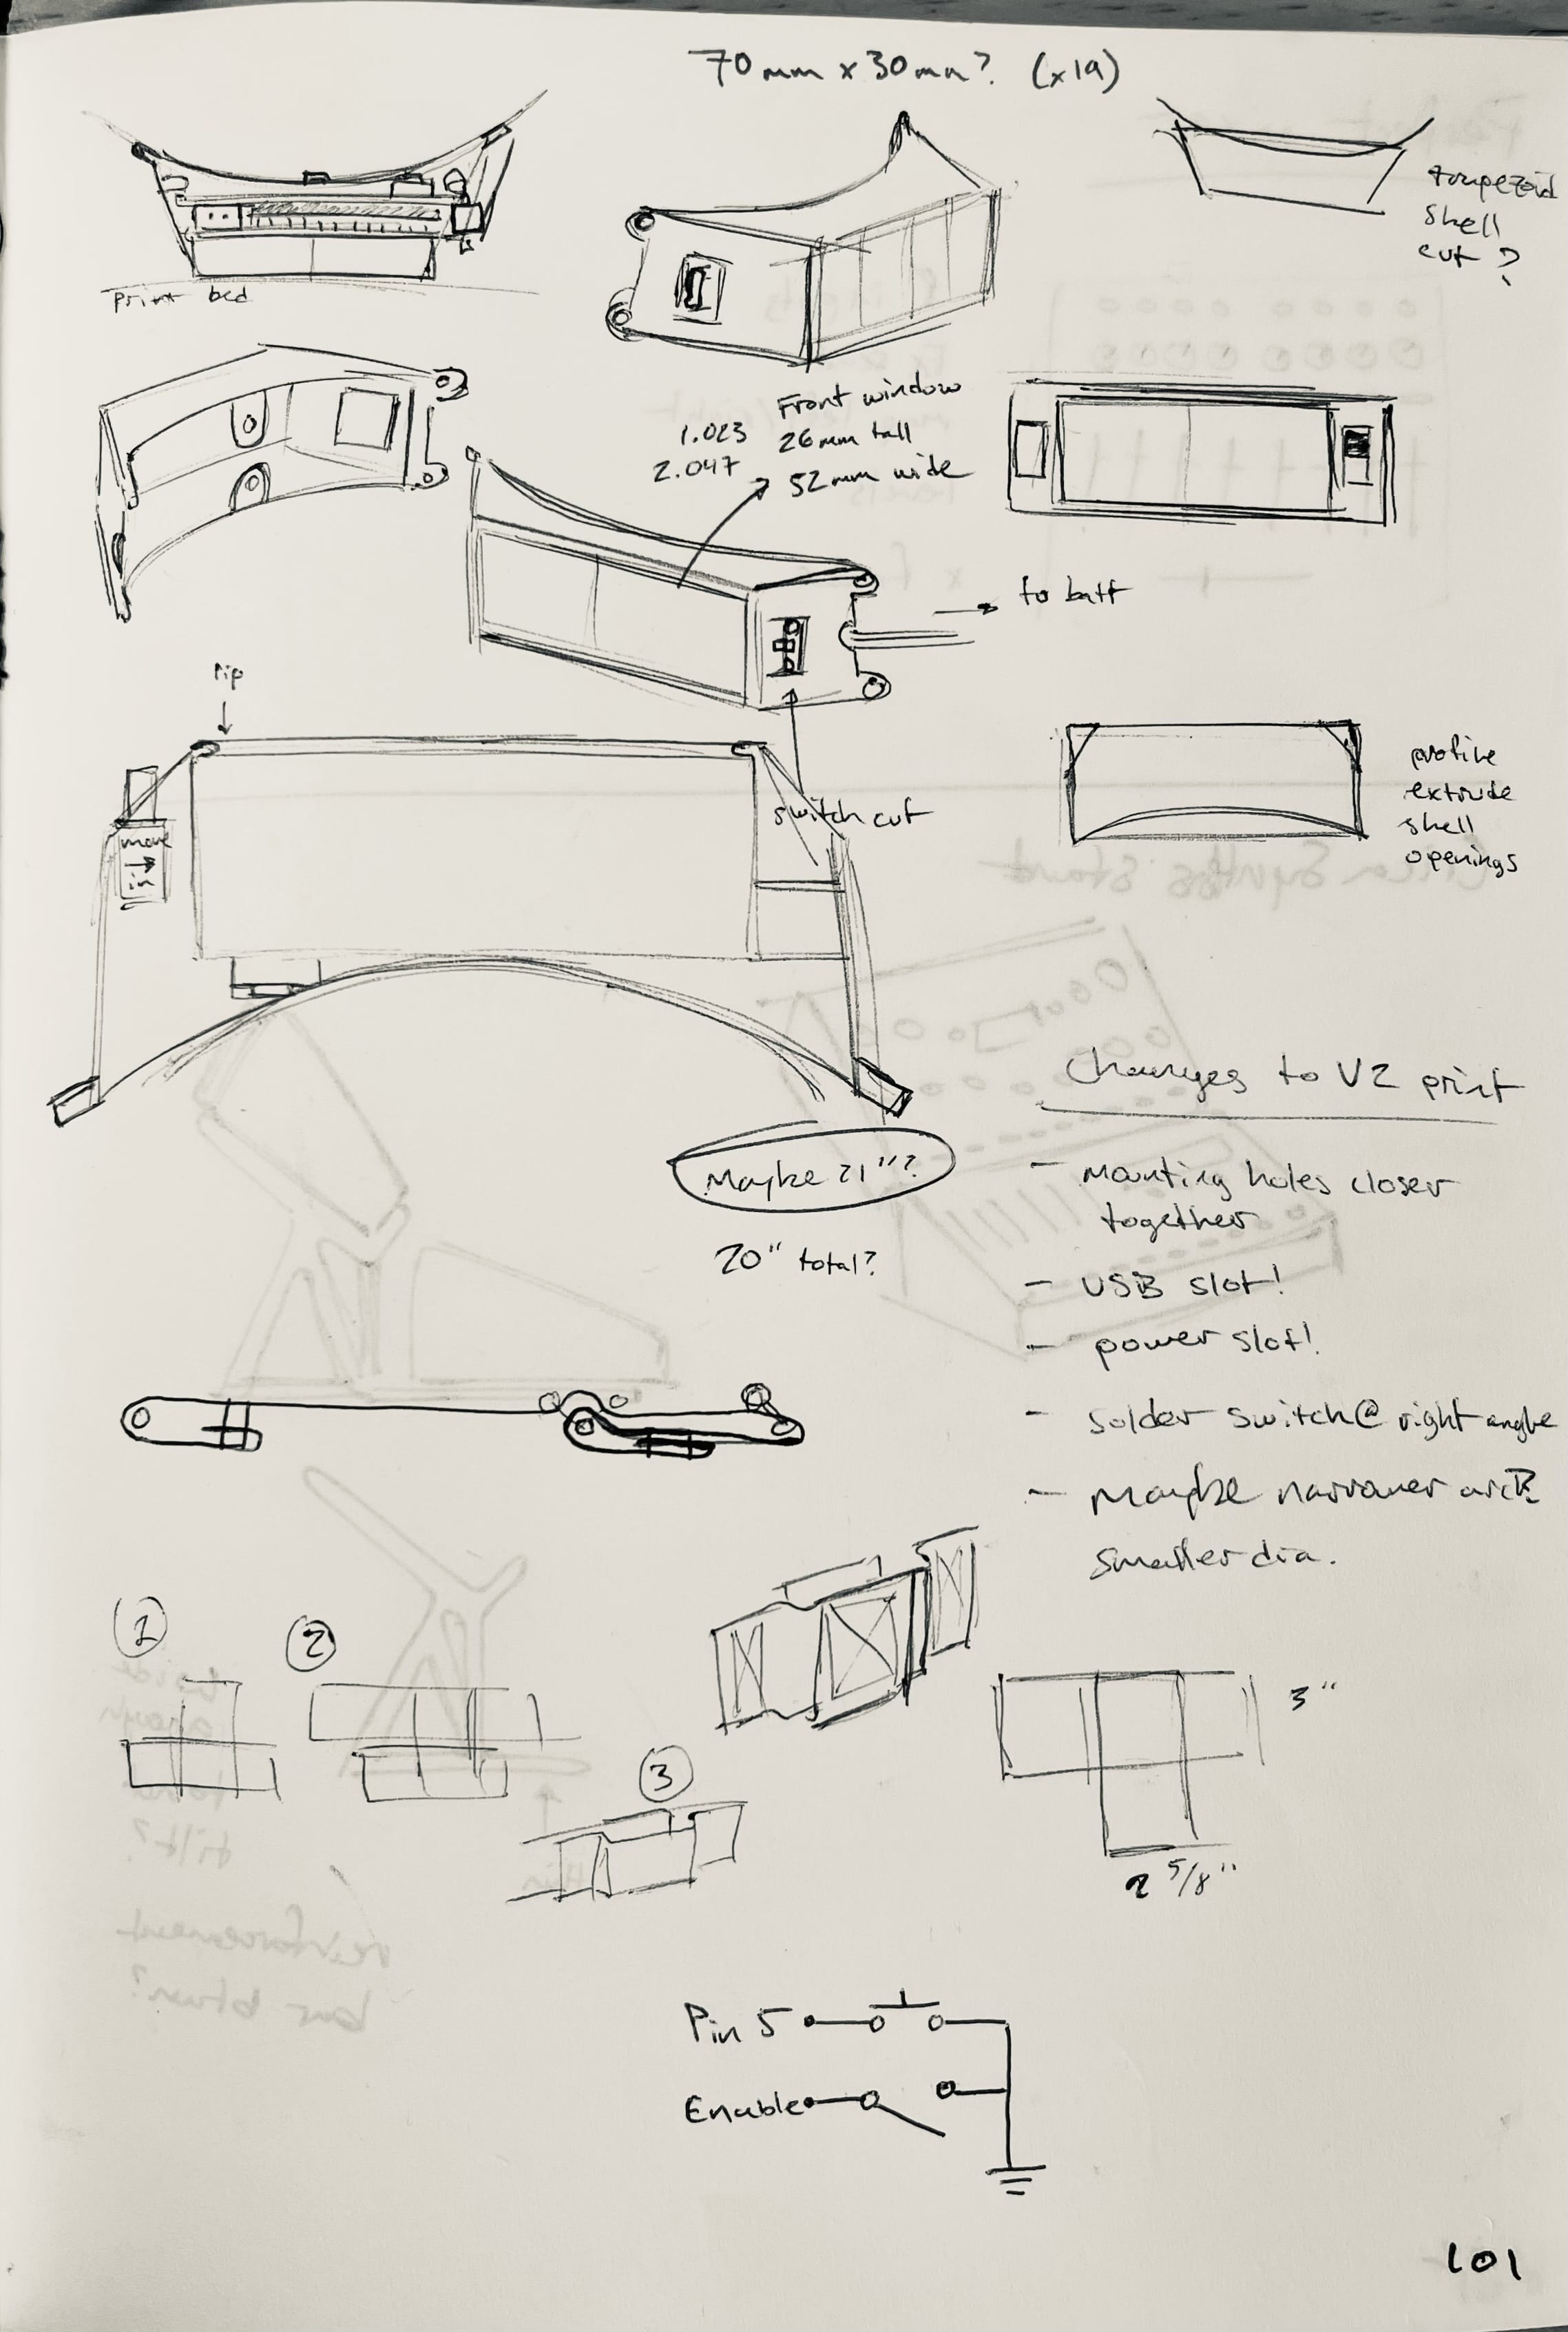
The battery wire comes out the top of the module because I wanted it to be easy to remove — the battery itself sits in a pocket off to the side on the strap, and if you need to exchange it for a fully charged one, it's easy to wiggle the connector out and plug a new one in. This pattern also helpful for me because I can use the same battery across many devices — and reduce the environmental footprint of my projects!
Neck strap
You can see my rough plan for the strap design in the sketch on the right above, but in reality it was a lot of trial and error and testing and tailoring.I used a buckle at the back with a big easy button that's easy to pop when you want to take it off. You can see the battery pocket on the left side in these videos too. It has an exposed wire, but... I don't dislike it. The unit on the front is a bit chunky, but since it's under your chin it's actually a little less noticeable than you would expect.
Iterations
After being able to try these out in the wild I immediately wanted to experiment with color and lighting control. The display drivers allow you to modulate the brightness of the LEDs, but I really wanted to achieve some subtle, curated lighting effects.
I was a lighting designer in the theater program in my highschool, and I remembered having a swatch book of colored lighting gels. I figured the little samples might be about the right size to insert in front of these little displays, so I ordered a swatchbook and a few white LED versions of the alphanumeric FeatherWing.
This worked perfectly.
To make it easy to swap out your accent color for the evening, I designed a new version of the enclosure that had a slot on the side where you can slide in a little strip of gel. It was really fun to try out different colors, including some shades that feel unusual for LEDs, like reddish pink, or brown, or cyan. It's hard to capture in photos, but there's a richness to the gel colors that comes from not trying to just mix colors from an RGB LED. And the gels have the effect of reducing the visibility of the unlit segments, which is nice!
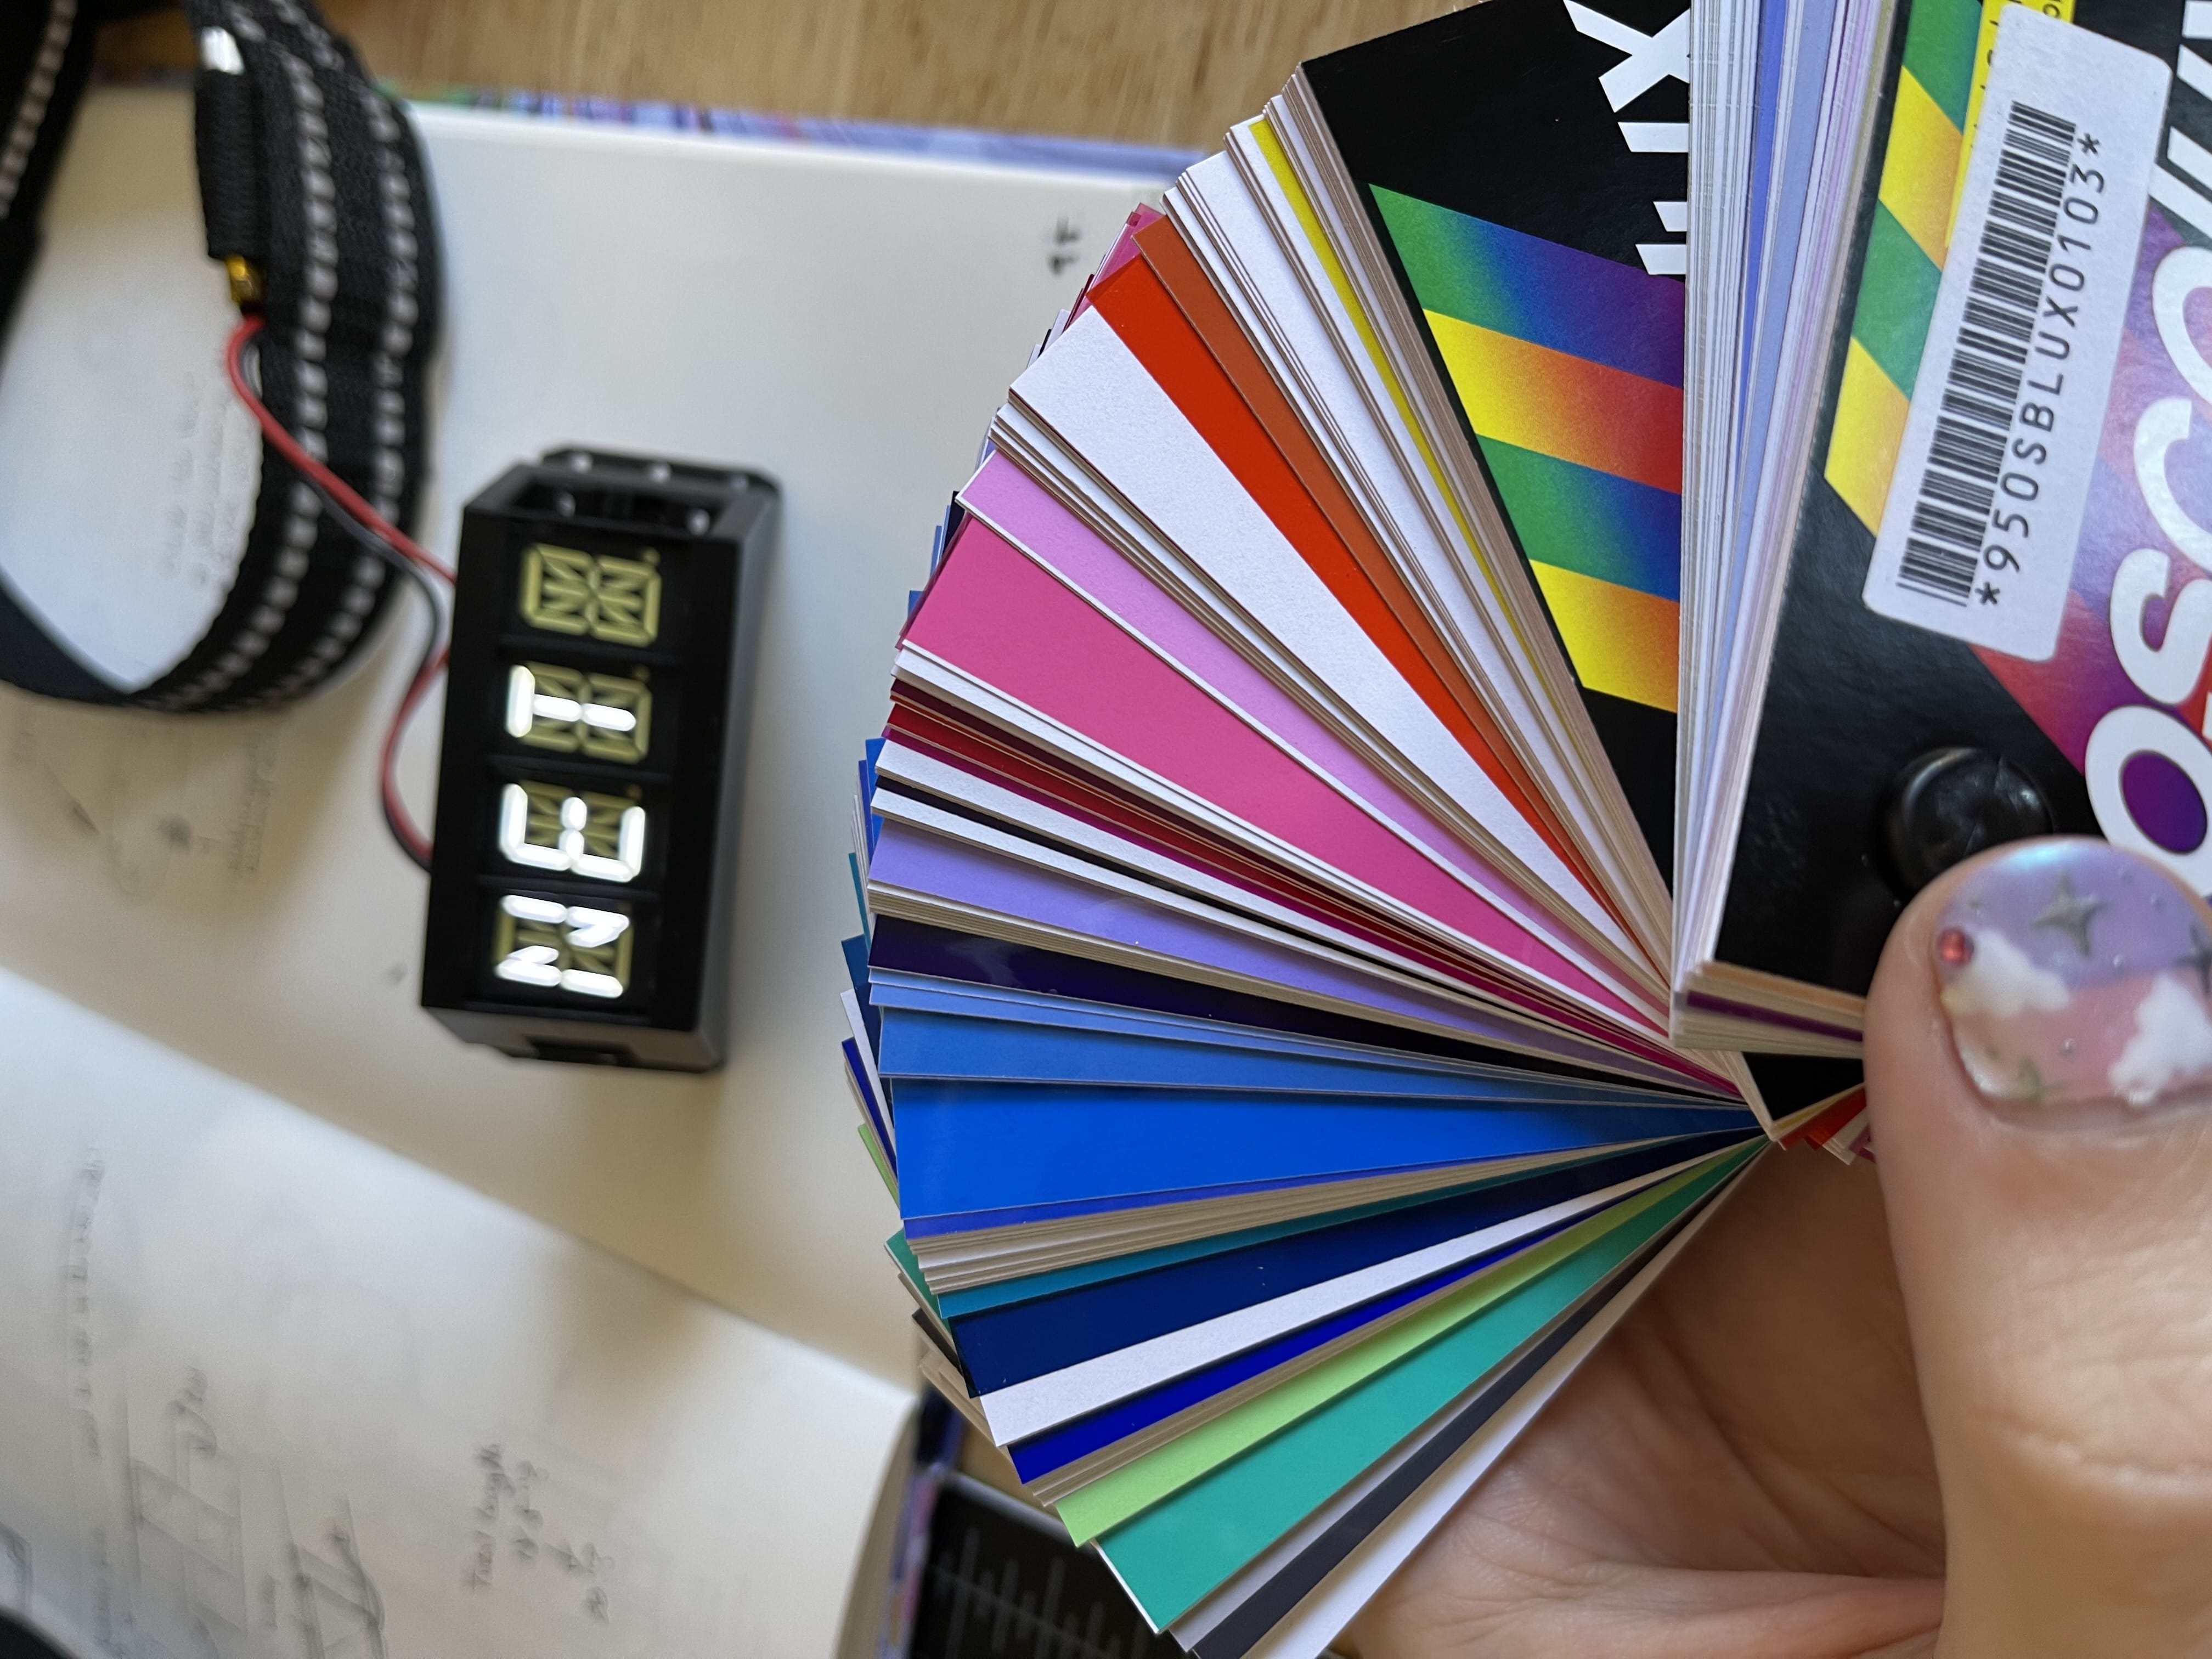
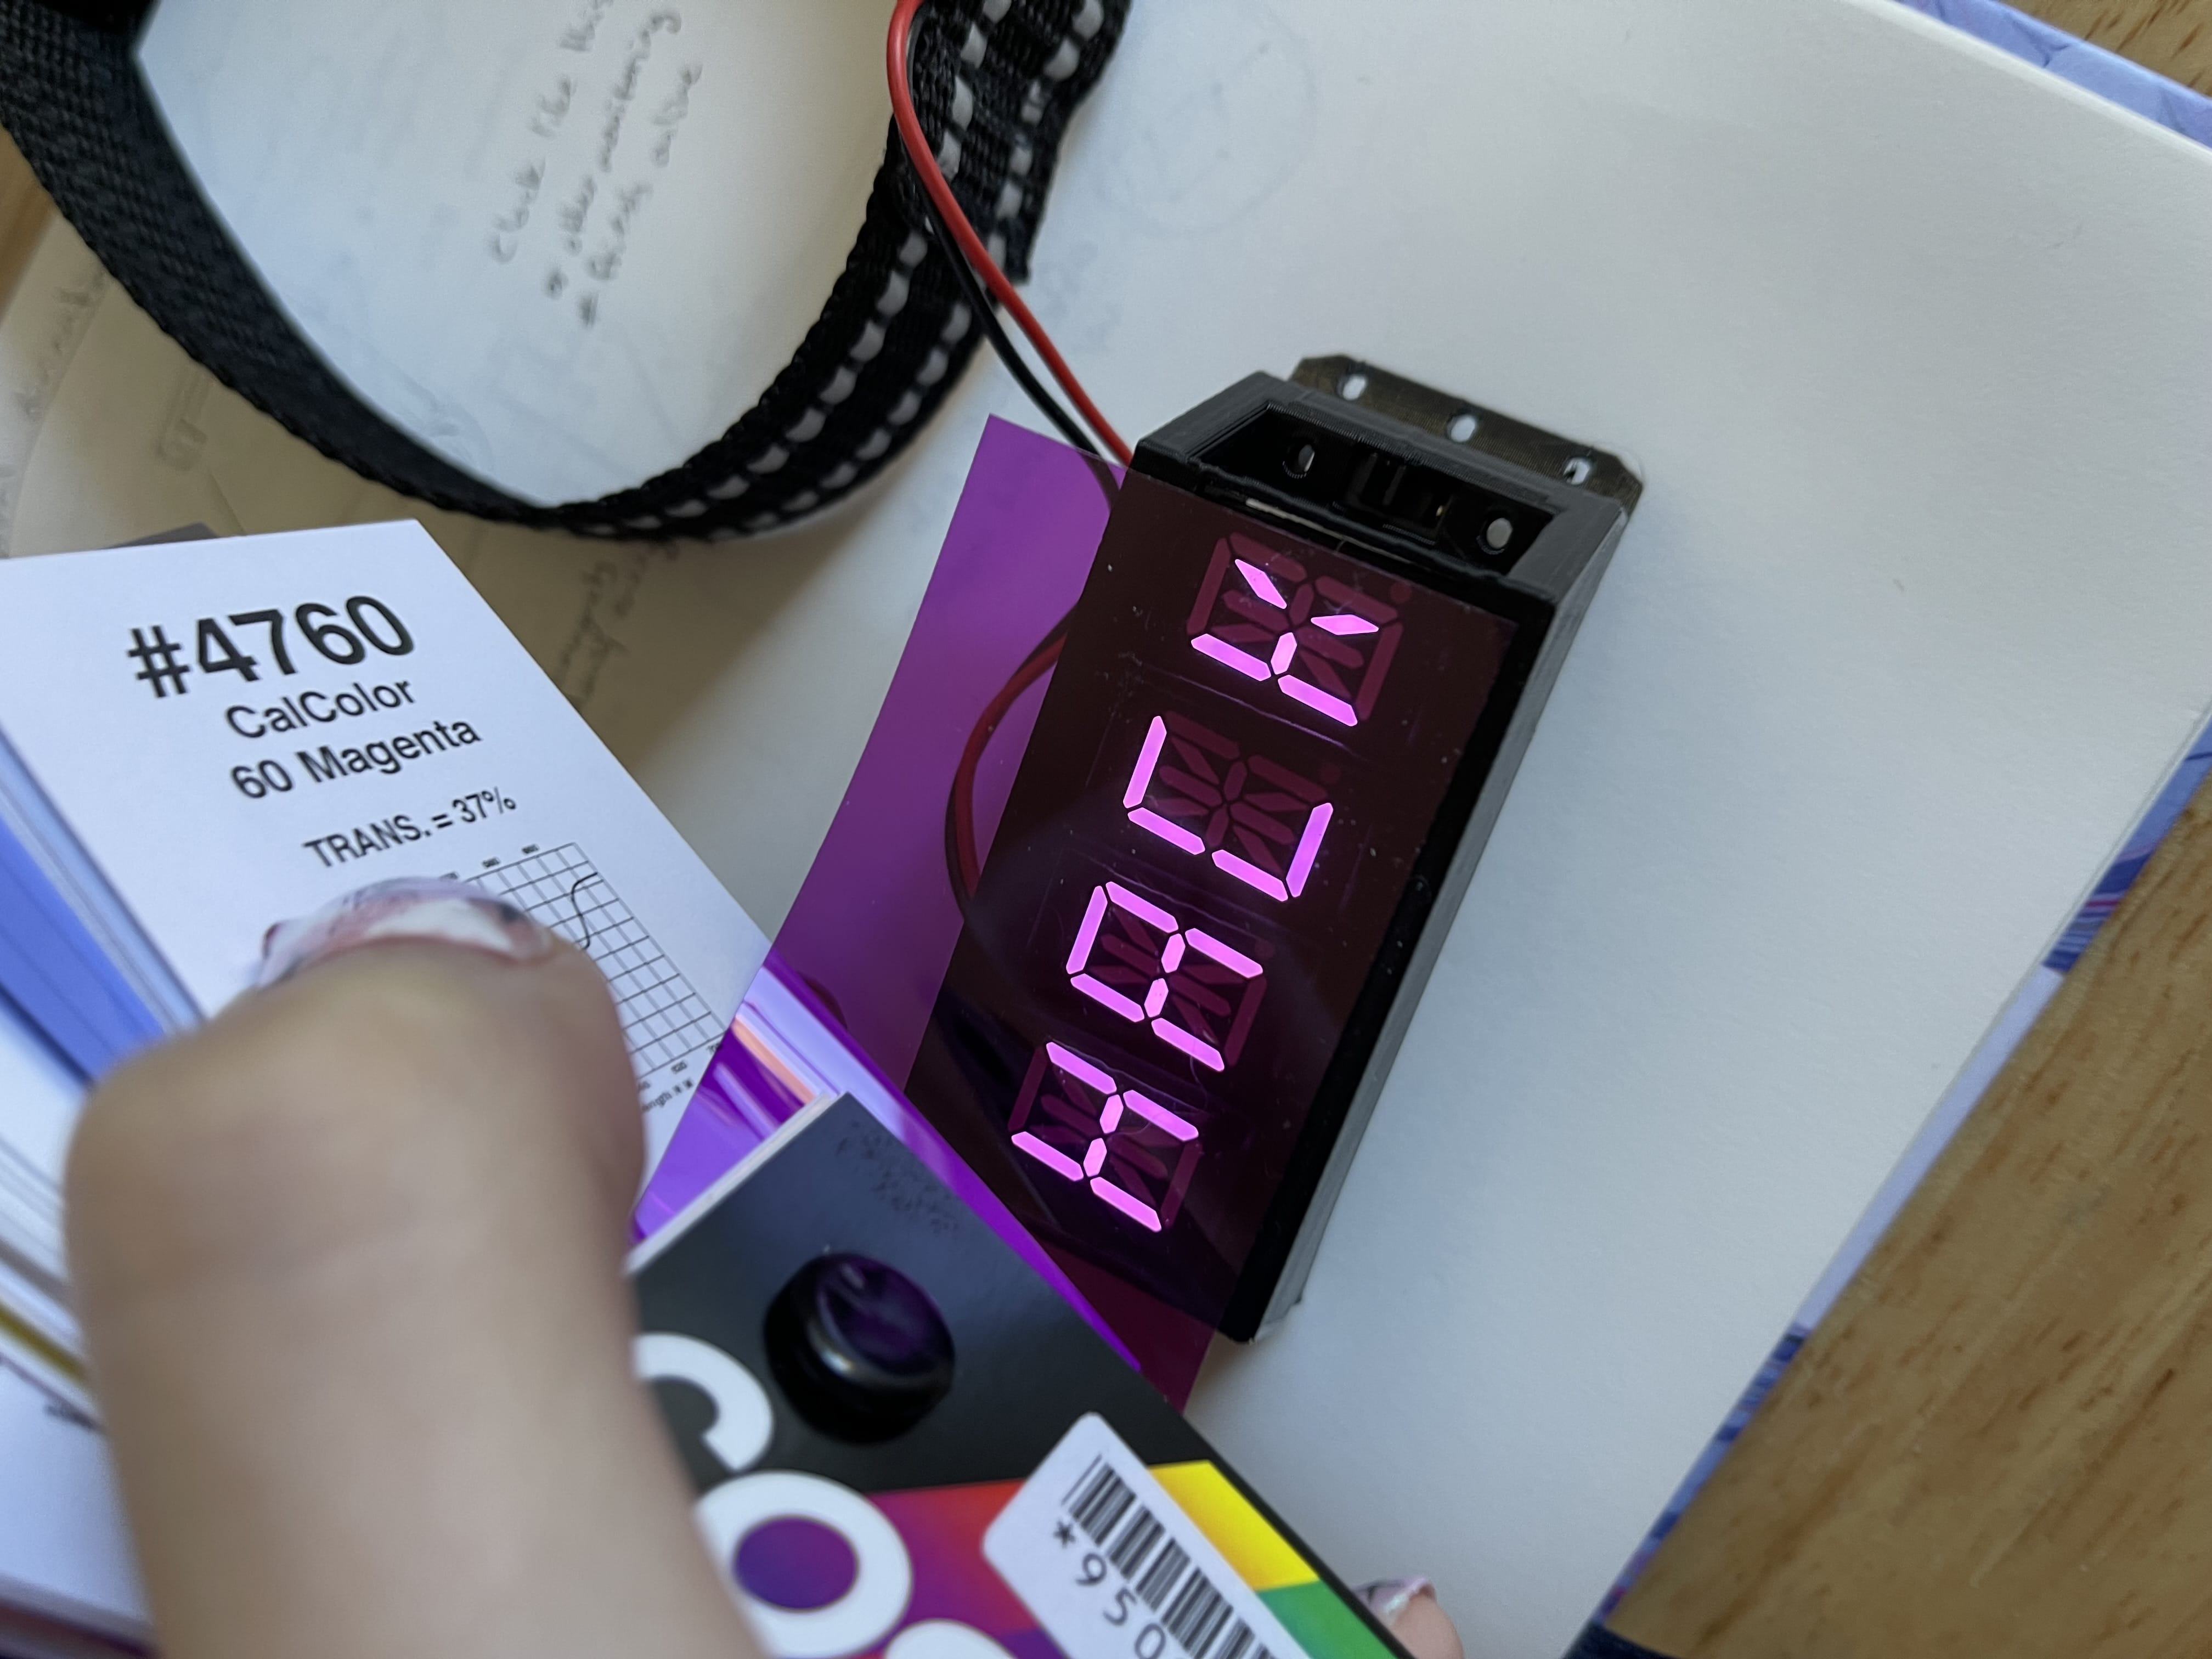
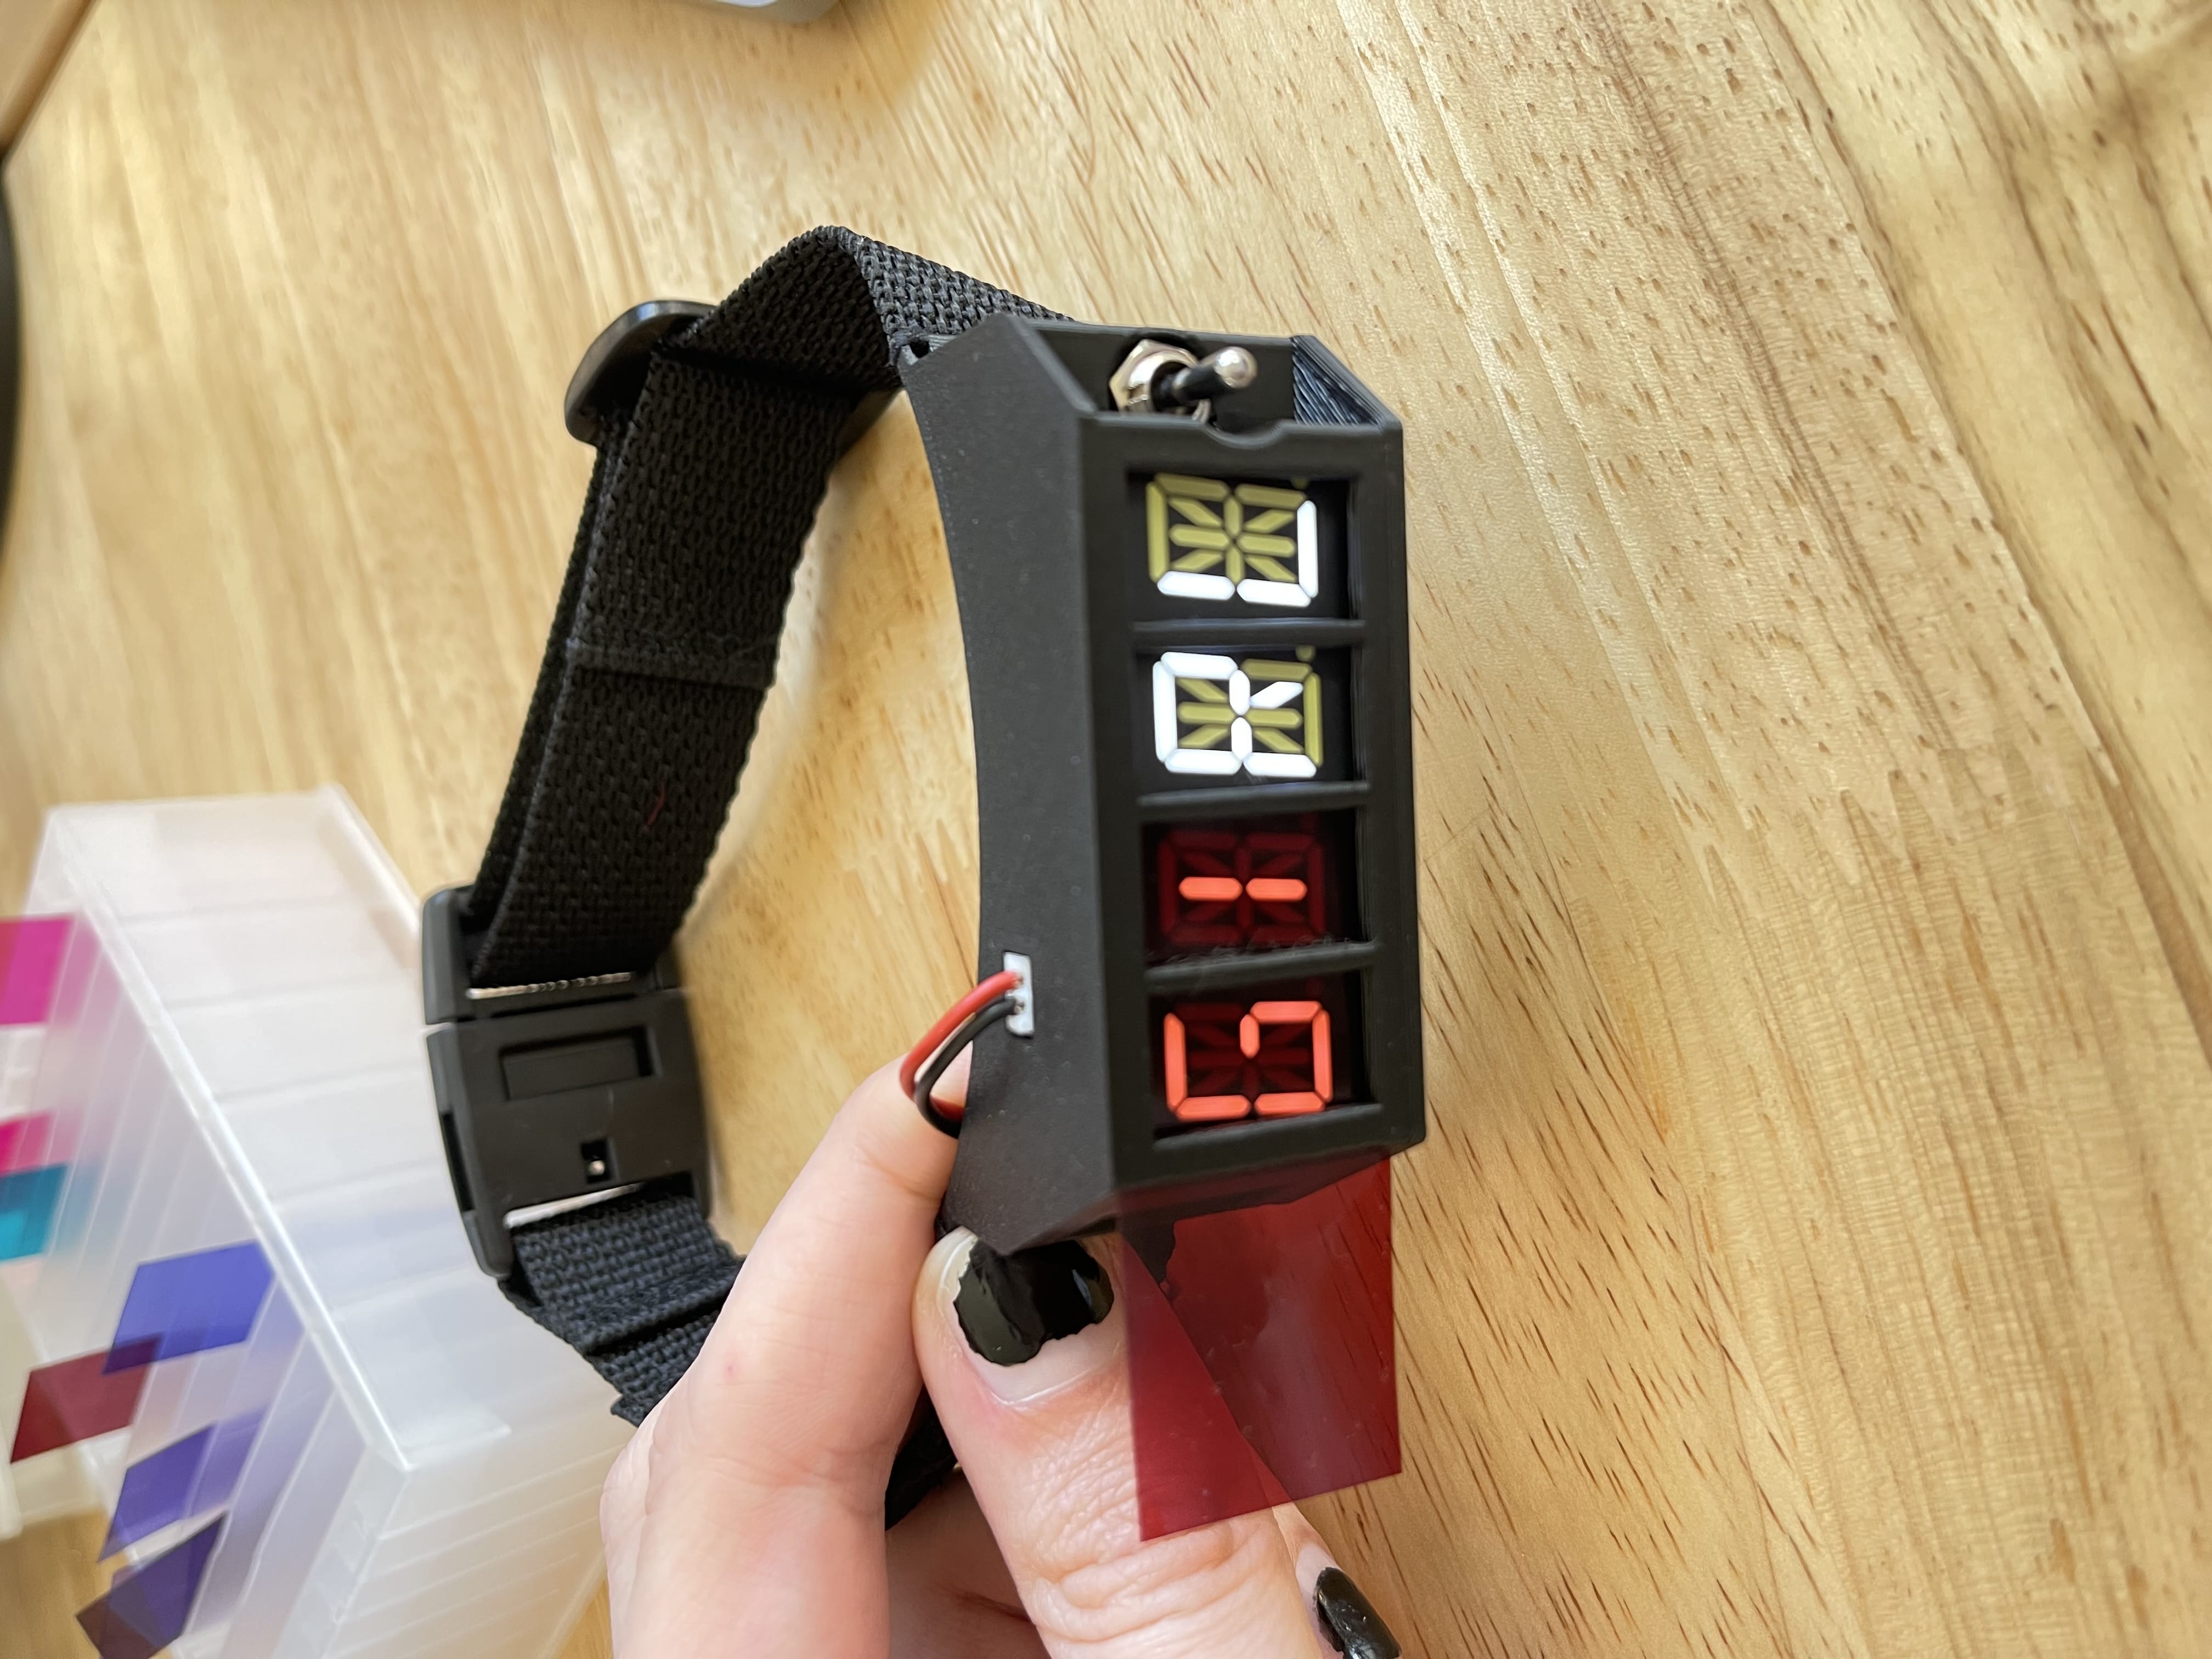
I'm a regular at my local weekly goth night Death Guild, but that doesn't quite fit on a 4-character display :)
I'm considering doing another version using the e-textile techniques I experimented with in the later versions of the Cyberdemon Choker, and I think that might help make a version that's less bulky, since I could have the microcontroller off to the side of the display, rather than mounted beneath it. We'll see!